.png "Powered by vBulletin")
Quick question, would valve clearance be different in a new head? I have my new head, and have all the gaskets and everything else sitting in my basket on bikebandit, but I'm wanting to wait so I can order my valve shims with it and save a few dollars on shipping. Am I going to have to move everything into the new head, take clearances, and then take it apart again when the new gaskets arrive, or can I take clearances in my old head? I know these are cast aluminum so there can be minute differences in size.
-
-
Valve clearance changes as the valve seats wear over time, causing the valves to move ever closer to the cam, reducing the clearance.. The chances of clearance between your original head and the replacement being the same are likely very small.sigpic
When consulting the magic 8 ball for advice, one must first ask it "will your answers be accurate?"
Glen
-85 1150 es - Plus size supermodel.
-Rusty old scooter.
Other things I like to photograph.....instagram.com/gs_junkie
https://www.instagram.com/glen_brenner/
https://www.flickr.com/photos/152267...7713345317771/Comment
-
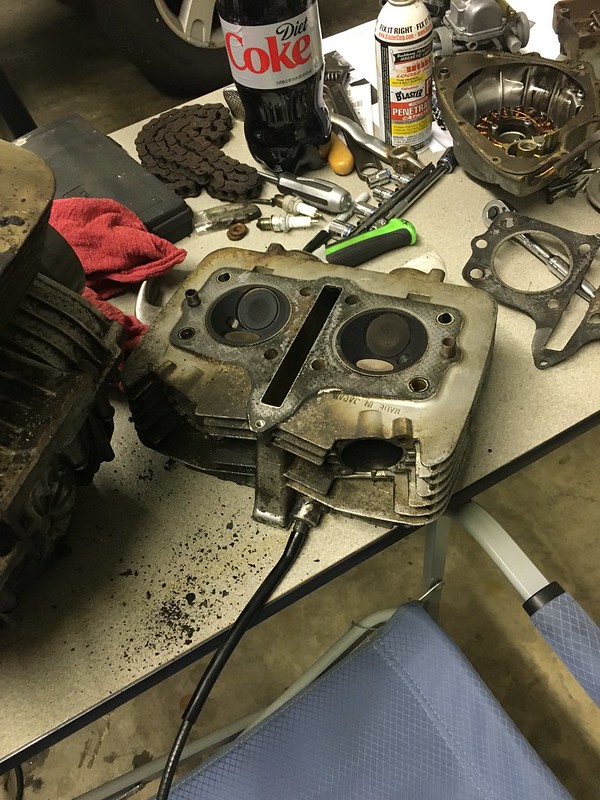
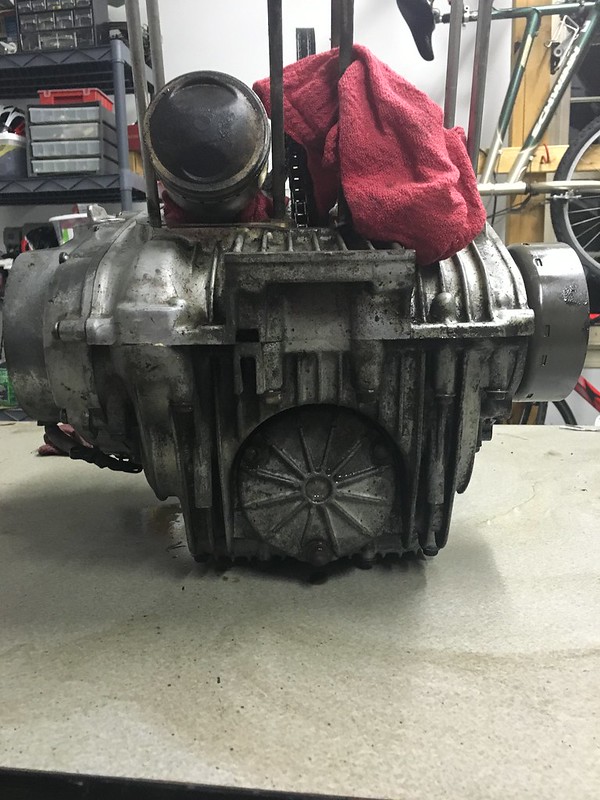
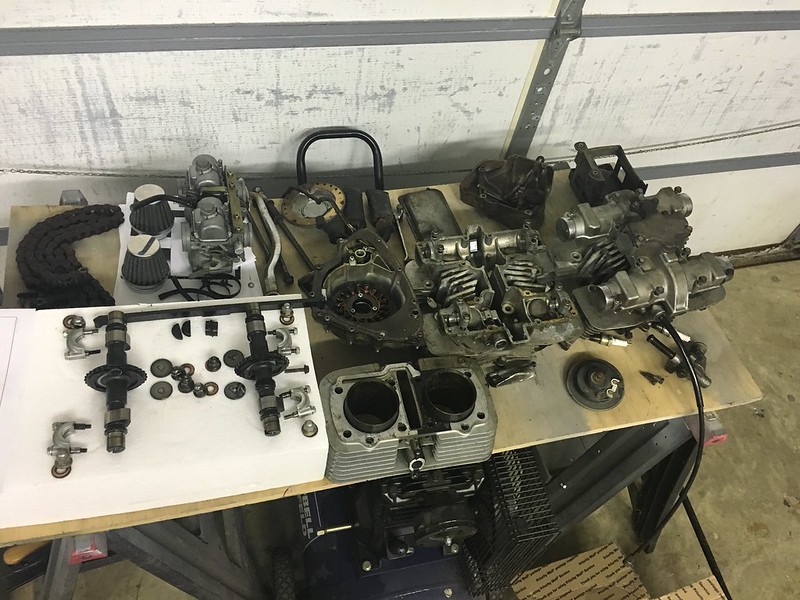
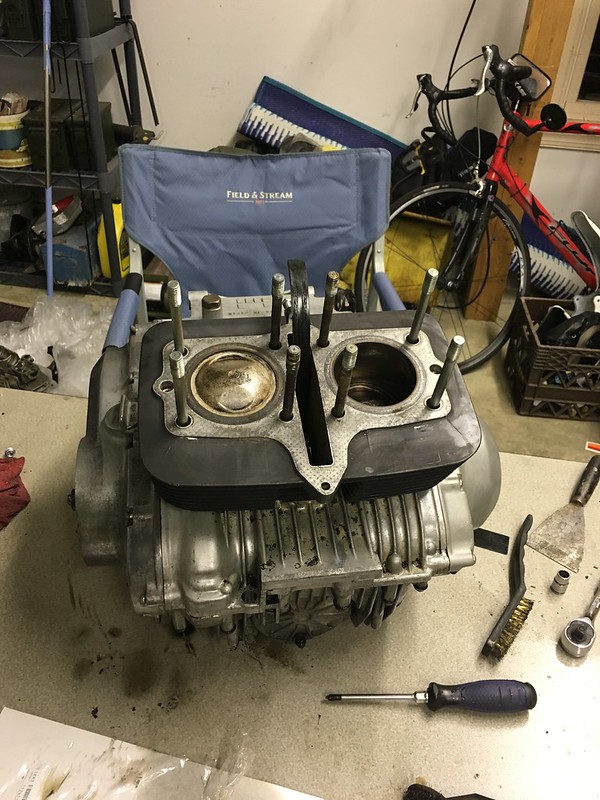
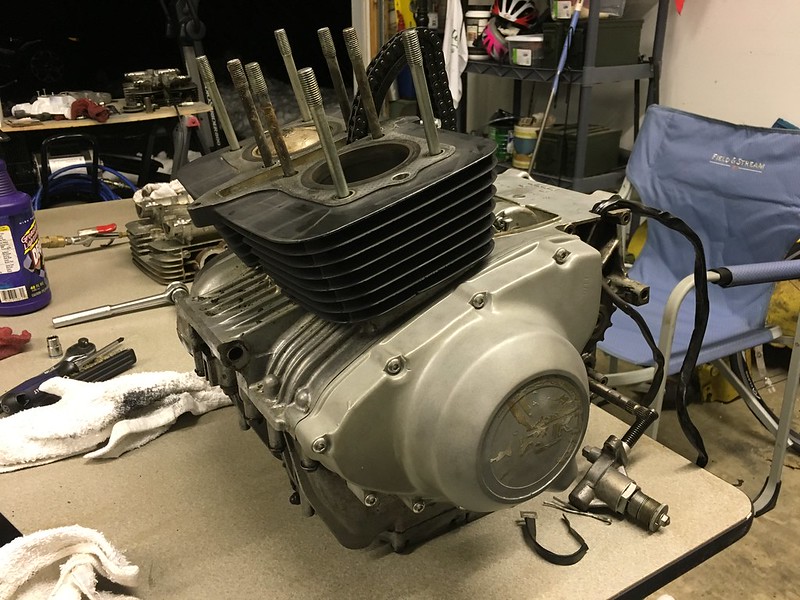
Finally got the top end off! Head gasket looked good, cylinder gasket was shot.
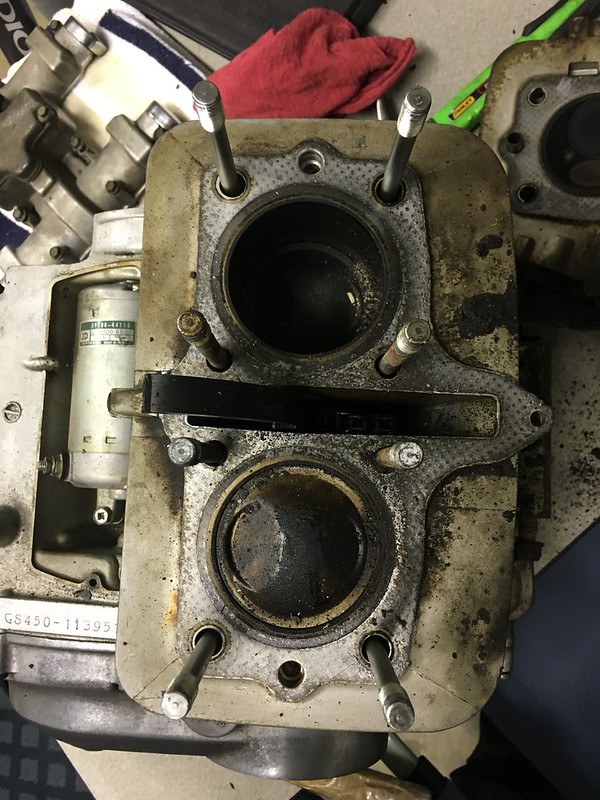
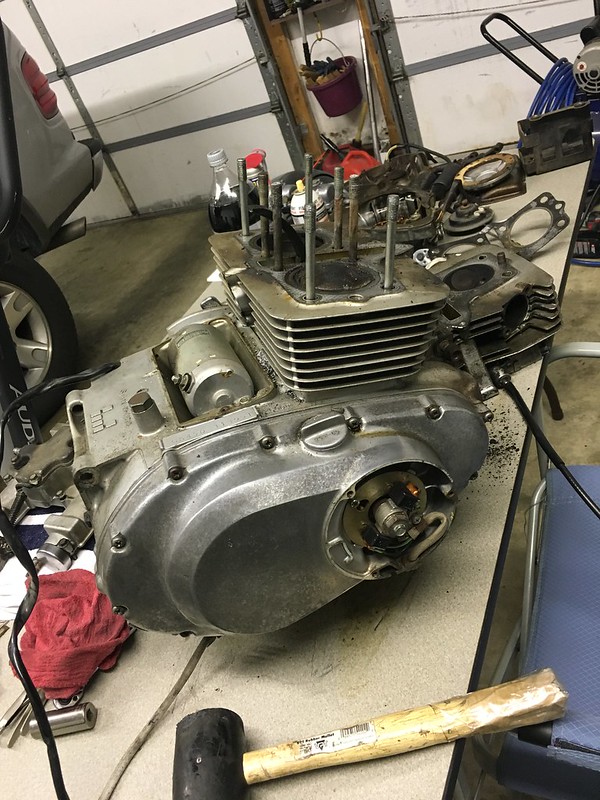
I think I need a bigger table.
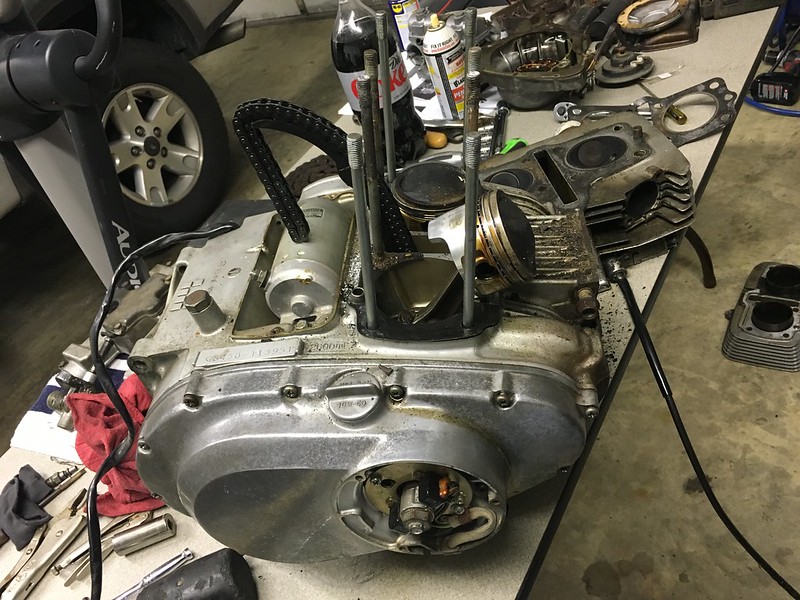
The plan now is to clean the top end completely inside and out, clean the outside of the crank case, run some fluid through to flush out any particulate from the case, and reassemble. I hope to detab the frame and weld my electronics tray while the engine is out, then clean and paint the frame. Put the engine back in, probably cave and buy the MAC 2-1 exhaust, rejet, and see if it starts. If it does, I'll make my seat and take it for a ride to see how it handles. Then, replace handlebars, wheel and steering bearings, brake lines, and pads as necessary.Last edited by Guest; 01-16-2016, 11:13 AM.Comment
-
Not much to update as I'm still waiting for parts, but I cleaned up the engine some. You can't tell in the pictures, but it's a hell of a lot better than it was before. Hopefully getting some diesel tomorrow so I can flush out the crank case.

Comment
-
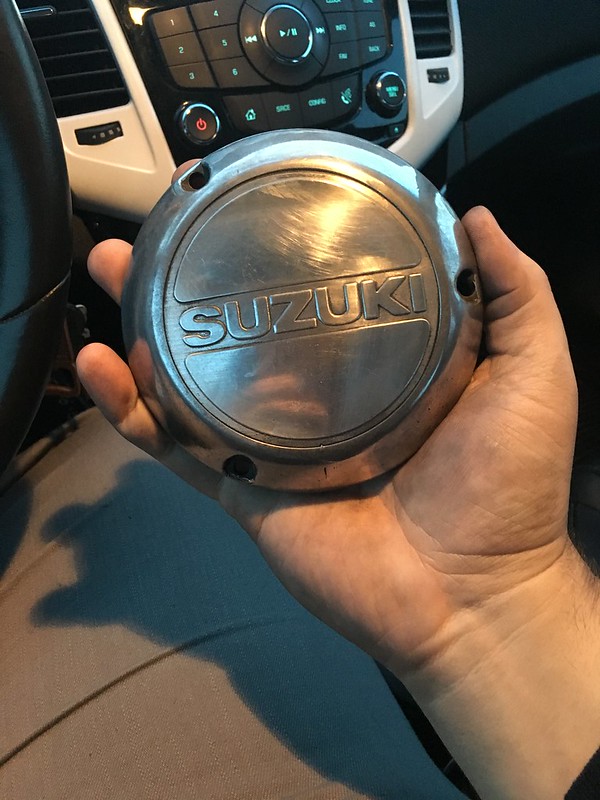
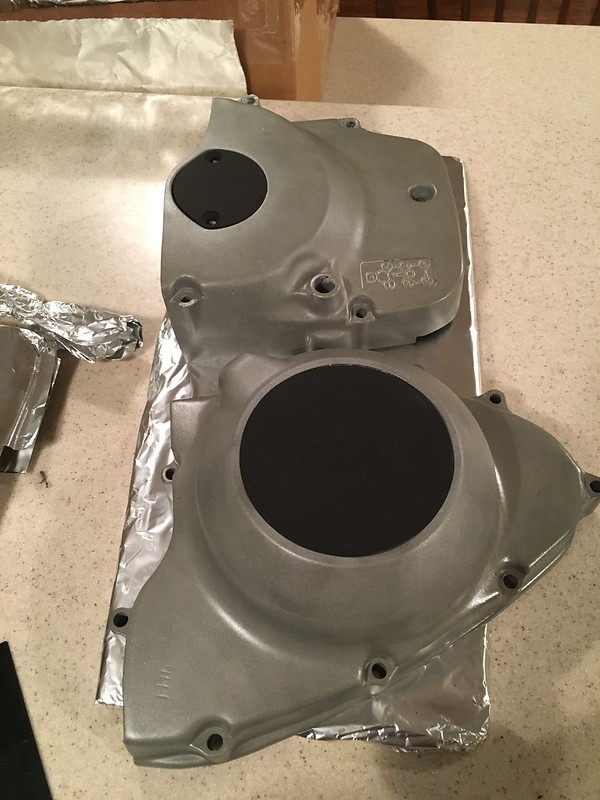
Finally an update. I think I finally have all the parts I need (besides new jets, shims, and a 2-1 exhaust setup) to put the engine back together. I tried buffing and polishing the side covers, but it just accentuated the pitting the aluminum had developed. So what did I decide to do? Sandblast! Yes, I know aluminum is way too soft for sandblasting, but I had my pressure way down low and I think it turned out pretty nicely. I plan to paint the side covers and valve cover white, the jugs and head black, and leave the breather cover and both suzuki badges with the sandblasted look (with clearcoat over top). Here's where the covers sit right now. I'm hoping to blast the cylinders later today.
Before trying anything, the covers looked like this.
After a decent amount of time, I got this piece looking far better than the rest. If they all looked like this, I probably would have never sandblasted.
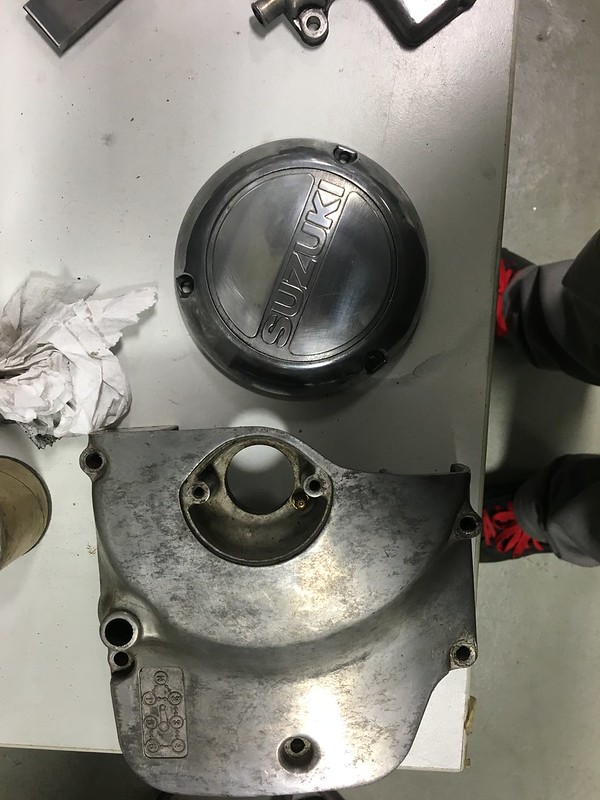
Buffed vs. sandblasted

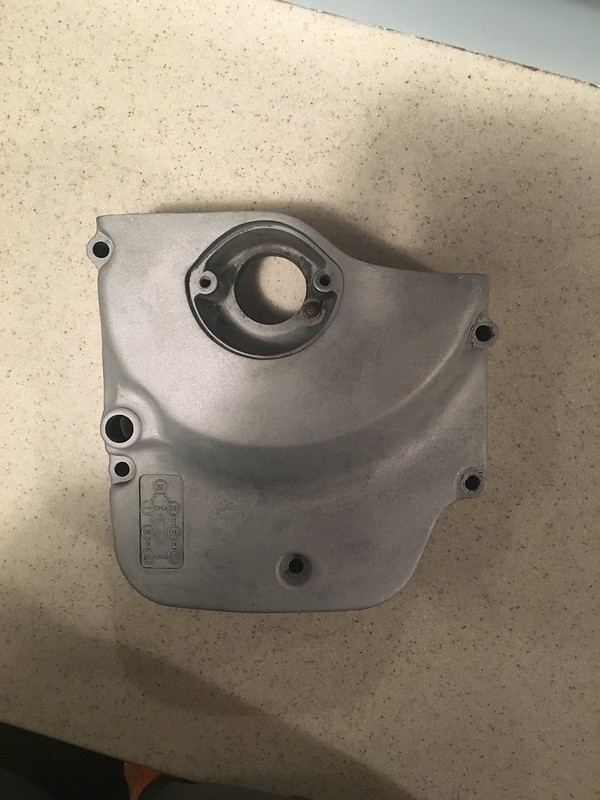
And finally, sandblasted completely.
 Last edited by Guest; 02-04-2016, 03:09 PM.
Comment
-
Do a bit of research on putting a clearcoat on your blasted covers.
The heat from the engine can yellow some products.2@ \'78 GS1000Comment
-
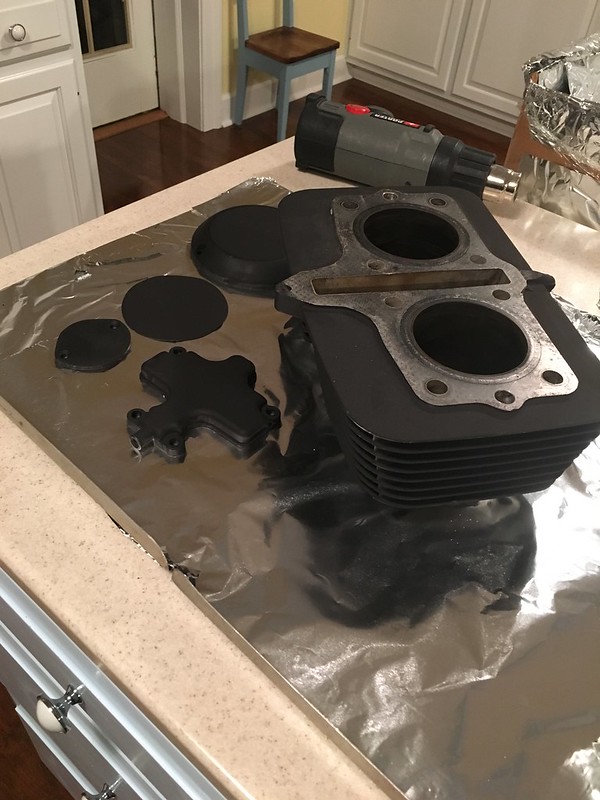
Thanks for the heads up. Yea, there are a lot of negative reviews about it. I'm not sure how to continue. The cylinders look fantastic, but the white can splattered on the side covers and they'll need redone. The valve cover is white and that looks good. Hopefully there's enough left in the can to do the side covers again.
Does duplicolor enamel need to cure in an oven? There wasn't anything about it on the cans but I thought any enamel paint had to cure. I know VHT does.Comment
-
Yes, i would cure them at 200C for an hour.
I try to get them in the oven within a couple hours of painting.2@ \'78 GS1000Comment
-
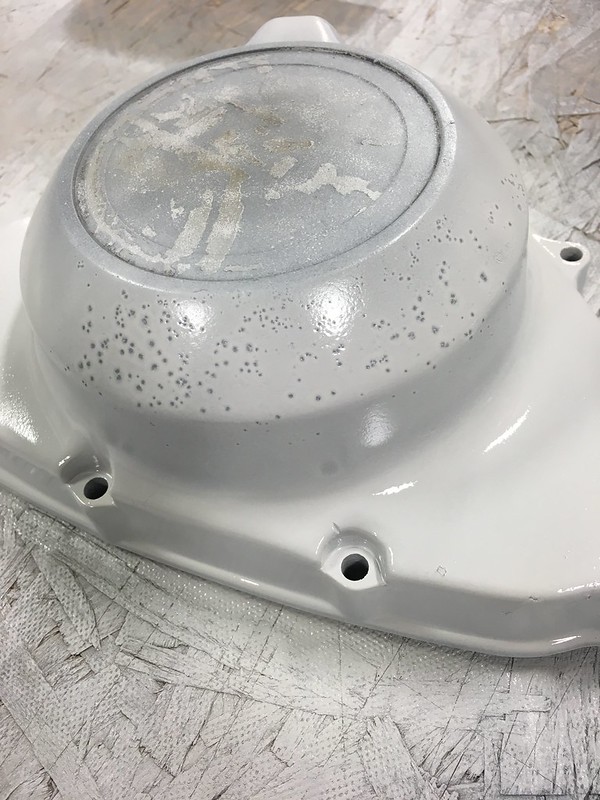
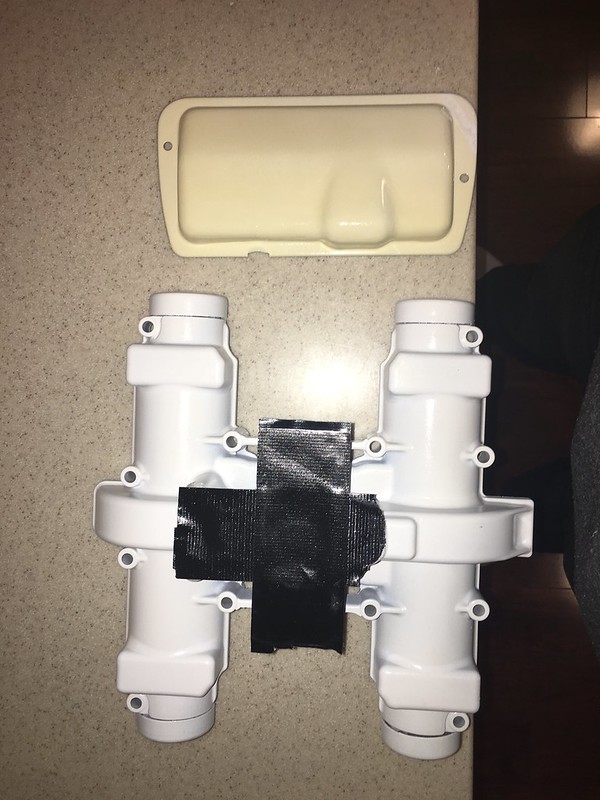
I blasted and repainted the side covers, only to have the paint fail to stick on the stator cover for some reason, even after degreasing and wiping down with alcohol. I stripped once more and cleared over the bare metal for those. I baked everything in a ghetto-rigged cardboard box / aluminum foil oven, which worked surprisingly well with my $40 heat gun, as I was able to get it right around 500 degrees for the final curing of the VHT paint. However, the duplicolor clear coat did fail after baking at 200C for an hour. I didn't bake the valve cover, and if it turns yellow on the engine I'll just take it off and figure something else out.
Failed adhesion:
Duplicolor high gloss white high temp enamel coated in duplicolor high gloss high temp clear - before and after baking
Comment
-
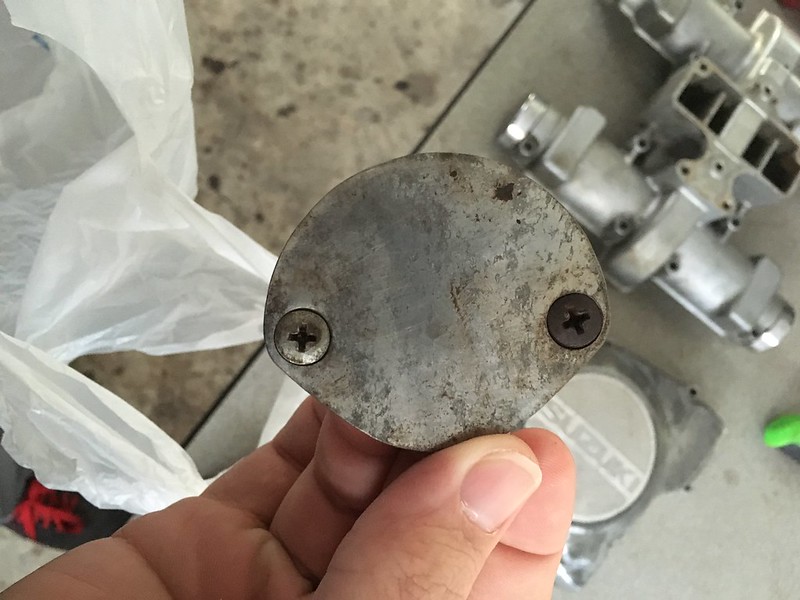
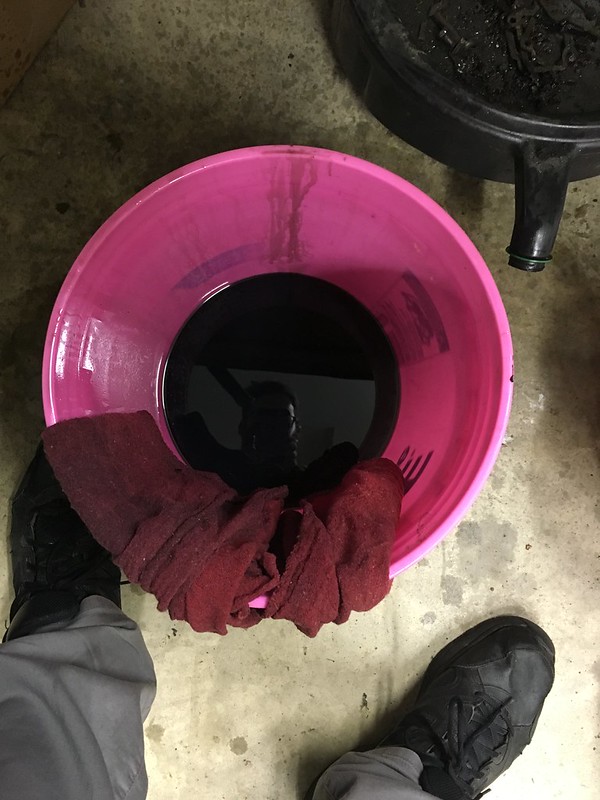
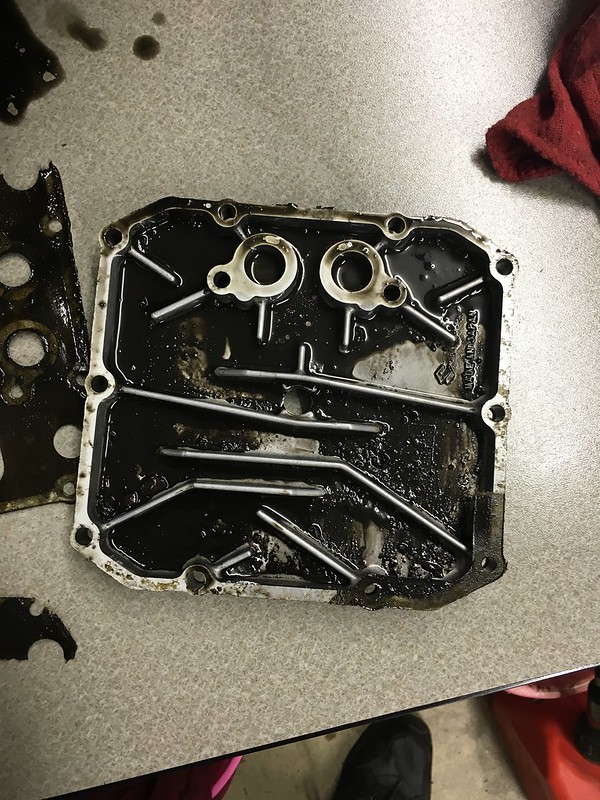
Yesterday marked real progress, as I've finally started putting parts back ON the engine! I poured diesel through the crank case and it worked really well to pull all the crud out of the casing. Pulled the oil pan, cleaned the screen, put that back on, and poured about half a quart back in the case. Cleaned off the pistons and put the cylinders back on, only to have the brake cleaner I sprayed inside the cylinders dissolve the new black paint, oh well.
The diesel that came out of the drain plug didn't look much like the diesel that I poured into the crankcase. Lots of leftover oil in there.
Comment
-
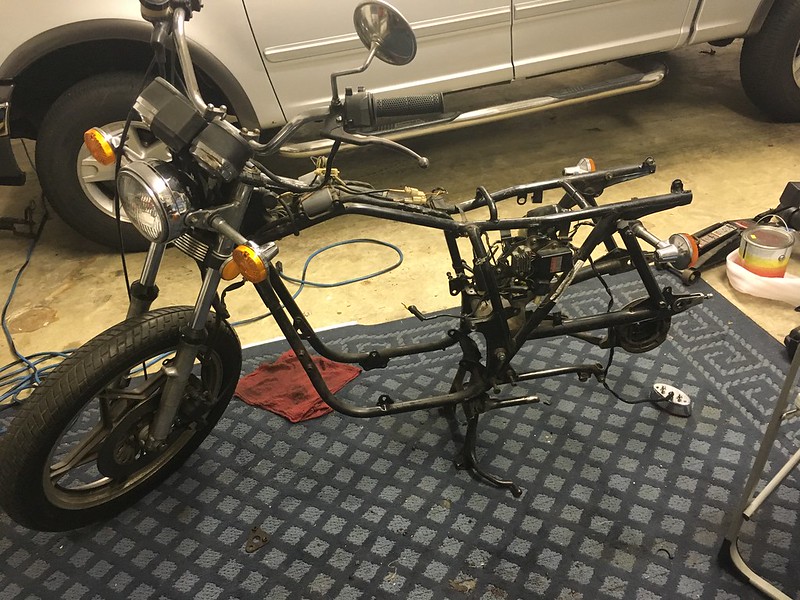
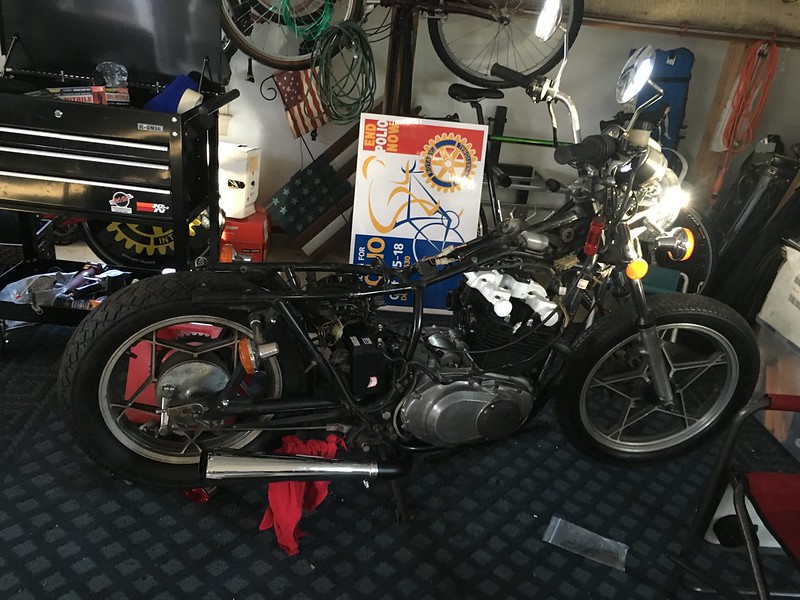
Got everything back together, got the engine in the frame, tried to start it, and the carb had such a bad leak that there wasn't enough pressure to pull the gas/air into the engine. I ordered new bowl gaskets, new jets (needed them anyway), and an aluminum fuel tee that I hope will do the trick. I'm so close. Now that the side panels aren't going to be white, the white valve cover really stands out, and I'll repaint that when I take the engine out again.
Comment
-
Looking good!!! are you planning to put the stock seat back on? Did you chop the tail end of the frame?Comment
-
Thanks! One of the POs must have chopped it. They chopped up the seat for a bobber style too, so I'm going to have to make a new one.Originally posted by blbiker56 View PostComment
-
Whats is your exhaust/muffler setup? It looks good! I'm also redoing my GS450 right now so I've been enjoying your thread.1980/1981 GS450 - GS500 Cylinder + Piston Swap - "De-L'ed", custom seat, CB350 bits, 18" rear, etc.
1977 GS550
1977 GS750 - Cross country trip threadComment
-
Thanks! Its the black and chrome MAC 2-1 Exhaust made specifically for the GS450. They retail for about $320 but they're almost always on sale somewhere for around $275. I obviously haven't had the bike on yet to give a report on performance, but I love the color scheme, as well as the fact that the headers are completely under the bike and nowhere near your legs.Originally posted by sam000lee View PostComment
Comment