Yes, I got your question correctly so it was *me* who wasn't clear - I meant to say:
- after the first coat of clear (which you've done), apply graphics, then several more coats.
as compared to:
- several coats of clear to start with, then graphics, then just one more coat.
But anyhow this is just preference in appearance, depending how deep you want the graphics to appear - deeper in or more on the surface. On my GS I have 4 coats of clear on top of the graphics and one coat below/before the graphics. It doesn't show in pics but in person the graphics appear burried deeply below the surface, which I like.
-
-
 Guest repliedLooks very good!
That was my undoing on the first job, too. You learn these things the hard way...")
I am in favor of laying most of the clear AFTER laying the stripes, gives more depth to it and the graphics don't stand that proud of the surface. I guess it's just a preference on the looks. But laying a semi-dry coat or two to seal the graphics is I think a very sound advice. That's how I've done it and had no probs.
Good luck (but I'm sure it will look stunning!)
Leave a comment:
-
How long did you wait before the clear went on Tom? And was the surface smooth, or were you going over an overlap seam step between the two colors?
Larry advocates laying on the clear pretty dry to avoid lifting. Sound advice. When laying down the stripes on my old 550 tank I made sure to burnish them down firmly before the clear. Waited a few days before shooting the clear too. No lifting, but then there were no tight turns either.
 Picture111 by nessism, on Flickr
 Picture112 by nessism, on Flickr
Last edited by Nessism; 07-30-2017, 07:54 PM.
Picture112 by nessism, on Flickr
Last edited by Nessism; 07-30-2017, 07:54 PM.Leave a comment:
-
On this bike one of the stripes lifted at the corner as the clear went on.
The curve might have been tighter than yours, but the stripe was thinner too. It was on there tight until the clear went on. The curve was perhaps tighter than yours, but the stripe was thinner too. I wonder if heating it and rolling it down might help? Mine was not really noticeable from more than a foot away, but it was there. Still is.
Leave a comment:
-
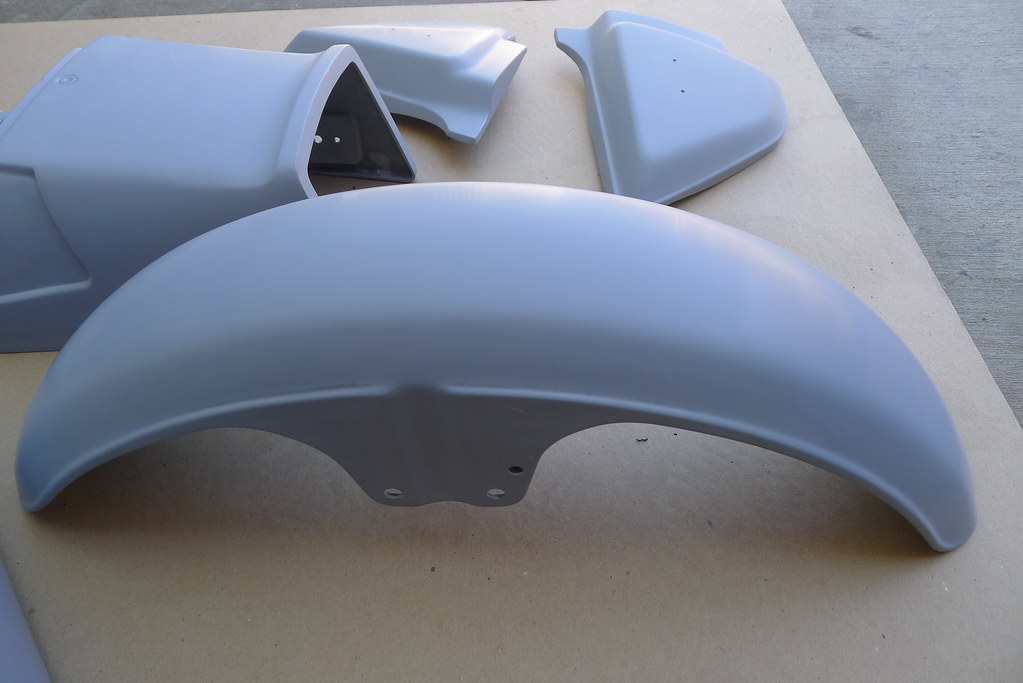
Got everything color sanded. Had to level out a some clear runs and think it's all flat now (fingers crossed). Painting front and back at the same time proved to be my undoing, especially on the front fender. The flow clear layers should be much easier since it's just the top surface now.
 P1010819 by nessism, on Flickr
 P1010820 by nessism, on Flickr
 P1010815 by nessism, on Flickr
Last edited by Nessism; 07-30-2017, 07:51 PM.
P1010815 by nessism, on Flickr
Last edited by Nessism; 07-30-2017, 07:51 PM.Leave a comment:
-
I agree. If the striping tape is flat when you spray the first coats of clear, it should stay that way. Lay the first coats on kinda dry so it doesn't eat into the tape. 3-4 coats, let it dry for a few days, sand it smooth, lay a few more wet coats and you should be good.Leave a comment:
-
I don't think I'd be too worried about it lifting through the clearcoat Ed - as long as it was flat until it had cured.
Looks like it's almost ready for me to ride

Give me a shout if you need a lift with the engine.
Leave a comment:
-
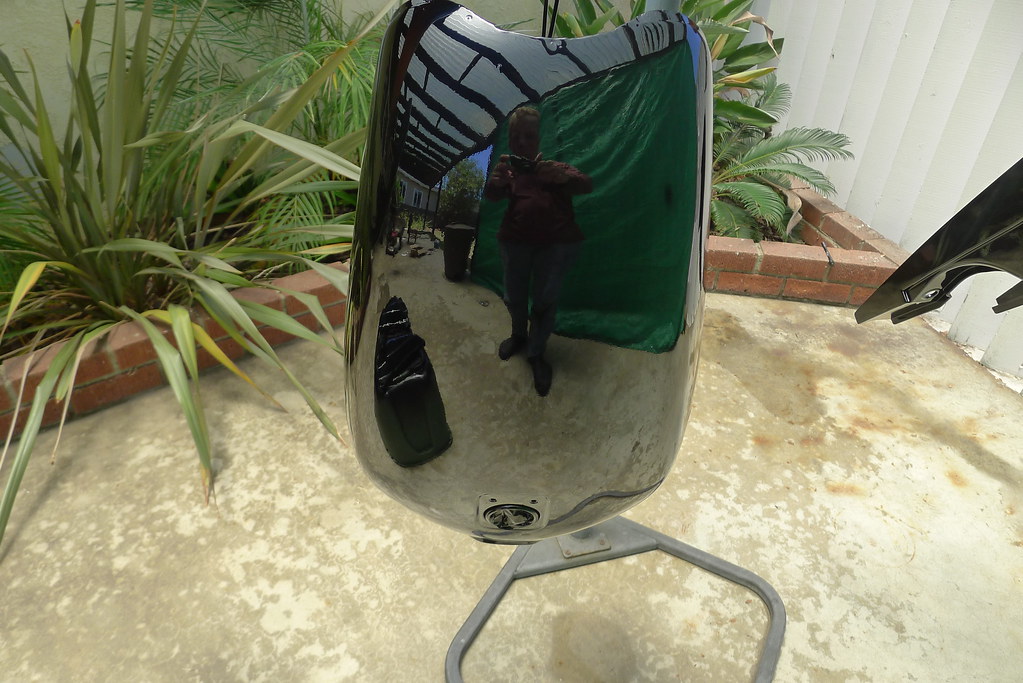
Color sanding the clear coat with 600 grit. Have to be really careful because the 600 cuts fast and I don't want to hit the base coat. Seems like this paint is softer than those I've used before.
Laid down some pin stripe tape on an old CD as a trial. Worrisome issue is making sure the stripes don't lift after stretching them to form the corners. The clear should help the stripes stick down, but not sure I should rely on that. I'm thinking if the tape doesn't lift after a couple days they should be okay after being clear coated.
 P1010812 by nessism, on Flickr
Last edited by Nessism; 07-30-2017, 07:49 PM.
P1010812 by nessism, on Flickr
Last edited by Nessism; 07-30-2017, 07:49 PM.Leave a comment:
-
Leave a comment:
-
The parts look real nice, Ed. Feels good to get to this point, eh..? Definitely a light at the end of the tunnel when you finally get color on.Leave a comment:
-
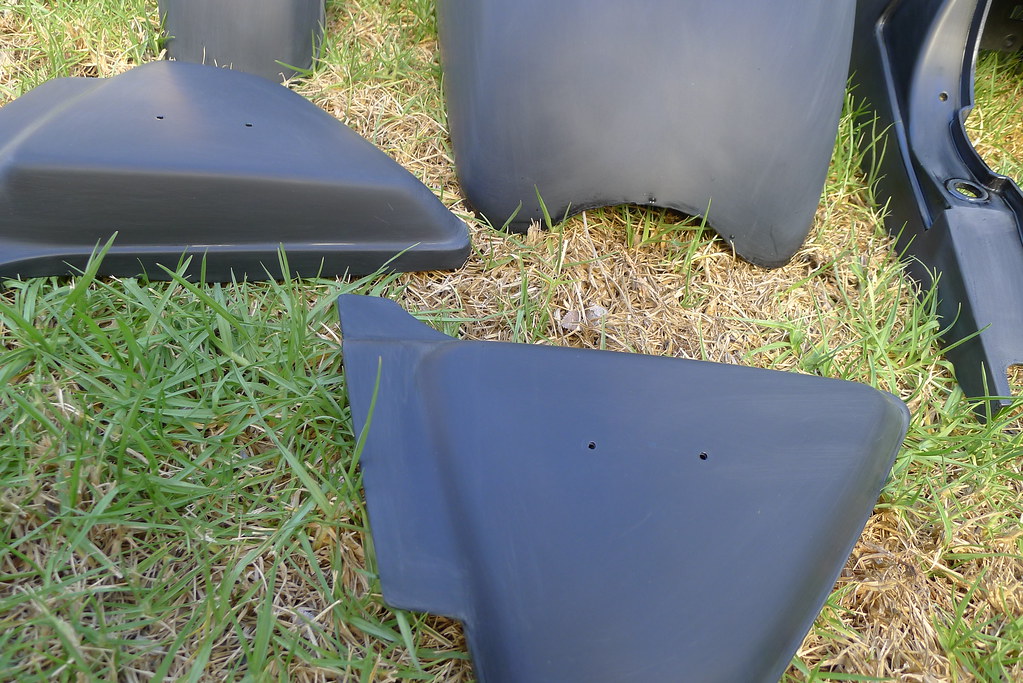
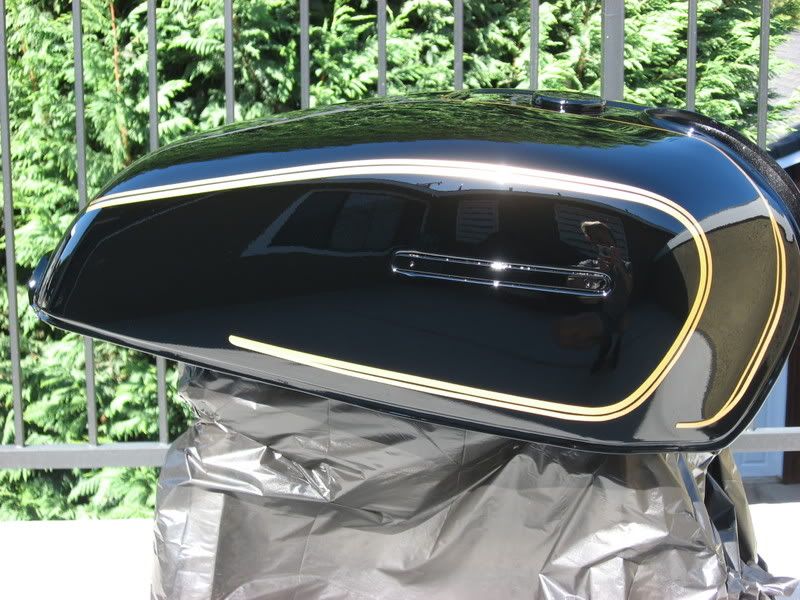
Any color you want as long as it's black.
Actually, the color looks black until you get it out in the sun then it looks pearl blue. Just the look I was after.
Had a hard time with the USC01 clear. It goes on dry looking then lays down. Have a few runs because I laid it on too thick. Going to color sand anyway so not a huge problem. Pin stripes will go down after sanding then two more clear layers over the graphics. Now that everything's cleared I can take my time.
 P1010802 - Copy by nessism, on Flickr
 P1010803 by nessism, on Flickr
 P1010805 - Copy by nessism, on Flickr
 P1010806 by nessism, on Flickr
 P1010808 - Copy by nessism, on Flickr
 P1010811 by nessism, on Flickr
 P1010809 by nessism, on Flickr
 P1010810 by nessism, on Flickr
Last edited by Nessism; 07-30-2017, 07:43 PM.
P1010810 by nessism, on Flickr
Last edited by Nessism; 07-30-2017, 07:43 PM.Leave a comment:
-
Guest repliedHave you tried these guys?
Leave a comment:
-
The only thing I can suggest is to buy a section of tape that's the width you are trying to use and give it a try.
How about taping off and painting the darker color the width of both colors then laying the lighter colored 'tape stripe' on top?Last edited by rustybronco; 07-01-2014, 08:44 AM.Leave a comment:


Leave a comment: