Thanks, that windscreen looks pretty nice.
cg
-
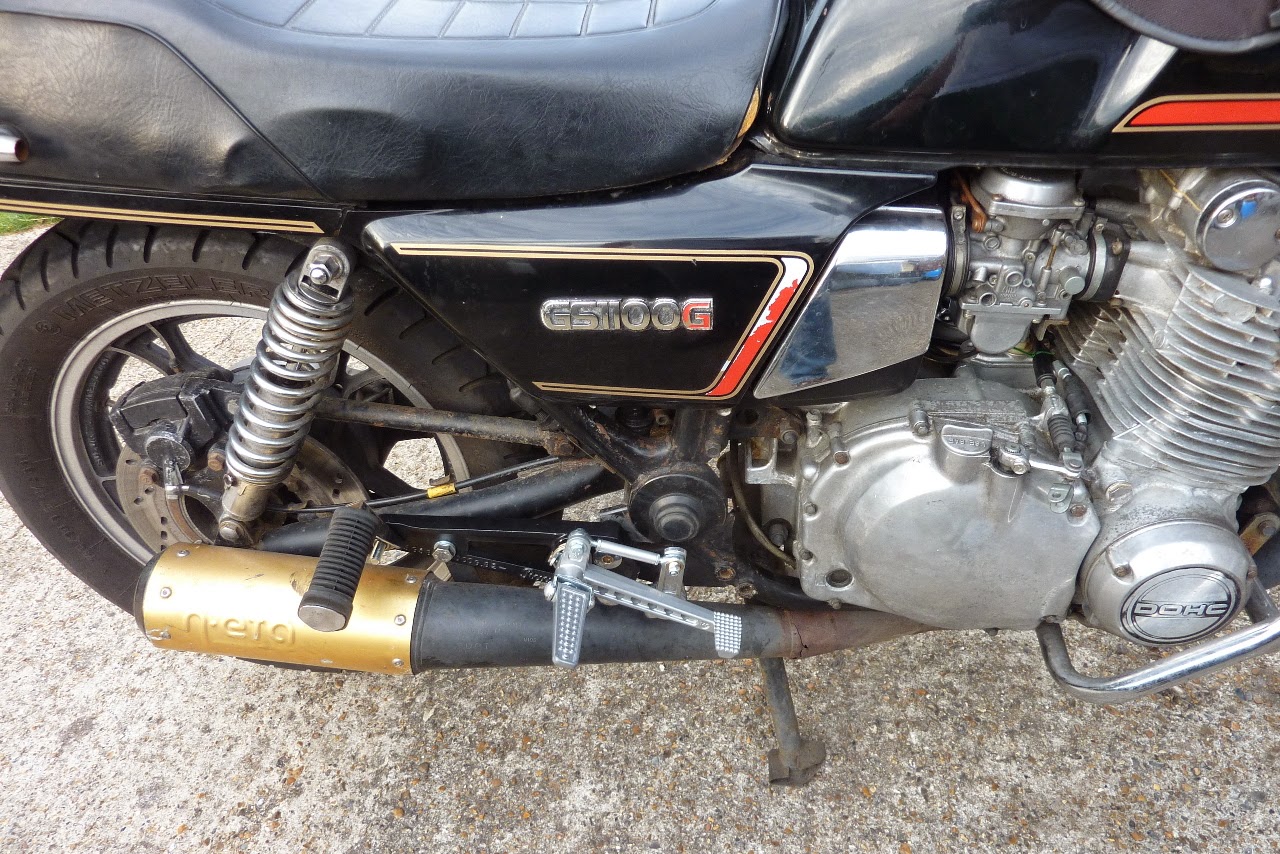
Yes the old rusty ones were blowing quite a bit and I just wanted a bit less noise for the journey so I popped on one of the 4 sets of original pipes. They all have lose baffles but I could put up with the rattle.
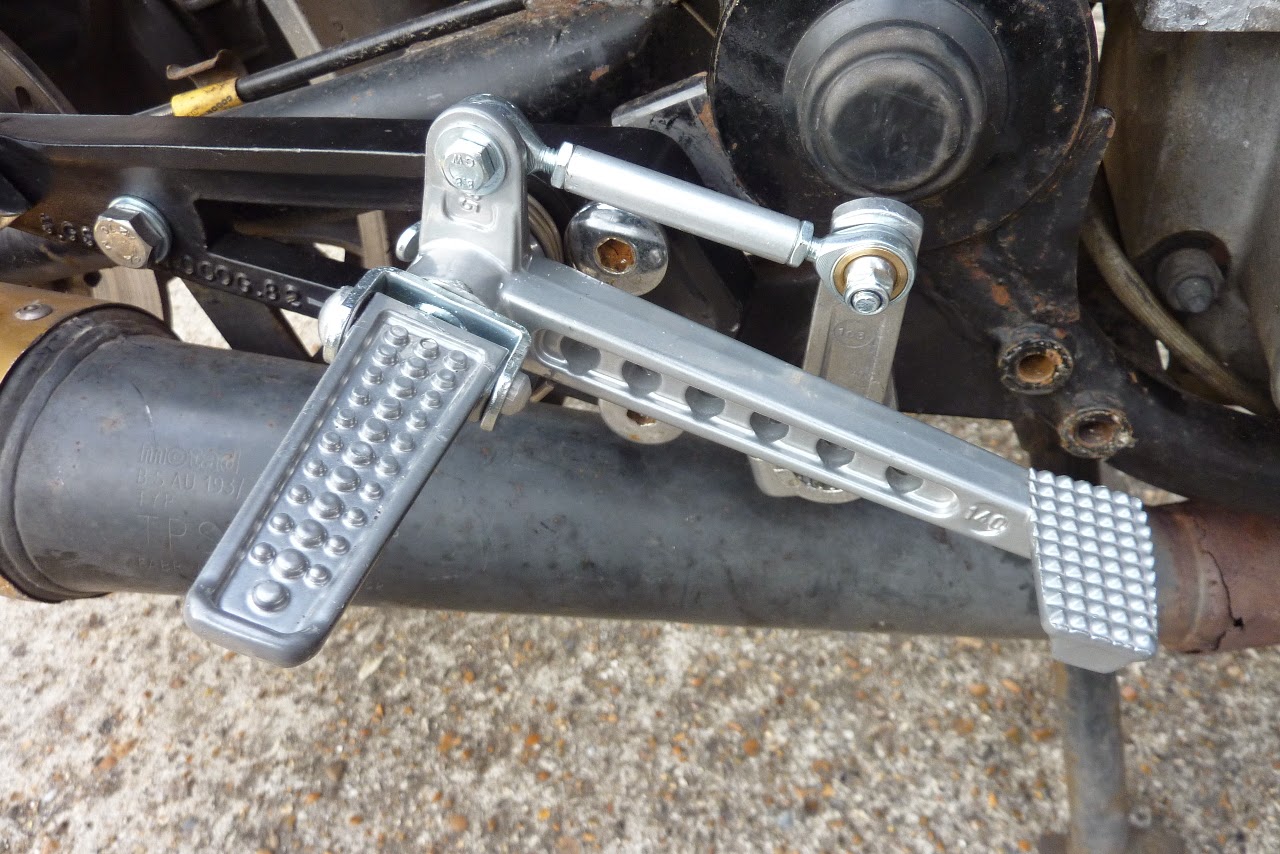
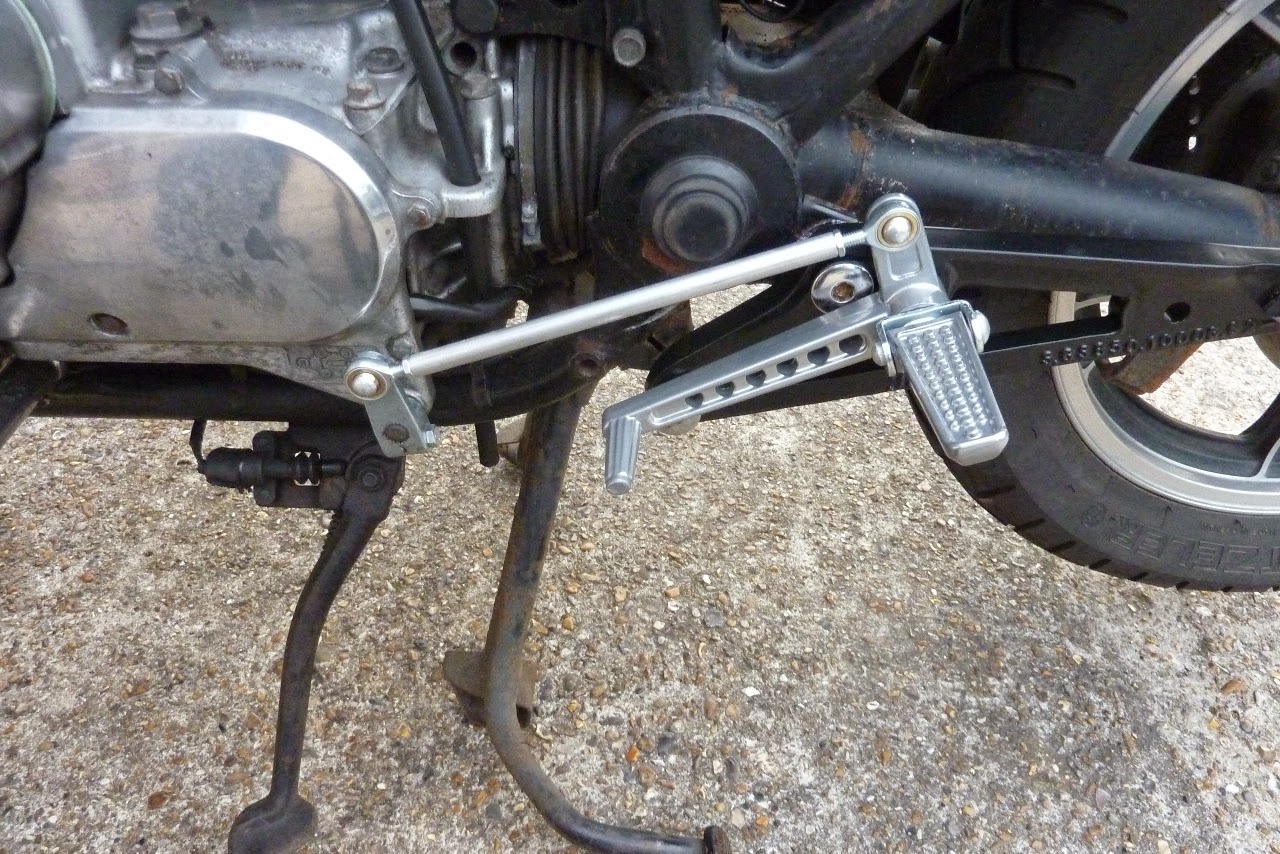
I also put on a set of rearsets which vastly improved the riding position for long distances and allows some body weight to be taken on the legs.
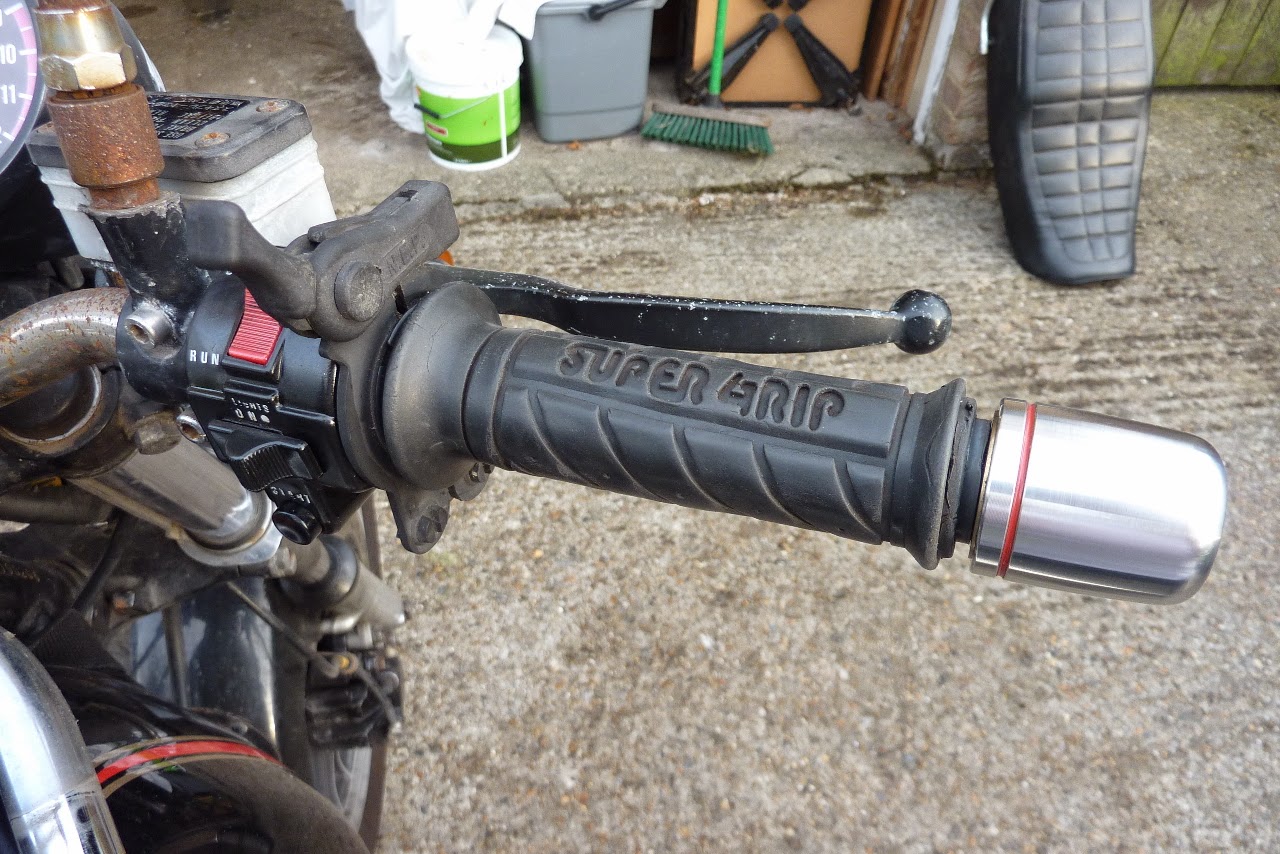
Also put on handlebar weights which I accidentally discovered has a cruise control (throttle grip) in them. Saved a lot of wrist ache:

GreetingsLeave a comment:
-
Here are some photos of the windscreen. It was a life saver for me especially looking behind at speed without getting your neck twisted off.


GreetingsLeave a comment:
-
Very nice photos! Thanks for posting. How did the changes in seating position work out? I'd like to see a close up of your wind screen. It's looks to be pretty minimal, which is what I would like. Did your R&R problems end the trip for you?
cg
P.s. I looked back through the photos and have a good idea of the wind screen now.Last edited by Charlie G; 09-22-2014, 06:19 PM.Leave a comment:
-
The European Tour 2014
The Offical photos of the Assassins Eurotrash Tour 2014 - including getting my GS1100G over the Stevlio Pass and having the usual regulator/rectifier problems.
Click on the photo to get the whole album:

And the whole lot put together with some bad trick on the motorcycle - Don't do this at home.

GreetingsLast edited by londonboards; 09-22-2014, 11:26 AM.Leave a comment:
-
Getting Ready for My Trip
Lots of things to do to get the bike ready for this 2,500 mile trip.
See my GS1100G Road Runner Blog (big pics)
First off was a change of oil for the forks and the engine.


Odd amounts of oil were taken out:

After trying a 10W fork oil and discovering it was hopeless, I took the sage advice to add a mixture of 10W/40W oil and ATF.


Made sure the levels were exact:

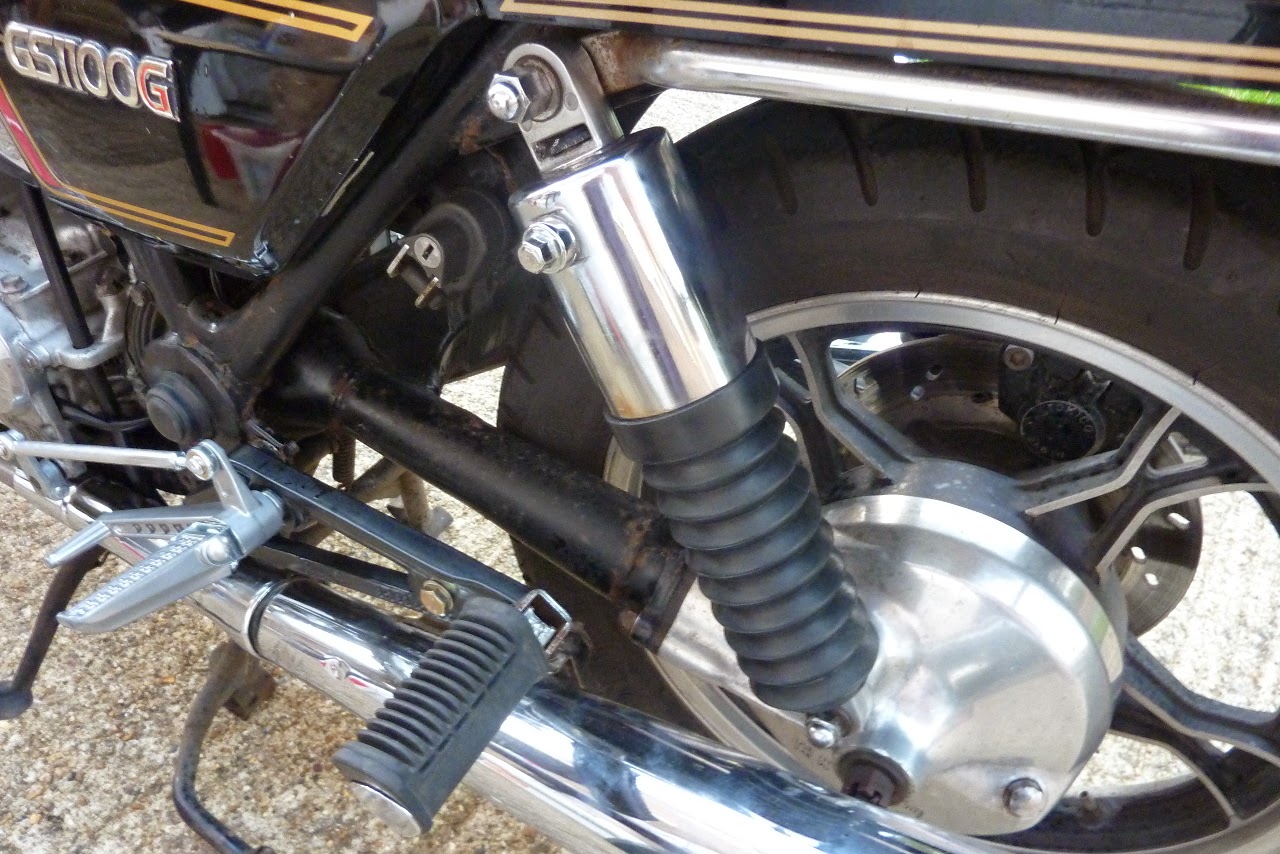
Replaced the shocks on the rear with these air shocks from my other project:
Leave a comment:
-
CharlieG - thanks for your post. Yes I was having the same problem - having to stretch too far to the bars and getting upper arm ache. I too used to rest my feet on the rear pegs from time to time. I was snapped arriving at a rally like this:

Yeah, I'll do Italy photos of course. Thanks for your interest.
GreetingsLeave a comment:
-
I was out riding mine yesterday and was considering how it's going to be on my trip to British Columbia. I used to leaning forward onto the bars. Mine are Super bike bend and are pretty straight as you say. I generally lean forward into the wind and the force of the wind lifts me slightly off the bars, relieving the weight from my wrists somewhat. I also think that leaning forward helps eliminate the buffeting effect and pressure of the on coming wind. The pegs are to far forward and high for long distance. I alternate between the front pegs and the passenger pegs and this makes it somewhat bearable. This is the approach I use on my 650 g, which is a shorter bike and I'm not so sure it will totally apply on this beast. I'm 5'10" and I suspect my arms are a bit on the short side. It's seems to be along way from my seat to the new bars I put on. I'm going to take off this morning are do a bit more research to see if I an come with a better technique.
You be sure to post up some pictures of Italy. I really enjoyed the Belgium trip which, indirectly introduced me to an entertaining movie. Your going to have to go through a lot of interesting places to get to Italy. It does sound like fun.
cgLeave a comment:
-
Getting Ready for a Long Distance Ride
I wanted the bike to be more comfortable for a long road trip to Italy. It has rather short bars on (which I prefer to the original cow horn type) but the feet forward pegs were not right for me. So I bought a set of Raask rear-sets.
See My Blog GS1100G - Long Distance Mods
Raask used to be top notch but quality is pretty poor now.
I also put on some handlebar end weights to reduce vibration. The bonus was that I discovered that I now also had a cruise control.
Next up will be a small screen.
GreetingsLast edited by londonboards; 08-10-2014, 06:44 PM.Leave a comment:
-
I'd like to say it was my pleasure. (Really, I'd like to. )
)
I do things like that because so many bike owners say "I hate electrics" or "electrical work is so confusing", but I find it rather easy.
Whenever I am trying to teach anybody something, I try to relate it to something that they already know, to make the association easier.
Leave a comment:
-
Steve - Brilliant synopsis - thank you for taking the time to write that. Clears it up completely.
GreetingsLeave a comment:
-
I am going to try to see if I can clarify this just a bit, even though you have resolved the R/R issue and moved on.
If you use your meter in the OHMS position to check a diode, you will get a reading of the resistance in the diode.
In one direction, you will get a reading. What that reading is, will depend on the specific composition of the diode, but will be consistent with other diodes of the same type. If you reverse the leads, you will get an "out of range" indication. Some meters show this with a "-1-", others with "-OL-", but it will not be a meaningful number.
If your meter has a DIODE FUNCTION, the reading that it gives you is in VOLTS.
That voltage is the 'breakdown voltage' of the diode. Much like the resistance test mentioned above, there will be a reading (probably just over half a volt) in one direction, and when the leads are reversed, there will be an 'out of range' indication.
The readings that you got earlier, which ranged from 620 to 670, were actually millivolt readings, meaning that they are 0.620 to 0.670 volts. Those are all within the range of "just over half a volt" and are consistent enough with each other to be valid readings. If you were to find one of 420, say, it would be highly suspect. You found some bad readings, and they confirm that the RECTIFIER portion of the device is, indeed, bad.
And, ... the fact that "different meters use different batteries" means absolutely NOTHING.
They are all going to have enough battery power to do their job, so type (or quantity) of batteries is totally irrelevant.
.Leave a comment:
-
tatu - darn that means unwrapping the whole wiring loom right up to the headlamp shell - right?
GreetingsLeave a comment:

Leave a comment: