Announcement

Collapse
No announcement yet.

Jennifer's Makeover

Collapse
X
 
  • Filter
  • Time
  • Show
Clear All
new posts

    Jennifer's Makeover

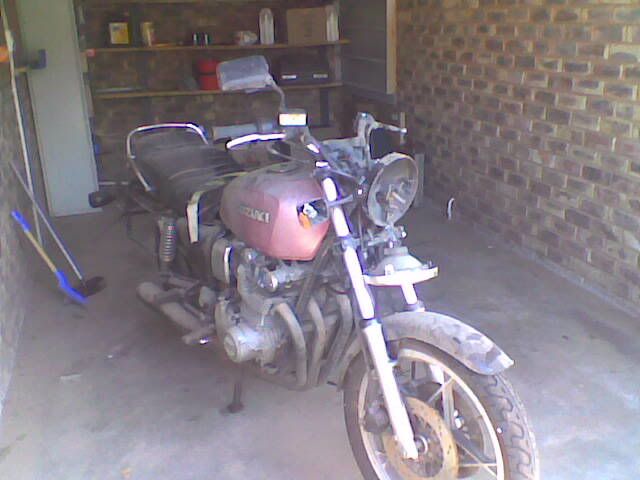
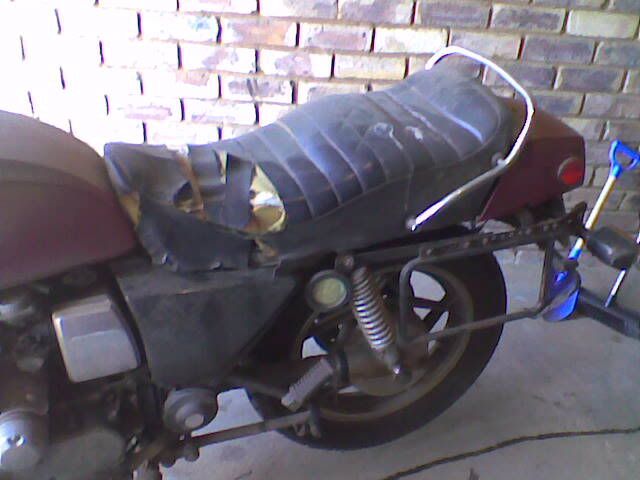
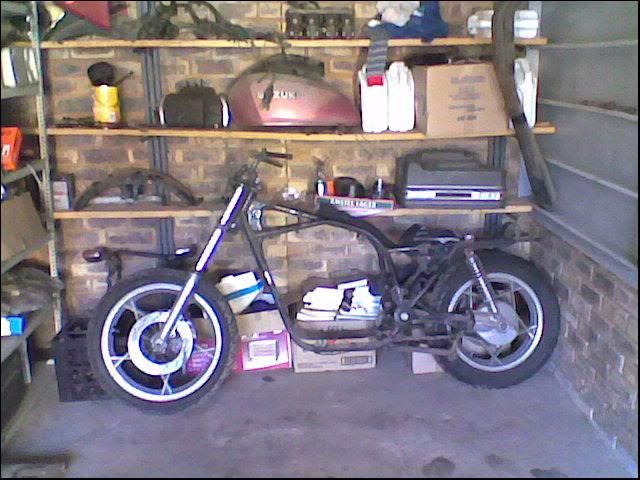
    Hi all, right, so after much lurking here since my clock rebuild thread, much drooling at what everyone is getting up to with their beloved GS's, enough was enough, today it was warm enough to rescue my beloved GS, Jennifer from the back of the garage where she has been hibernating and gathering dust for the last five or six years, looking pretty forlorn and forgotten.
    It is time for the much threatend and looong overdue rebuild, from the ground up to begin.
    Garage was cleaned out to make working space, tools were opened and surgery began.
    This is going to be a rebuild from the bare frame up, Jennifer is an '81 GS1000G, original colours were black with red and burnt orange, she is going to be rebuilt back to original condition and colour scheme, except for a few very minor details that will change just to enhance her cometic appearence, this is going to be the sweeeeeeetest GS on this mudball we call earth.
    I know that I am definatly going to be married to her forever once she is done, because this rebuild will require me to way over capitalise in her, I will never get my money back in a month of sundays.
    But that is cool and I accept that, it is not about resale, if I want an investment, I will buy gold, this is about me being passionate about the GS series motorcycles that have served me so well during my last 20 years riding them, and keeping as many on the road as I can.
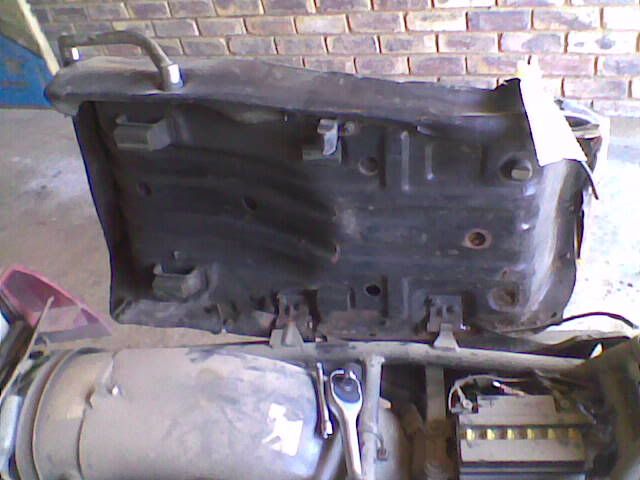
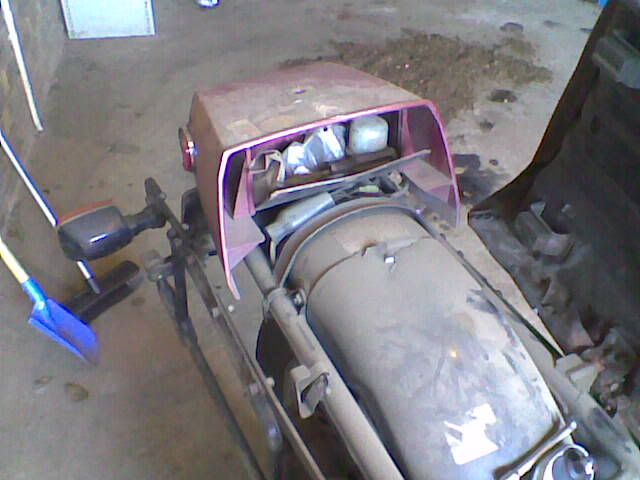
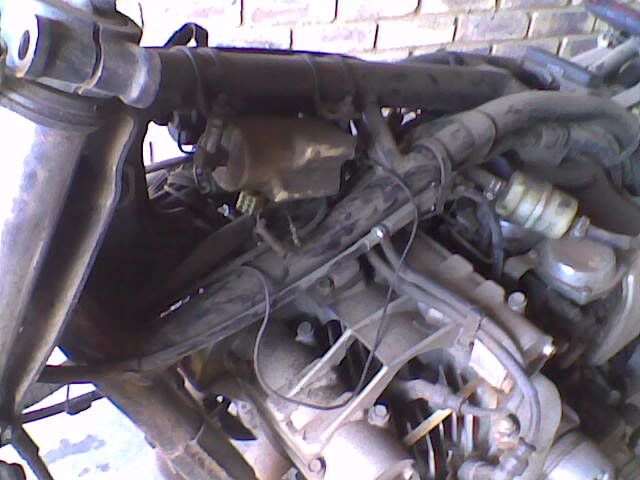
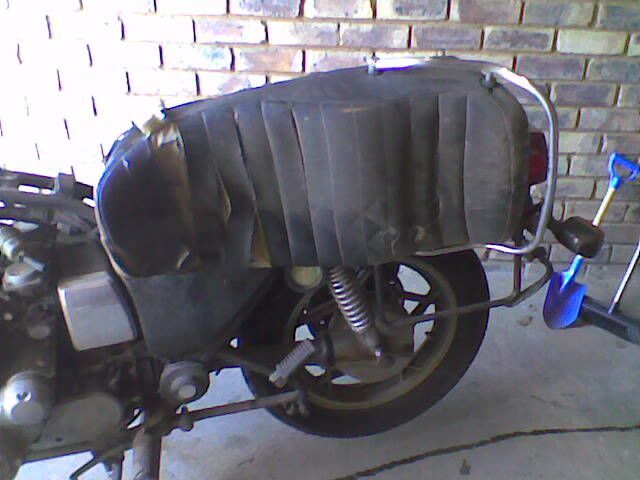
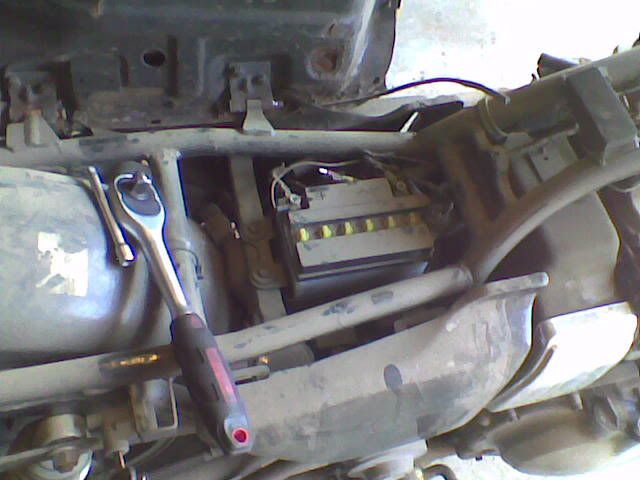
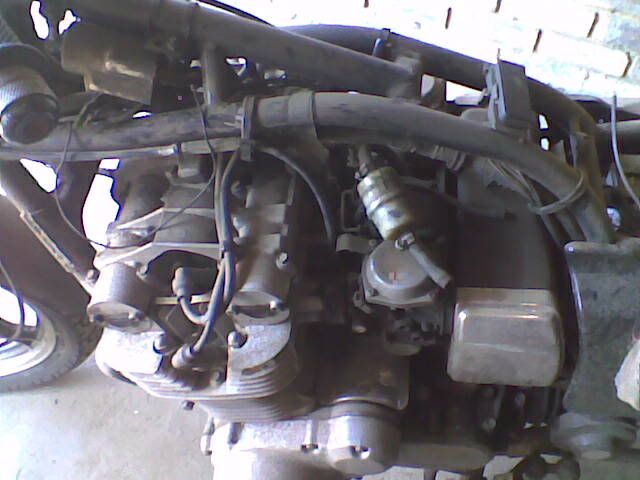
    So, spent the day stripping and five hours later, Jennifer is now down to rolling chassis.

    I know, I know, "we like photos" sorry but my camera went on strike, so as soon as I get the pics downloaded off my phone I will post them.
    Just a word of warning, this is going to be a looooong rebuild, as I can only progress as I get spare cash, which is scarce right now, and I am not cutting any corners.................watch this space.

    There may be small odds and ends that I will need from the states that we don't get here, I would be more than greatfull if someone there could purchase for me and mail across now and again, as the need arises.

    #2
    Originally posted by Flyboy View Post
    There may be small odds and ends that I will need from the states that we don't get here, I would be more than greatfull if someone there could purchase for me and mail across now and again, as the need arises.
    I'll be more than happy to help if possible. if you need references, contact board member Matchless.
    De-stinking Penelope http://thegsresources.com/_forum/sho...d.php?t=179245

    http://www.thegsresources.com/_forum...35#post1625535

    Comment


      #3
      Thanks a ton Rustybronco, you are always a pillar of support to everyone here, take a bow, Sir.

      Comment


        #4
        As promised, here are some "before" pics, as you can see, she is showing her milage, but will hopefully be factory mint condition when she is done.

        So this is what we start with, looking pretty forelorn


        Comment


          #5
          More detail as I strip her down


          As she looks after 5 hours of striping, just the rolling chassis
          Last edited by Guest; 07-14-2010, 07:43 AM.

          Comment


            #6
            The reason for her being out of service and living in the back of the garage for so long


            My apprentice goofing off on the job, good help is so hard to find these days


            Sorry about the quality, but camera was flat and only had the cell phone to take pics with.

            Comment


              #7
              No flying this weekend, so got to put the carbs back together, went shopping for paint and new stainless allen screw hardware as well as O rings for the card brebuild, last weekend.
              Stripped, dipped, painted and baked, today was spent putting them back together, looking very nice compared to what they did look like, sorry, no pics, camera flat again, will try and post tomorrow.
              Need a few things for the carbs, 3 little teeny washers that go on the air screw, one spring for the air screw and a float bowl gasket, will try and organise in the week.
              Also climbed in and stripped and cleaned the airbox today, damn, have never seen so much muck come out of a thing that size.
              Next weekend I will sand it down and give it a nice coat of Satin black.
              I was really surprised at the condition of the rubber boots, 3 out of the four are as new, softer than you can imagine. The number 4 will need replacment though, it is starting to turn into that solid plastic we know so well

              Comment


                #8
                Ok so as promised, pics of the carb refurb, just because I know you all love pictures, once again, many thanks to renobruce for allowing me to shamelessly plagiarize is art work, my artistic talents unfortunately leave a stick man looking like he has been in a bike wreck.

                Before's


                Last edited by Guest; 08-31-2010, 08:24 AM.

                Comment


                  #9
                  After's


                  Comment


                    #10
                    Ooooo, pretty. What are your plans for the choke linkage?
                    Dogma
                    --
                    O LORD, be gracious to me; heal me, for I have sinned against you! - David

                    Skeptical scrutiny is the means, in both science and religion, by which deep insights can be winnowed from deep nonsense. - Carl Sagan

                    --
                    '80 GS850 GLT
                    '80 GS1000 GT
                    '01 ZRX1200R

                    How to get a "What's New" feed without the Vortex, and without permanently quitting the Vortex

                    Comment


                      #11
                      Thanks, still busy with the assembly, I will probably get the bits plated, I have some time, as I am still waiting for a few carb spares from Suzuki.
                      Tackling the airbox at the moment. Will post on that when it is done.

                      Comment


                        #12
                        Wow, those carbs are beautiful!!! Nice job 
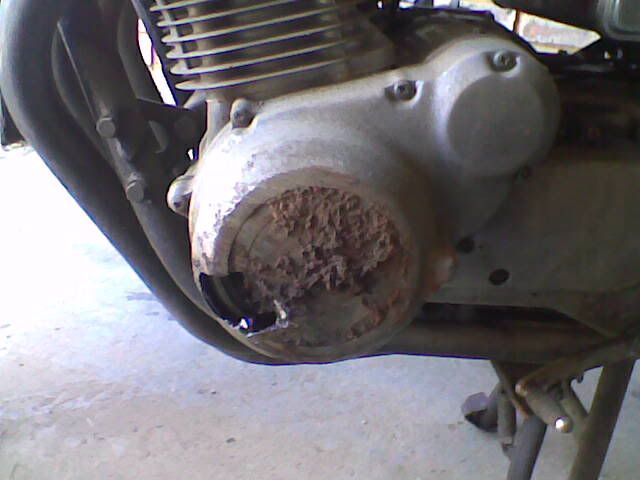
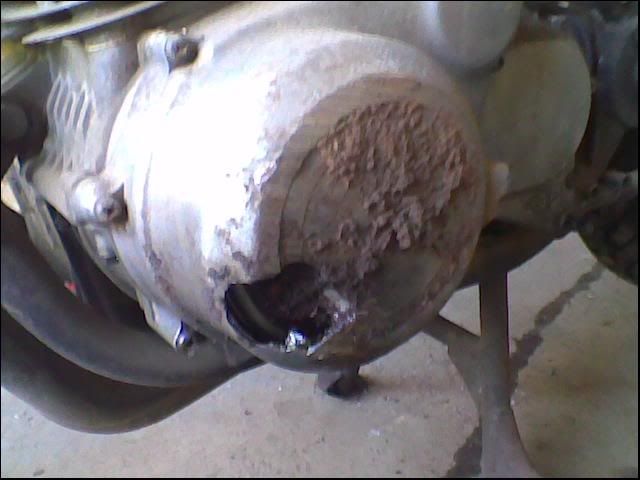
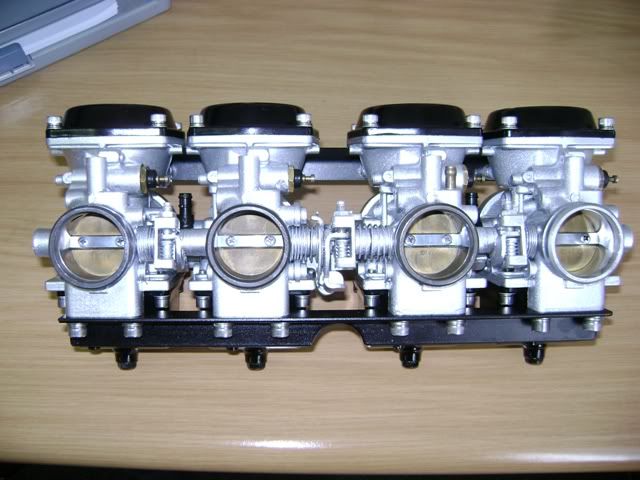
Did you just soak them or did you blast them with something?

                        Comment


                          #13
                          Thanks Hornswaggle, no I did not blast them with anything, just a big bucket of warm water, toothbrush, paintbrush, lots of clean green and plenty elbow grease, oh and a can of Wynns carb cleaner for all the interior channels.
                          Finally boiled the bodies for about a half an hour, to make sure there was no dirt left anywhere.
                          The paint is off the shelf, rattle can, the black is high heat engine paint, but the silver is just regular, as I could not find it in high heat.
                          After painting, the parts went into the oven at 100 deg C for half an hour to 45min to cure it.
                          The other hardware that still needs to be fitted, like the choke rod and arms, the idle screw and bracket and clutch cable gaurd I will have plated or anodised.
                          Unfortunately, like most folk, this rebuild has to happen on a budget, so I guess I am putting more work in doing things myself, that could have been done faster and easier doing it another way, but would cost more.

                          Comment


                            #14
                            Had the day to myself today, so got some work done on Jennifer.
                            Finished off the rebuild of the airbox, got a nice Satin Black thing going on there, just need to get four little allen head fastners to repalce the screws that hold the side plates on.
                            Also stripped off the front and rear ends and strarted paint stripping the frame and removed all the bearings, for samples, to get new ones throughout the bike.
                            Having no access to heat, or even a bench vice, you can imagine, getting the outside race of the lower steering head bearing was more fun than a barrel of monkeys, hahahaha, anyway, made up a quick little special tool with a bolt, a washer and two nuts, and tapped away to my hearts content, the race obligingly dropped out, without too much fuss.
                            The bearings were quite badly worn, and showed their 28 years of service, with grooving by the needles, that could easily be felt.
                            Now if someone has advice on how to get the outer bearing races of the swing arm out....here is the place to put it.??????????????
                            While I was tearing down the swingarm I decided to pull the rear wheel and have a gander at the famous "splines", as I have never pulled them and looked at them since I have had the bike, and there have been a few threads on stripped splines lately.
                            Well, with the milage on the bike, I was more than a touch nervous as to what I would find when I pulled the driven plate.........the photos speak for themselves.


                            Not bad for 375 000Km, if ever you wanted proof that the silver splines are the ones to get.
                            Last edited by Guest; 09-19-2010, 02:39 PM.

                            Comment


                              #15
                              I could be wrong but I thought the black was the stock one to have, gold the softer stock one, and silver the newer replacement. So if thats right at some point that silver one got put in but is obviously doing just fine. Get some Honda moly60 stuff on there and your good to go.

                              Comment

                              Working...
                              X