Announcement

Collapse
No announcement yet.

My simplified polishing test

Collapse
X
 
  • Filter
  • Time
  • Show
Clear All
new posts

    #16
    Wet hand sanding does work better than the jitterbug.
    Unless you want to water sand with an electric sander. If so, videos please.
    Here's the three I've done so far. The one on the right was properly wet sanded.
    The other two were not. The left one wasn't sanded at all. And the middle on was done with the jitterbug.

    Comment


      #17
      I've learned through trial and error and lots of reading that the smoother the part you start with, the smoother the part after you finish. The process of buffing is no different than sanding. You use finer and finer compounds and wheels to make the scratches finer and finer. The finer the scratches the better they reflect light rather than scatter it and that's what makes it shine. It may not look like it, but there are indeed tiny little scratches on that mirror looking finish. For the best shine, you want that part to have zero visible scratches on the surface before you hit the buffin wheel. Some compunds and wheels cut while others polish. Its knowing which to use when and with what technique that make a buff job go from good to wow and let me tell ya, I've seen some that truly are almost mirror like. There are tons of resources on the web dedicated to the art if you really want to become a pro at it.

      Have fun and make 'em shine!
      1982 GS550M Rebuilt Winter '12 - 550 to 673cc engine conversion.
      1989 Kawasaki ZX-7 Ninja
      2016 Ducati Scrambler Full Throttle

      Comment


        #18
        Originally posted by ValorSolo View Post
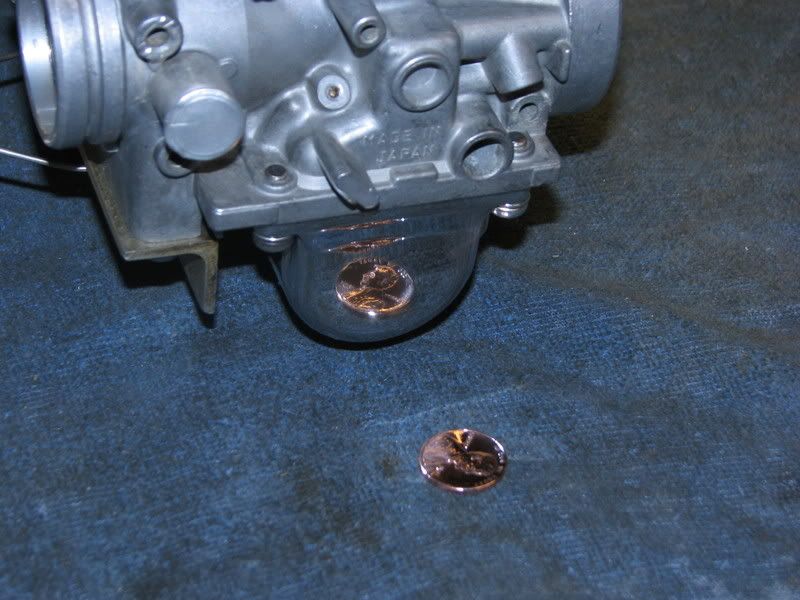
        I can put a penny up beside it and almost read the date.
        I think after the 600 grit, I'll be able to see "In God We Trust", "Liberty" and "2007".
        I do believe that I know the concept.


        .
        sigpic
        mine: 2000 Honda GoldWing GL1500SE and 1980 GS850G'K' "Junior"
        hers: 1982 GS850GL - "Angel" and 1969 Suzuki T250 Scrambler
        #1 son: 1986 Yamaha Venture Royale 1300 and 1982 GS650GL "Rat Bagger"
        #2 son: 1980 GS1000G
        Family Portrait
        Siblings and Spouses
        Mom's first ride
        Want a copy of my valve adjust spreadsheet for your 2-valve per cylinder engine? Send me an e-mail request (not a PM)
        (Click on my username in the upper-left corner for e-mail info.)

        Comment


          #19
          Okay, okay, I stole your penny trick. LOL.
          That bowl looks really good.
          The top I sanded is to where I can read the penny now.
          I'm still gonna Mother it and see if it gets better.

          My dad got some stuff out of an Overton catalog that I'll play with tomorrow.
          Although it may be acid based, so I'll have to check. I can't recall the name at the moment.

          Comment


            #20
            health risks

            reading with interest your progress on polishing. Just wanted to remind all of you doing this work about the health risks with Aluminium polishing. PLEASE wear FULL FILTER masks, not just the little no-goods over the mouth!
            Peter
            GS 550 E 1980

            Comment


              #21
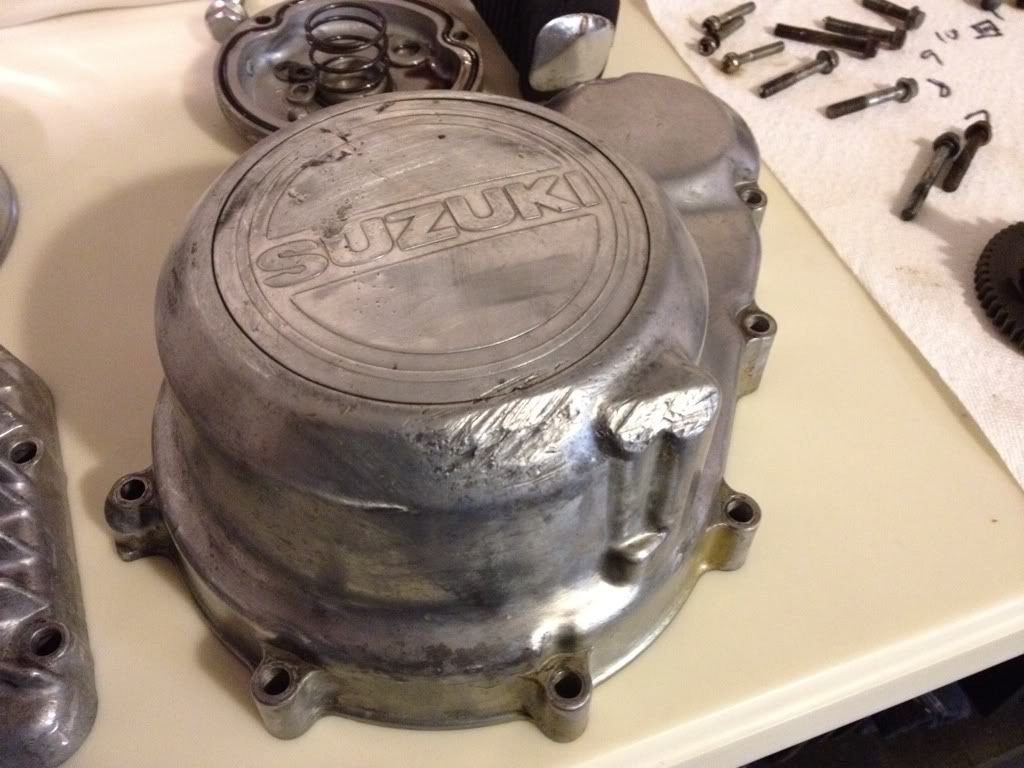
              B 4:


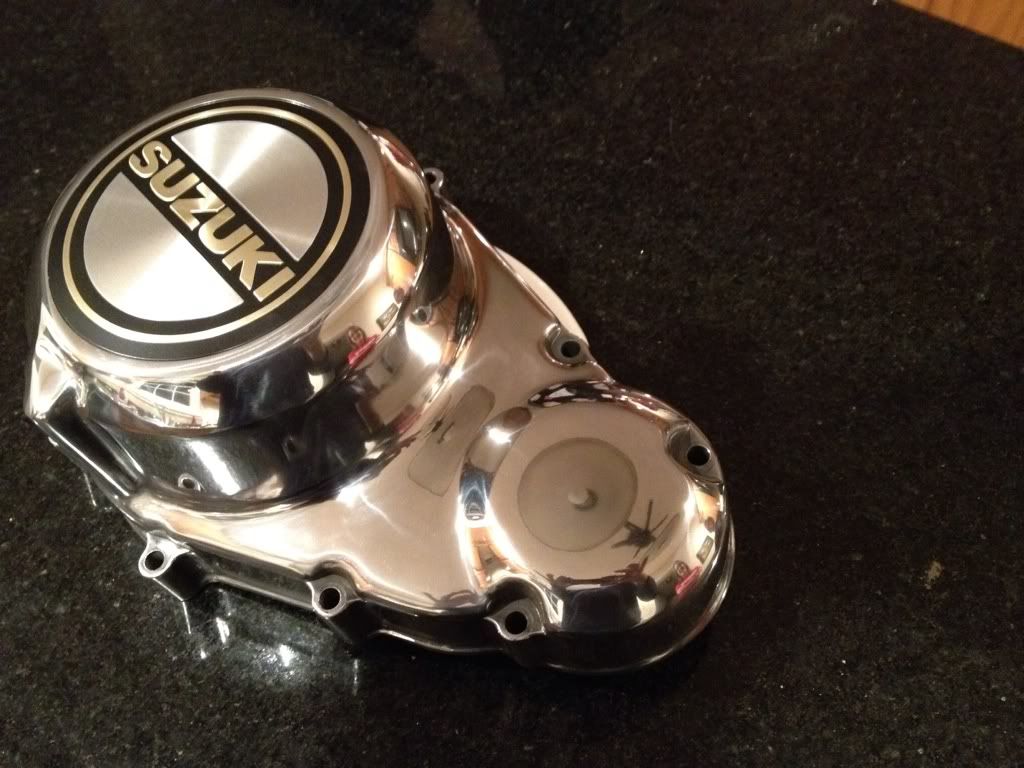
              Aftah:


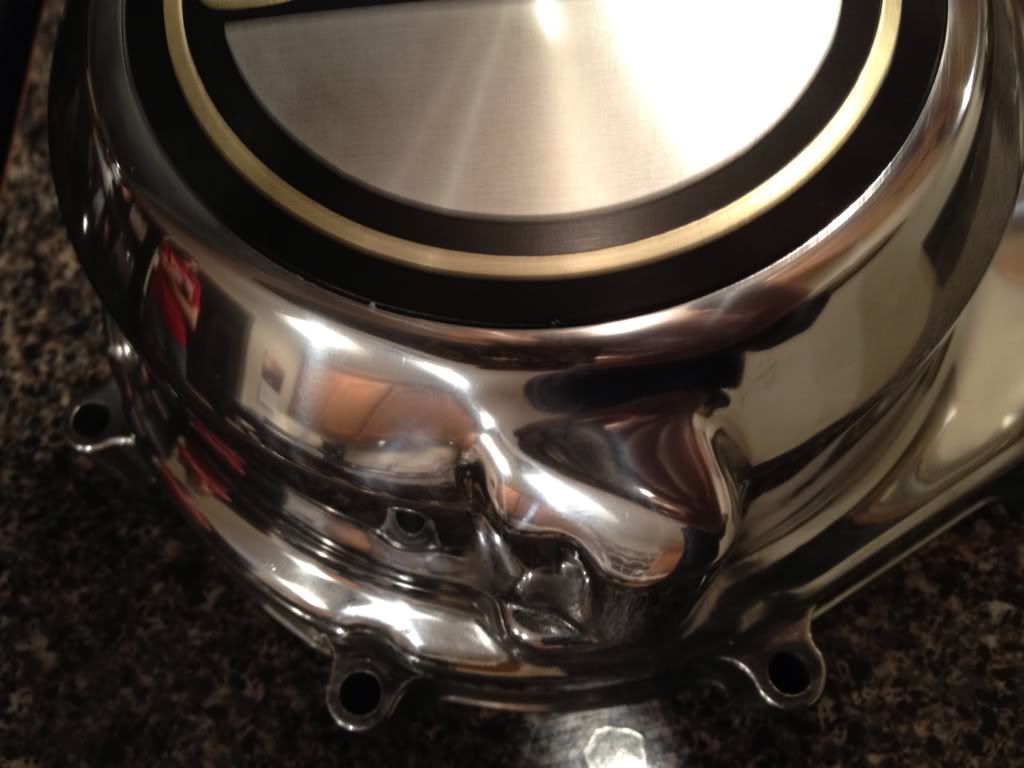
              Lots of work makes the cases purty.

              Dremel grinding wheel - 100 - 400 - 800 - 1000 - 2000 ----- brown - white - green ----- shiny

              You can see my wife smiling in the reflection.

              Comment


                #22
                The easiest way to fix the b4 cover is to replace it.
                It would be a justifiable purchase with as much damage as it's showing.
                Very nice work. That is a new decal, right?

                Comment


                  #23
                  Wow, nice. Makes me wanna start ripping mine apart and polish away!

                  Comment


                    #24
                    holy crap...time to make a trip to harbor freight for some polishing stuff

                    man i cant belive it looks so good

                    Comment


                      #25
                      Originally posted by ValorSolo View Post
                      The easiest way to fix the b4 cover is to replace it.
                      It would be a justifiable purchase with as much damage as it's showing.
                      Very nice work. That is a new decal, right?
                      but the cheap way was to do what GT did......

                      and all he had to pay for was a new decal....


                      .

                      Comment


                        #26
                        Originally posted by ValorSolo View Post
                        The easiest way to fix the b4 cover is to replace it.
                        It would be a justifiable purchase with as much damage as it's showing.
                        Very nice work. That is a new decal, right?
                        I couldn't find another cover that looked as good as the after, so I decided to take it on. I would have been polishing no matter what. Most of the time was spent going between 100 and 400 grit getting all the scratches out. Haven't seen a used one that wasn't scratched up.

                        I restored the decal as well by hand....kidding...yes it's a new one.

                        Comment


                          #27
                          I recall seeing that from your build thread awhile back and I'm still impressed seeing it again. Dang fine work GT. How much time did you spend on the wheel with each of the compounds and what wheels did you use with each compound?
                          1982 GS550M Rebuilt Winter '12 - 550 to 673cc engine conversion.
                          1989 Kawasaki ZX-7 Ninja
                          2016 Ducati Scrambler Full Throttle

                          Comment


                            #28
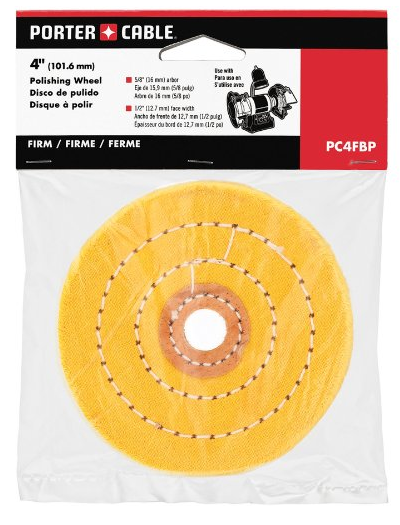
                            I used a 4" angle grinder I picked up for $20 at Lowes with this wheel.


                            Time spent with the polishing wheel was actually not that long. Probably 30 - 45 minutes. But by that time I had it down to a 2000 grit surface.

                            Most of my time was spent wet sanding with 400 grit. The fine scratches were the hardest thing to get out. There was a lot of trial and error. As one point I grabbed a 3M stripping wheel and tried it on the case. Not good. It took a long time to get all of those scratches out. This case took me about 15 hours, but if I had to do it again, knowing what I know now, it would probably take about 8.

                            Sorry VS....didn't intend to hijack the thread! There's more than one way to skin a cat.

                            I actually spent some time looking at sisal wheels online tonight. Look pretty interesting.
                            Last edited by Guest; 04-06-2012, 01:23 AM.

                            Comment


                              #29
                              Originally posted by GateKeeper View Post
                              but the cheap way was to do what GT did......

                              and all he had to pay for was a new decal....


                              .
                              I wasn't saying he should have bought a new one, just that I would have.
                              There was so much damage that I would have marked it as ruined and not consider it salvageable.
                              But after seeing it brought back from the dead, I'm more aware of what can and can not be fixed.

                              Comment


                                #30
                                Sorry I did not mean it in a negative way, towards you, I was just saying, the cheap way was the way GT did it....

                                Unless the part has a hole in it, even then it could be welded up, and smoothed out and polished, depending on the size and extent of the damage,,,,,scuff marks, and gouges are and can be sanded out, filled in and sanded and then polished. Now unless you can get a cover for cheap, then by all means, even I would go for that.

                                Around here I have a hard time finding these things, and the last cover cost me 80 bucks, and that was many years ago, so I will go for the cheap way.....sand and polish....

                                Comment

                                Working...
                                X