Announcement

Collapse
No announcement yet.

Can you help me read my plugs?

Collapse
X
 
  • Filter
  • Time
  • Show
Clear All
new posts

    #16
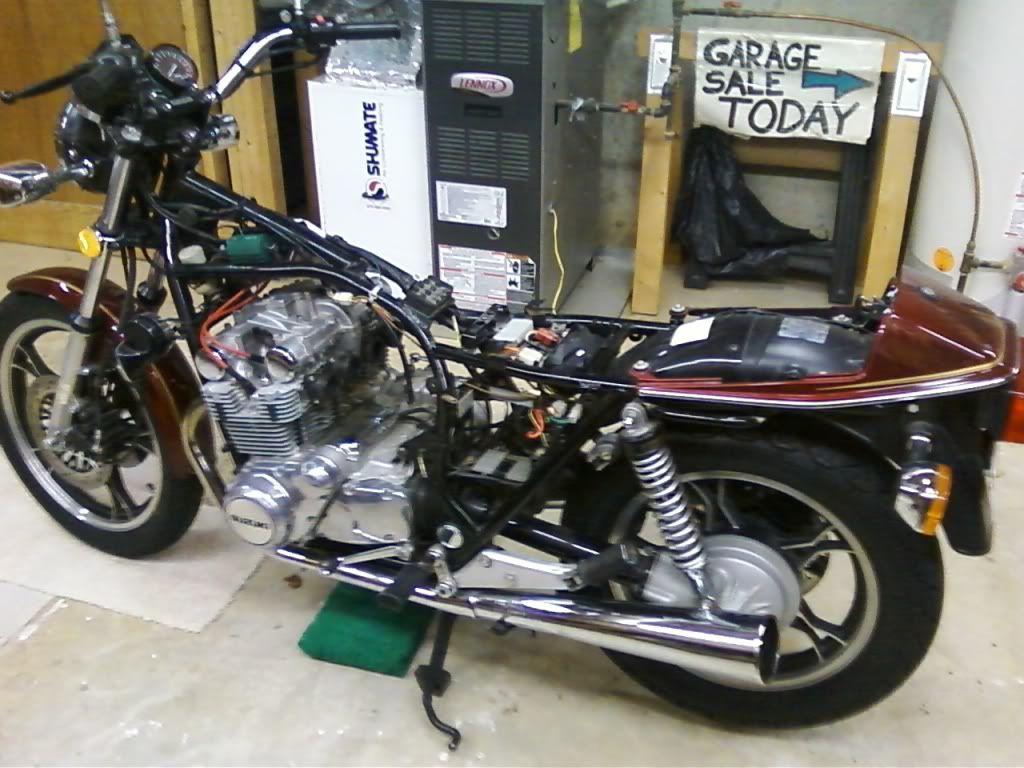
    Here's how far I got the other night.


    When I was taking out the airbox I noticed these metal rings inside, they looked like that had been pushed backward into the passages. Are they in the right place or do I need to fix them?
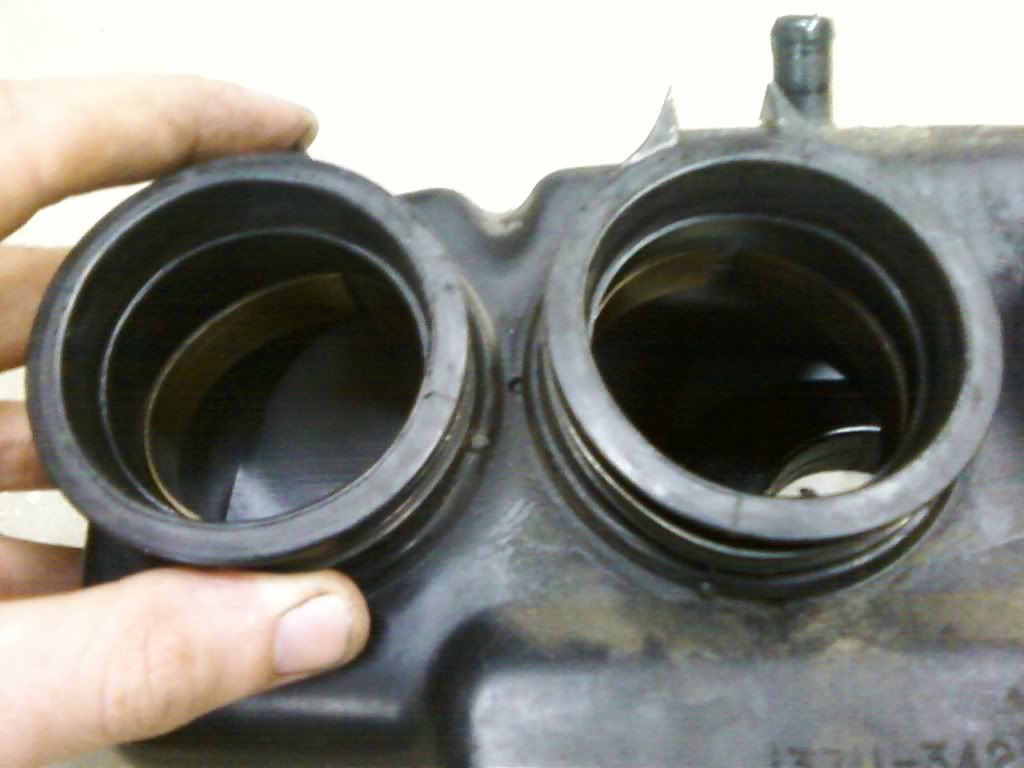


    Thanks

    Comment


      #17
      Still making progress...


      To do:
      Get 8 replacement fasteners for bottom gang plate (M6 x 12mm)
      Measure Tappet Clearances and put in spreadsheet
      Send/Receive shims from pool
      Adjust shims
      Install new intake boots and o-rings
      Clean engine and airbox
      Rinse/Dry/Reassemble carbs and install new o-rings
      Set float height
      Check fuel level
      Bench sync carbs
      Install airbox/carbs
      adjust pilot screws engine running
      synchronize carbs engine running
      put it back together and ride it!

      Comment


        #18
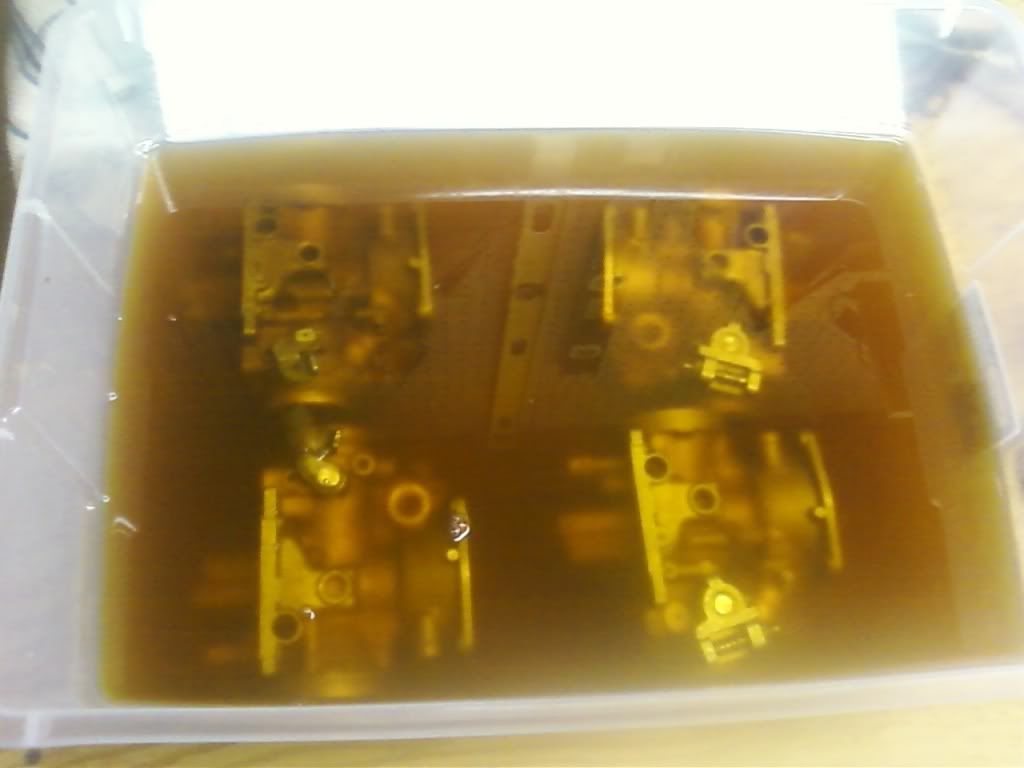
        What is the liquid in which the bodies are soaking?

        .
        sigpic
        mine: 2000 Honda GoldWing GL1500SE and 1980 GS850G'K' "Junior"
        hers: 1982 GS850GL - "Angel" and 1969 Suzuki T250 Scrambler
        #1 son: 1986 Yamaha Venture Royale 1300 and 1982 GS650GL "Rat Bagger"
        #2 son: 1980 GS1000G
        Family Portrait
        Siblings and Spouses
        Mom's first ride
        Want a copy of my valve adjust spreadsheet for your 2-valve per cylinder engine? Send me an e-mail request (not a PM)
        (Click on my username in the upper-left corner for e-mail info.)

        Comment


          #19
          Originally posted by Steve View Post
          What is the liquid in which the bodies are soaking?

          .
          That's Pine-Sol I found out about it on another forum and tried it before with good results. I usually mix it 50/50 with hot water so I don't have to buy as much.

          Update:

          I got the vavle cover off and measured my tappet clearances today.

          The following is in order from cylinder 1-4 left to right:

          Intake - .063mm .102mm .063mm .102mm
          Exhaust - .076mm .076mm .063mm .127mm

          Those are the largest feeler gauges that would fit for each valve.

          Has anyone heard of getting two different measurements on the same valve by checking it with the lobe both perpendicular and parallel to the head?

          And my breather cover didn't have any wire mesh in it look...


          What is the best place to get replacements for the half moon plugs that go to the valve cover?

          Thanks

          Comment


            #20
            So apparently the GS650G has two valve cover designs. One with 16 bolts and one with 17 bolts. Mine has 17. The gasket I got from realgaskets.com has 16


            You'll see my problem if you count the holes.


            At least I got all the old gasket scraped off. And for anyone interested, the correct valve cover gasket for a 1982 Suzuki GS650GZ with a 17-bolt valve cover is part# 11173-34212

            Comment


              #21
              Originally posted by The_Flash View Post
              Has anyone heard of getting two different measurements on the same valve by checking it with the lobe both perpendicular and parallel to the head?

              What is the best place to get replacements for the half moon plugs that go to the valve cover?
              Evidently you are not checking your clearances correctly.

              It is not real clear in any of the manuals, but let's start at EX 1, for example. Rotate the exhaust cam so that #1 lobe points forward and #2 lobe points up. Now, WITHOUT MOVING ANYTHING, check both #1 and #2. Rotate the crank 180 degrees (that's 1/2 turn), you will see that the cam lobes on INTAKE 1&2 are in position. WITHOUT MOVING ANYTHING, check both #1 and #2. Rotate the crank another 180 degrees, you will see that exhaust 3&4 are in position. Again, WITHOUT MOVING ANYTHING, check both #3 and #4. Rotate the crank a final 180 degrees, intakes 3&4 will be in position. Guess what? Yeah, WITHOUT MOVING ANYTHING, check both #3 and #4.

              What's the big deal? If you look carefully, with the cam lobes in those specific positions, neither lobe on that side of the cam is pushing on a valve, meaning that the cam is nicely centered in its bearing.


              Originally posted by The_Flash View Post
              So apparently the GS650G has two valve cover designs. One with 16 bolts and one with 17 bolts. Mine has 17. The gasket I got from realgaskets.com has 16
              Yep, they changed in the '82 model year. I think some of the early ones still had 16 holes, then they changed to 17 for the rest of '82 and all of '83.

              By the way, you do NOT want a RealGasket valve cover gasket for your bike. Your tach drive is in the valve cover. The RealGasket is rather thick, and lifts the tach drive away from proper engagement, causing problems. For any bike that has the tach drive in the valve cover instead of the head, please stick with a standard paper gasket.

              .
              sigpic
              mine: 2000 Honda GoldWing GL1500SE and 1980 GS850G'K' "Junior"
              hers: 1982 GS850GL - "Angel" and 1969 Suzuki T250 Scrambler
              #1 son: 1986 Yamaha Venture Royale 1300 and 1982 GS650GL "Rat Bagger"
              #2 son: 1980 GS1000G
              Family Portrait
              Siblings and Spouses
              Mom's first ride
              Want a copy of my valve adjust spreadsheet for your 2-valve per cylinder engine? Send me an e-mail request (not a PM)
              (Click on my username in the upper-left corner for e-mail info.)

              Comment


                #22
                Originally posted by Steve View Post
                If you look carefully, with the cam lobes in those specific positions, neither lobe on that side of the cam is pushing on a valve, meaning that the cam is nicely centered in its bearing.
                So the if the lobe you are checking and the adjacent lobe on the same camshaft are not BOTH in one of the positions shown below then the camshaft bearing can become unevenly loaded and cause a false clearance reading.


                I did not realize that the orientation of the lobe you are checking is not the only one that matters.

                Comment


                  #23
                  I also forgot to ask, how do I get my hands on one of those float bowl drain plugs that you can use to check the fuel level height? Should I just drill one out and then put a plug on it when not in use?

                  Comment


                    #24
                    Today I plan to get the valve cover back on and bench sync the carbs as follows:

                    Bench Sync Your CV Carbs
                    By Mr. Steve (Woodin)
                    (found at http://members.dslextreme.com/users/bikecliff/)

                    To bench sync the carbs, you do need to have the rack assembled, but not on the bike. Open the master idle speed adjuster until carb #3 has a gap in the throttle plate that is large enough to put something in. That 'something' needs to be small, like a paper clip. Adjust the idle speed adjuster so there is just a light drag on the paper clip, much like you do when checking the valves. You will see adjuster mechanisms between the carbs, so loosen the locknut, adjust the screw so you have the same amount of drag on carb #2, then carb #1. After doing those two (in that order), do carb #4. Now adjust the master idle screw out to close the throttles back down. I like to close them completely, then back in about a turn or two. When you start the bike, be ready to hit the kill switch if the idle speed is still set too high and the engine races when it starts. Back the idle speed screw out some more and start the engine again. When you have the engine warmed up and are ready to do the vacuum sync, use the same order of adjustment.

                    Mr. Steve (again): Ms. Lynn makes a good point. What I tend to do when finished is to back off the idle screw until there is a gap in the adjuster, then shine a light through all the carb throats to verify that they all are closed. Then do a visual sync as I turn the idle adjuster until it touches, then about one turn more.

                    And maybe a little more if I have time.

                    Comment


                      #25
                      Bench synching is important, but you should also vacuum synch them. If you can vacuum synch them after installation you don't have to be super anal about the bench synch. You don't want to skip the bench synch, but no need to agonize over being super close on the gaps if you will get a true vacuum synch right away.

                      Comment


                        #26
                        Originally posted by MisterCinders View Post
                        Bench synching is important, but you should also vacuum synch them. If you can vacuum synch them after installation you don't have to be super anal about the bench synch.
                        True enough, but if they aren't very close, you will have a hard time getting it started and running reliably enough to start with the vacuum sync.

                        .
                        sigpic
                        mine: 2000 Honda GoldWing GL1500SE and 1980 GS850G'K' "Junior"
                        hers: 1982 GS850GL - "Angel" and 1969 Suzuki T250 Scrambler
                        #1 son: 1986 Yamaha Venture Royale 1300 and 1982 GS650GL "Rat Bagger"
                        #2 son: 1980 GS1000G
                        Family Portrait
                        Siblings and Spouses
                        Mom's first ride
                        Want a copy of my valve adjust spreadsheet for your 2-valve per cylinder engine? Send me an e-mail request (not a PM)
                        (Click on my username in the upper-left corner for e-mail info.)

                        Comment


                          #27
                          Only one I thought was suspicious was the third from the left. Others looked reasonably acceptable to me.
                          MY BIKES..1977 GS 750 B, 1978 GS 1000 C (X2)
                          1978 GS 1000 E, 1979 GS 1000 S, 1973 Yamaha TX 750, 1977 Kawasaki KZ 650B1, 1975 Honda GL1000 Goldwing, 1983 CB 650SC Nighthawk, 1972 Honda CB 350K4, 74 Honda CB550

                          NEVER SNEAK UP ON A SLEEPING DOG..NOT EVEN YOUR OWN.


                          I would rather trust my bike to a "QUACK" that KNOWS how to fix it rather than a book worm that THINKS HE KNOWS how to fix it.

                          Comment


                            #28
                            So I managed to get quite a bit done today. Including...

                            Installed valve cover and gasket
                            Installed breather cover and gasket
                            Cleaned and oiled air filter element
                            Installed airbox
                            Installed battery
                            Reassembled carbs
                            Bench synced carbs
                            And the spark plugs are soaking in vinegar as someone had suggested

                            I made a stupid mistake though as you can see in the picture there are no end caps on the valve cover. For some reason I thought it would be a good idea to remove them to make getting the valve cover back on easier, but i forgot that the end caps can only be installed with the valve cover removed. This I realized after getting all the bolts for the valve cover and breather torqued. Would it be possible to just stick them on there with some RTV or something until next valve adjustment?
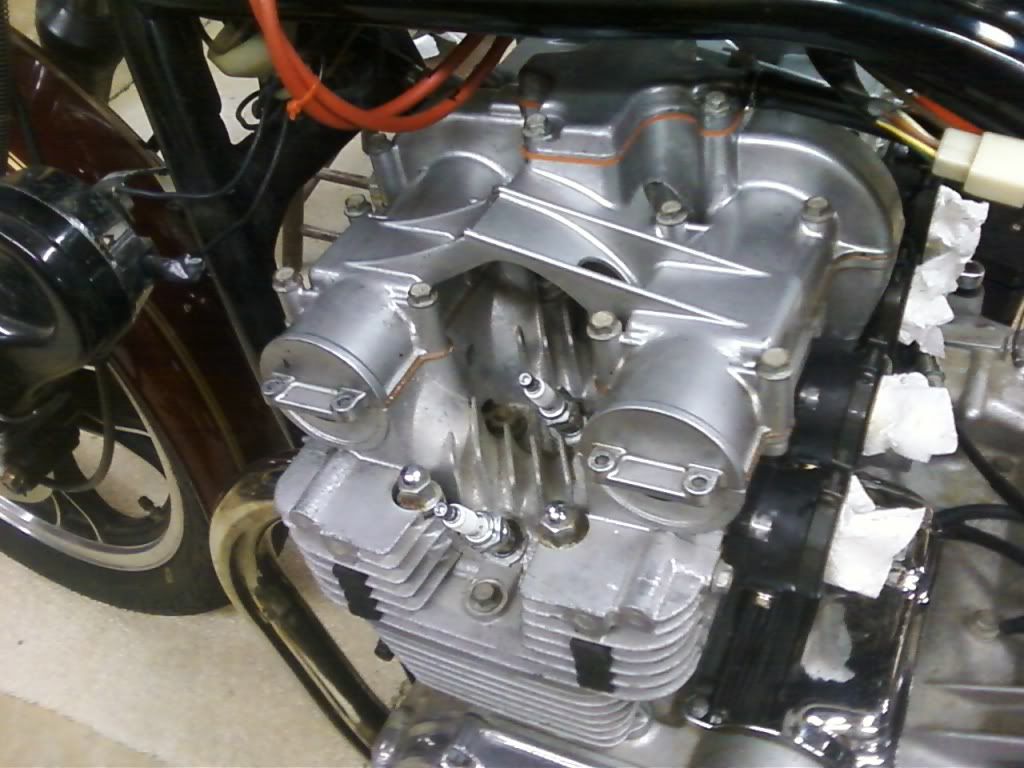
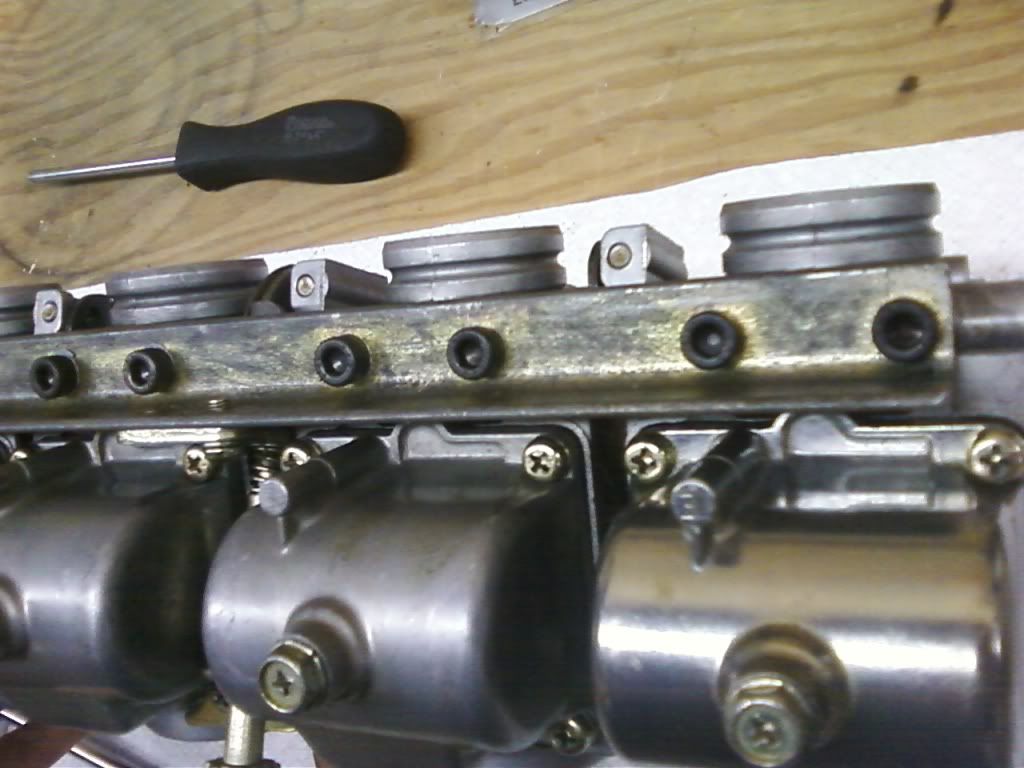

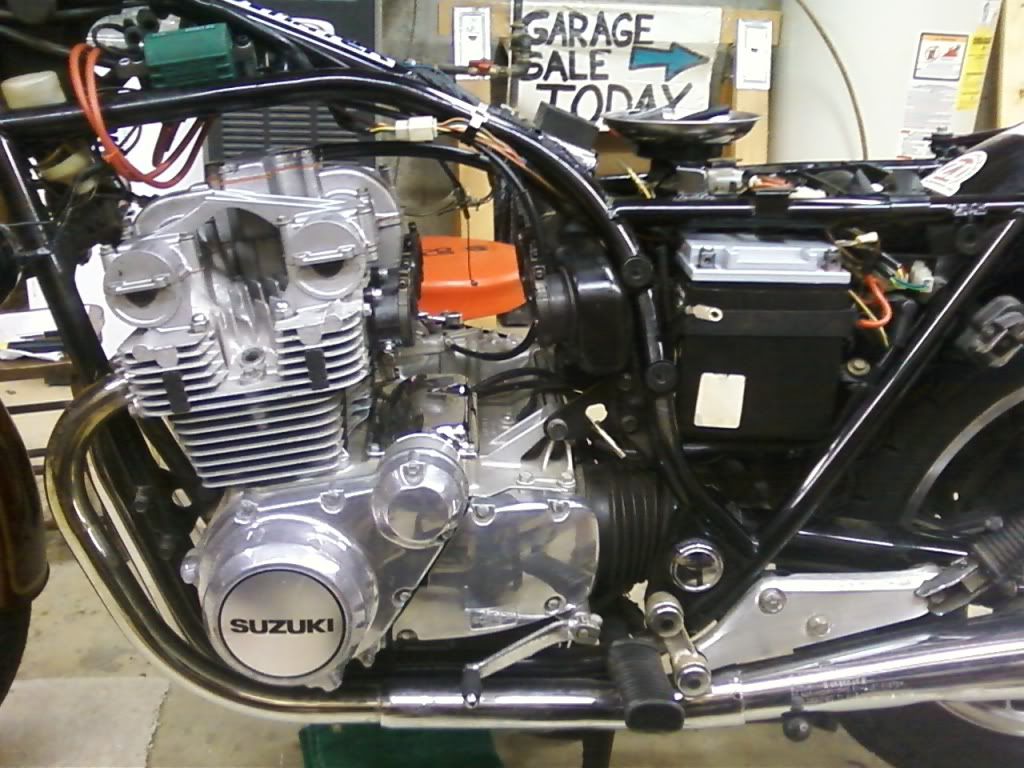
                            On the bright side I replaced those stupid gang rail screws with hex keys style and put some anti-seize on them to make future maintenance much easier.


                            Tomorrow's Agenda:
                            Install carbs
                            Sync and tune with colortune and Morgan Carb thingy
                            Test ride

                            Comment


                              #29
                              Originally posted by The_Flash View Post
                              Would it be possible to just stick them on there with some RTV or something until next valve adjustment?
                              You could, but you would really risk losing them. It would be better to just leave them off.


                              Originally posted by The_Flash View Post
                              On the bright side I replaced those stupid gang rail screws with hex keys style and put some anti-seize on them to make future maintenance much easier.
                              On an even brighter side, that 'future maintenance' will be a LONG time, if you did the carbs properly.

                              You live in an area where you probably don't have to winterize the bike, just make sure you treat the gas if you do have to park it for more than a month or two. Keep the tank full, DON'T run the bike "just to hear it run" or "to keep things lubed", it is worse to start the bike than it is to let it sit while properly prepped for storage. If you treat your bike properly, you shouldn't have to remove the carbs for ANYTHING for several years. Still, it was a good call to put on the anti-sieze.

                              .
                              sigpic
                              mine: 2000 Honda GoldWing GL1500SE and 1980 GS850G'K' "Junior"
                              hers: 1982 GS850GL - "Angel" and 1969 Suzuki T250 Scrambler
                              #1 son: 1986 Yamaha Venture Royale 1300 and 1982 GS650GL "Rat Bagger"
                              #2 son: 1980 GS1000G
                              Family Portrait
                              Siblings and Spouses
                              Mom's first ride
                              Want a copy of my valve adjust spreadsheet for your 2-valve per cylinder engine? Send me an e-mail request (not a PM)
                              (Click on my username in the upper-left corner for e-mail info.)

                              Comment


                                #30
                                So today I got my carbs put back on the bike and rolled it out into the sunlight. Then I hooked up the Carbtune and started warming her up, but I had to abandon that attempt because the fuel delivery system was having issues and dinner was ready. After dinner I re-engineered my temporary gas tank.
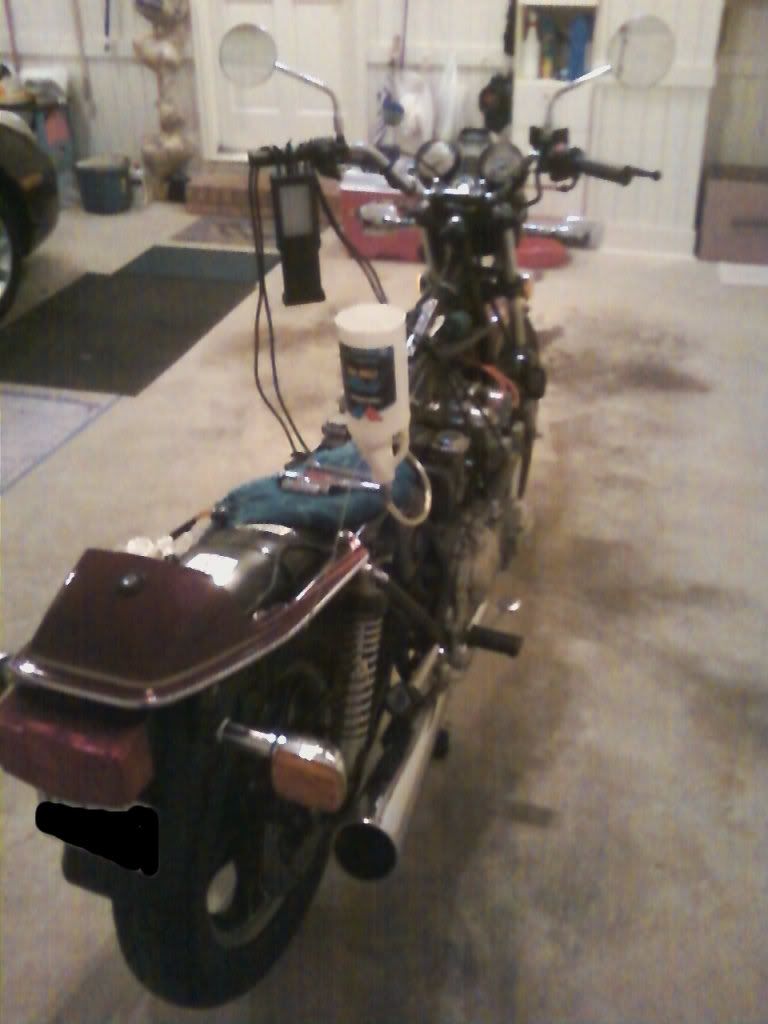
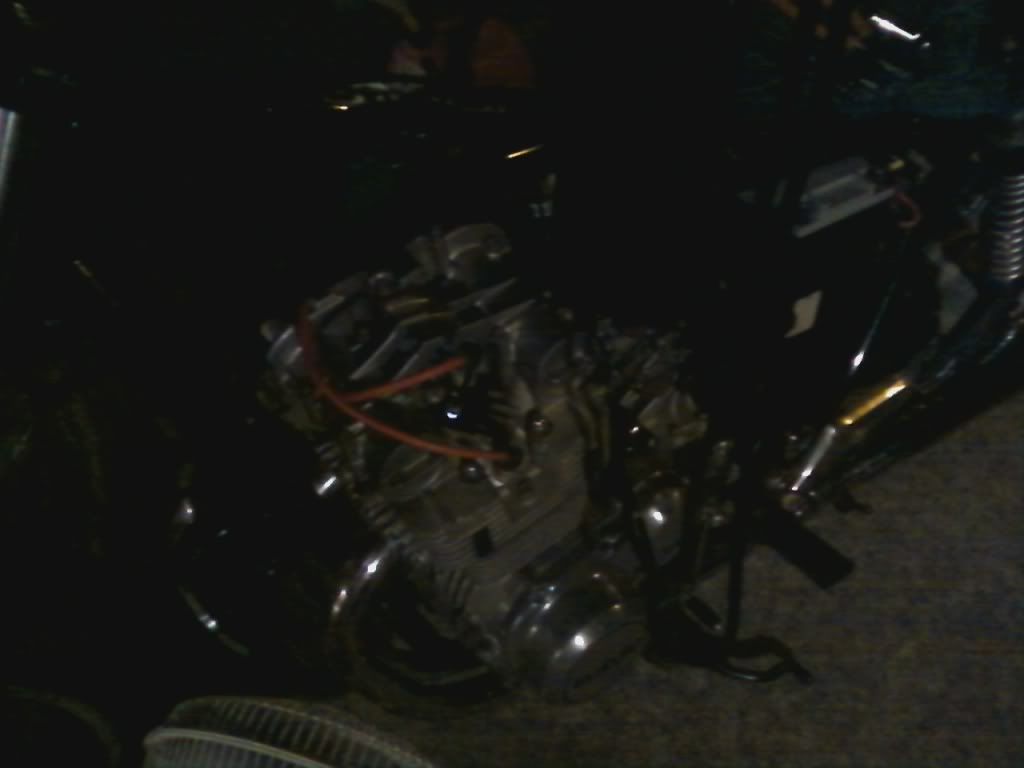


                                I bought a Colortune to make the idle adjusting easier since I'm not very good at tuning by ear. The vacuum readings looked pretty good and in the end I only made one change.

                                I did run into a little problem though. After adjusting the A/F idle screws for 3,2, and 1 I went to 4 and it was not behaving the same as the others had. When I went to richen up the mixture to have a starting point the color of the combustion didn't really change. It just gave me an intermittent flash of yellow and a subsequent backfire. The Colortune guide suggests that this is caused by the float closing the inlet at too low a fuel level.


                                The other thing was that I glanced into the spark plugs hole for cylinder 4 which gave me some problems and it looked like it was wet inside or maybe glazed over? I don't know if i should worry about that or not. I do know that lean running conditions is how engines get damaged but I wouldn't expect the cylinder to look the way it did. Maybe I'm just paranoid. I much prefer riding it to working on it.

                                Comment

                                Working...
                                X