Announcement

Collapse
No announcement yet.

1982 GS550M Katana Rebuild

Collapse
X
 
  • Filter
  • Time
  • Show
Clear All
new posts

    #31
    Little by little....

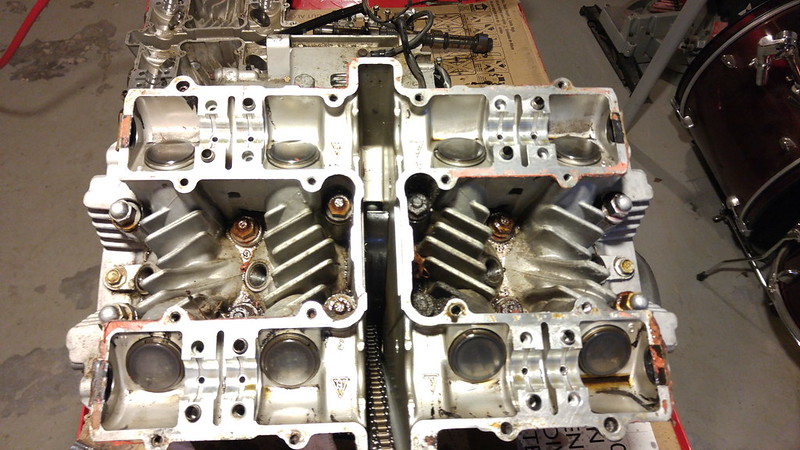
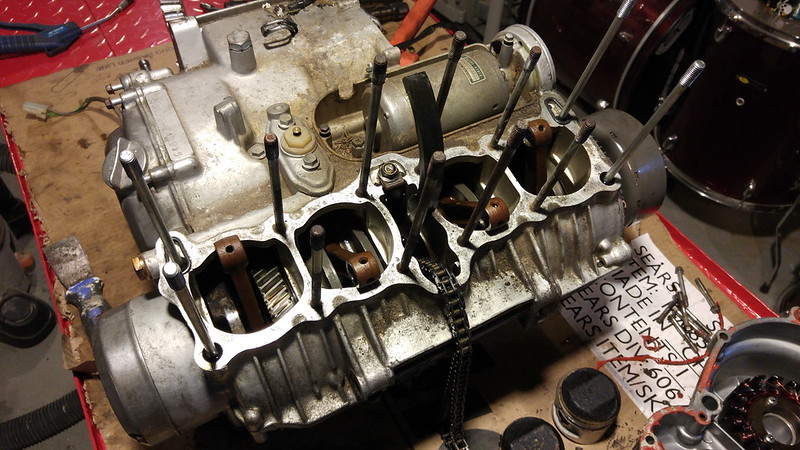
    So the build is going along... bit by bit... I'm starting to realize that each "little job" in my head is going to take more time in real life... but so it goes...

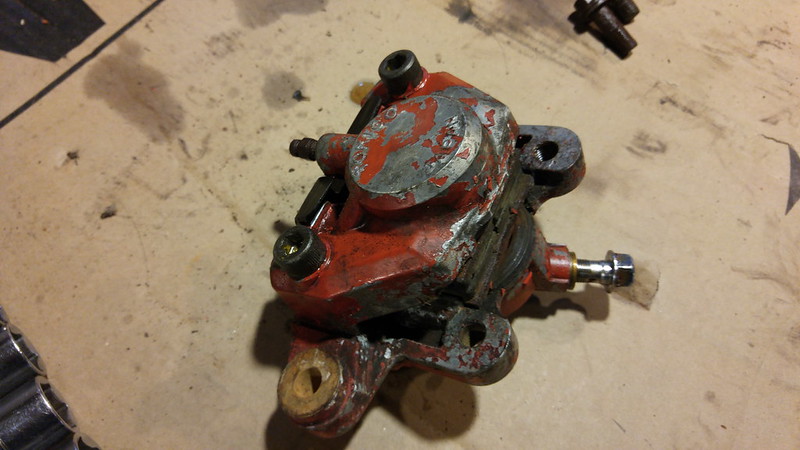
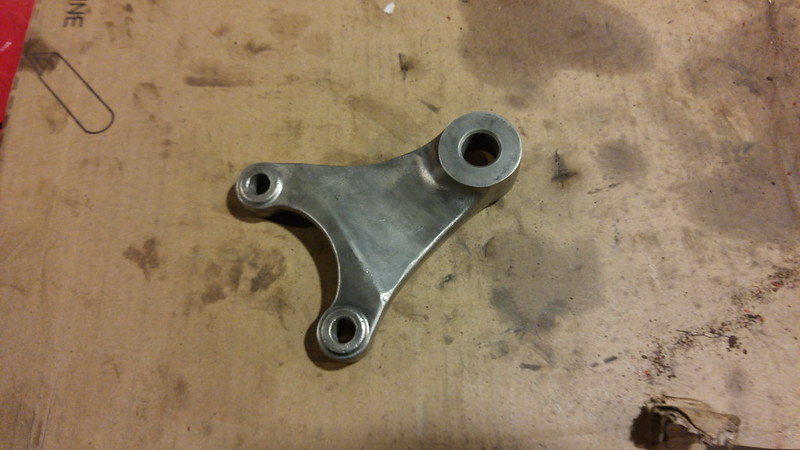
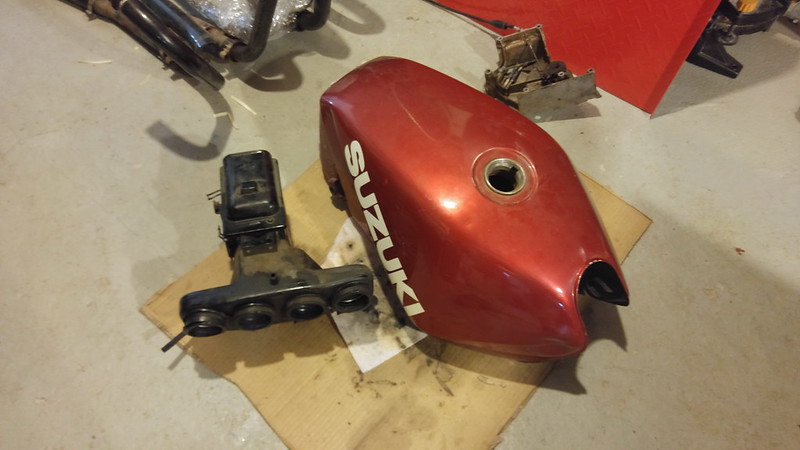
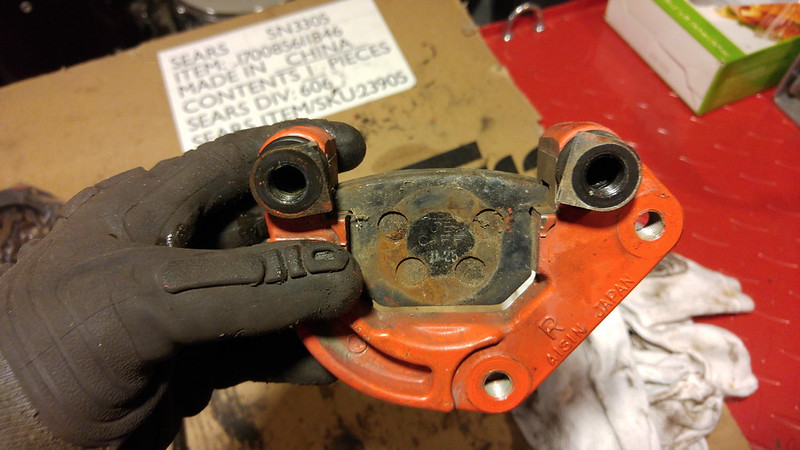
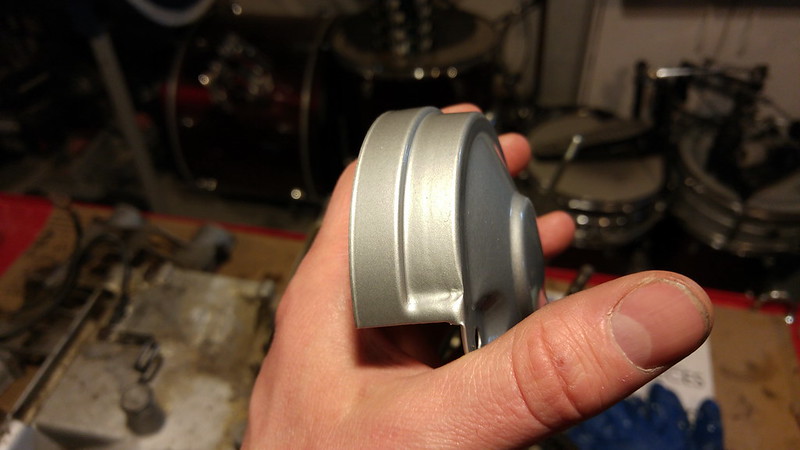
    I've been trying to go through each area of the bike and get lists going of what I can refurbish, what I need to replace and what's all set (HA! lol)... I took a stab at the rear brake caliper since it looked the worst of them all... Here's what I started with:


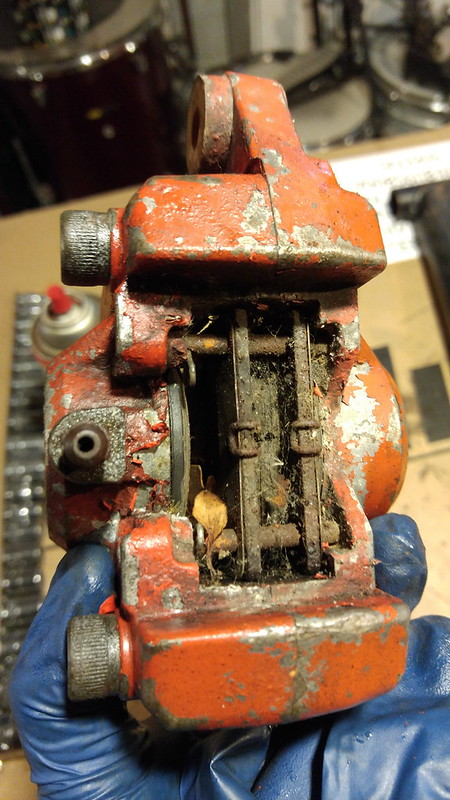
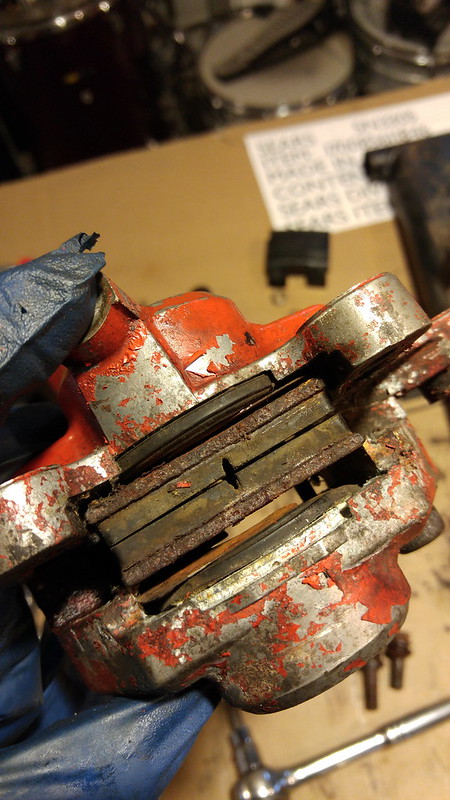
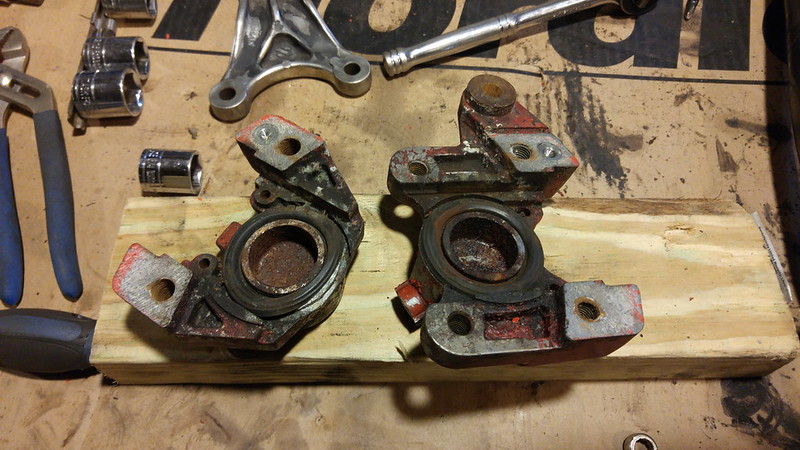
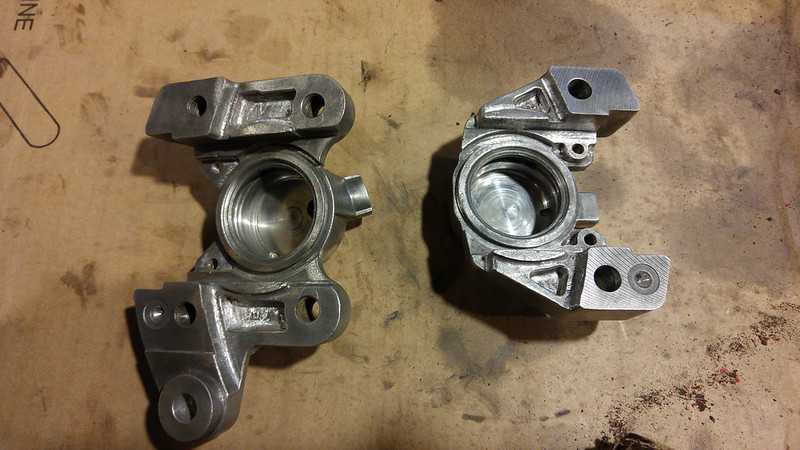
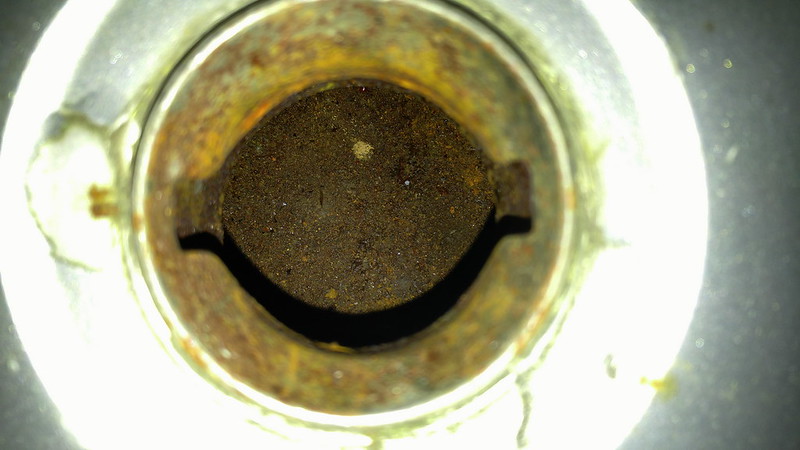
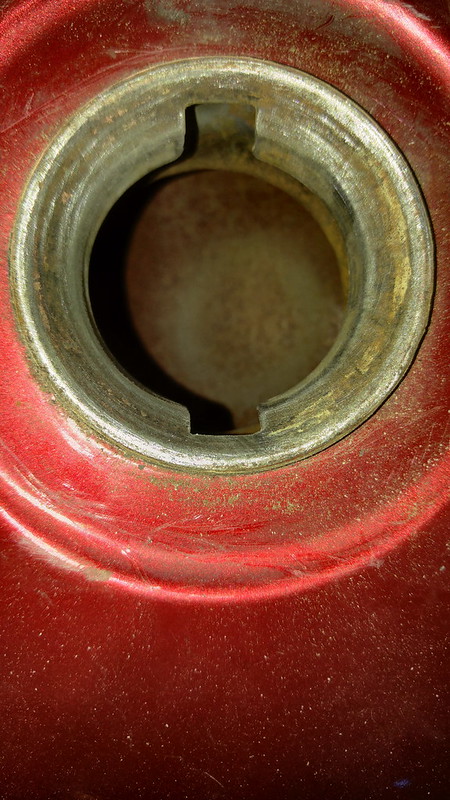
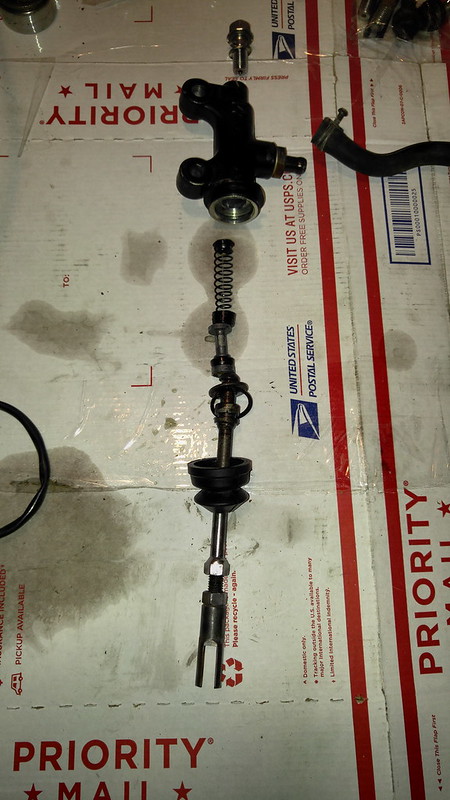
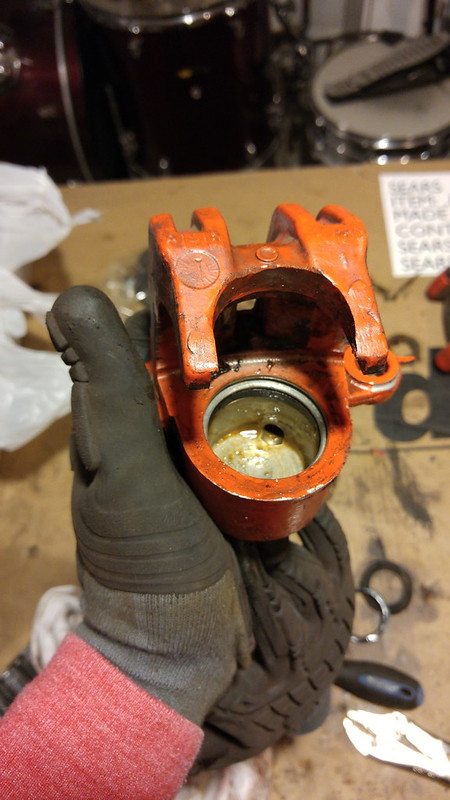
    Both the bleed screw and the hex bolts holding the caliper together were frozen and required heat to separate... After that it came apart ok... the pistons were good other then the top where they had rusted... I plan to replace them anyway... it took some time but I managed to get them cleaned up and ready for paint:


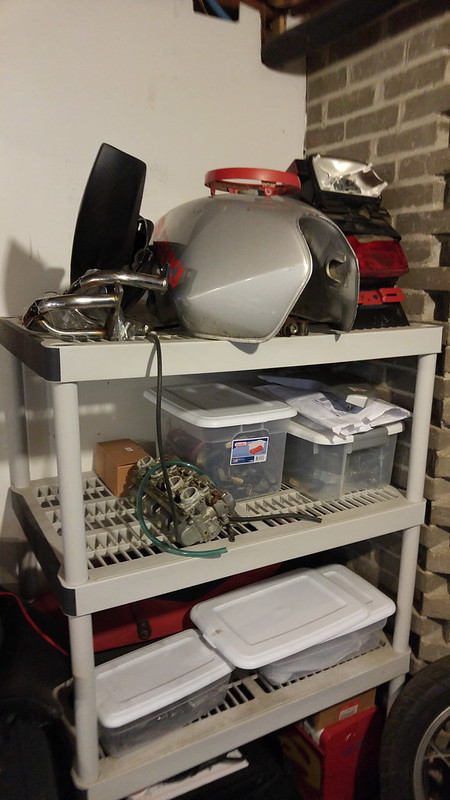
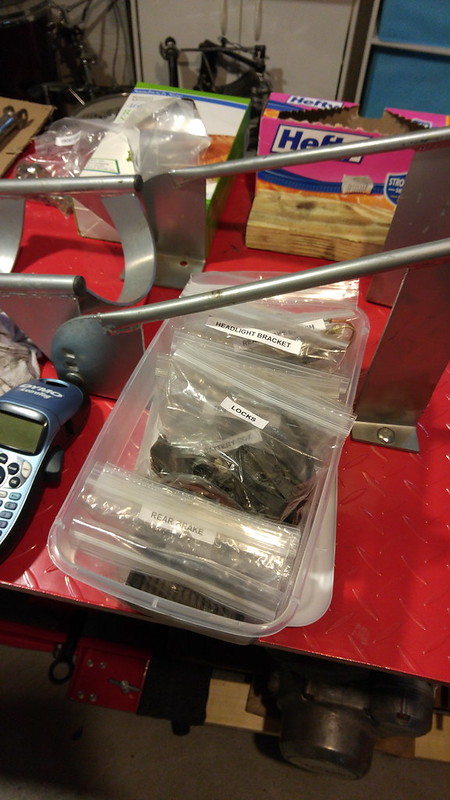
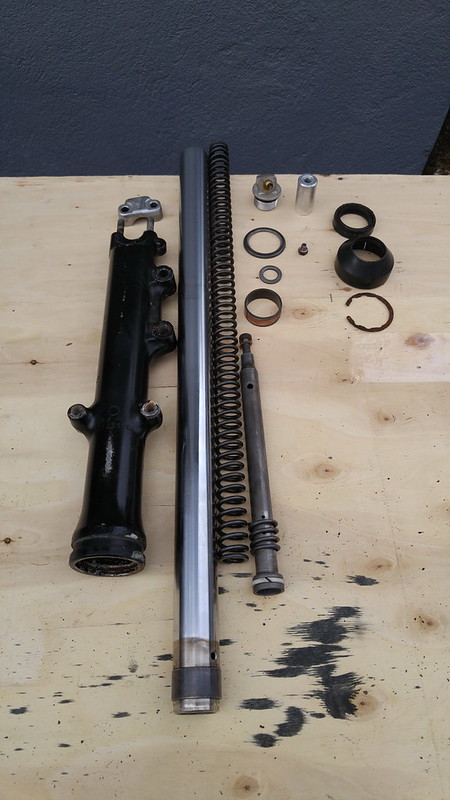
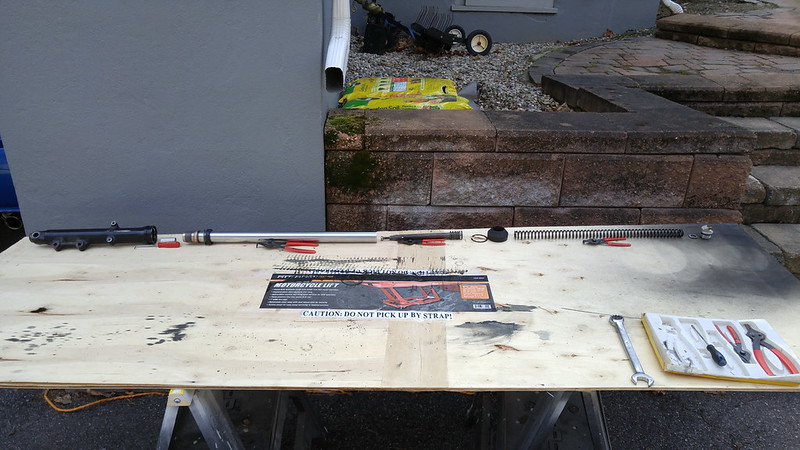
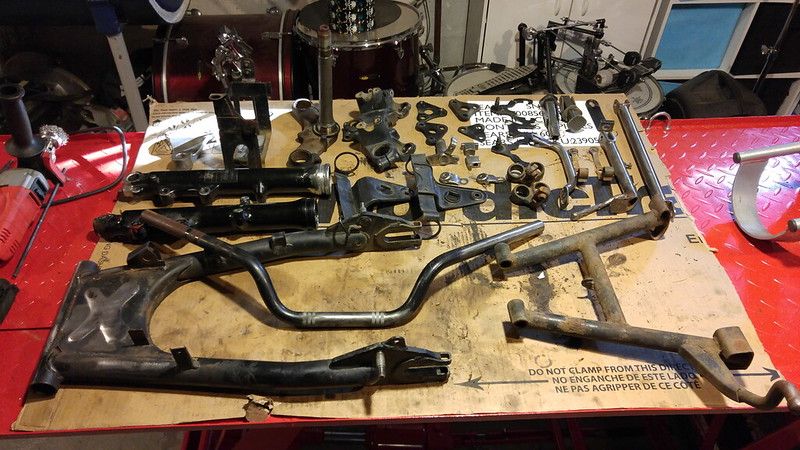
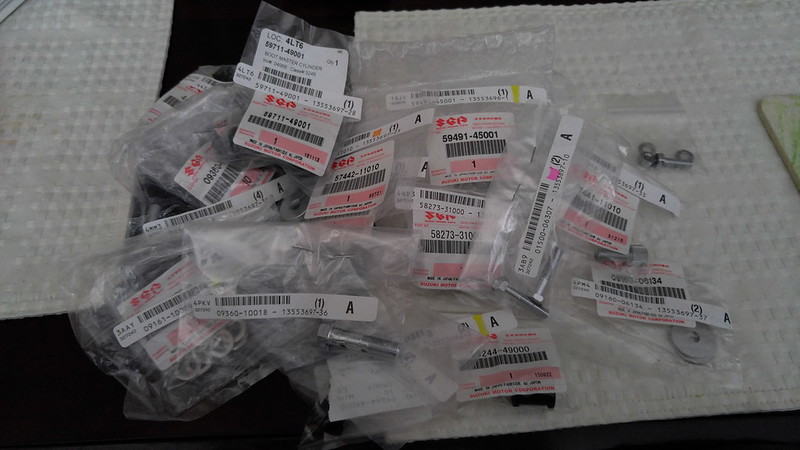
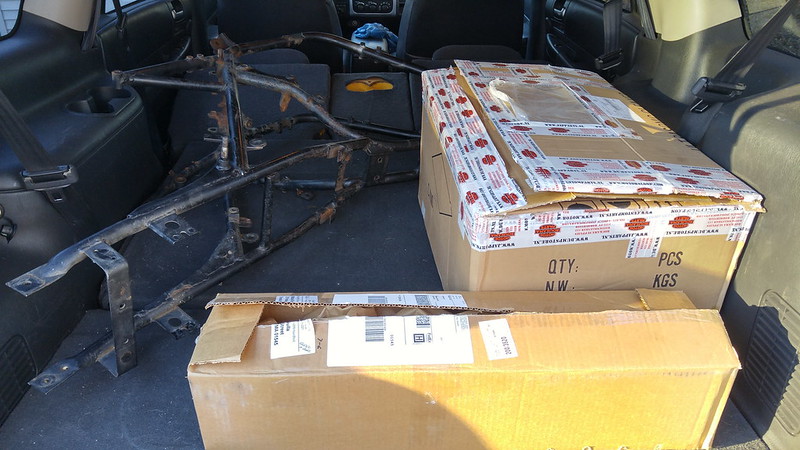
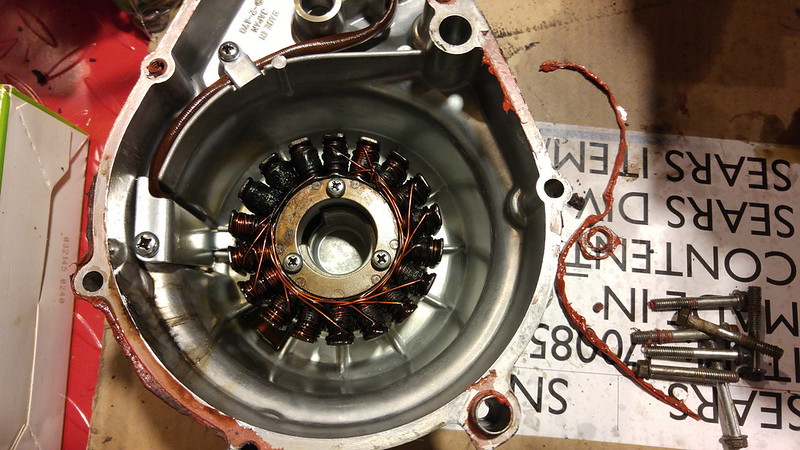
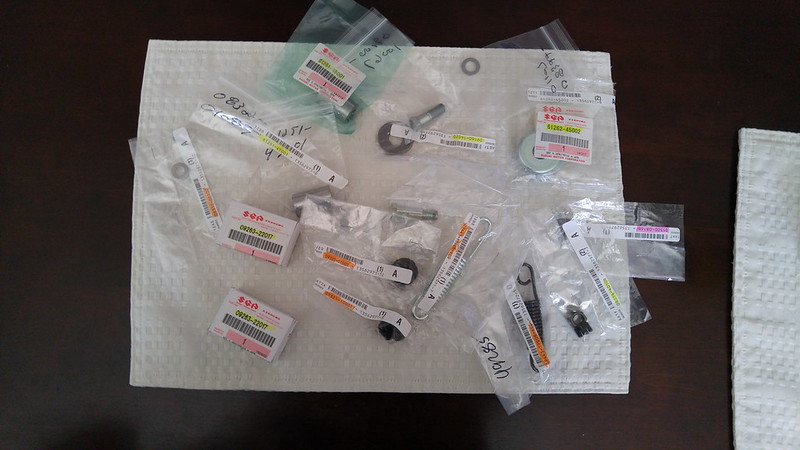
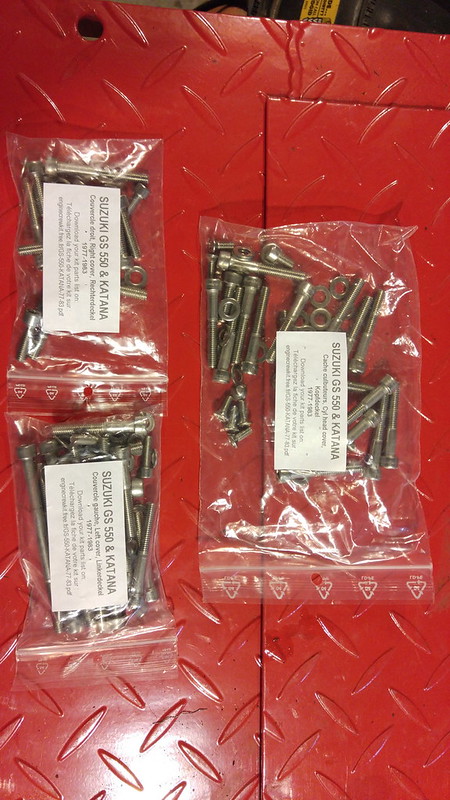
    After that was done I took to doing some organization... OCD a little but at least I know where everything is!!!


    Comment


      #32
      Got the forks broken down today... Going to refinish the lowers, do new seals, boots, clips etc... The inner tube is a little pitted outside of the travel area but they cleaned up with some steel wool... I may keep an eye out for a NOS set or ones not pitted but I think these will be ok..


      Since it will be a little while before I put them together I lined it all up as it came apart to reference later...


      I'm curious... does anyone ever replace anything else inside? Like these parts...


      White plastic piston ring?


      The bits under the seal?

      They seem ok but I want to be thorough... I plan on doing Sonic Springs during the rebuild and good oil... I thought about emulators but that may come later after the build is done...

      I then got all of the pieces to be painted or powder coated black sorted... here's my pile minus the frame...


      You may notice some OEM handlebars in the picture... those came today... the chrome bars on the bike were too low and hit (dented) the tank when turned... ugh...

      Speaking of sourcing parts... does anyone know of a kickstand that would work on the Katana? The one for it is discontinued and mine is rough... I'd like to expand my search if possible...

      Last today I refinished my first part!!! I had bought a NOS headlight ring and headlight... I cleaned and painted the bucket and internal parts... I have a few screws etc to buy for it but it was cool to see something shiny!!! lol I used Dupli-Color bumper and trim paint for the plastic... worked great....


      Comment


        #33
        Good job so far, Mike - I like your organised and meticulous approach!

        I am working on a 650 Katana, so following your progress with interest!
        1981 GS850G "Blue Magic" (Bike Of The Month April 2009)

        1981 GS1000G "Leo" (Bike Of The Month August 2023)

        Comment


          #34
          Wow.....you are making some great progress at a brisk pace!

          Comment


            #35
            Thanks! I'm having a blast... I've been wanting to do a restoration for some time... It's all I think about right now lol

            Comment


              #36


              Regarding the forks... I asked about seals, and was advised to get more involved since the forks were already apart. I still have to do this.
              sigpic
              When consulting the magic 8 ball for advice, one must first ask it "will your answers be accurate?"

              Glen
              -85 1150 es - Plus size supermodel.
              -Rusty old scooter.
              Other things I like to photograph.....instagram.com/gs_junkie
              https://www.instagram.com/glen_brenner/
              https://www.flickr.com/photos/152267...7713345317771/

              Comment


                #37
                Originally posted by dorkburger View Post
                http://www.thegsresources.com/_forum...ket&highlight=

                Regarding the forks... I asked about seals, and was advised to get more involved since the forks were already apart. I still have to do this.
                Thanks for the link... Might as well while I'm in there...

                Comment


                  #38
                  I got my first delivery from the Netherlands today...


                  I've been happy with the transactions so far... I've placed more orders with them... Shipping seems to be a set 40 eur to US so I learned to bundle items... On one purchase there was an issue with an item not being available... I was quickly emailed by Dennis and told another was available in the same condition just a different color... Good customer service... and I have to say that the parts are getting here a lot quicker then I expected... Heck I placed an order with PartsOutlaw before this one and that hasn't even shipped yet... ugh

                  Here's the salvage yard website... I wouldn't hesitate ordering from them if they have something you need

                  Roukama Motorcycle Parts : - Honda Section Kawasaki Section Suzuki Section Yamaha Section BMW Section Last One Sale EXTRA ORDER OPTION NEW ENTRIES Old New parts stock Other Brands Various Spares Easy Extra's Triumph Section Moto Guzzi Section Universal Varios BARGAINS Aprilia Section Mopeds & Scooters motorcycle spares, honda parts, suzuki accessories, Kawasaki spares, Yamaha engine parts, discounts on motorcycle parts, Intruders, fireblade, bandit


                  The airbox looks great... the tank has very light rust started inside but is still much much cleaner then the one I had...


                  Original tank


                  New tank... it looks even better in person...

                  FYI the tank DOES NOT have the fuel level setup in it... Guess it's a UK thing... I'm not too concerned though...

                  Comment


                    #39
                    Got my first box of presents from Parts Outlaw... These bolts and things start to add up but I want to do it once and do it right so it's worth it...


                    In preparation for powdercoating I went to work on getting the bearing races out of the frame and off the steering stem. I bought this nifty tool to get the races out of the frame... Why? well I like tools and it was shiny! lol...


                    Welp... it didn't work lol... It's too big for the top race and because of the way the lower is set into the frame it couldn't grab onto it... Luckily I realized this before actually marking the tool up and the ebay seller has agreed to a return... So back to the old school dremil method it was!


                    I also tore down the rear master cylinder as it will be powder coated with everything else... I was surprised how good of shape it's in... although I'll rebuild it with new parts regardless.


                    Then tonight my son and I inventoried everything, loaded it up and brought it to be powder coated... Going to take a few weeks which will give me time to focus on other areas... After talking with the guy tonight I may actually have him do the red parts as well, calipers / rotors etc... think it will hold up better then paint and I'm going this far might as well!!! We'll see...

                    Here's everything loaded up...


                    And here's me making goofy faces at my 10yo and riding my bike in the living room... don't tell Mom!!!

                    Comment


                      #40
                      Good that the vendor took the puller back, now you have money for a different tool.
                      It is great to hear your son is involved.
                      2@ \'78 GS1000

                      Comment


                        #41
                        Been slowly picking away at the bike... work / life has got in the way of my initial pace but things are still coming along... I decided I was going to have the rotors and calipers powder coated instead of painting for durability etc... I stripped the rotors off both wheels...


                        I then got to dissembling the front calipers... I was worried they may be rusted but turns out they were ok... thankfully.


                        I then started tearing into the motor...


                        Which is when I found this damage on the head...


                        There was a broken exhaust bolt as well so I decided instead of trying to repair this to get a second head... I grabbed one from EC Cycles in Maine who I've bought race motors from in the past... Here's the replacement head they sent... the cams have rusted but I don't need them... the rest of the head looks solid so I'm happy for the $69 it cost me..

                        Comment


                          #42
                          Started opening up my motor... the plugs didn't look too bad...


                          Chain tensioner seems to be working as the chain was nice and tight...


                          Cams out...


                          First look at the pistons... usual carbon build up... lots of dirt / grim floating around... shop vac'd it as best I could...


                          Cylinders off...


                          Hard to tell in these pictures but the cylinders look ok... there was even some crosshatch left... the rim at the top seems to just be carbon...

                          Free pistons...


                          Top end in pieces... so simple yet so complex... lol


                          Pistons removed from the rods...


                          Aaaand.... a toasty stator...


                          So I consider myself pretty handy and I've been researching working on the head for the last few weeks... I get the concepts, even though this would be my first, and have gone back and forth about tackling the refresh on my own... in the end though I decided to drop the two heads, the pistons and block off to a local motorcycle engine shop that a good friend has used for years... Although I know I could do the work I'm not 100% confident in being able to know exactly WHAT work should be done... For a couple of extra OT shifts they are going to go through it all for me... and when I get it back I know it will be 100%... even bead blasted ready for paint! piece of mind is worth a few bucks...

                          Comment


                            #43
                            Parts keep rolling in as well... another batch of OEM bits...


                            One thing I sourced were European covers for the back of the speedo and tach... The US model are chrome... but over the pond they got ones painted in the same silver as the headlight ring... which I liked a lot!!! I found these NOS from the UK...


                            It's a little detail but I think it will look good!

                            Ordered a stainless bolt kit for the engine cases and carbs... again... little details...


                            My front fender was cracked so I got this Purple Gem from the Netherlands... New paint scheme maybe???? lol


                            Noticed signs of a crash on the stator cover...


                            I'll probably try and source a nicer one we'll see... I began trying to clean it up anyway but I know those scratches will always bother me...


                            Kept poking around the lower end... pulled the clutch cover off to look around... I'll be doing springs and plates... everything looked ok though...


                            That's about it for now... I need to organize and get a good to-do list going to keep myself on track lol...

                            Comment


                              #44
                              Nice! Do not be affraid by disassembling all. These engines are very easy to rebuild, everything can fit with "good sense". After having disassembled the clutch, do not hesitate, for your own, to take pictures of the gear shifting assembly. For me this is the most complicated to rebuild if you never toke pictures and if this is your first time.

                              Comment


                                #45
                                I'm still digging through the lower end of the motor... I pulled the ignition cover off and found it coated in oil... looks like the crank seal is leaking... added to the list..


                                I also started sorting through my electronics and wiring... My original harness had been hacked a bit so while ordering other parts I grabbed an unmolested harness...


                                Starting to unwrap the harness for cleaning and rewrap...


                                Doing some resto work on the ignition switch...


                                I then started cleaning up the plastic dash / gauge bits...


                                All painted...

                                Comment

                                Working...
                                X