So, everyone seems pretty committed to the SH775. I can take a hint, so I will order one of those. What is the best source? Can I trust ebay?https://www.ebay.com/itm/OEM-Can-Am-...-/264299910154
If the consensus is "dont connect the RR to the wiring harness or ignition wires like the stock system", then what the heck do I do with those wires that were cut into by the previous well intended folks. It sure doesnt look like I can just bullet them back together and turn the key - see vids.
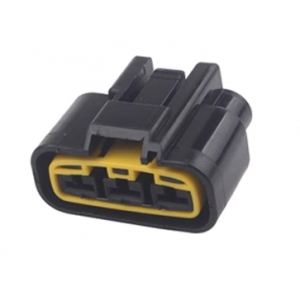
Also, what does everyone use on the sh775 to connect to wires, this thing:https://www.ebay.com/itm/1x-Connecto...e/263909479948
If the consensus is "dont connect the RR to the wiring harness or ignition wires like the stock system", then what the heck do I do with those wires that were cut into by the previous well intended folks. It sure doesnt look like I can just bullet them back together and turn the key - see vids.
Also, what does everyone use on the sh775 to connect to wires, this thing:https://www.ebay.com/itm/1x-Connecto...e/263909479948


Comment