Announcement

Collapse
No announcement yet.

what did you wrench on today??

Collapse
X
 
  • Filter
  • Time
  • Show
Clear All
new posts

    Originally posted by Boriqua View Post
    I didnt need the spacer. There were three thin shims in the back of the sprocket. They probably equaled less than 1/3 the thickness of the spacer. I know the spacer was to go on front but it didnt need it. I threw a caliper on both the new 530 sprocket and the old 630 and they were the same thickness. Everything was the same in the rear and front except for sprocket diameter and the nut tightened up just fine.

    The tool .. ugh ... It broke the chain just fine. I ground the head of the link to be cut with a dremel and course sanding wheel and the tool was able to push the pins out just fine except after 2 pins the push rod was noticeably bent. I had ground the pins flush to the face plate.

    The trouble was with re-installation of the new master link. There is an flat anvil with a groove that goes across the back of the link and a push plate with two holes that in theory go over the pins at the front. Except on mine the holes that were in the front push plate didnt line up with the pins in my master link. I kept trying to get the master link front plate to seat and it wouldnt budge. Which of course led me to bend the cheap steel handle used to press. Then I realized it was never going to move because the holes were to far apart.


    I resorted to using the tool with a single anvil but using a nut to fit over the individual pins at the front and went back and forth between the pins to make sure I sat the plate evenly.

    Then after all that I checked the existing links with a caliper and made sure I had pressed my new master plate to the same depth.

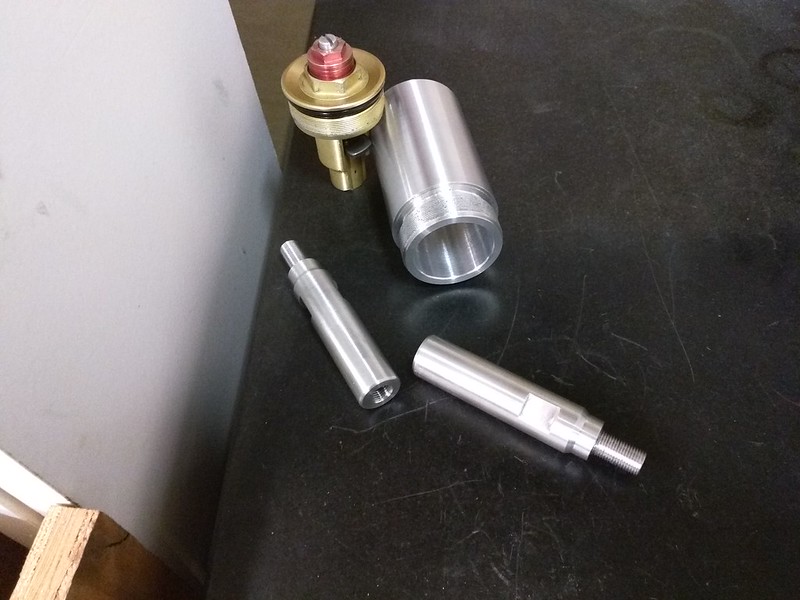
    Now it was time to flair ... Bwhahahahah .. I break out the "rivet" attachment which is simply a rounded shaft and went to flair the head of the pin. I measured the thickness of the pin so I would know exactly how much flair I was adding. I got a couple of turns on the tool and figured let me check because I dont want to much flair and I took my caliper to the pin head and no change ... Hmmmmm .. so I go at it again. Take it off and nothing. So I look at the "rivet" shaft and the tool is so soft a steel that it had pressed into the cavity of the pin but didnt flair anything. Basically it made a nifty deep circle with shoulders of the rounded head of the tool. The pin had made an extrusion out of the "rivet" tool. The more I turned the more pronounced the shoulders became as the tool embedded itself in the head. I then tried to create more of a taper on the tool and tried again .. same thing .. it just dug into the pin. The face of that "rivet" tool was originally a dome and that extrusion you see was what went into the pin head cavity.


    I spent a couple of hours trying to figure out what to do. I had already pressed my master link and didnt want to take it off and replace it with the clip link. Then I remembered that I had recently taken apart a reloading machine and kept the bearings. They were about 3/16 in and hardened. I managed to use the tool to push the bearing into the master link pins and used a crescent wrench to turn the handle as the cheap handle was bent and Wala ... instant flair to about .6mm

    I have used chain tools on bicycles for years. This was just a sloppy tool and I had to resort to ice cream sticks as shims to make it work without needing three hands but I could have lived with that. The problem was the steel it was fabricated of. Its just not hard enough or robust enough for the task.

    Edited to add
    Took the bike out and its awesome.
    Guess there are good Chinese copies of decent tools, and not so good Chinese copies. I must have been lucky. Yours is the copy of the Motion Pro one like mine?
    sigpic
    09 Kaw C14 Rocket powered Barcalounger
    1983 GS1100e
    82\83 1100e Frankenbike
    1980 GS1260
    Previous 65 Suzuki 80 Scrambler, 76 KZ900, 02 GSF1200S, 81 GS1100e, 80 GS850G

    Comment


      Absolutely! I have leatherworking tools cheap from China that are better than more expensive , more highly regarded tools but this particular tool is a hunk of junk.It was not close to up to the task.

      Comment


        Originally posted by Jedz123 View Post
        Made the TU250X a heavy(errr) breather.
        Very cool! Was that kit from Sudco or someone? Noticeable difference?
        '20 Ducati Multistrada 1260S, '93 Ducati 750SS, '01 SV650S, '07 DL650, '01 DR-Z400S, '80 GS1000S, '85 RZ350

        Comment


          Originally posted by Boriqua View Post
          Well new sprockets and chain but even though I started at 9am and its now 5pm I still have to put on the chainguard, sprocket cover, and reattach the peg. Probably another 45 minutes but it will have to keep until tomorrow.

          I would/should have been done by 1pm but .. if you didn't get the memo .... those $20 Amazon/ebay chain tools aren't worth $1.

          I spent hours trying to get my master link flared. Now I had read all the bad reviews and poo pooed them and ... they are spot on. $20 in the garbage along with some 3 hours of time.

          I had bought a clip on master link in case I ran into trouble but .. Once I had the front plate pressed it kind of became a mission. I will admit .. I did think about pulling that sucker and just installing my clip on but I worked it out.

          So what would new install of chain and sprockets have cost me if I brought it to my local mechanic. Just curious. Parts cost me about $150 but that was with a spacer I didnt need and will put up for sale and that dreaded awful sucky chain tool. I am just looking to feel a little better about my efforts.
          Why didn't you just use a clip master link, I've been using them for years, never had a problem with them.
          sigpicMrBill Been a GSR member on and off since April 2002
          1980 GS 750E Bought new in Feb of 1980
          2015 CAN AM RTS


          Stuff I've done to my bike 1100E front end with new Sonic springs, 1100E swing arm conversion with new Progressive shocks installed, 530 sprockets/chain conversion, new SS brake lines, new brake pads. New SS fasteners through out. Rebuilt carbs, new EBC clutch springs and horn installed. New paint. Motor runs strong.
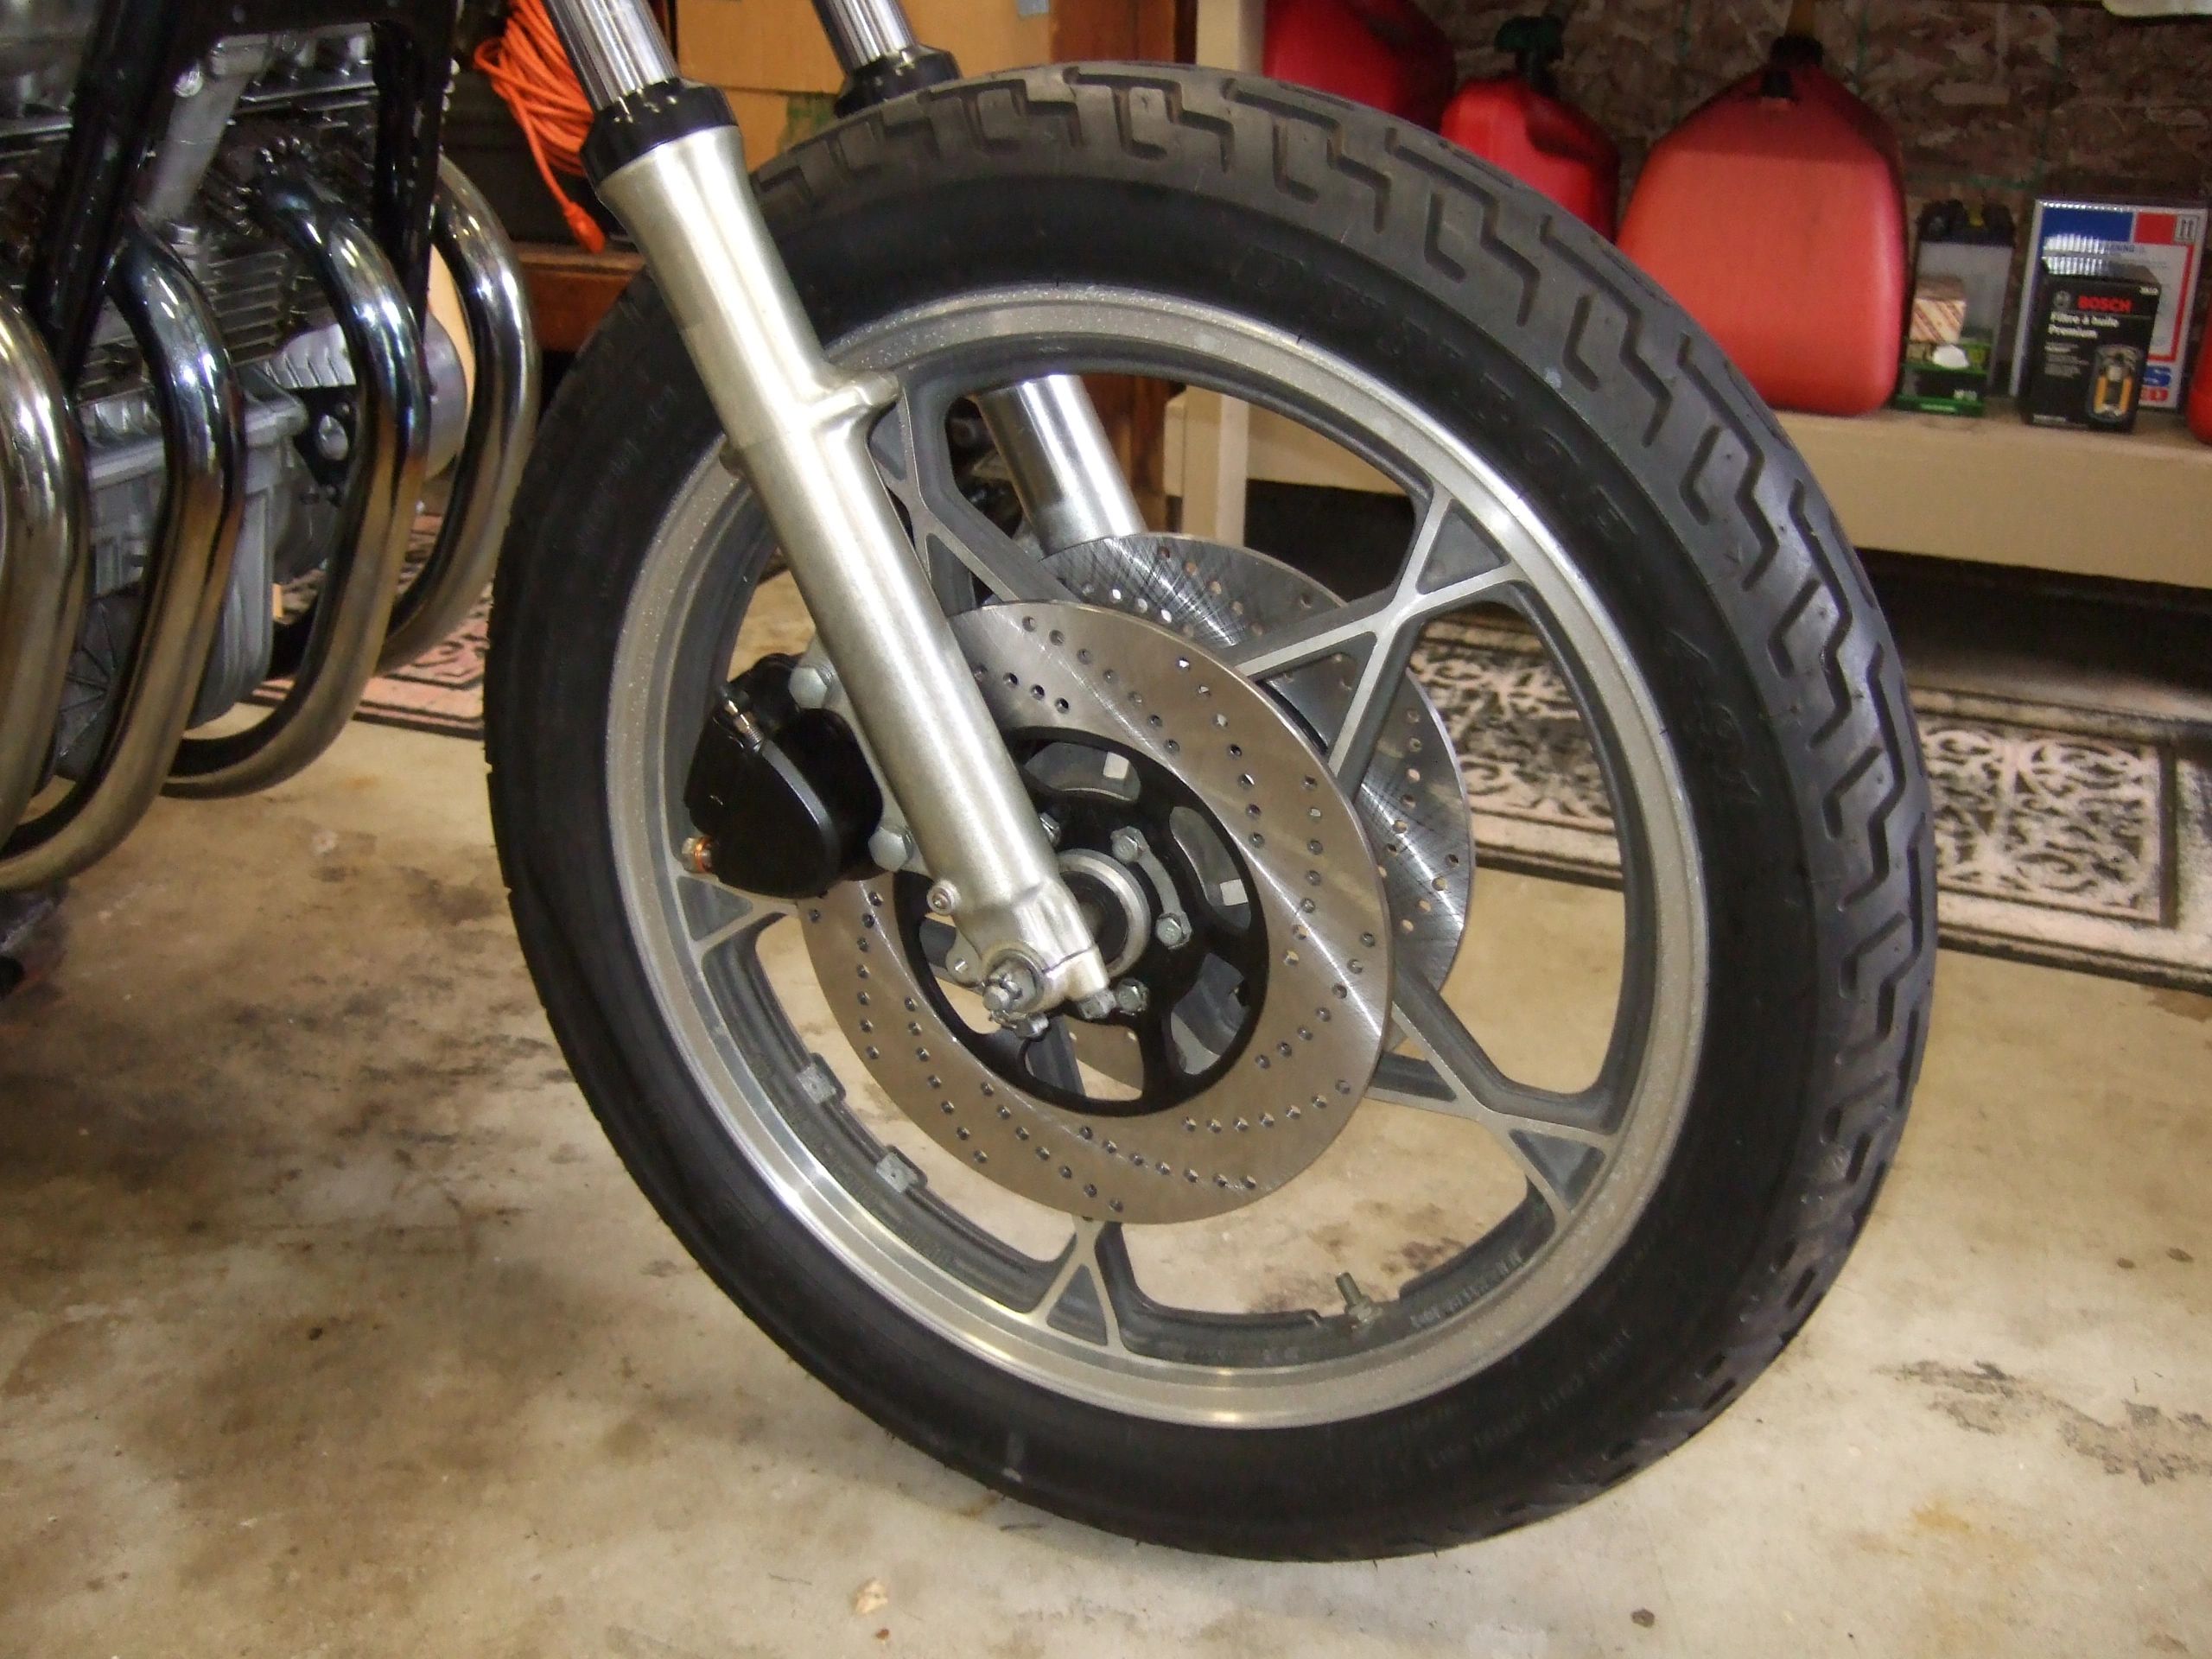
          Comment


            Originally posted by mrbill5491 View Post
            Why didn't you just use a clip master link, I've been using them for years, never had a problem with them.
            oh I dont know .. I know the "right" way is with a proper flared master. I too have always used a clip on master and had bought one and it was sitting mere feet from my squatted position. The chain I removed which had been through hell and back also had one and it obviously withstood the test of time.

            But ... I figured .. hell if I have the right tool I can do it the "right" way. Ugh.

            Didnt have the right tool!

            Then once I went through all the trouble of pressing the front plate of the master on all even like even if I had to use a nut to do it ... I was in no mood to push it back out to then substitute it for the clip on. I figured I had committed and I had to see it through.

            Three hours later .. I was still trying to flare. Thank goodness for that stupid bearing I held on to because men do stupid stuff like that. I had no reason to keep 3 bearings but .. turned out .. this time man sense was good sense. Who knew??

            Comment


              Not sure that this qualifies as "wrenching", but I did get both bikes out of hibernation today and did some polishing on the Honda. The frozen rear brake disc didn't fix itself over the winter (one can always hope, right?), so I guess I'll be rebuilding the caliper and having the disc resurfaced before I can ride it again. But it was good to hear it running well after sitting for 4 or 5 months. After posting a thread in another section, Ed Ness assured me that motorcycle discs can be resurfaced, with the same caveat as car rotors about thickness. Happily, there is a shop just about 30 miles from me that does that, so I won't even have to pay for shipping. For anyone who's interested, here's a link to their website:


              Scott

              Comment


                Adjusted the idle mixture screws on my bike and replaced the leaking valve cover gasket then troubleshot Charmayne's fuel gauge. It seems she's going to need to learn fuel capacity via mileage while I search for a new gauge
                Cowboy Up or Quit. - Run Free Lou and Rest in Peace

                1981 GS550T - My First
                1981 GS550L - My Eldest Daughter's - Now Sold
                2007 GSF1250SA Bandit - My touring bike

                Sit tall in the saddle Hold your head up high
                Keep your eyes fixed where the trail meets the sky and live like you ain't afraid to die
                and don't be scared, just enjoy your ride - Chris Ledoux, "The Ride"

                Comment


                  Yanked the carbs off to replace cheap chinese fuel lines with some motionpro tygon. While they were off, noticed that the connecting tube rubbers were wasted. Tore carbs apart, replaced the junk bits, re-assembled, and put it all back together. Hanging idle issue presents itself. Turns out that in my hurry to reassemble carbs, I didnt tighten the fuel slide connecting rod screws. Took it back apart...fixed...put back together.... sigh.... shouldda bought the good fuel line to begin with.

                  Comment


                    Originally posted by aclaytonb View Post
                    Yanked the carbs off to replace cheap chinese fuel lines with some motionpro tygon. While they were off, noticed that the connecting tube rubbers were wasted. Tore carbs apart, replaced the junk bits, re-assembled, and put it all back together. Hanging idle issue presents itself. Turns out that in my hurry to reassemble carbs, I didnt tighten the fuel slide connecting rod screws. Took it back apart...fixed...put back together.... sigh.... shouldda bought the good fuel line to begin with.
                    We ALL have learned that lesson. Myself I have learned it many times....
                    sigpic
                    09 Kaw C14 Rocket powered Barcalounger
                    1983 GS1100e
                    82\83 1100e Frankenbike
                    1980 GS1260
                    Previous 65 Suzuki 80 Scrambler, 76 KZ900, 02 GSF1200S, 81 GS1100e, 80 GS850G

                    Comment


                      Originally posted by Boriqua View Post
                      I spent a couple of hours trying to figure out what to do. I had already pressed my master link and didnt want to take it off and replace it with the clip link. Then I remembered that I had recently taken apart a reloading machine and kept the bearings. They were about 3/16 in and hardened. I managed to use the tool to push the bearing into the master link pins and used a crescent wrench to turn the handle as the cheap handle was bent and Wala ... instant flair to about .6mm

                      I have used chain tools on bicycles for years. This was just a sloppy tool and I had to resort to ice cream sticks as shims to make it work without needing three hands but I could have lived with that. The problem was the steel it was fabricated of. Its just not hard enough or robust enough for the task.

                      Edited to add
                      Took the bike out and its awesome.
                      Now that you've found the perfect tool - your re-loading device - you won't need this piece of advice, but for anyone else in that situation, here it is.
                      It's amazing what you can do with two hammers.
                      Use the heavier one as the anvil, and position it behind the chain. Use the smaller one to smite (verily, smite) the soft pin over into a peened shape.
                      I've been doing it with two hammers for decades. I'd suggest that anyone who finds themselves with a chain, a crappy tool, and a soft link to get an old chain first to practice on, as you don't want to mess up the one you really need to get right. It's not difficult, just needs a bit of feel for the job, that's all.
                      ---- Dave
                      79 GS850N - Might be a trike soon.
                      80 GS850T Single HIF38 S.U. SH775, Tow bar, Pantera II. Gnarly workhorse & daily driver.
                      79 XS650SE - Pragmatic Ratter - goes better than a manky old twin should.
                      92 XJ900F - Fairly Stock, for now.

                      Only a dog knows why a motorcyclist sticks his head out of a car window

                      Comment


                        Originally posted by aclaytonb View Post
                        Yanked the carbs off to replace cheap chinese fuel lines with some motionpro tygon. While they were off, noticed that the connecting tube rubbers were wasted. Tore carbs apart, replaced the junk bits, re-assembled, and put it all back together. Hanging idle issue presents itself. Turns out that in my hurry to reassemble carbs, I didnt tighten the fuel slide connecting rod screws. Took it back apart...fixed...put back together.... sigh.... shouldda bought the good fuel line to begin with.
                        I've had that, recently.
                        Not so much with Chinese fuel lines, but some NOS genuine Suzuki line. I suspect it was wrongly packed and sold as fuel line, but it was actually a water drain hose, so wasn't up to prolonged exposure to modern gasoline. It had the genuine Suzuki part number on the package, and I'm sure it was the real thing, just the wrong item in it.
                        ---- Dave
                        79 GS850N - Might be a trike soon.
                        80 GS850T Single HIF38 S.U. SH775, Tow bar, Pantera II. Gnarly workhorse & daily driver.
                        79 XS650SE - Pragmatic Ratter - goes better than a manky old twin should.
                        92 XJ900F - Fairly Stock, for now.

                        Only a dog knows why a motorcyclist sticks his head out of a car window

                        Comment


                          Because of how busy I have been at work lately, progress on my 83 GS1100E project has been painfully slow. So slow in fact, that I was concerned about getting it ready to ride this year.
                          So I bought a 78 Honda Hawk 400 to fill in for commuter miles and mellow rides so I can save wear and tear on my Tuono.

                          Anyways, I finally am starting to get a few things done, like new wheel bearing in both gsxr600 wheels and I mounted and balance new tires. Yesterday I finished the 3" extensions for the 2004 gsxr1000 forks.

                          I still need to install the new seals and reassemble the forks, but it is nice to finally see some progress.


                          1983 GS1100E project

                          Comment


                            Wife's GS850GZ. New tach drive and seals due to leakage. Easy job, have done it before eons ago on my 750. My trick to keep the tach cable from usnscrewing is a little dab of silicone on the outside of the cable where it joins to the drive housing once it's assembled. Nothing gets in, and it comes off easily when needed. If you're building a "concours d'elegance " bike, well, you're going to have to do something else. I tried bwringer's trick of an extra O-ring, but it didn't work for me.
                            Kevin
                            E-Bay: gsmcyclenut
                            "Communism doesn't work because people like to own stuff." Frank Zappa

                            1978 GS750(x2 "projects"), 1983 GS1100ED (slowly becoming a parts bike), 1982 GS1100EZ,
                            Now joined the 21st century, 2013 Yamaha XTZ1200 Super Tenere.

                            Comment


                              Originally posted by Tripledij View Post
                              Because of how busy I have been at work lately, progress on my 83 GS1100E project has been painfully slow. So slow in fact, that I was concerned about getting it ready to ride this year.
                              So I bought a 78 Honda Hawk 400 to fill in for commuter miles and mellow rides so I can save wear and tear on my Tuono.

                              Anyways, I finally am starting to get a few things done, like new wheel bearing in both gsxr600 wheels and I mounted and balance new tires. Yesterday I finished the 3" extensions for the 2004 gsxr1000 forks.

                              I still need to install the new seals and reassemble the forks, but it is nice to finally see some progress.
                              Why do you want to extend the forks?

                              Are you a machinist?
                              sigpic[Tom]

                              “The greatest service this country could render the rest of the world would be to put its own house in order and to make of American civilization an example of decency, humanity, and societal success from which others could derive whatever they might find useful to their own purposes.” George Kennan

                              Comment


                                Originally posted by themess View Post
                                Why do you want to extend the forks?

                                Are you a machinist?
                                I am switching from stock forks and front wheel to 2004 gsxr1000 forks and 2006 gsxr600 wheels, both of which lower the front dramatically.
                                I spent a fair amount of time searching this forum for info by anyone who had already done this. Threads like this were a big help.


                                I want this bike to maintain a fairly stock geometry because I already have a sport bike, this is to be my comfy cruiser. In my opinion, this is too much of a height difference to make up by jacking up the back end.

                                I am not a machinist by trade, but I did stay in a Holiday Inn Express last night. I do have a home machine shop and make/modify parts for work on occasion.
                                Here is a different pic showing the lower extensions. Although you don't see it in the pic, there is an oil passageway all the way through those.

                                1983 GS1100E project

                                Comment

                                Working...
                                X