-
-
Comment
-
Had a win with the fuel cap when I got home this avo and got the house mate to hold the tank while I had a gentle go with some big pliers. Came off relatively easily after all that...

I attempted some shots of inside, but there appears to be only a little surface rust, much better than my 450 tank was:


I also took the exhaust off and that was full of crud, so I can only assume there *was* some sort of baffle in there that has rusted to nothing...


The pile on the left came out of the pipe and the pile on the right came out of the silencer:

A bit of rust underneath the silencer in evidence:

And given it was so full of muck I've left it soak in the kerosene overnight:

Comment
-
sigpic
mine: 2000 Honda GoldWing GL1500SE and 1980 GS850G'K' "Junior"
hers: 1982 GS850GL - "Angel" and 1969 Suzuki T250 Scrambler
#1 son: 1986 Yamaha Venture Royale 1300 and 1982 GS650GL "Rat Bagger"
#2 son: 1980 GS1000G
Family Portrait
Siblings and Spouses
Mom's first ride
Want a copy of my valve adjust spreadsheet for your 2-valve per cylinder engine? Send me an e-mail request (not a PM)
(Click on my username in the upper-left corner for e-mail info.)Comment
-
I've been waiting to see what you do with this engine! Already it looks loads better. Nice work.
You planning on putting it into a bike frame?Comment
-
Cheers Steve!
I think I'm pretty safe from the 10 year span this time around")
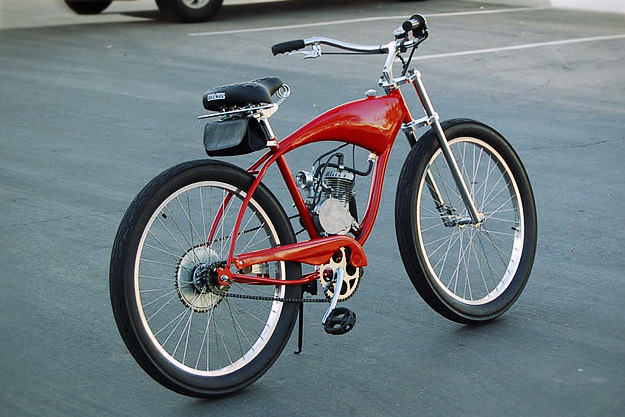
The time consuming part I expect will be sourcing an appropriate push bike frame if that's the direction I take...
Thanks Tim! Yes, much improved on what it was! I think I need to replace the newspaper next time I'm in there as I think I'm adding grunge now when I lay the motor down.
At this stage I'm thinking yes to the bike frame... not 100% firm yet though
Comment
-
The cucciollo is actually a pull rod engine,typical italians to do do something differently,and was purposely detuned for bicycle use as a clipon motor but wre so good ended up using them for litleweights.very cool and good luck with itComment
-
I was cleaning around the rods tonight and I see why you say that. The rods definitely appear to pull down on the valve springs... I wonder if I should point that out to the Ducati Pushrod Singles mailing list I'm on? Could be a tad rude as I suspect they probably already know...
Comment
-
I put fresh newspaper on the work bench tonight and kept going.
First thing was to get the clutch actuator off and cleaned up.


Looks like I'll be making a new pivot shaft:

And sleeving the arm:

I can see why it was so wobbly now!
Then I got the gear shift lever off and cleaned up also:

And pulled out the spark plug spanner and flywheel puller as I'll need them real soon:


Gave 'em a bit of a clean and as a bonus the flywheel puller works! It easily threads through and the circular bit on the end rotates around the shaft very easily:

Comment
-
Pulled the oil filler cap tonight and there was definitely oil inside, so got the sump plug off and drained it:

Cleaned up the oil filler cap and sump plug:

Then I cleaned around the pull rods (now that I know what they are thanks daturat100r):

And if you look close you can see they appear to have worn into the cooling fins either side:

I'm guessing there's some wear on the rod arms where they attach to the head, so might be some more sleeving required there.
I'm not sure how much further I'll be able to go at the moment until I source a tool to get the flywheel cover off.
It's a two prong tool like you use on an angle grinder but it has different spacing to the one I have here, so I'll have to work that one out yet.Comment
-
Back into it tonight.
Discovered Supercheap sell an adjustable angle grinder tool so I picked that up this avo on the way home:

Removed the spark plug:

Then I got the arms off the top of the pull rods:


Then I put the angle grinder tool to use and got the flywheel nut exposed:

And put the flywheel puller to good use:

Under the fly wheel is the coil, condenser, the lighting coil (not sure what that's for yet), and the contact breaker:

And all cleaned up:

I need to revisit the manual, but I think next is either the head or the left case cover.
At this stage I'm thinking once it's dismantled I'll get the head, case covers, flywheel, and potentially the rod arms sent down to the guy who did the wet blasting on the 450 head and cylinders. They came up awesome after that and it's non-abrasive so is safe. I'll give it some thought anyway as it's not the cheapest process in the world...
I'm guessing the "Cucciolo" in red there is enamel, so I should be able to put that back on with some model paint and a fine brush.Last edited by Guest; 06-01-2012, 09:03 AM.Comment
-
I don't know how available it would be down under but One Shot pinstriping paint might be more durable than model paint.Comment
-
nice looking work there. about enough to inspire me to get back to my wife's honda 305 that has been back burnered....Comment

 )
)
Comment