Also, have someone spraying oil into the cylinder while the hone is going in & out. Ray.
-
-
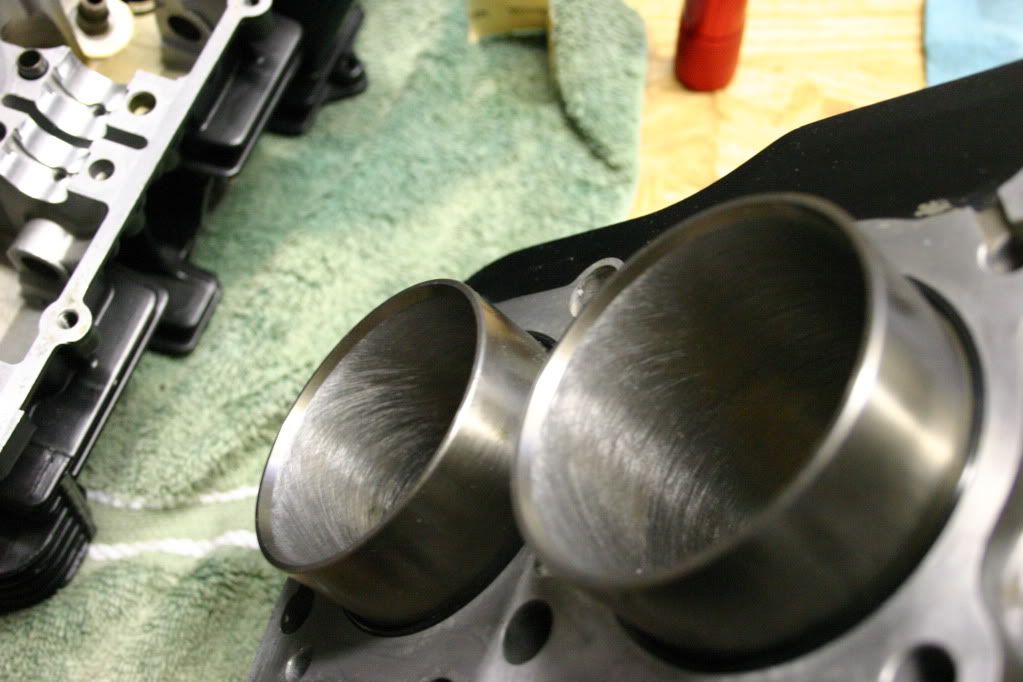
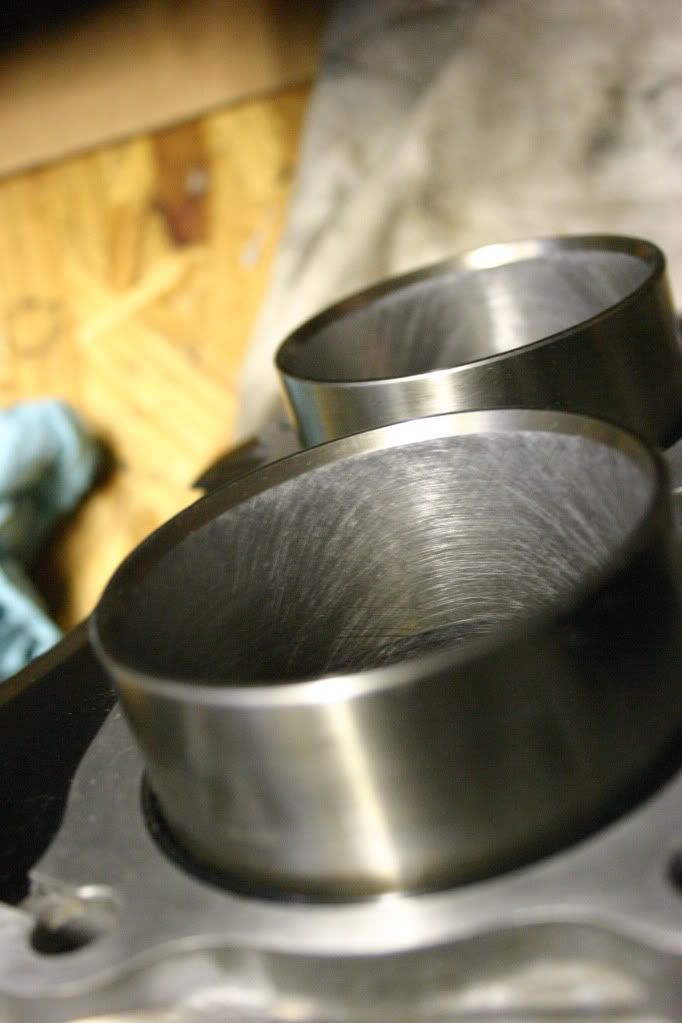
My neighbor and I redid the hone yesterday evening. Got a ball hone on the way home from work from Russel Auto parts. I slowed my rpm way down this time. Pics don't look like its all that great, but it is much better in person.
The horizontal marks appear to be a holdover from the first hack hone job, I'm concerned about going much deeper.
Any thoughts?
 Last edited by Guest; 05-31-2010, 07:08 AM.
Comment
-
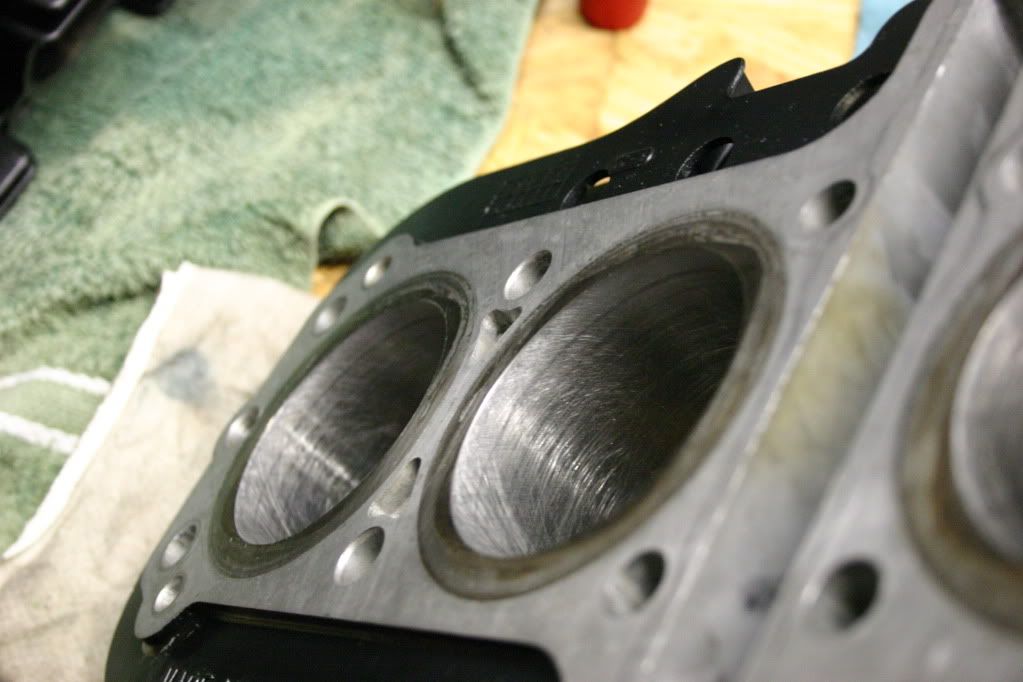
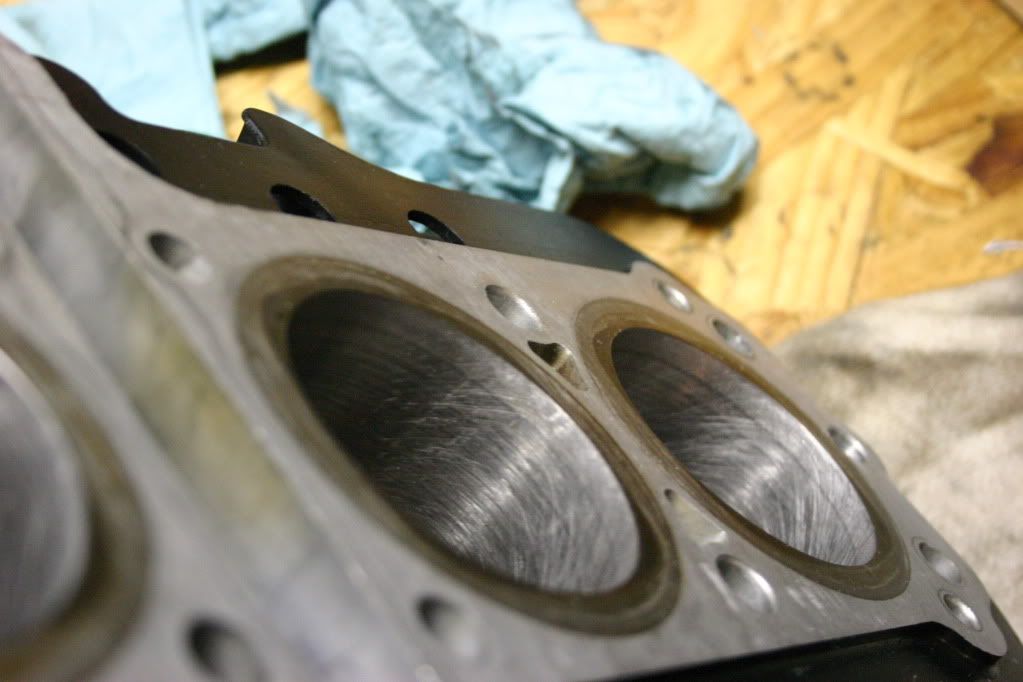
Looks a little rough but better than before. What grit is that ball hone? You don't want to keep hammering away indefinetly with the grinding grit but please make sure there is a semi-consistent cross-hatch pattern to the grooves. When you put the pistons back in I'd skip any oil on the rings like you guys did the first time.Ed
To measure is to know.
Mikuni O-ring Kits For Sale...https://www.thegsresources.com/_foru...ts#post1703182
Top Newbie Mistakes thread...http://www.thegsresources.com/_forum...d.php?t=171846
Carb rebuild tutorial...https://gsarchive.bwringer.com/mtsac...d_Tutorial.pdf
KZ750E Rebuild Thread...http://www.thegsresources.com/_forum...0-ResurrectionComment
-
The selection at the parts store was limited to fine, medium, and coarse. I chose the medium, fearing too much material removal. Why no oil on reassembly?Comment
-
You already oiled the rings before so no need for anything further. Some people treat ring and cylinder lubrication like religion, and frankly I'm not convinced it matters all that much, but that said, I like to install everything dry to assure the rings bite into the cylinder wall when you first start up the engine. I also don't believe in elaborate ring break in routines like some do; simply take the bike out and ride it aggressively though the city with lots of acceleration/deceleration, no lugging, and no sustained low throttle position constant rpm's. Loading the rings will make them seat, don't baby the engine, but no need to go crazy like the mototune guys claim. http://www.mototuneusa.com/break_in_secrets.htmLast edited by Nessism; 05-31-2010, 09:46 AM.Ed
To measure is to know.
Mikuni O-ring Kits For Sale...https://www.thegsresources.com/_foru...ts#post1703182
Top Newbie Mistakes thread...http://www.thegsresources.com/_forum...d.php?t=171846
Carb rebuild tutorial...https://gsarchive.bwringer.com/mtsac...d_Tutorial.pdf
KZ750E Rebuild Thread...http://www.thegsresources.com/_forum...0-ResurrectionComment
-
Check your ring gap to make sure it's not maxed out.Comment
-
Ring gaps were well within specs....
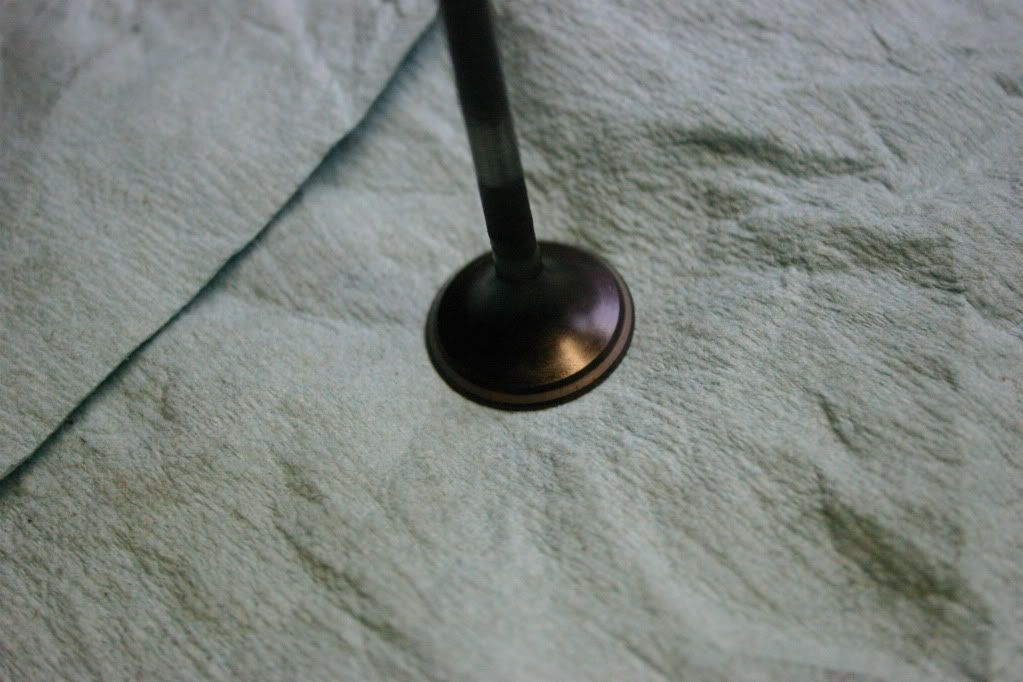
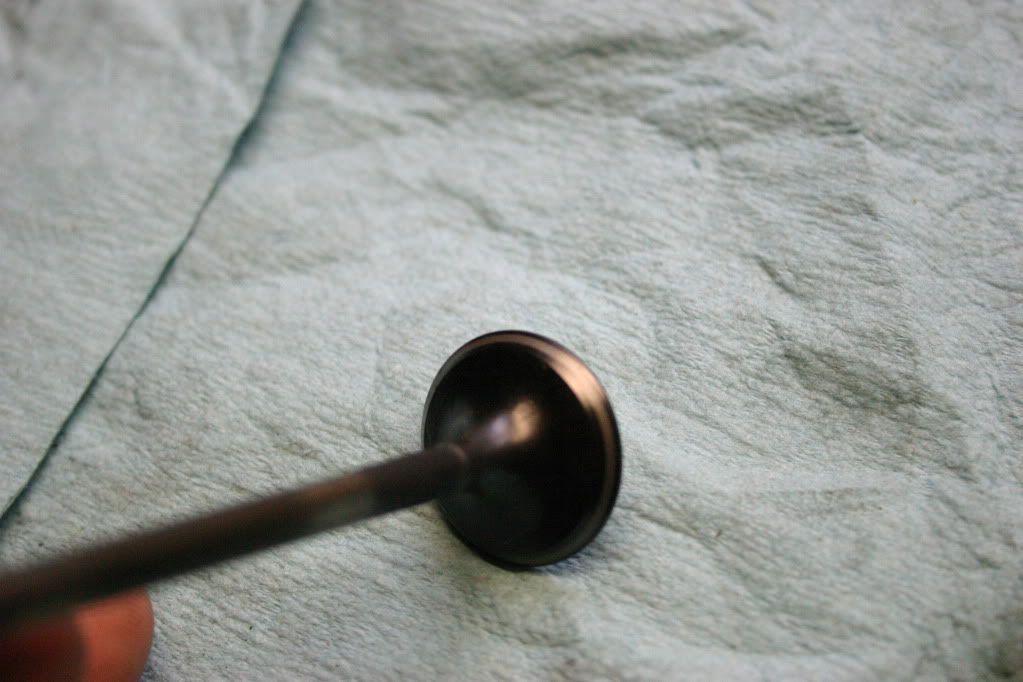
So on to valve installation:
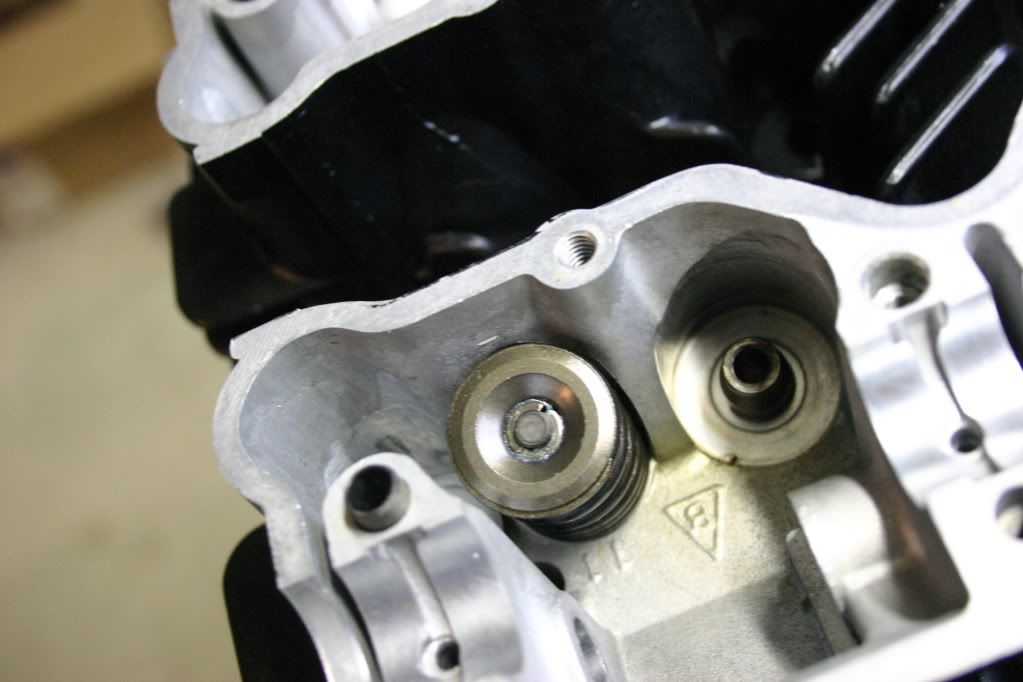
Here they are after hand lapping - all 16 looked just like this one:
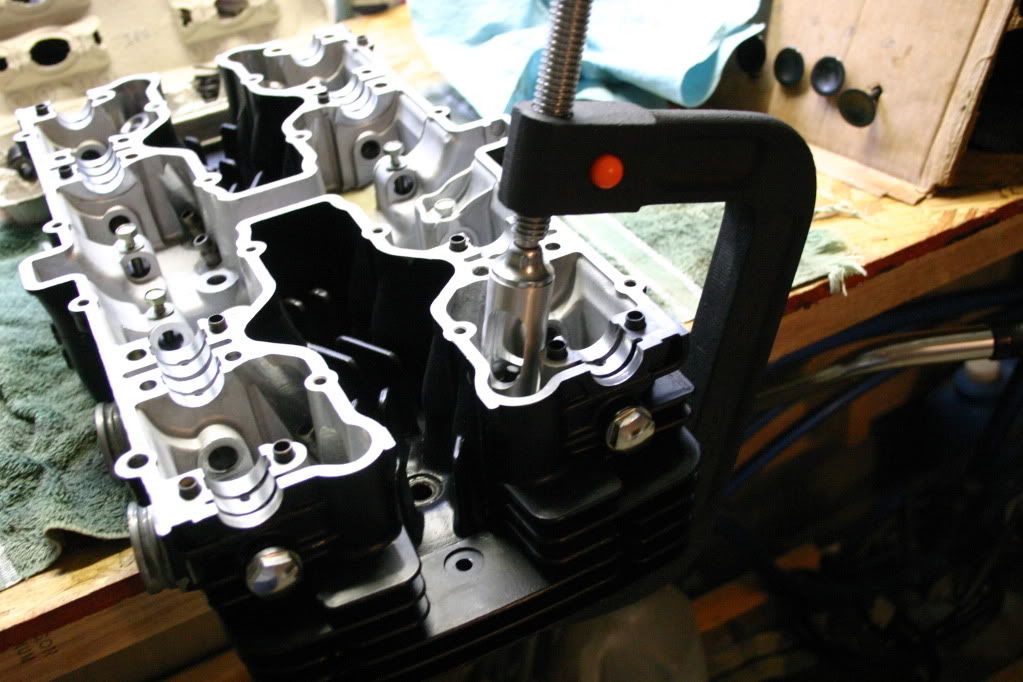
Valve spring compressor tool(s) in action. This set up worked really well:
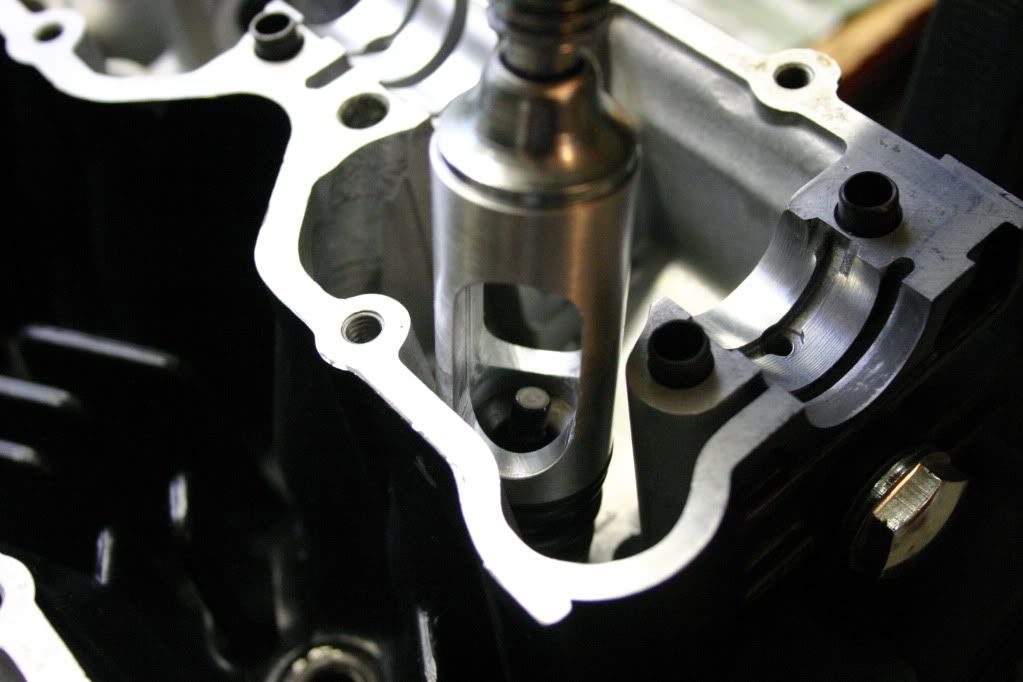
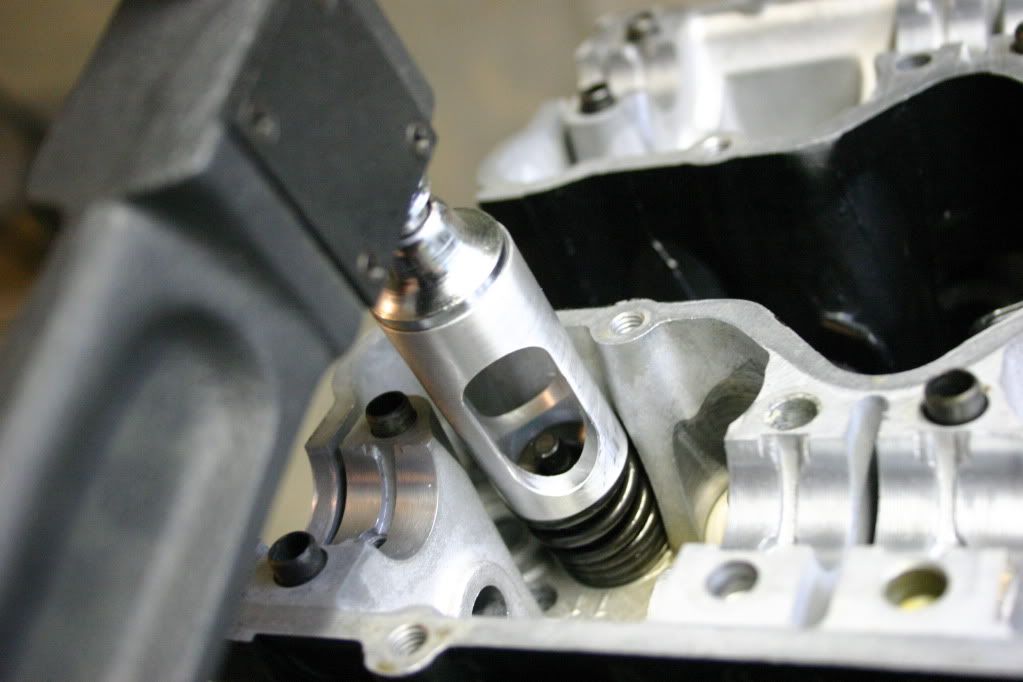
Valves all snuggled in tight:
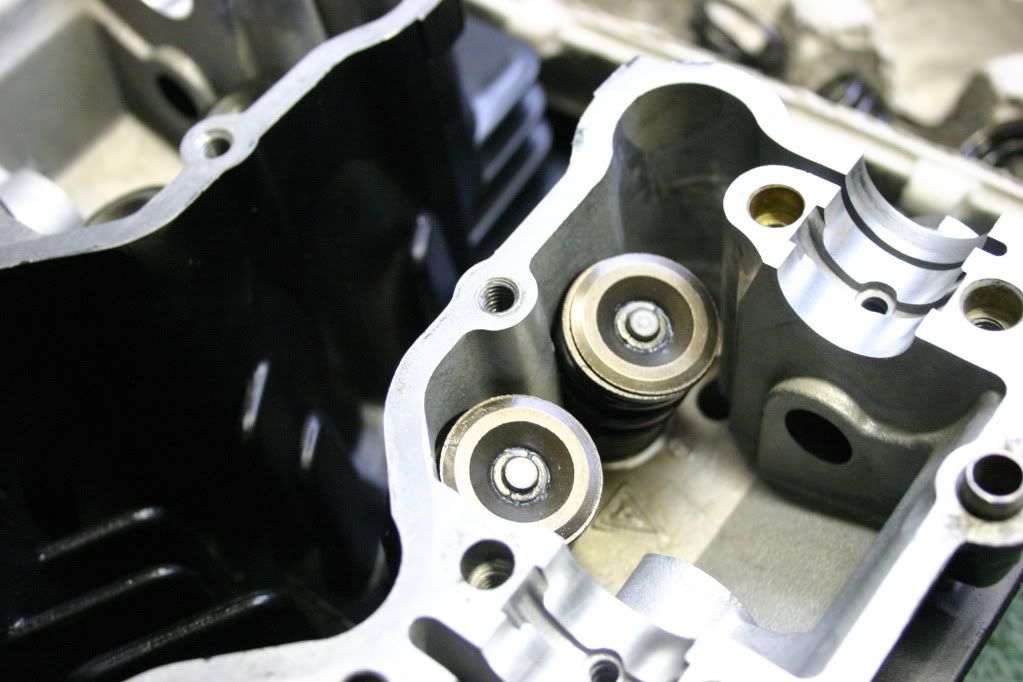
I used just a dab o' grease to hold the retainer clip thingies onto a cotton tipped applicator stick, then lowered the retainers gently into postition, then using another wooden handled cotton tipped applicator (think Q-tip with long wood handles) I held them in place to allow the spring compressor to be released. Only fussed with a few before they slipped right in place, then as I released the spring compressor, the taper drew the retainers into position nicely. Did all 16 valves in a matter of an hour or so.
I installed new stem seals, and also lubed the valve stems with assembly lube. I cleaned all the valve guides with degreaser on aforementioned applicators, then cleaned a second time with acetone to remove any degreaser. Hopefully it was clean enough to not affect the assy lube.
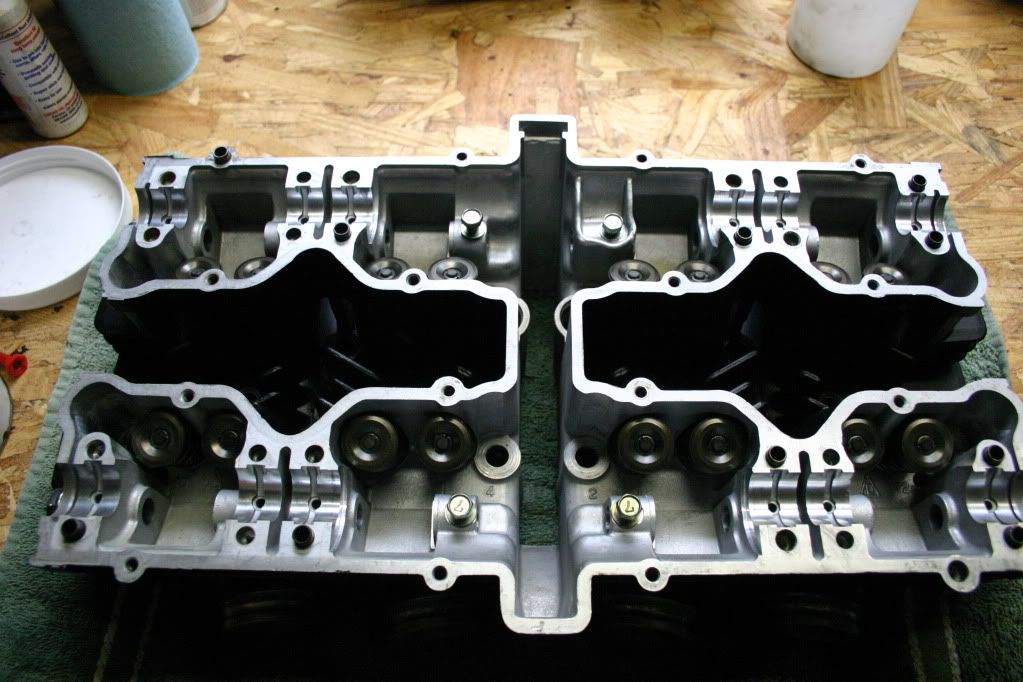
I then greased the rocker arm shafts and rockers with assy lube and slipped those right in. One of the exhaust rocker arm shafts (left exhaust, to be precise) gave me hell going that last little bit until I realized the spring between the rocker arm and the head casting was getting hung up in a groove on the shaft. After remedying that, it slipped right in.
Next step is installing head, cams, and timing this thing. My friend Matt is coming tonight to do this with me.... Unless the rain drives him away.Last edited by Guest; 06-11-2010, 06:10 PM.Comment
-
if you do ever decide to whip up a batch of those spring tools let me know please, i'll take 2..Comment
-
Those valves are a thing of beauty!Comment
-
Thanks Chef; I've never lapped valves but after a few Youtube videos I felt confident to tackle it myself.
Quick update - engine is assembled and installed into the chassis! Tim came up Friday night and we manhandled it in. Everything went really smooth and we were installed, timed and buttoned up in about 3 hours.
For any further updates follow my resto thread here:
.png)
Thanks again for all the help and encouragement - keep watching for more family fun!Comment
Comment