I've been searching and it seems like every paint my bike post relates to rattle can. I have an air compressor and I'm going to get a HVLP touch up gun. What else do I need? Respirator? what grits of sandpaper? Anything else? Also what primer, paint, clear combinations are working really well for you guys?
Any tips on how to actually paint the bike? I've got a second complete set of bodywork so I'm ok with "learning" as I go.
My garage will get to be my "paint booth" My plan is to open the garage door about halfway and stick a fan in the opening blowing air out of the garage. My last rattle can paint booth was a storage unit with an open garage door and surprisingly I got very little orange peel.
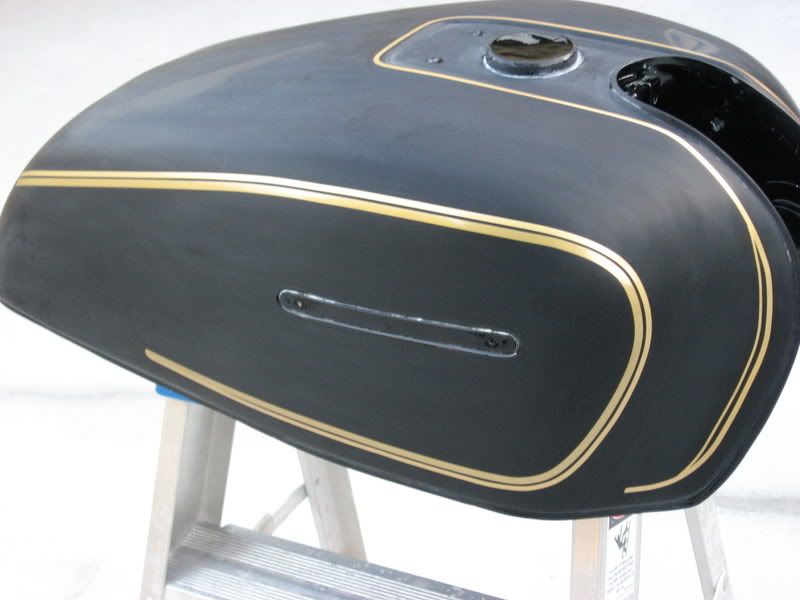
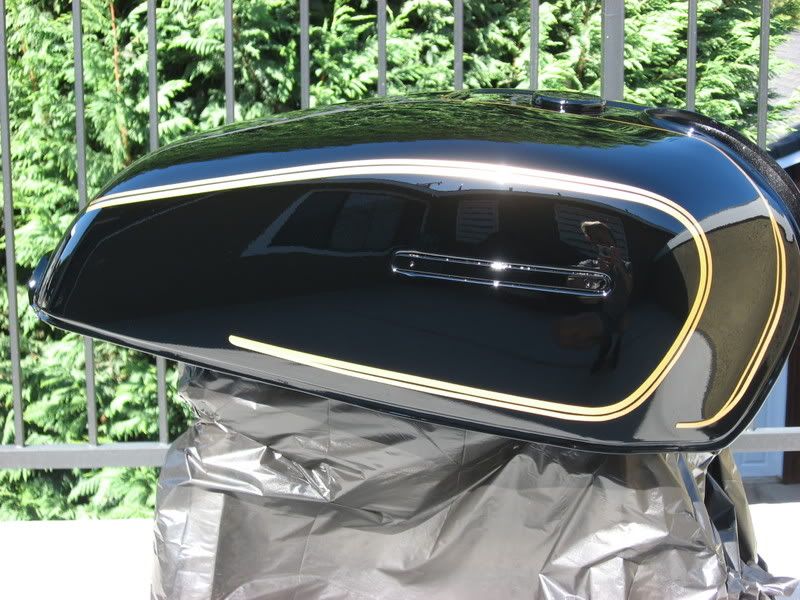
I'm growing tired of flat black, and am ready for something with color and shine!
Thanks in advance!
Any tips on how to actually paint the bike? I've got a second complete set of bodywork so I'm ok with "learning" as I go.
My garage will get to be my "paint booth" My plan is to open the garage door about halfway and stick a fan in the opening blowing air out of the garage. My last rattle can paint booth was a storage unit with an open garage door and surprisingly I got very little orange peel.
I'm growing tired of flat black, and am ready for something with color and shine!
Thanks in advance!


Comment