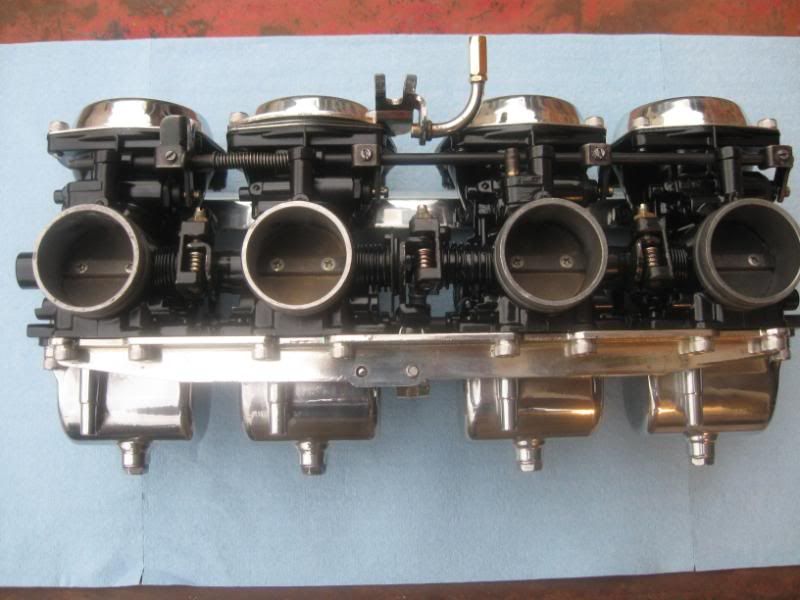
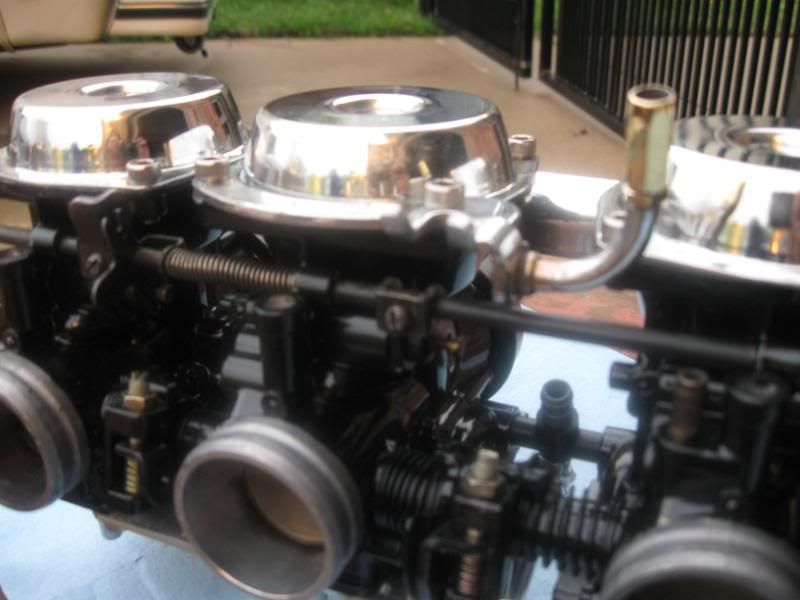
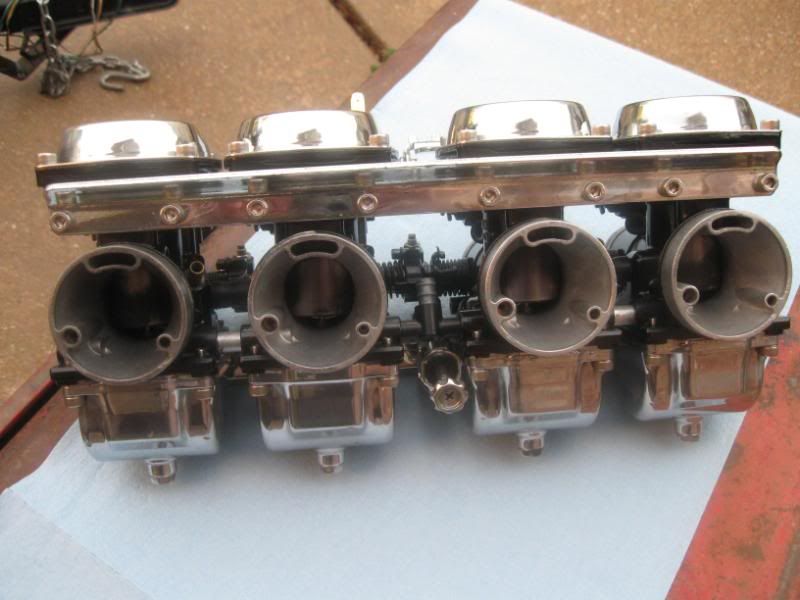
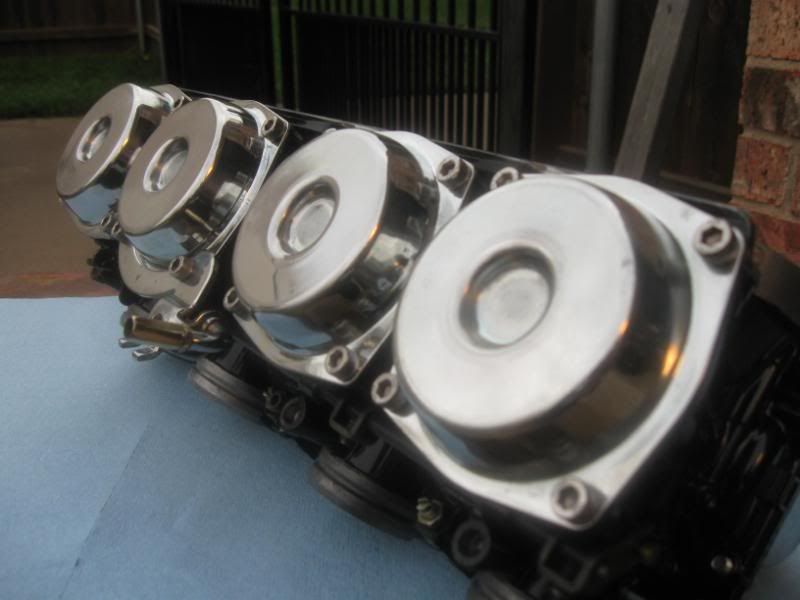
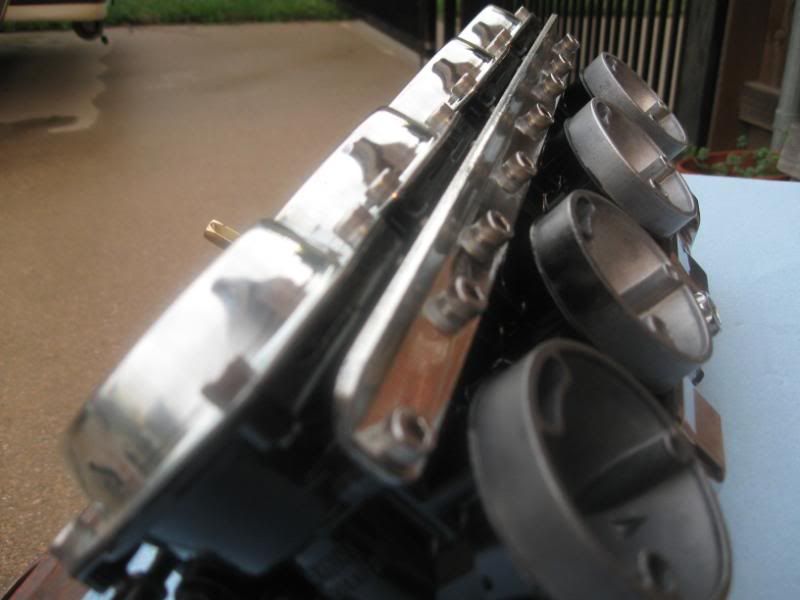
Ok, I've spent more than 3 determined hours trying to get that mirror shine on these carb pieces and I just can't seem to figure out what the trick is. They get a little bit shiny but nothing better than some steel wool would give me. I started with black on the sisal wheel, then to brown on a denim spiral sewn wheel then tried some white on the soft wheel and it never gets more shine than the first time even going duller sometimes. I've tried more pressure, less pressure, cursing, praying, and even singing and nothing is working. Ugh. I only use one color per wheel (as suggested) and clean the part with lacquer thinner before going to the next wheel.
So save me from more hours of frustration and tell me what I'm doing wrong. Surely it can't be this hard can it?
Thanks,
Sci85
So save me from more hours of frustration and tell me what I'm doing wrong. Surely it can't be this hard can it?
Thanks,
Sci85


Comment