Announcement

Collapse
No announcement yet.

1980 GS550l Smaller Seat?

Collapse
X
 
  • Filter
  • Time
  • Show
Clear All
new posts

    1980 GS550l Smaller Seat?

    Hi All,

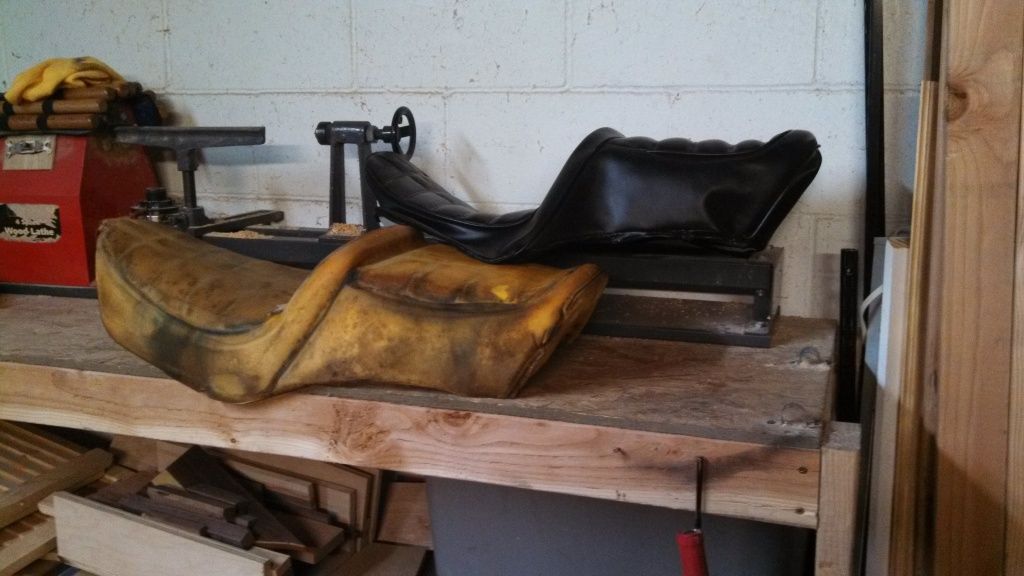
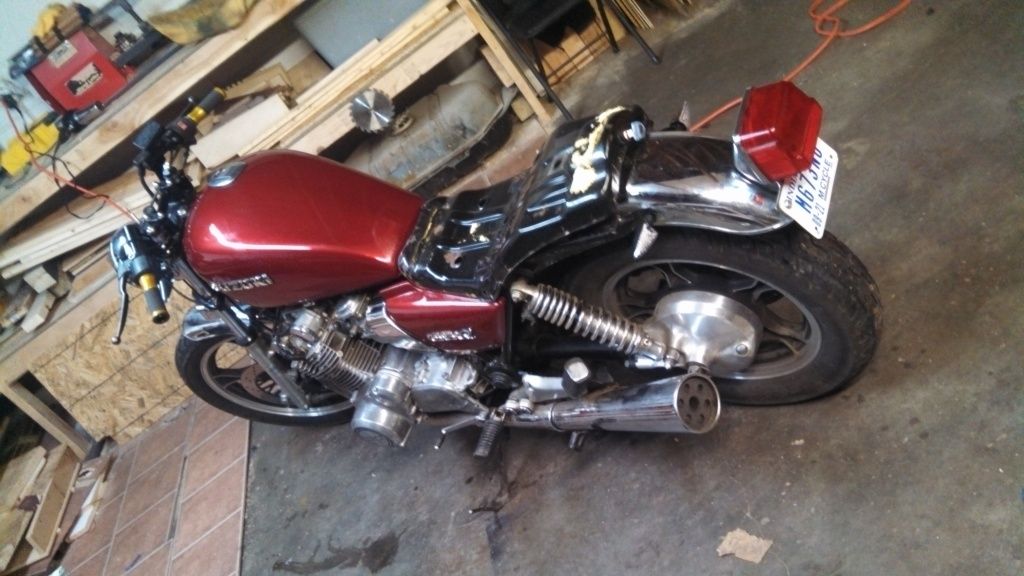
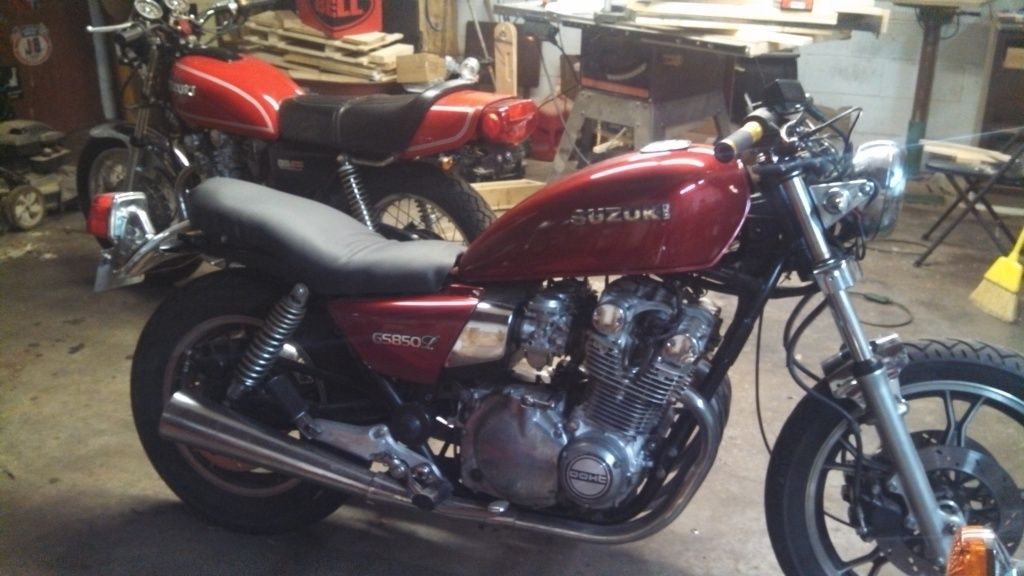
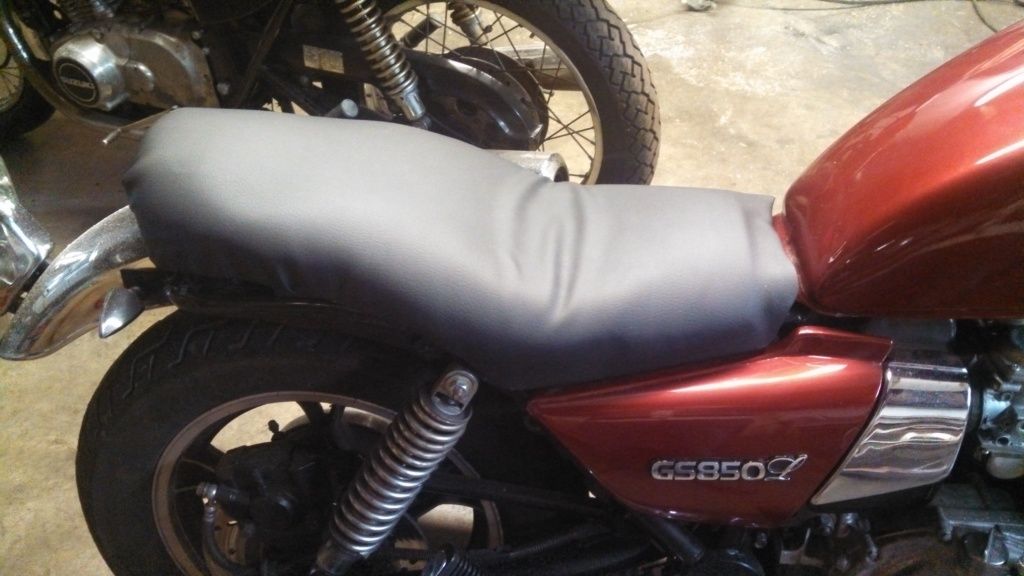
    I am currently in the process of fixing up my 1980 GS550L, which also happens to be my first motorcycle. However, I don't like the seat mainly because of the passenger part (the huge "camel hump"). Will another model's seat fit the 1980 GS550L? If not has anyone successfully bought a smaller seat or customized their own? Any help would be much appreciated. Thanks.

    #2
    The only way to get a smaller seat is to customize it yourself.

    Because of the frame contours and the mounts, the only thing that will fit is a 550L seat.

    .
    sigpic
    mine: 2000 Honda GoldWing GL1500SE and 1980 GS850G'K' "Junior"
    hers: 1982 GS850GL - "Angel" and 1969 Suzuki T250 Scrambler
    #1 son: 1986 Yamaha Venture Royale 1300 and 1982 GS650GL "Rat Bagger"
    #2 son: 1980 GS1000G
    Family Portrait
    Siblings and Spouses
    Mom's first ride
    Want a copy of my valve adjust spreadsheet for your 2-valve per cylinder engine? Send me an e-mail request (not a PM)
    (Click on my username in the upper-left corner for e-mail info.)

    Comment


      #3
      Thanks Steve.

      Comment


        #4
        Get yourself a seat pan for a 550L and a block of foam. As long as the pan is the same you can shape the foam anyway you like. If you can sew, making a custom cover should not be a problem.

        Comment


          #5
          remove the staples, remove the cover, grab a Meat/breadknife(electric if possible) and shave the foam level. recover and staple. enjoy.

          Comment


            #6
            Thanks for all the info guys.

            Comment


              #7
              I've got an 850GL (seat is just a tad wider than your 550L) and I actually did the block of foam trick above. Here's a little DIY tutorial for you if you'd like:

              Materials:
              1" High Density Foam approx 18x36" (Joann Fabrics has this stuff for a reasonable price)
              1yd. of Vinyl Leather (Joann also has this stuff in several colors)
              Electric Knife, Steak Knife, and/or Hand saw
              Scissors
              Black Sharpie
              Pliers
              Flathead screwdriver


              Instructions:

              1.Remove your seat from the bike and flip it upside down on a work surface.

              2.Use a flathead screwdriver to start unclipping the factory leather seat cover from the seat pan, as it is held in by metal 'teeth' every few inches. These teeth can be pryed out to make it easier to remove the leather material. Be careful not to bend them too far out or back and forth much, as they may be brittle!

              3.Once the seat cover is unhooked from all of the teeth, you should be able to peel it back and off of the foam. The foam should separate from the seat pan with ease. If it's anything like mine, it will look pretty disgusting.


              *You have the option here to re-use your factory foam and re-shape it, but in case you're unhappy with the new shape, it's best to leave it be and use other foam.

              4. Set the seat pan on top of your 1" foam and trace the outline.

              5. Use an electric knife, steak knife, or hand saw to cut the shape that you've outlined. Don't laugh, but a steak knife makes quick work of this if you're not carving turkey's very often and dont have an electric knife laying around.

              6. Roll your vinyl/leather material onto a flat surface, face down (where the backing is facing up).

              7. Set your seat pan on top of it, be sure you have at least 1.5" of material around the entire pan.

              8. Trace the pan onto the backing of the vinyl/leather. You can also use your foam to trace the shape, but it's not as rigid. Tracing both helps you see that the foam will cover the pan.

              9. Cut approximately 1.5" around the entire shape that you have outlined. This will serve as pulling material to hook into the teeth on your seatpan.

              10.Set the foam onto the newly cut vinyl shape, and the seat pan on top of it (upside down, of course). Start in the middle and hook one tooth on one side.

              11. Next, tighten the material by compressing the foam (putting weight on the seat pan helps) and stretch the material over the hook on the opposite side.

              12. Continue to hook the material on each hook and stretching to keep things tight.

              13. The front and back of the seat pans are the hardest, and will likely have some folding. Without any sewing or anything, they're bound to happen.

              14. Trim all the excess material left on the under side of the seat pan after all the material has been hooked. You will find that you need to make cuts near the back end of the seat where the large brackets are.

              15. You can either just cut a slit in the back for the keyhole, or you can cut a full circle and re-install the ring from the factory seat cover.

              I hope this helps. Here's how mine turned out on my first try (I plan to redo this to make it look better soon):


              As you can see, I was a little short on the foam up front, as i wanted to sit considerably lower. This will probably be redone with more foam past the front of the seat pan to fill in the gap before the tank.
              Last edited by Guest; 02-17-2014, 02:18 AM.

              Comment


                #8
                You are awesome! Thanks so much for that how-to guide, it is going to be really helpful.

                Comment

                Working...
                X