
So everything back together and it's still failing to start.
Spark - Ignition coils and spark plugs were replaced (I replaced one bad coil last year). Spark is present in all cylinders. Battery was fully charged and measured 12.6
Air/Fuel - Cleaned and bench-synced carbs. One was rebuilt with a k&l kit. Air screws set to 2.5 turns from bottom. All valves adjusted to meet spec. As I had tank removed (cleaned that too), I gravity fed with a water bottle and plugged the vacuum line.
Compression - I did not test this, but it ran last year.
Tried choke open and closed to same result, cranking about average; it isn't sluggish nor quick but engine doesn't start.
My next steps will be recharging battery, testing it while trying to start (under load), reconnecting the tank and using the vacuum on the petcock. I'm unaware if I'm appropriately supplying the fuel or it is flooding in some way and possibly that's why it's not starting, so I will hook the tank up and stand it up nearby. Borrowing a carbtune from a friend and plan to do that as well once I get it running.
My question is, is there anything I'm missing and am I on the right path? I really want to elevate my skills above spamming "cant start" threads.
-
Not sure what book you're looking at. Look at the diagram from partshark at the link above. # 3 part # 01550-0640A is a 40mm bolt that goes where shown in the front left (as sitting on bike) and I'm pretty sure in the opposite right rear corner. I'll try to confirm that later. I have a cardboard template at home that I'm pretty sure has the bolts in it from a project I never completed. 14 of the # 4 01550-0635A. I believe that's all 16 of the cover bolts. Parts list does call for 6 of the 40mm # 3 but I can;t remember where they all go. I can look later if you still need help.
This is why, when we take things like this apart, we put them in a template to keep things straight.
Leave a comment:
-
I had to look up flush cutter, I'd not heard that name before. Around here they're dikes... Glad got it sorted with way less trouble than I've had.Leave a comment:
-
-
This is what I'm mad at myself for, I have a lot of experience installing/removing/assembling IT/networking equipment and I definitely felt it over-tightening but against my own instincts I trusted some crappy tool (and even that the spec is 6-7ft/lbs so I thought I was on the safer side). In tech there is just so much money and people are so lazy, idiots will install 10-15k worth of equipment in a rack with a drill set to full torque then come time to remove it the 2 minutes they save ends up costing someone a full day or worse, theres no time to remove it and you have to abandon thousands of $$ worth of good equipment that will never be used.When I first started asking about the process here, was told by those who replied that it’s a “feel” thing. And I suppose if one has been wrenching on such things their whole life, It likely is a “feel” thing. But what if you (I) don’t have the experience?Leave a comment:
-
I gave you one site above. Partshark.com. Or you can just get the part numbers from there and visit your local Suzuki dealer. BTY, 2 of the bolts for your valve cover are longer than the others.
Be sure to get 4 new dowty washer # 6. There are 2 under each the outside screws. As an alternative, I've used the rubber lined washers that come on metal roofing srews from the hardware store. You have to flatten them with a hammer first as they come convex.Last edited by Rich82GS750TZ; 04-04-2025, 10:07 AM.Leave a comment:
-
Bad news good news... So I actually broke off two bolts. Good news is great news, after trying about 6 different pliers and locking pliers unable to get a grip, I tried this $2 flush cutter I got to trim gasket and it worked like a charm, my eyes weren't so quick to believe - most likely I made matters worse and cut the tip off but no, it turned the whole bolt
is there a good site/store for replacement bolts? My understanding is theyre M6 35mm and 40mm and automotive needs a higher strength than your standard hardware store fastener.
Leave a comment:
-
-
This is sort of closing the barn door after the horse got out. But we all start somewhere. I was where you are 7 years ago, first time replacing the cover after valve adjustment. Following the torque spec in the book. If it says 5 lb-ft (I seem to recall it was 5-7). But let’s say 5. That is at the very extreme low end of any 1/2” drive lb-ft wrench. And they should not be used at the extreme ends. They can't be counted on to be accurate at such small or large numbers. If you’re going to use a torque wrench get a 1/4” drive inch-lb tool. 5x12 =60 in lb. That wrench will be very happy in that range.
I tried 72 in lb and squash/split a gasket. New gasket. Torqued that one to 60. Same result. I’d have to check my notes, but seem to remember 45 in lb to be a number for me.
When I first started asking about the process here, was told by those who replied that it’s a “feel” thing. And I suppose if one has been wrenching on such things their whole life, It likely is a “feel” thing. But what if you (I) don’t have the experience?
as for the broken bolt. Most of us have been there. With me, it was a broken exhaust flange bolt. Had a buddy weld it out. Different process for different situations and maybe more than one answer for each. Many experts (not me) here will advise on that when they can see what it looks like.
Sorry for your trouble. But you weren’t the first. Won’t be the last. You’re in good company.Last edited by Rich82GS750TZ; 04-04-2025, 09:30 AM.Leave a comment:
-
so broke a bolt reinstalling the cover... I used a torque wrench set to 5ftlbs, Heard the click and thought "great" then I look and see the screw head is missing. Haven't taken it off yet to see how dire my situation is. I know I'm going to wreck something else if I keep working on this today.Leave a comment:
-
Gaskets are still available from dealer or online sources. Buy OEM.
part # 11173-49224-H17 -$31.32 plus shipping. Shipping isn't that bad if your getting a bunch of things at the same time: half-moons, etc.
https://www.partshark.com/oemparts/a...-cover-model-dLeave a comment:
-
So... Anyone have a gasket templates for valve covers?Leave a comment:
-
Oh, believe it. Some folks have no idea the gaps exist, thinking they might be hydraulic lifters or something.
Others are put off by the cost of workshop time and eventually the bike doesn't start or runs like a pig so gets laid up as a 'someday' project.Leave a comment:
-
-
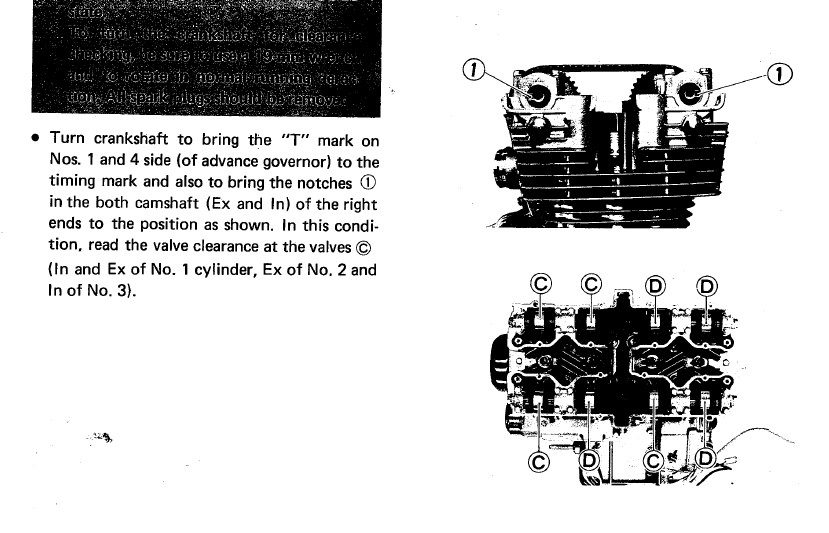
Its really important that you measure the clearance between the tappet screws and valve stems with the cams in the correct position as per the workshop manual. There is clearance between the cam journals and the bearing beds and caps and correct positioning stops inaccurate measurement caused by the camshaft being unevenly loaded by the valve springs.

Leave a comment:

Leave a comment: