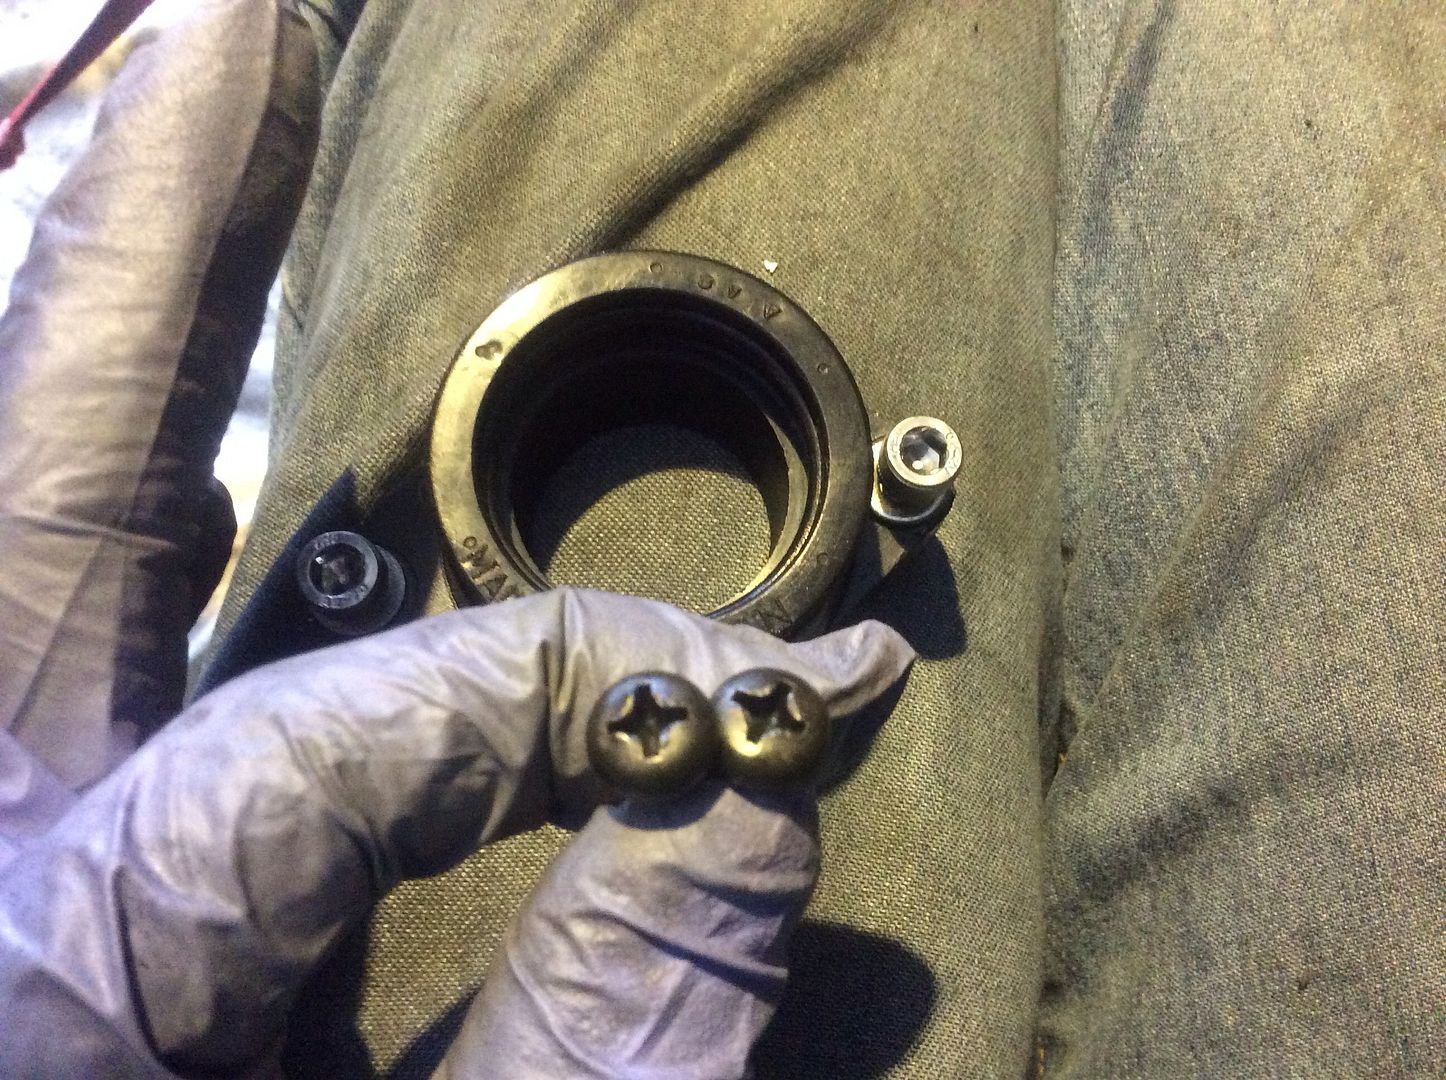
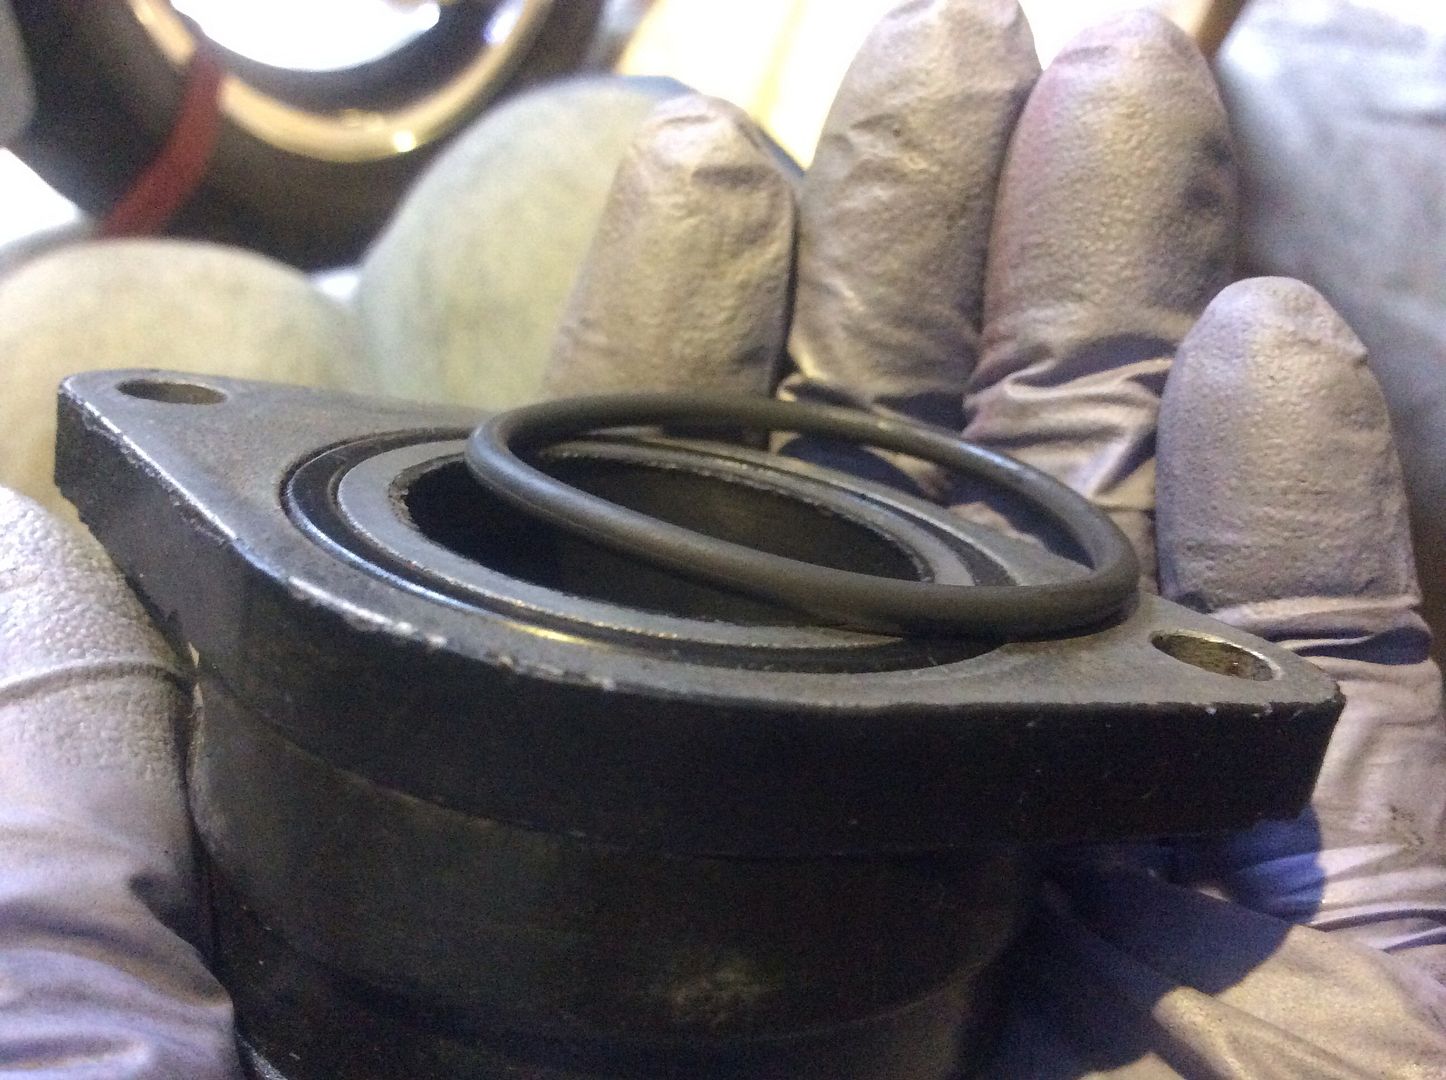
I'm armed with an impact screwdriver, JIS screwdrivers, heat gun, left-handed drill bits, and a cutoff wheel. Hopefully I can get these suckers off and replaced.
Replacing intake boots tomorrow - last minute tips?
Collapse
X
-
Replacing intake boots tomorrow - last minute tips?
Any handy advice besides what is in the tutorials?
I'm armed with an impact screwdriver, JIS screwdrivers, heat gun, left-handed drill bits, and a cutoff wheel. Hopefully I can get these suckers off and replaced.Tags: None -
 JEEPRUSTY
 -
Get the two outer boots off first. I've found that getting to the bottom inside boot screws can be a little bit of a PITA. No room to swing an impact wrench. If you can get one of the top screws out it helps to pivot the boot counter clockwise around the other bolt to loosen it. You can use a flat blade screwdriver and a hammer to get the boot to rotate. Hope this makes sense.
When installing the new boot O-rings I use a small amount of grease to keep them in the groove.
Replace the boot screws with hex head cap screws so they're easier to remove the next time.
Make sure you use some anti-seize lubricant on the screws when reinstalling them.
A little lubricant on the boot openings helps to get the carbs back in. I also use a ratcheting tie down strap wrapped around the engine and carbs to help get the carbs seated.http://img633.imageshack.us/img633/811/douMvs.jpg
1980 GS1000GT (Daily rider with a 1983 1100G engine)
1998 Honda ST1100 (Daily long distance rider)
1982 GS850GLZ (Daily rider when the weather is crap)
Darn, with so many daily riders it's hard to decide which one to jump on next.;)
JTGS850GL aka Julius
GS Resource Greetings
Comment
-
 growler
 -
The astroglide comment isn't far off the mark. I (very lightly) spray some silicone on the inner lip of the boots to get the carbs to go back in easily.
Sounds like you're well-prepared, so it should go fine. The hardest part is disconnecting and then reconnecting the choke and throttle cables. Although if you're not taking the carbs to the bench, that could be optional.Comment
-
 LarryJ
I used my impact driver with a very fine &, tight fitting cross point tip. A little PB blaster helped to free up those well aged screws & nuts too. I like the astroglide idea too!Comment
-
 cjanderson_90
 -
As mentioned the 2 very inner can might be problematic. Do them last if need be. What I did on my GS1000 because they just wouldn't come loose was to remove the rear wheel and inner rear fender. On my old Vessel impact I can put a 1/2" extension on it which allowed me room to swing a hamner.'84 GS750EF (Oct 2015 BOM) '79 GS1000N (June 2007 BOM)Comment
-
Once you get the outer screws out (impact driver or vice grips) you can try to spin the boot counter clockwise to crack the inner screw loose. If the boot just spins and you don't have access to the screw, a sharp chisel on the outside edge of the screw can be used to get it cracked loose.Ed
To measure is to know.
Mikuni O-ring Kits For Sale...https://www.thegsresources.com/_foru...ts#post1703182
Top Newbie Mistakes thread...http://www.thegsresources.com/_forum...d.php?t=171846
Carb rebuild tutorial...https://gsarchive.bwringer.com/mtsac...d_Tutorial.pdf
KZ750E Rebuild Thread...http://www.thegsresources.com/_forum...0-ResurrectionComment
-
Yes, spinning the inner boots will often be required, as they are the most problematic. i've had to notch them before with a dremel and/or use vice-grips:

But heat focused with a torch, and my favorite home made penetrant - 50/50 mix of quality acetone and ATF will loosen them up.
Do replace these when you have them off:

And these:
 ----------------------------------------------------------------
2014 BMW F800GSA | 1981 GS850GX | 1982 GS750T (now the son-in-laws) | 1983 GS750ES | 1983 Honda V45 Magna (needs some love) | 1980 Yamaha GT80 and LB80 "Chappy" | 1973 and 1975 Honda XL250 projectsComment
-
Note that most (all?) hand impact wrenches have ends that can be pulled off, revealing a square drive. I have had 1/2" drive and 3/8" drive, my current one is 3/8". Separate the wrench, add about 18" of extension, the business end of the impact tool will be above the battery box, where you can reach it with a hammer.
When you put the stainless bolts in, use COPPER anti-sieze.
.sigpic
mine: 2000 Honda GoldWing GL1500SE and 1980 GS850G'K' "Junior"
hers: 1982 GS850GL - "Angel" and 1969 Suzuki T250 Scrambler
#1 son: 1986 Yamaha Venture Royale 1300 and 1982 GS650GL "Rat Bagger"
#2 son: 1980 GS1000G
Family Portrait
Siblings and Spouses
Mom's first ride
Want a copy of my valve adjust spreadsheet for your 2-valve per cylinder engine? Send me an e-mail request (not a PM)
(Click on my username in the upper-left corner for e-mail info.)Comment
-
 growler
Repair complete. The PO had tried to use sealant to fix leaks instead of just replacing the flat-as-a-pancake o-rings.
They came off nicely with some heat and a few whacks of the impact. Thanks for the tips. Used them all.Comment

Comment