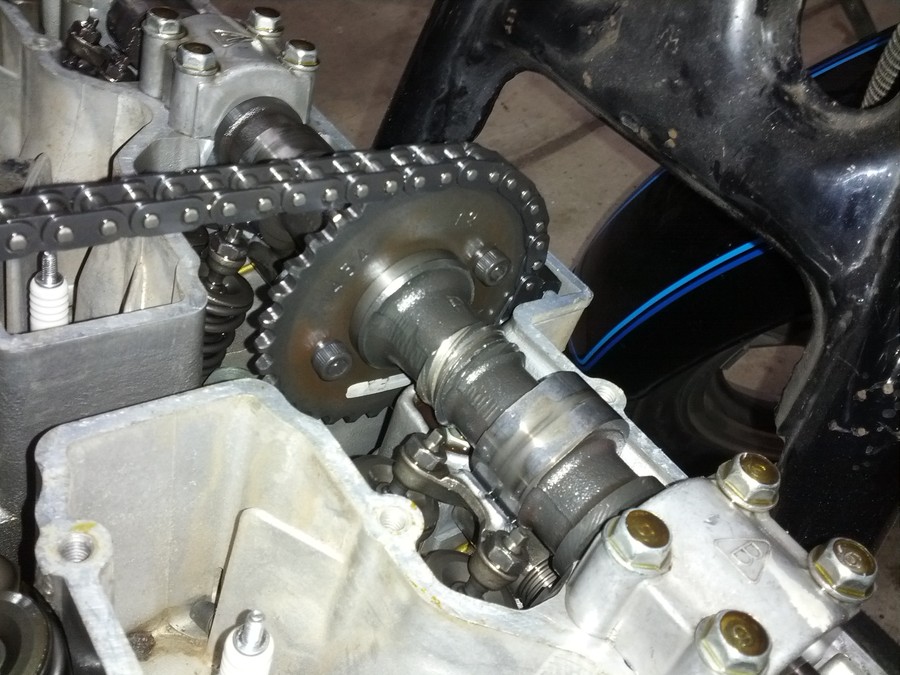
After discovering that my exhaust cam had a stripped gear worm gear (the one that drives the mechanical tach), I started investigating my options. I wasn't looking forward to buying and swapping out the exhaust cam, even though it's not really that big a chore to do.
At some point, someone (or perhaps multiple someones) mentioned that it should be possible to convert the tach to an electronic one, but I couldn't find anyone who had actually done it or had documentation for it. So now that I've done it, consider this the documentation for the procedure! ^^
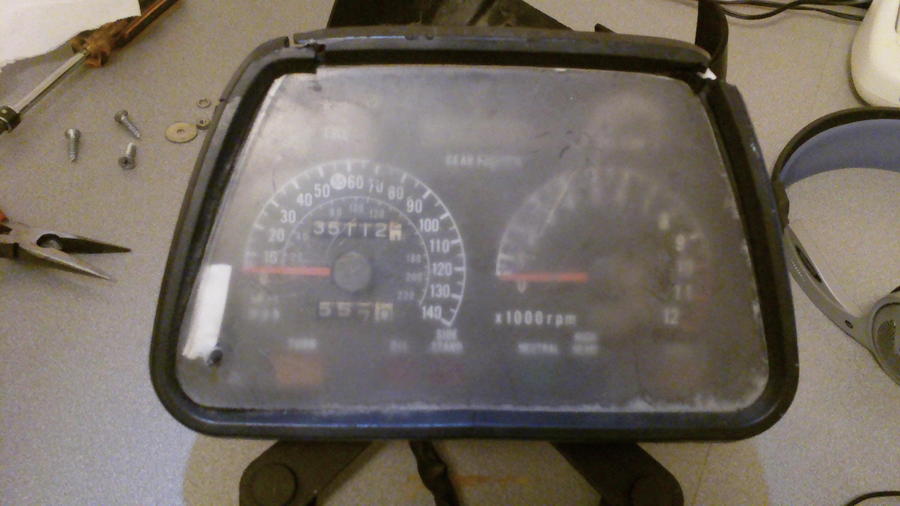
In my research, I found that some of the 3rd-gen GS750Es had electronic tachs, so that would be the most likely candidate. I didn't find much on eBay, but I eventually did locate a banged-up '83 750E dash with a (claimed) working tach at a reasonable price from a fellow GSR member. Here's the donor (by the way, that's not glare, it really is that clouded up):
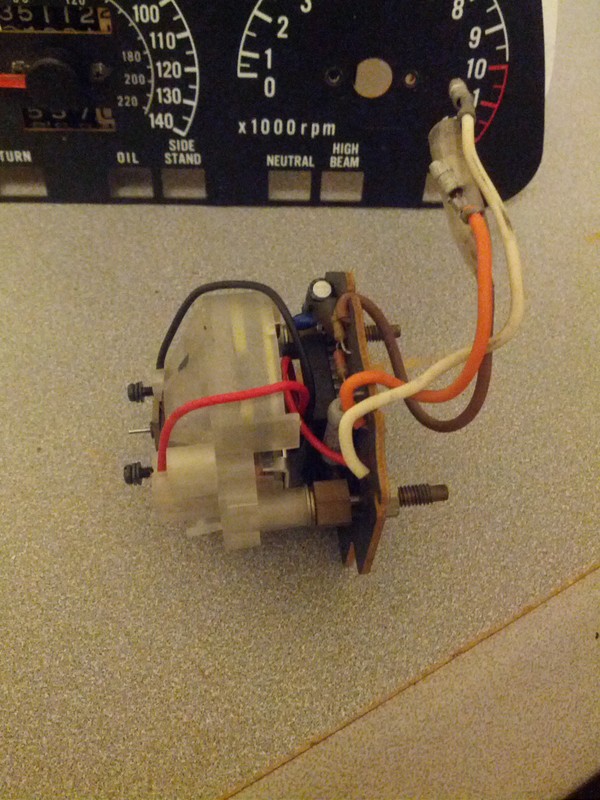
I extracted the tach movement from its bashed-up housing:
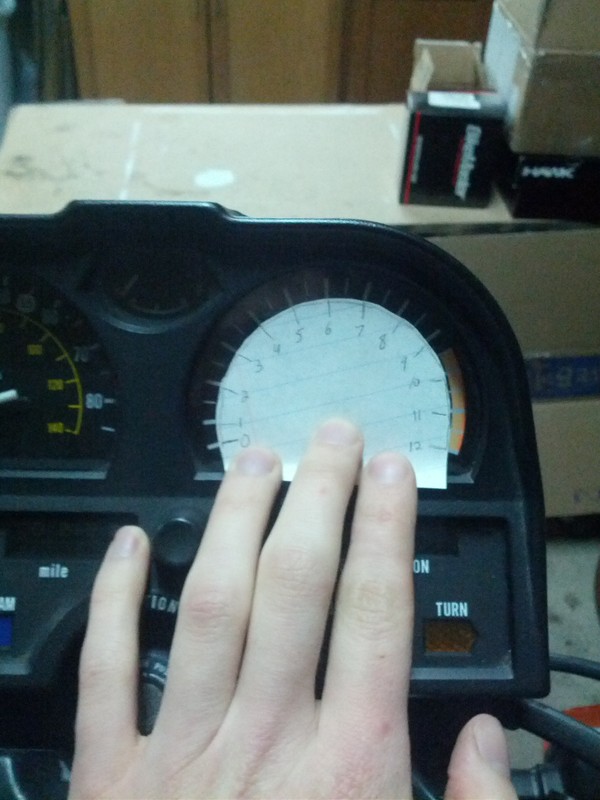
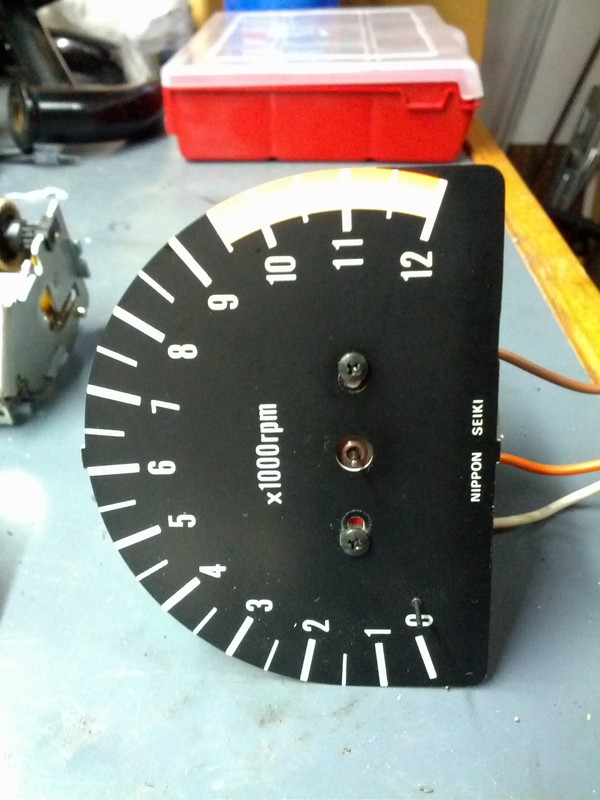
I then confirmed that the numbers on two tach faces lined up. (And if they didn't line up, then at least I would have an idea what the error would be. But thankfully, that's not an issue.)
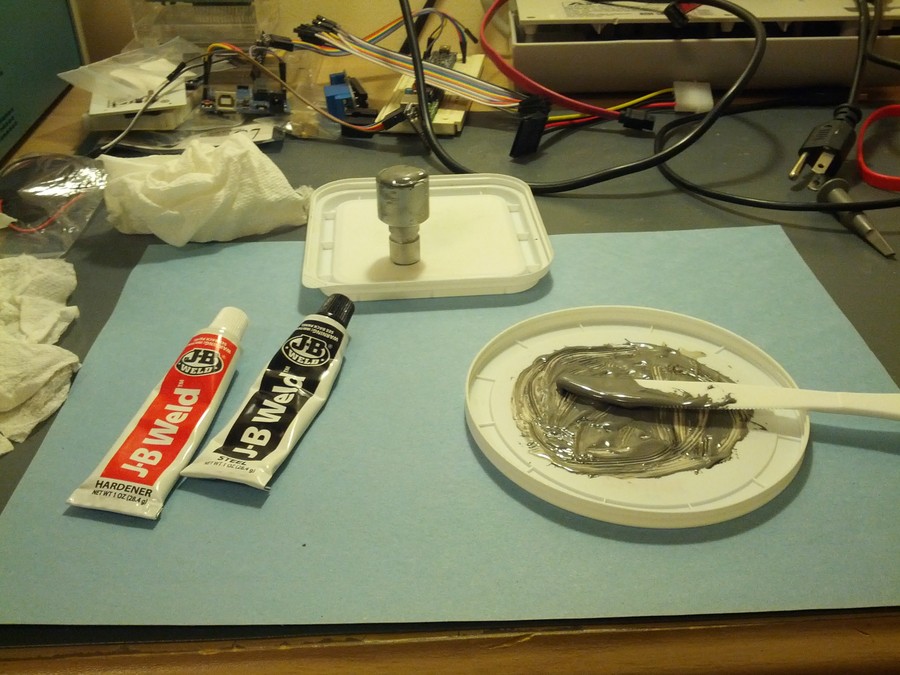
You can go out and buy a Suzuki tach drive hole plug for $10 plus shipping, but JB Weld is just as effective and a bit cheaper.
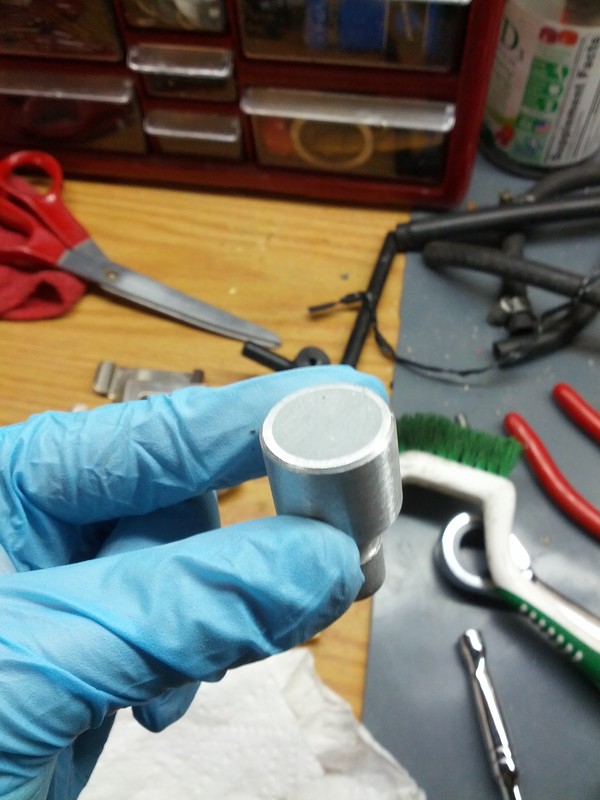
The finished result:
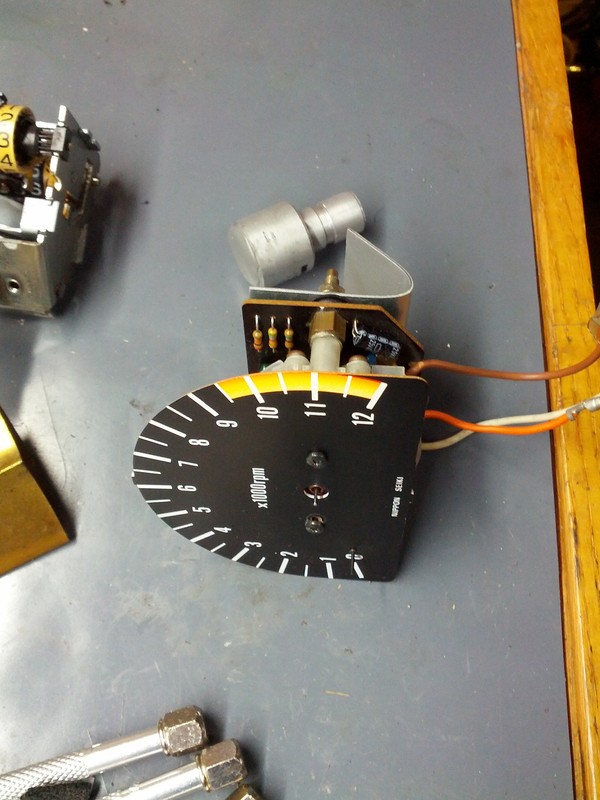
Time to swap over the face plate. The electronic tach has two sets of screw holes, but unfortunately the mechanical tach screw holes don't line up with either set. So I had to move the holes slightly outward. I didn't do a very good job of it, but you have to look pretty closely in order to really notice. If it bugs me enough, some day I might place some black vinyl circles around the screws to hide the old holes. For now, good enough for government work.
The big challenge was mounting the electronic tach in the housing. Although it is small enough to fit, it's not a drop-in replacement. The two styles of tach mount up into their respective housings very differently.
Because I wanted to keep everything reversible, I started out with the idea to make a mounting bracket. This eventually proved to be unworkable for a variety of reasons, the two most prominent being that I don't have much in the way of fabrication knowledge or tools. The second being that with the tach sitting in the housing, I had no good view of where to put bolts, drill holes, etc. It would have been a huge game of trial-and-error, one that I would have eventually lost.
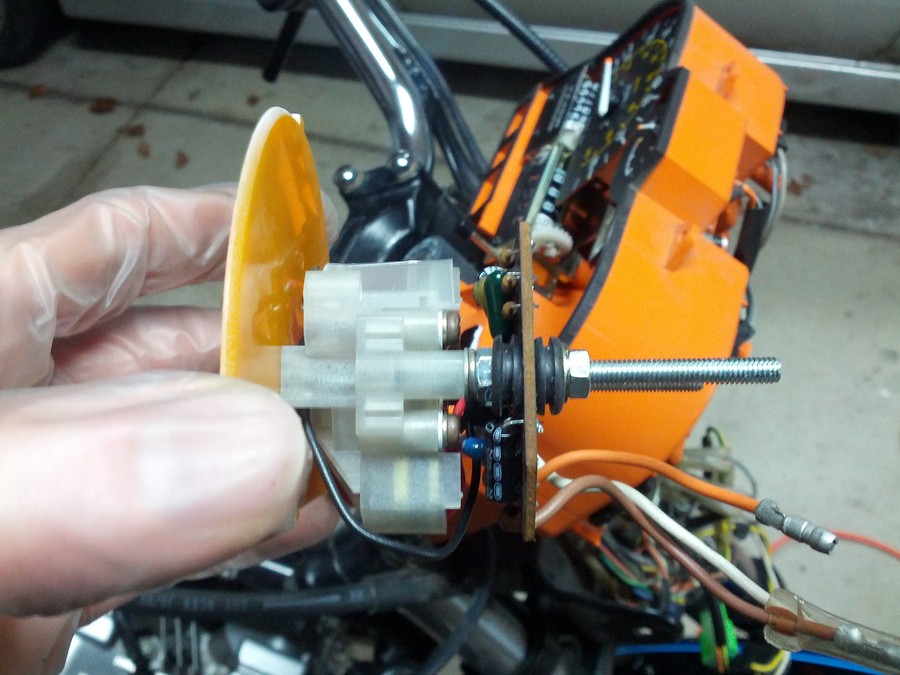
My second attempt at mounting the tach was a success, I'm happy to say. The recipe? Two 50mm lengths of M4 threaded rod (or bolts with the heads chopped off) and holes drilled into the back of the existing housing. The circuit board is sandwiched by rubber grommets. (I bought a 100-pack of these a long time ago for something and have seriously never used a single one as an actual grommet.) Three M4 nuts per rod hold the tach, circuit board, and secure the whole works into the housing.
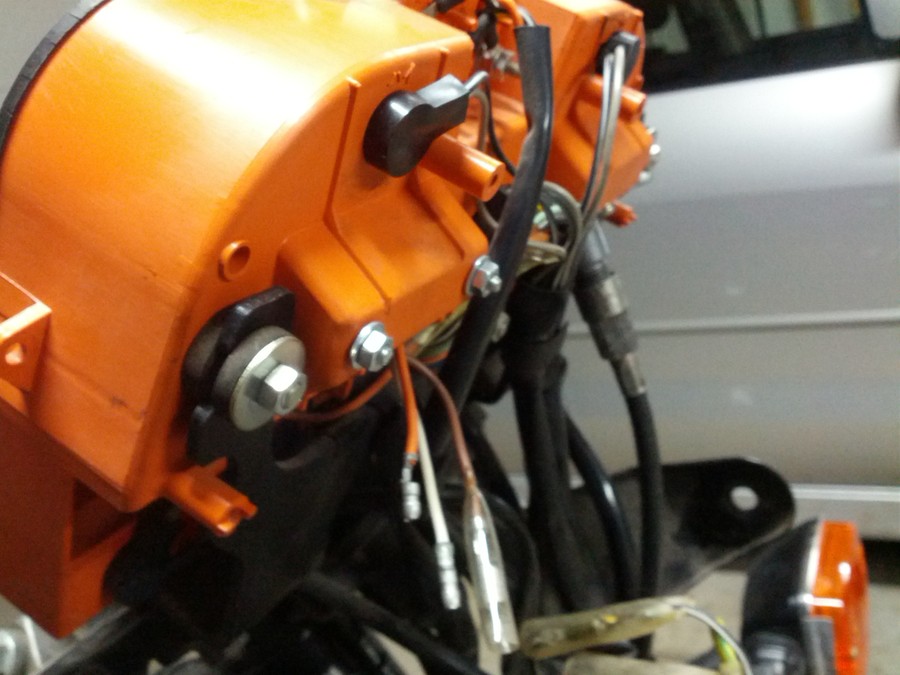
Installed:
I didn't get any good pictures of this, but the electrical connections were pretty straightfoward:
Final verdict: it seems to work! Which surprised the hell out of me, nothing I ever do works the first time... Oh well, I haven't had it out on the road yet so I guess we'll see.
At some point, someone (or perhaps multiple someones) mentioned that it should be possible to convert the tach to an electronic one, but I couldn't find anyone who had actually done it or had documentation for it. So now that I've done it, consider this the documentation for the procedure! ^^
In my research, I found that some of the 3rd-gen GS750Es had electronic tachs, so that would be the most likely candidate. I didn't find much on eBay, but I eventually did locate a banged-up '83 750E dash with a (claimed) working tach at a reasonable price from a fellow GSR member. Here's the donor (by the way, that's not glare, it really is that clouded up):
I extracted the tach movement from its bashed-up housing:
I then confirmed that the numbers on two tach faces lined up. (And if they didn't line up, then at least I would have an idea what the error would be. But thankfully, that's not an issue.)
You can go out and buy a Suzuki tach drive hole plug for $10 plus shipping, but JB Weld is just as effective and a bit cheaper.
The finished result:
Time to swap over the face plate. The electronic tach has two sets of screw holes, but unfortunately the mechanical tach screw holes don't line up with either set. So I had to move the holes slightly outward. I didn't do a very good job of it, but you have to look pretty closely in order to really notice. If it bugs me enough, some day I might place some black vinyl circles around the screws to hide the old holes. For now, good enough for government work.
The big challenge was mounting the electronic tach in the housing. Although it is small enough to fit, it's not a drop-in replacement. The two styles of tach mount up into their respective housings very differently.
Because I wanted to keep everything reversible, I started out with the idea to make a mounting bracket. This eventually proved to be unworkable for a variety of reasons, the two most prominent being that I don't have much in the way of fabrication knowledge or tools. The second being that with the tach sitting in the housing, I had no good view of where to put bolts, drill holes, etc. It would have been a huge game of trial-and-error, one that I would have eventually lost.
My second attempt at mounting the tach was a success, I'm happy to say. The recipe? Two 50mm lengths of M4 threaded rod (or bolts with the heads chopped off) and holes drilled into the back of the existing housing. The circuit board is sandwiched by rubber grommets. (I bought a 100-pack of these a long time ago for something and have seriously never used a single one as an actual grommet.) Three M4 nuts per rod hold the tach, circuit board, and secure the whole works into the housing.
Installed:
I didn't get any good pictures of this, but the electrical connections were pretty straightfoward:
- Orange: +12V, I crimped an eyelet terminal onto this wire and bolted it onto the +12V terminal on the fuel gauge (also orange, I believe).
- White: Ground, spliced a male bullet connector onto this one and stuck it into a free four-wire bullet connector on a ground wire in the headlight bucket.
- Brown: Signal, ran a wire back to the Black/Yellow wire on the #2 coil and made a solder splice there.
Final verdict: it seems to work! Which surprised the hell out of me, nothing I ever do works the first time... Oh well, I haven't had it out on the road yet so I guess we'll see.
Comment