Hello.
I have a little saddle project I have to get to.
Saddle to my dear GS1100GKE need some hard love ...
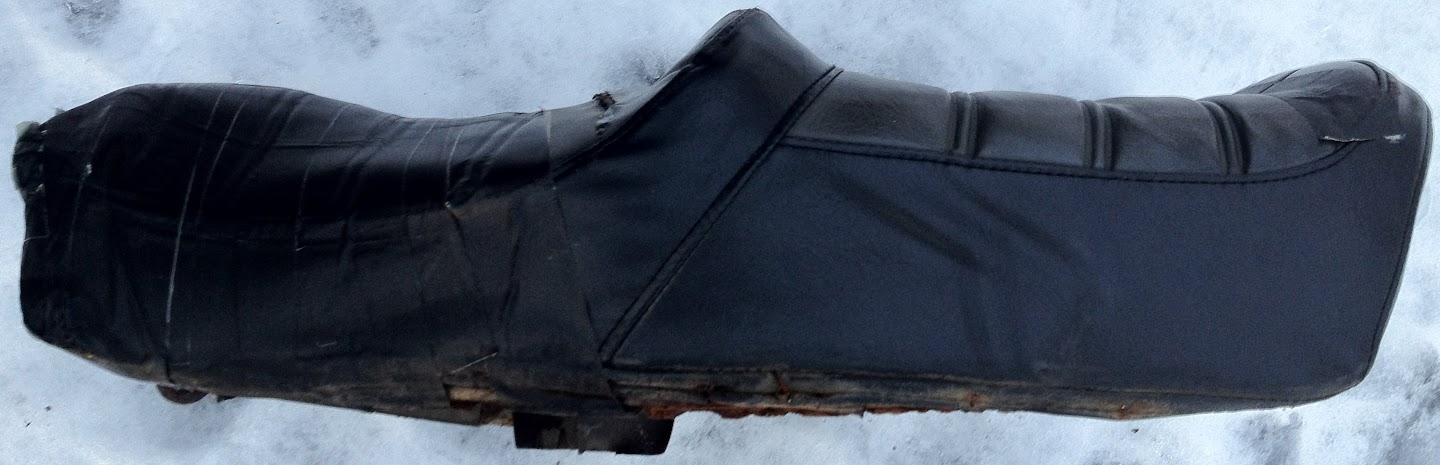

While the foam and the "skin" cover is replaced by a pro. Should I take care of the metal bottom part.
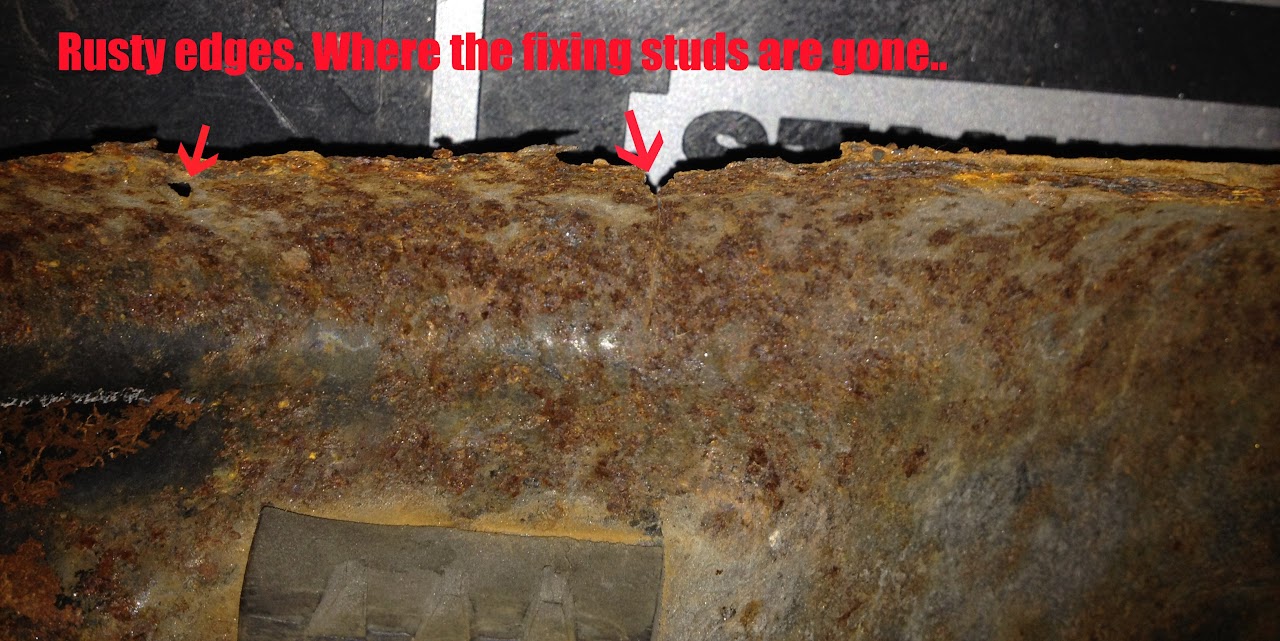
It is pretty rusty. It has some rust damage along the edges where the small attachment studs.
What I wonder is. When the rust is gone. What do I do with the edges? Welding? Fibreglass? Plastic? The metal is thin..
And how do I replace the fixing studs?
Some others who can show / tell about other saddle repairs?
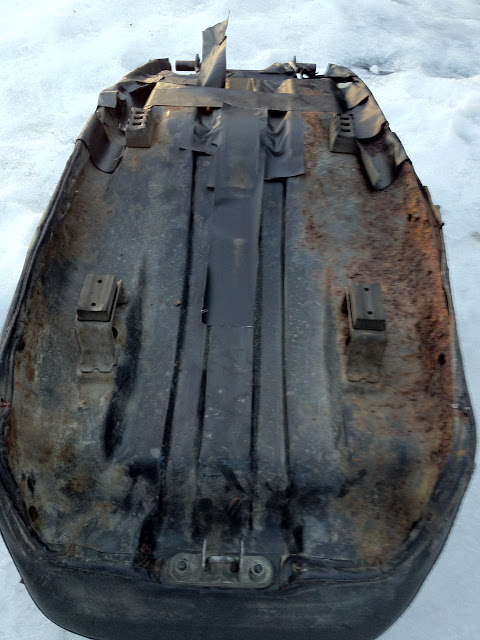
The underside.
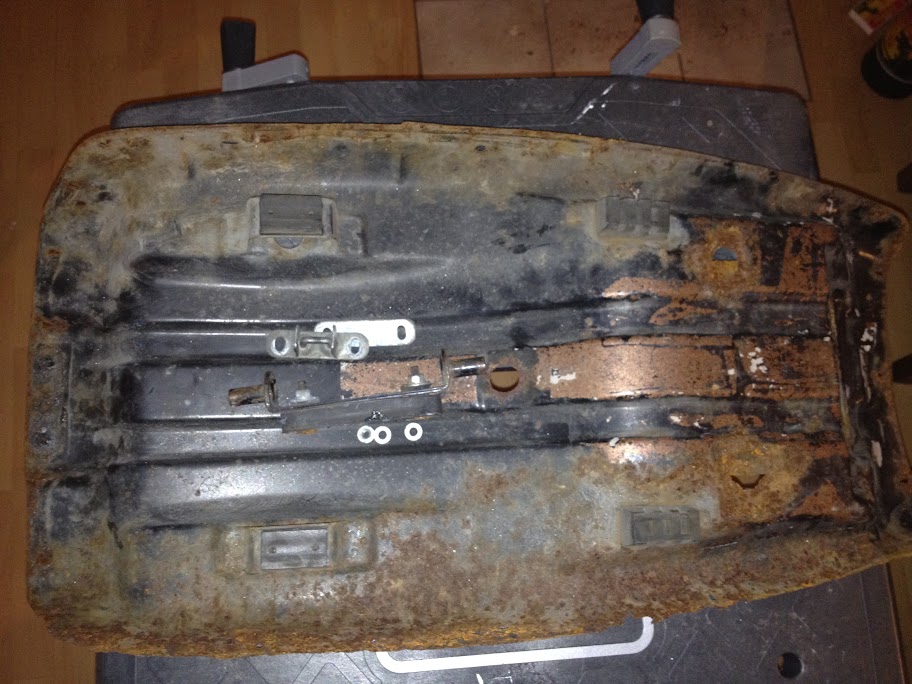
The fixing studs:

The rusty edge.

Link to my GS1100GKE Picasa album.
I have a little saddle project I have to get to.
Saddle to my dear GS1100GKE need some hard love ...
While the foam and the "skin" cover is replaced by a pro. Should I take care of the metal bottom part.
It is pretty rusty. It has some rust damage along the edges where the small attachment studs.
What I wonder is. When the rust is gone. What do I do with the edges? Welding? Fibreglass? Plastic? The metal is thin..
And how do I replace the fixing studs?
Some others who can show / tell about other saddle repairs?
The underside.
The fixing studs:
The rusty edge.
Link to my GS1100GKE Picasa album.


Comment