Well, i'm might proud of myself today as the Clam bike is all back together, and ready for it's maiden voyage of the season. I did a lot of work this past month to correct some last nagging issues, burning some oil, and weeping fork seals.
I decided to take on the fork seals myself, as this would be a first. I've never dissasembled forks before, as i've always left that to my local dealer. But after getting a few tips from my local Suzuki tech, I realized they are not quite as difficult as I thought. The 2 biggest stumbling blocks that present the average weekend mechanic is 1) you need some type of extended tool to hold the internal piston tube from spinning while trying to loosen the 8mm socket head bolt in the lower fork leg. Suzuki uses something like a 3/4" dia. large female Torx stamped into the top of the internal piston. So I got crafty and fabbed a homemade tool out of a piece of 3/4 X 24" PVC electrical condouit pipe. I ground "V" shaped fingers at the end of the pipe. To separate the lower leg from the upper tube you need to remove the 8mm hex bolt and not let the internal piston spin as well. I inserted the pipe, and forcefully pushed down to lock the piston, and used an air impact gun to remove the 8mm bolt. The bolt came out perfect ! Now you just slam the tubes away from each other a few times to extract the upper seal/bushing assembly. There are severall internal pieces that need to be assembled exactly as removed so don't try this unless you have the Suzuki OEM service manuall to reference. I got a little confused re-assembleing the forks, and the manuall saved my butt.
The last obsticle about completing the job is you need a way to force the upper bushing and the seal down into the tight fitting bore. You can ONLY do this right by using a special "fork tube bushing slider" tool. The tool is a heavy and precise large sliding bushing that you literally hammer down the bushing deep into the bore, then you repeate, and press in the seal. I ended up taking my forks to my local dealer, and they let me borrow the sepcial seal/bushing driver tool. This tool makes EASY work of driving in the bushing and seal !!! I took measurements off the tool, and I plan on machining my own seal/bushing driver. If any GSR members have blown fork seals, PM me I will mail you the tools as a favor. With the tools anyone with moderate GS experience can swap out fork seals and bushings in about 4-5 hours. You can save yourself about $125 to $300 from having a dealer perform the job.
Hope this post helped some members who are thinking of this job like I was!
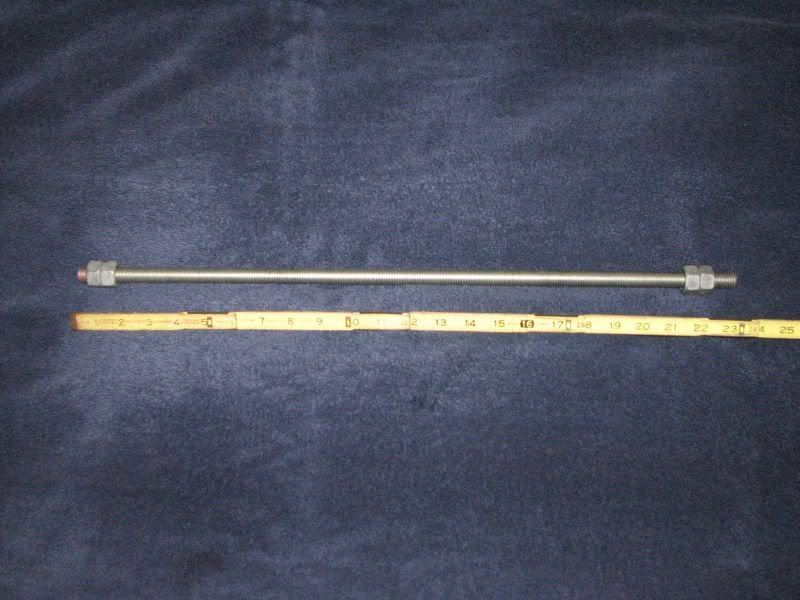
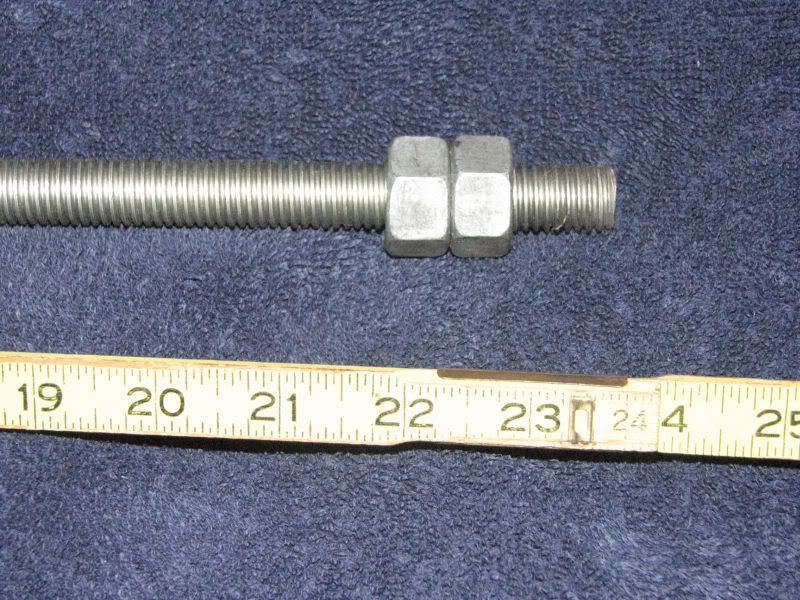
Heres a pic of the ugly, but effective piston holder extension:

I decided to take on the fork seals myself, as this would be a first. I've never dissasembled forks before, as i've always left that to my local dealer. But after getting a few tips from my local Suzuki tech, I realized they are not quite as difficult as I thought. The 2 biggest stumbling blocks that present the average weekend mechanic is 1) you need some type of extended tool to hold the internal piston tube from spinning while trying to loosen the 8mm socket head bolt in the lower fork leg. Suzuki uses something like a 3/4" dia. large female Torx stamped into the top of the internal piston. So I got crafty and fabbed a homemade tool out of a piece of 3/4 X 24" PVC electrical condouit pipe. I ground "V" shaped fingers at the end of the pipe. To separate the lower leg from the upper tube you need to remove the 8mm hex bolt and not let the internal piston spin as well. I inserted the pipe, and forcefully pushed down to lock the piston, and used an air impact gun to remove the 8mm bolt. The bolt came out perfect ! Now you just slam the tubes away from each other a few times to extract the upper seal/bushing assembly. There are severall internal pieces that need to be assembled exactly as removed so don't try this unless you have the Suzuki OEM service manuall to reference. I got a little confused re-assembleing the forks, and the manuall saved my butt.
The last obsticle about completing the job is you need a way to force the upper bushing and the seal down into the tight fitting bore. You can ONLY do this right by using a special "fork tube bushing slider" tool. The tool is a heavy and precise large sliding bushing that you literally hammer down the bushing deep into the bore, then you repeate, and press in the seal. I ended up taking my forks to my local dealer, and they let me borrow the sepcial seal/bushing driver tool. This tool makes EASY work of driving in the bushing and seal !!! I took measurements off the tool, and I plan on machining my own seal/bushing driver. If any GSR members have blown fork seals, PM me I will mail you the tools as a favor. With the tools anyone with moderate GS experience can swap out fork seals and bushings in about 4-5 hours. You can save yourself about $125 to $300 from having a dealer perform the job.
Hope this post helped some members who are thinking of this job like I was!
Heres a pic of the ugly, but effective piston holder extension:

Comment