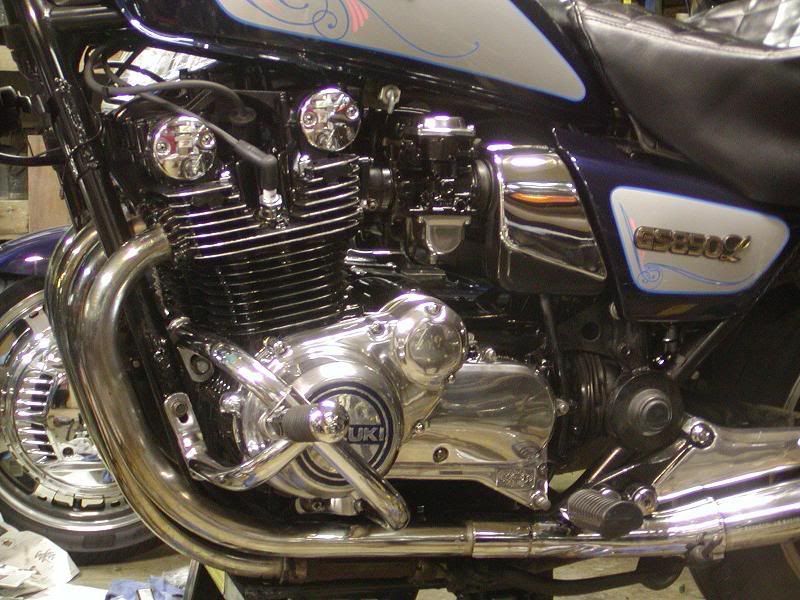
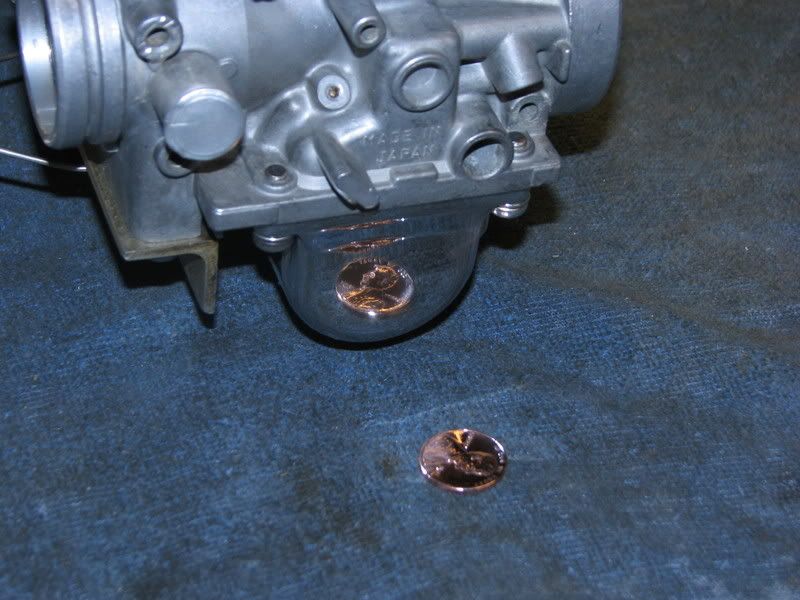
Ok so after seeing the pictures of what buffing can do in the thread "brilliant shine" I went out and bought some stuff to take a crack at it. I bought an assortment of coarse and fine wire wheels and also a buffing kit they sell. All of these are attachments you can chuck in a drill. My first attempt was the bottom fork slider. Using the fine wire wheel, it came out pretty good and looks awesome out in the sun, but under fluorescent lighting, you can see all of these blemishes. It almost looks like a bunch of finger smudges but I cleaned them so damn well I know it's not that. I tried to use the buffing kit thinking that it would smooth everything out but I couldn't get it to do a darn thing. Which brings us to my problem.
The kit came with three different buffing wheels and some different buffing compounds. The buffing compounds are as hard as a rock and I don't see how I can get it onto the wheel. I tried soaking them in hot water but that didn't do anything. Is this how they are supposed to be or are these bad? Also it seem that the wheels have a grain. In one direction the fibers will pull up and the other you are going with them. Which direction should i have the wheel spinning? Anything else I should know?
Thanks
-Theo
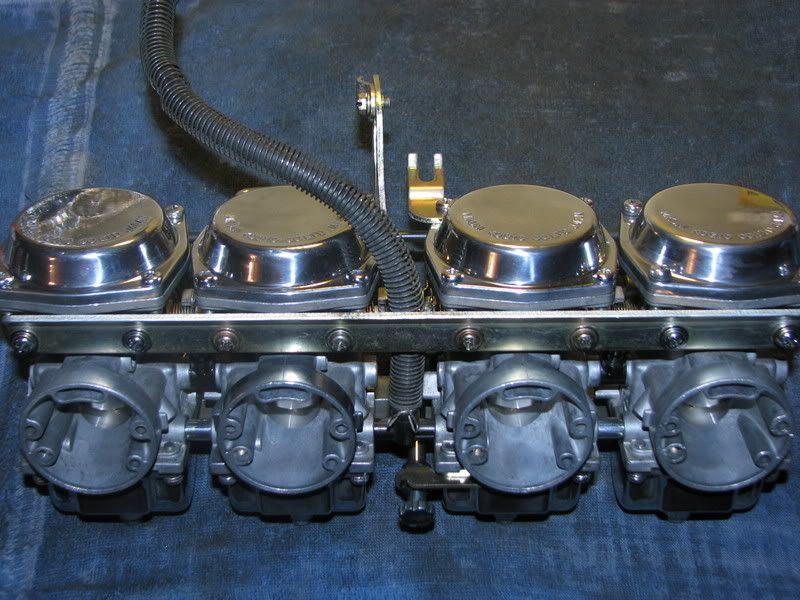
My setup:

The compounds:

The results so far:

The kit came with three different buffing wheels and some different buffing compounds. The buffing compounds are as hard as a rock and I don't see how I can get it onto the wheel. I tried soaking them in hot water but that didn't do anything. Is this how they are supposed to be or are these bad? Also it seem that the wheels have a grain. In one direction the fibers will pull up and the other you are going with them. Which direction should i have the wheel spinning? Anything else I should know?
Thanks
-Theo
My setup:
The compounds:
The results so far:

 Yeah, Lowe's. Found right next to the diamond-plate truck boxes, next to the lumber aisle.


Comment