Slowly plugging away at the bike. I have the bearings in the wheels and they are ready for whatever.
I have stripped most of the paint off of the body work and fixed a few dents in the tank.
Here is the main dent I had to removed. It was take before removing the paint.

As you can see it has a crease it the dent which makes it harder to remove. Especially, if it is your first time using a stud welder and slide hammer. There was another major dent that was cover with bondo on the other which came out once the tank was stripped.
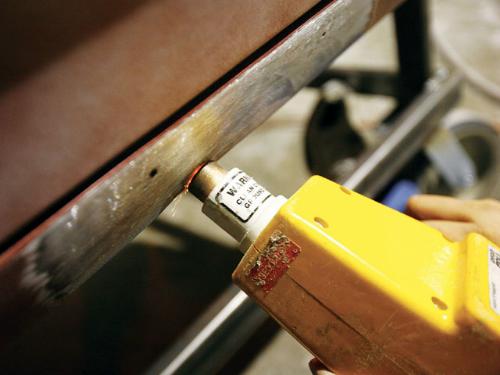
Here is the ceased dent almost pulled out.

I did do a little more work with the stud welder and put a hole through the tank. It was fix with a mig welder by a fried for free.
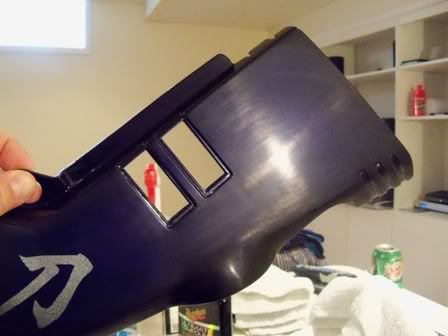
Here it is with the light filler applied and sanded down to 100 grade sand paper. I still have more sanding to do.

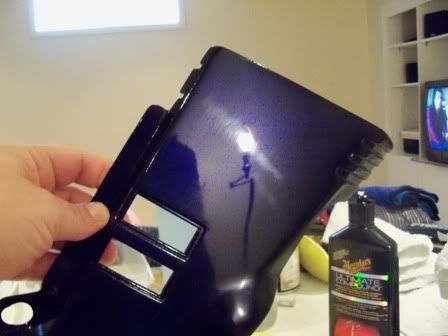
Now here is the another dent on the other side of the tank with it pulled out already.

I have stripped most of the paint off of the body work and fixed a few dents in the tank.
Here is the main dent I had to removed. It was take before removing the paint.
As you can see it has a crease it the dent which makes it harder to remove. Especially, if it is your first time using a stud welder and slide hammer. There was another major dent that was cover with bondo on the other which came out once the tank was stripped.
Here is the ceased dent almost pulled out.
I did do a little more work with the stud welder and put a hole through the tank. It was fix with a mig welder by a fried for free.
Here it is with the light filler applied and sanded down to 100 grade sand paper. I still have more sanding to do.
Now here is the another dent on the other side of the tank with it pulled out already.
 , but not sure if you are spot welding something to the outside or going through the tank. I would have thought that using a slide hammer on a single attachment point would cause a volcano type high spot or worse just a rip in the tank with the bulk of the deformity remaining.


Comment