Well, after much procrastination, I've finally plucked up the courage to get Suzy back on the road.
This is the first motorcycle project I've ever worked on.
I bought her from a gentleman who rented one of the garages opposite my house. He told me she'd been sitting for 3 years, but he had started her a few times.
She reminded me of the bikes I lusted after as a kid and it was too good an opportunity to miss.
Hopefully (fingers crossed) it will be a relatively simple project to get her up and running again.
Thanks to the helpful advice given by members of this forum (thank you!) in my introduction post, I have something resembling a plan of action:
Looks simple when I write it down like that LOL.
Here are some photographs from yesterday:
It took me a long time to work out how to get the old fuel out of the tank...

...Then I discovered the tool I got for bleeding the front disc brake (that's a job much further down the line) allowed me to bypass the vacuum system. Though further reading suggests that selecting the 'Prime' setting on the petcock would have worked **Doh!**
The old battery was removed...

I've been repurposing the shed and thanks to some very creative storage solutions, there is room for Suzy. Which is going to come in handy now that Winter is coming to Devon. Only took me three hours to get her in LOL!

Next up...
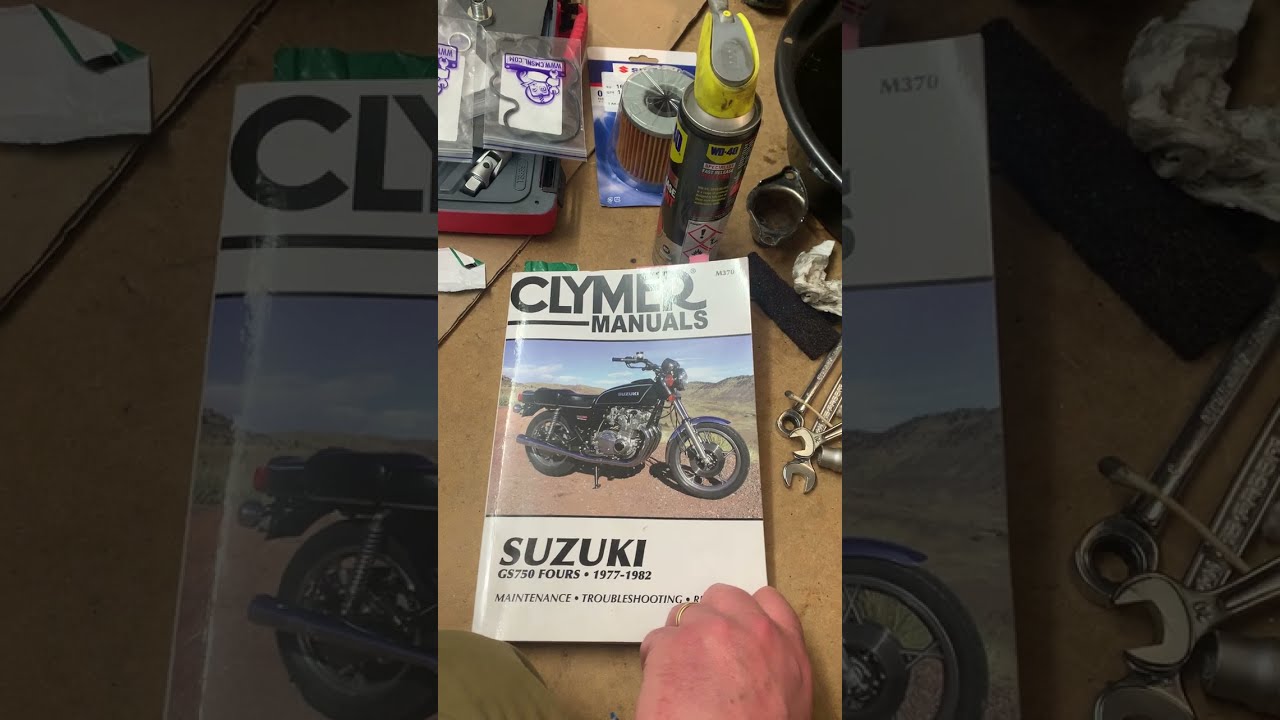
... Change the Oil
This is the first motorcycle project I've ever worked on.
I bought her from a gentleman who rented one of the garages opposite my house. He told me she'd been sitting for 3 years, but he had started her a few times.
She reminded me of the bikes I lusted after as a kid and it was too good an opportunity to miss.
Hopefully (fingers crossed) it will be a relatively simple project to get her up and running again.
Thanks to the helpful advice given by members of this forum (thank you!) in my introduction post, I have something resembling a plan of action:
- Sort the battery out - Done
- Check the tank for rust and leaks - Working on
- Change oil
- Try to start
- Remove the carb bank and clean
Looks simple when I write it down like that LOL.
Here are some photographs from yesterday:
It took me a long time to work out how to get the old fuel out of the tank...
...Then I discovered the tool I got for bleeding the front disc brake (that's a job much further down the line) allowed me to bypass the vacuum system. Though further reading suggests that selecting the 'Prime' setting on the petcock would have worked **Doh!**
The old battery was removed...
I've been repurposing the shed and thanks to some very creative storage solutions, there is room for Suzy. Which is going to come in handy now that Winter is coming to Devon. Only took me three hours to get her in LOL!
Next up...
... Change the Oil


Comment