Announcement
Collapse
No announcement yet.
Jennifer's Makeover
Collapse
X
-
A litre of lacquer thinner might be a good thing just to ensure all the crud is removed.
-
 Guest repliedhahaha, I know what you mean Chuck, I did indeed peer around all over inside to check that all the loose crud was out, and that all the stuff stuck to the tank was knocked off, it is all good, but yes, thanks for the pointer, it is something that can be easily overlooked. Lucky I am OCD about these things.
Leave a comment:
-
Take a flash light and look down the side at the seams as far back as you can. I had one that literally had flakes that looked like black plastic coming out of it. i thought the pea gravel had done its job till I looked in and saw the stuff was still deep in the creases.
I wound up taking a coat hanger and bending a small 90 degree into it and physically digging the stuff out of the edges with it...and got a good sized pile out yet again.
Not questioning your judgement Stan. Just that ive been there too and got myself fooled.
Leave a comment:
-
 Guest repliedI knew there was petrol in the tank when I put it on the shelf, the plan was to use it for parts cleaning and so forth, so no problem going stale.
It never happened like that and I forgot about it, tank out of sight, out of mind.
Spent the day cleaning it out with a liter of some rust remover which did ok-ish followed by 3l of vinegar and a hand full of pebbles, my arms have no feeling left from shaking it around.
But heaps and heaps of the crystallized crap came out, and the water was running clean, so I called it done.
Also started stripping off the paint, will hopefully get that done tomorrow and maybe even have it ready for base coat.
Won't happen again, that's for sure, with the price of petrol these days I can't afford to buy enough for it to go stale.
Filling her will be well over R300 now.
Leave a comment:
-
then get some MEK or Acetone and make some covers for the petcock and sending unit holes ( if equipped ). Cut some Neoprene gaskets and soak the he11 out of it and swish it around afew times a day. maybe two or three days depending on how thick the sludge is.
May take a few cycles of new stuff also. But I am sure youll not be satisfied till your sure its all out.
Leave a comment:
-
 Guest repliedHi, thanks Chuck, ya, I think there is quite a bit of sludge in there still, because the tank is quite heavy and there sure is no more fuel coming out.
Was thinking of spraying the inside full of Q20 once the paint is done, but a cup of oil is not a bad idea.
I am not going to put a liner in, we don't have rust up here and nothing nicer than seeing a shiny bright steel through the cap when you fill her up.
Leave a comment:
-
Good swill of MEK or Acetone will dissolve the varnish inside the tank as well. The saving grace is that it was still liquid and the sludge will thusly be easily dissolved and rinsed out.
Once its rinsed out, I would suggest doing the tank liner ( if you feel necessary) before doing any painting. If not, once its rinsed out, mix up a quart of gas and maybe 5 or 6 ounces of old oil and swish it around to coat the metal with an oily film while the body work and paint is being done and drain the excess off.. You wont have to rerinse it. Just fill with fuel and proceed to ride it. First fresh tank full will clean the fine oil residue off and you wont even know it was there.
Leave a comment:
-
 Guest repliedYou don't miss much, do you, crazy canuk, they make good washers if you hit a hole through the middle with a six inch nail and a brick.
good thing I didn't take a pic of the work bench.
 Last edited by Guest; 04-19-2014, 04:16 PM.
Leave a comment:
-
 Guest repliedThanks Doc, that makes good sense, I just don't have anything to boil it in or on, would also not be to popular if i stink out the whole complex.
Will give the vinegar a go tomorrow and see how she fares.
Otherwise I will take it to my connection at the plating shop at the airport and ask him to chuck it in the hot tank for me.
Leave a comment:
-
Stan, as I recall, Andre boiled his petrol tank in a lye bath. Stripped it completely inside and out.
Leave a comment:
-
And you should be pleased with the way she's turning out. The work you've done so far is impeccable!Originally posted by Flyboy View PostI am pretty happy with the design and the way it came out, and it fits seamlessly into the flow of the OEM decal kit, will let them cure for a week and then wet sand and polish next weekend, may lay down a few more coats of clear on the fairing, will see how it goes.
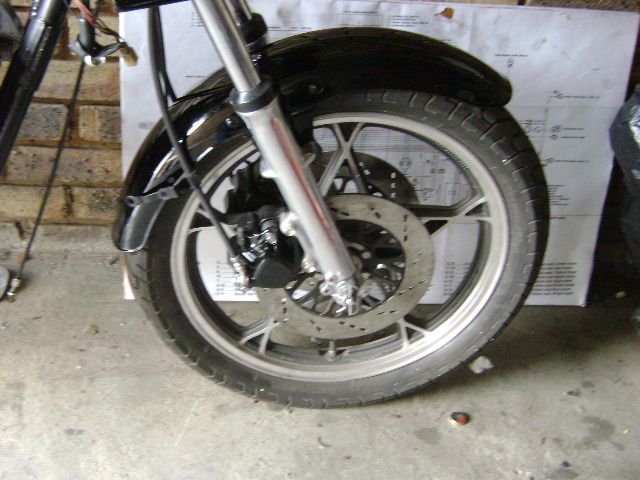
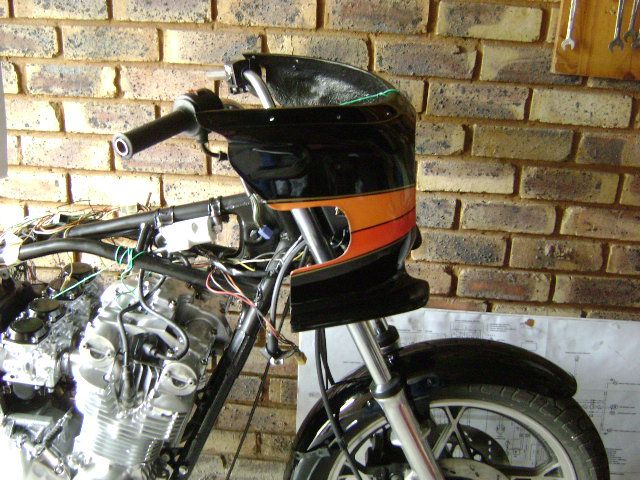
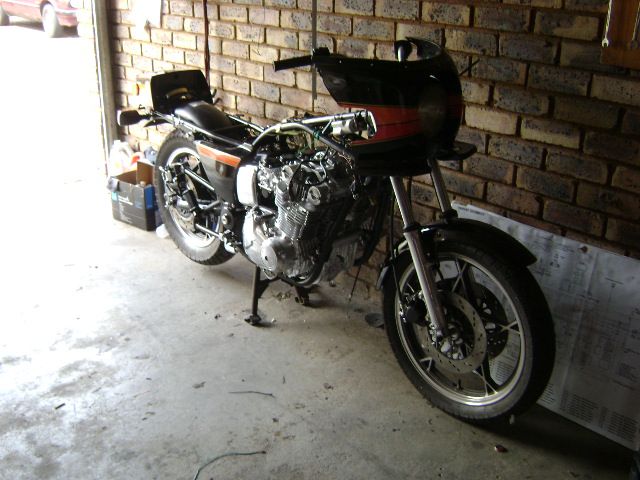
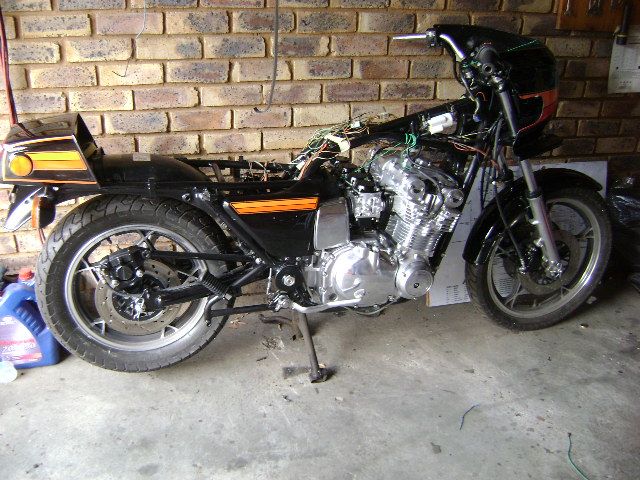
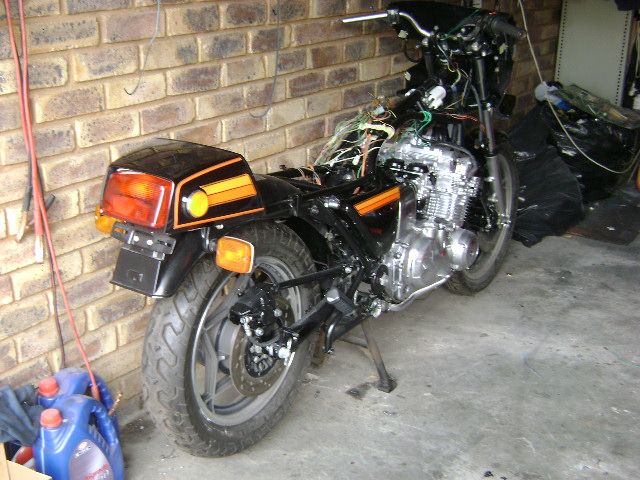
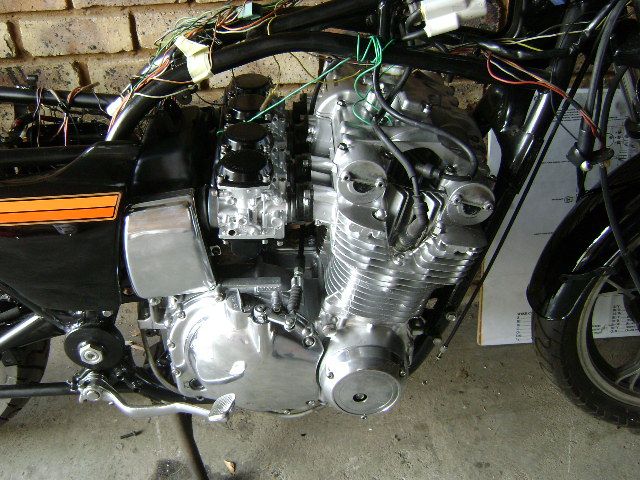
Mocked up the carbs and airbox.........look alright.
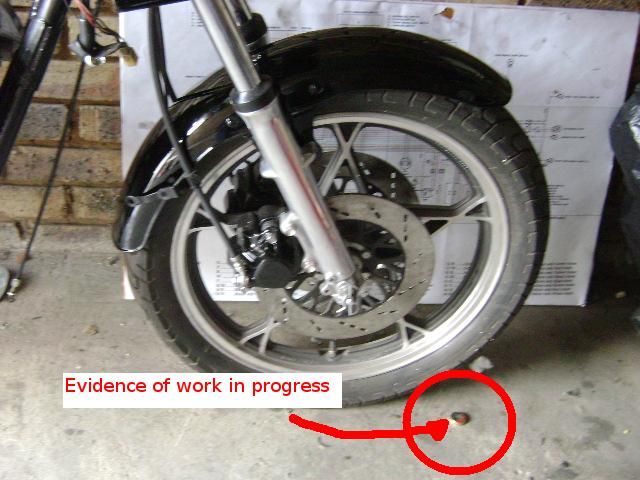
Can't wait to see her finished!
(now I need to bugger off the TSCU project and ready all the rest of your parts)
Leave a comment:
-
 Guest repliedDaniel, thanks for the kind offer, but I am sure mine will be ok, I actually did have a look in the tank and there is no rust at all, but the fuel has left a brown crystalline, almost like caramel layer on the inside of the tank, that is what that gunk is on the lower portion of the tap, it comes off easy enough, I suspect it is varnish from the fuel that has gone hard.
if I don't come right, and I will know tomorrow, i will give you a shout and we can make a plan to get it to Dale, and he can chuck it in the box with the seat and clocks and indicators.
When i took the fuel sender out it was stuck in position, but a slight nudge and the arm was moving freely, so not too worried.
Thanks Garth, yeah, me too, the tank is now the last piece to do.
Then I just need to refurbish the tank badges, for the life of me I can't find the side cover badges, hope I have not lost them.
Leave a comment:
.png)

Leave a comment: