.png "Powered by vBulletin")
Ok so the weekend project has turned into 2 weeks... I kind of expected that but didnt want to admit defeat so early on.
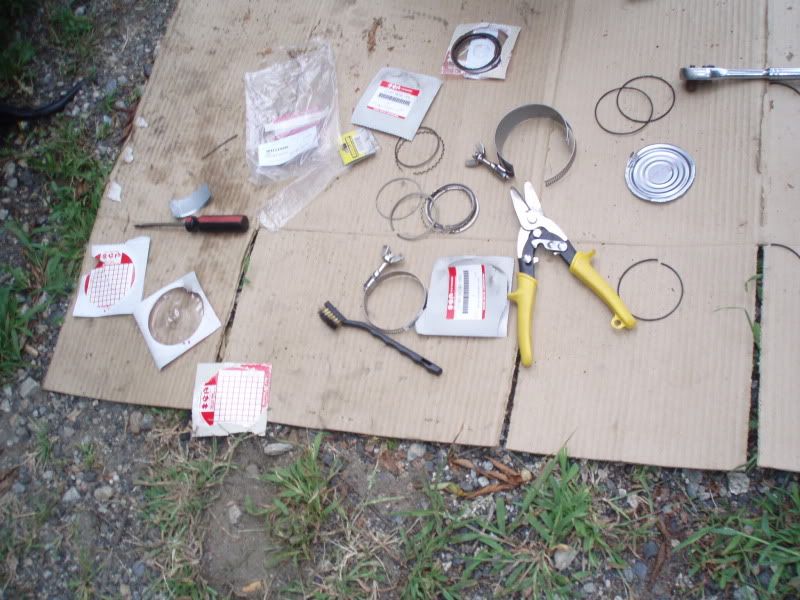
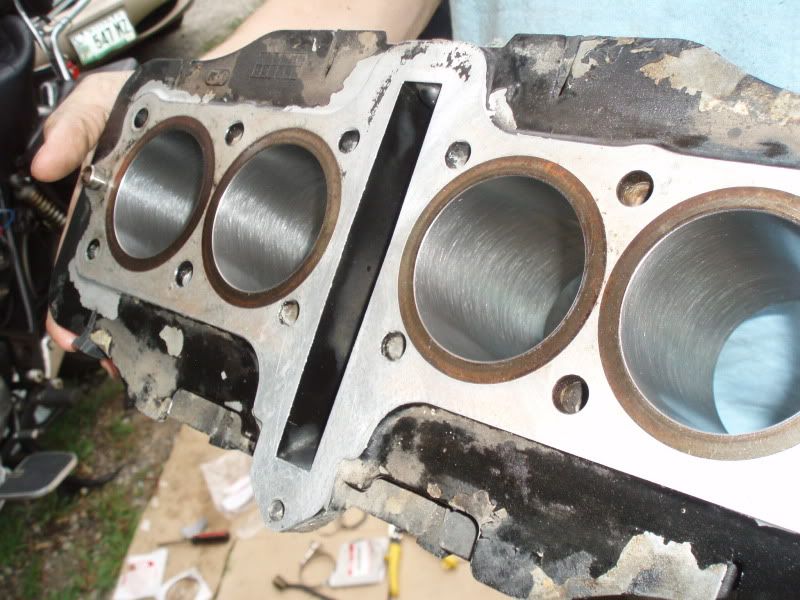
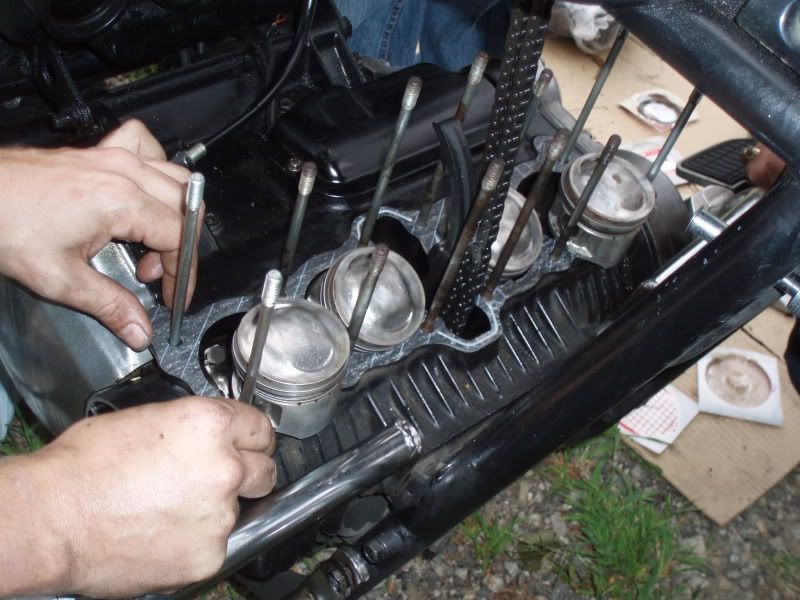
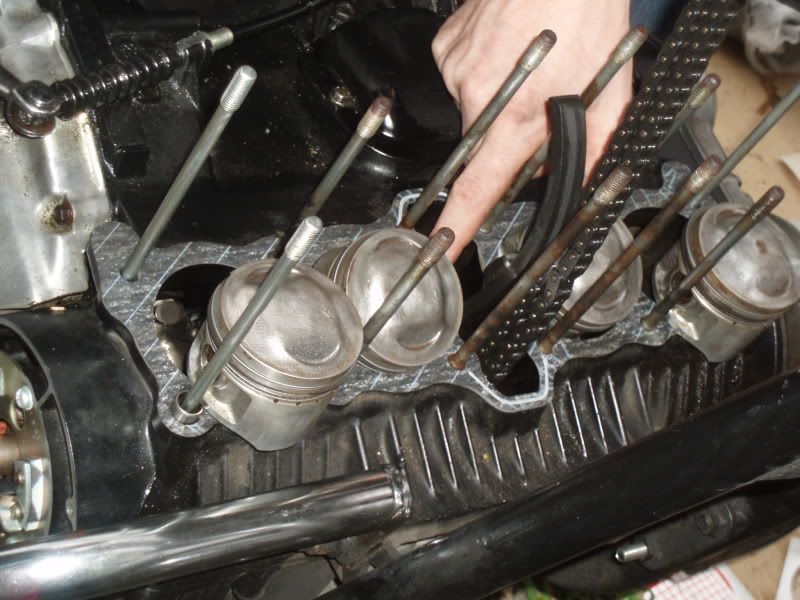
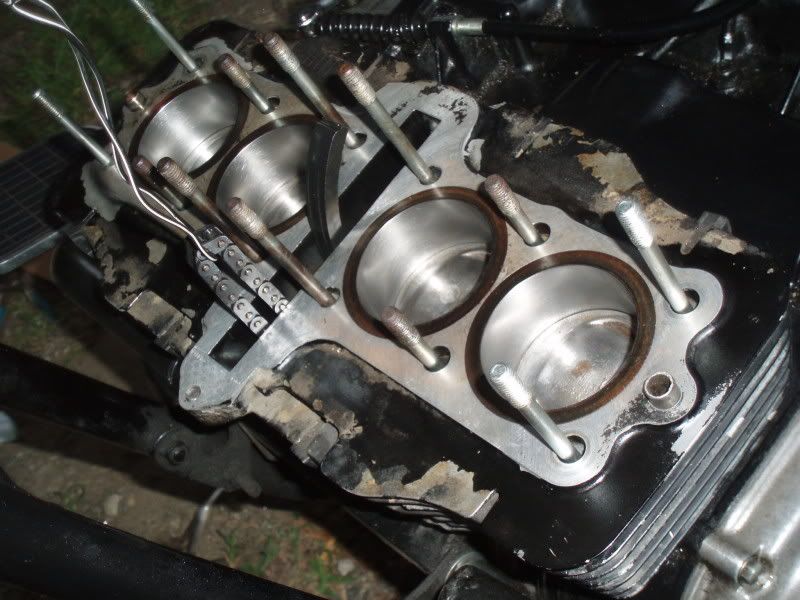
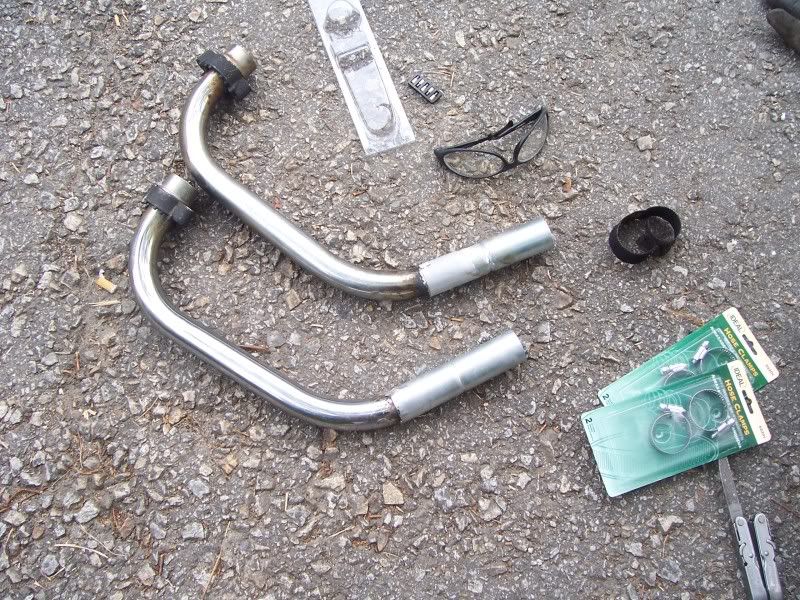
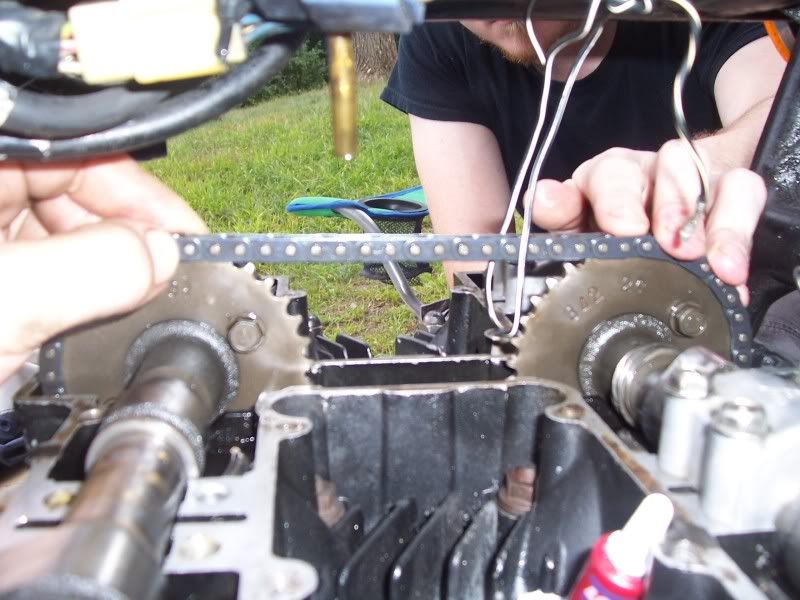
Anyways my rings came in as well as my valve cover gasket. I however was slacking and did not get my valve oil seals done yet so with the help of my lovely assistant we got that done last night. Also I brought the cylinders into work today to get honed at the shop during my lunch break.
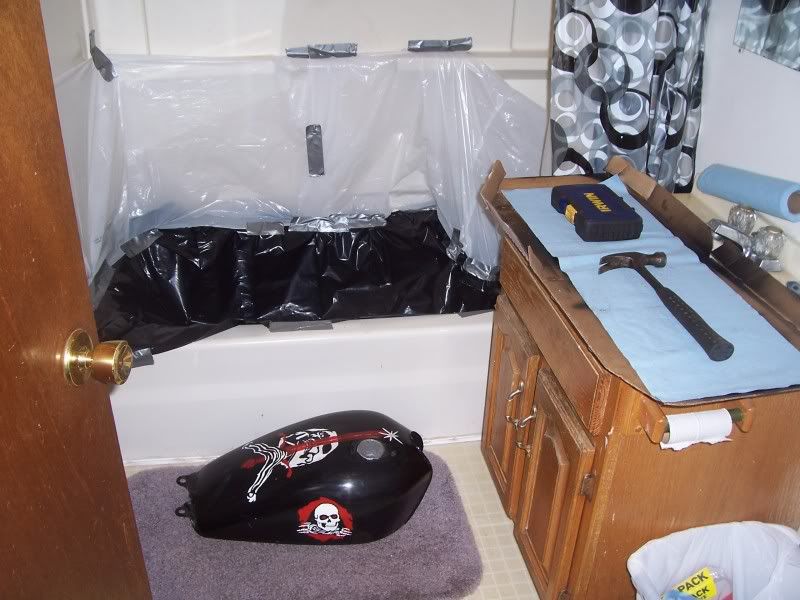
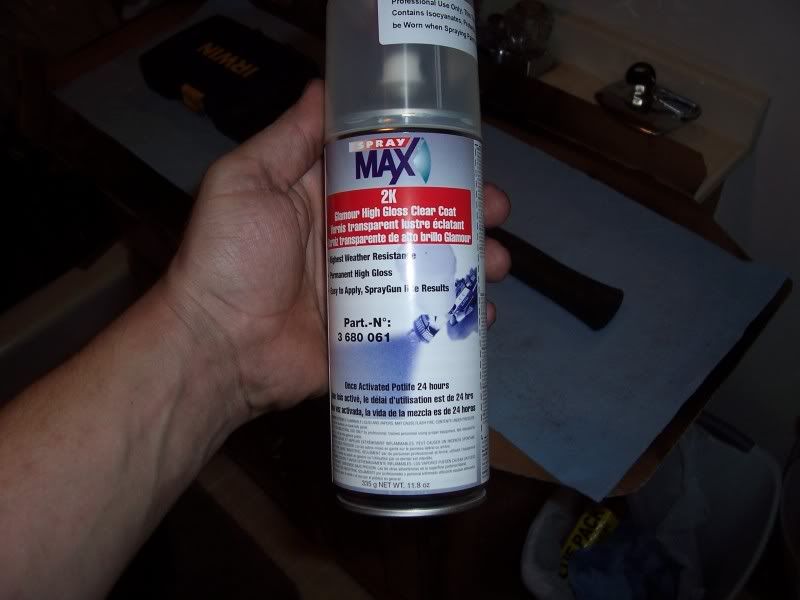
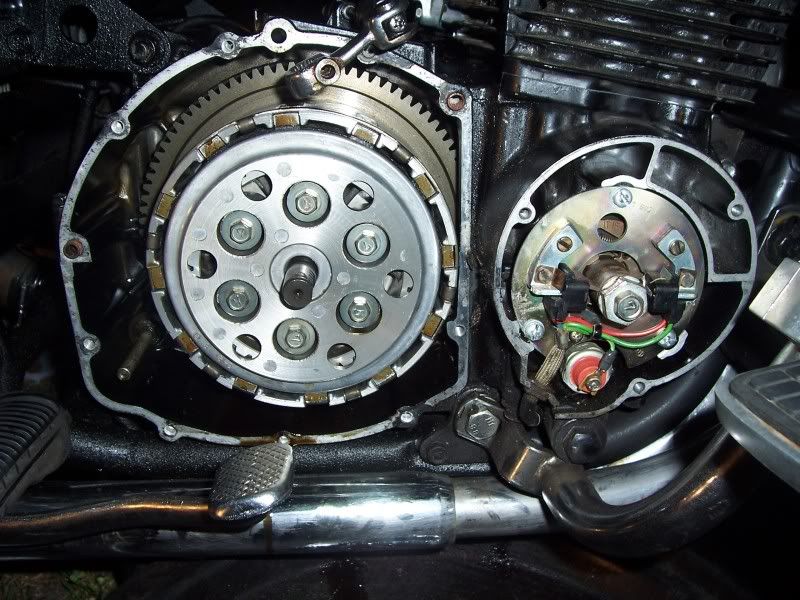
The reinstall in planned for Thursday cause I got the kids over tonight and that wouldnt mix well. I do also plan to clean the paint up on my side covers, and clear them and the tank with a real 2 part clear in a can. I will just sand the old clear & paint on the tank with 1000 grit wet sand and call it good enough. Not to worried about looks just want it to have something to bite.
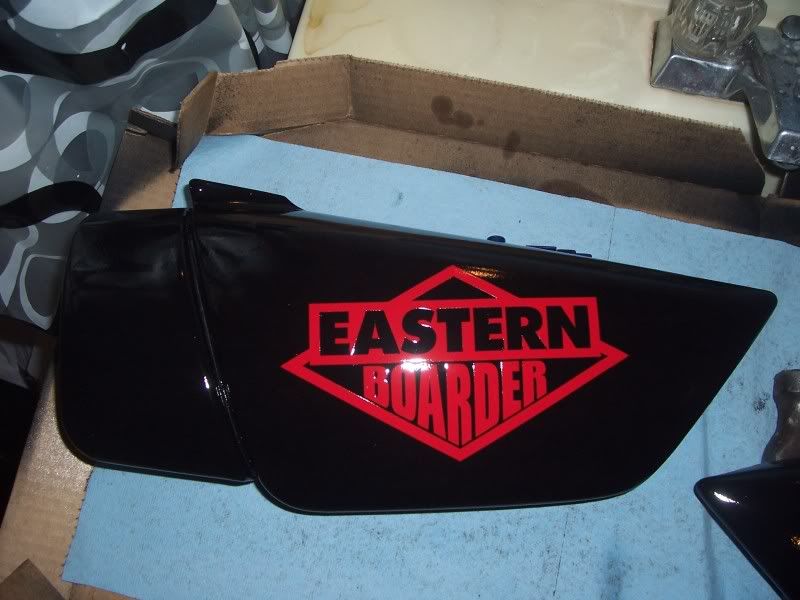
Oh and might try some graphics on the side covers
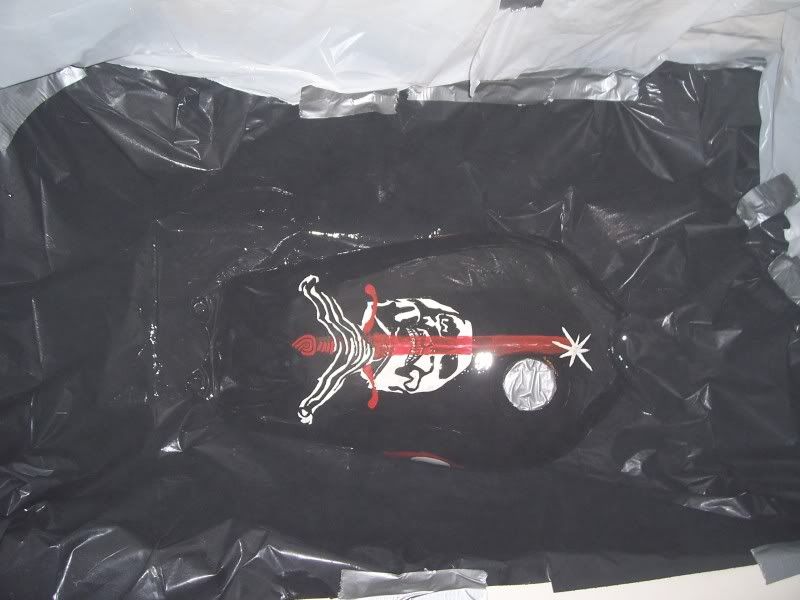
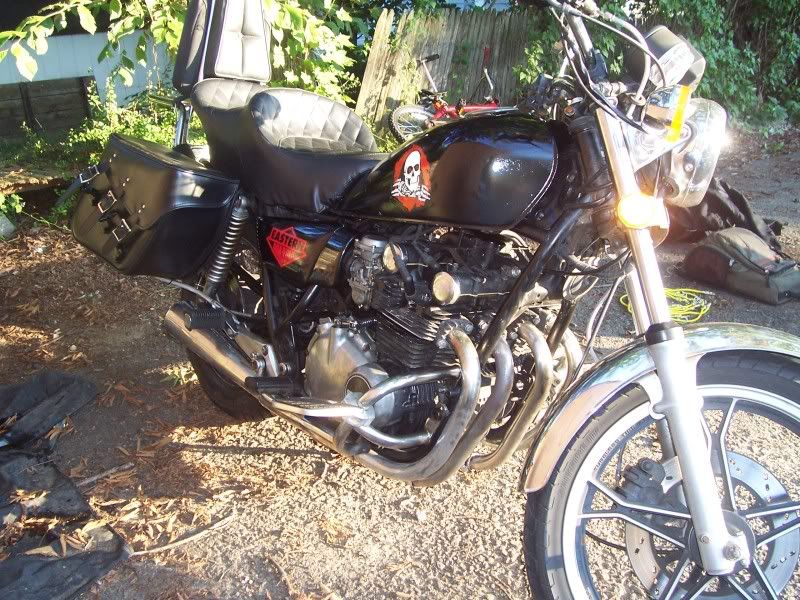
something like this:
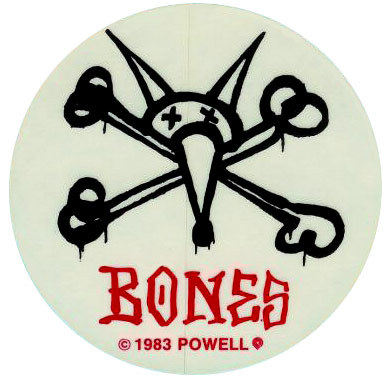
But mixed on the side cover with the graphic on the small "chrome" part and words bigger on the regular part. I am blacking it out first and spraying it red, likely freehand tag style just like it is there. Unless I stencil the copyright Powell part... but not giving away what the graphics are from is half the fun when someone recognizes it.
Anyways my rings came in as well as my valve cover gasket. I however was slacking and did not get my valve oil seals done yet so with the help of my lovely assistant we got that done last night. Also I brought the cylinders into work today to get honed at the shop during my lunch break.
The reinstall in planned for Thursday cause I got the kids over tonight and that wouldnt mix well. I do also plan to clean the paint up on my side covers, and clear them and the tank with a real 2 part clear in a can. I will just sand the old clear & paint on the tank with 1000 grit wet sand and call it good enough. Not to worried about looks just want it to have something to bite.
Oh and might try some graphics on the side covers
something like this:
But mixed on the side cover with the graphic on the small "chrome" part and words bigger on the regular part. I am blacking it out first and spraying it red, likely freehand tag style just like it is there. Unless I stencil the copyright Powell part... but not giving away what the graphics are from is half the fun when someone recognizes it.

 .
.

Comment