update
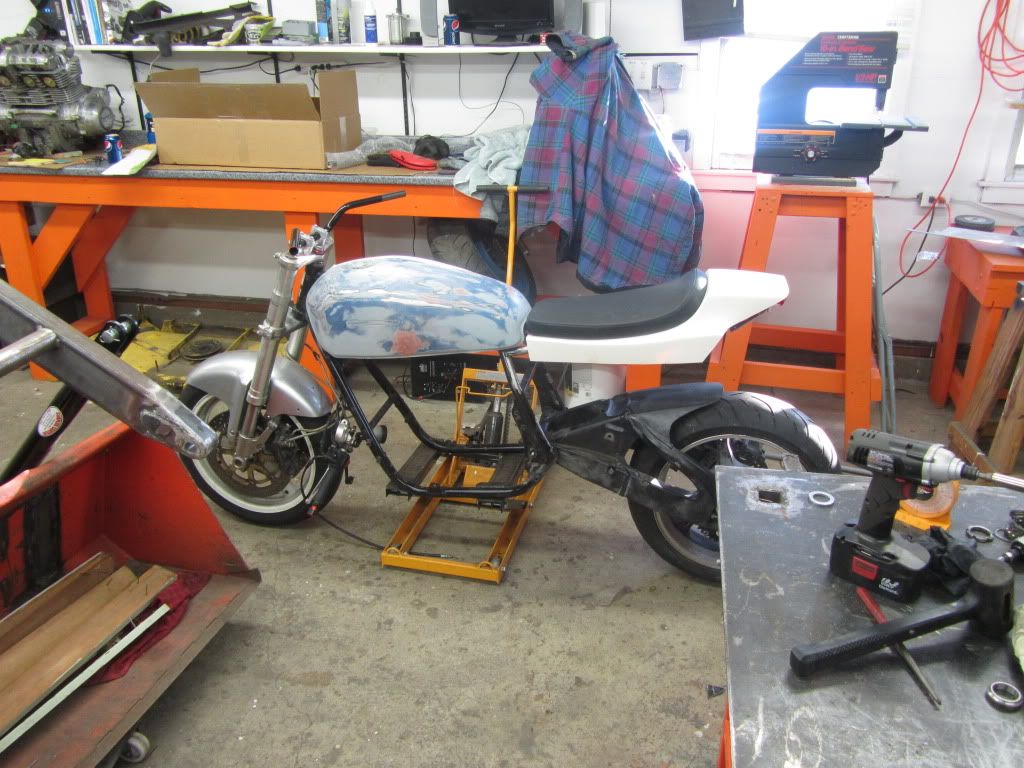
So i had some time to work on the ol girl on Saturday. First thing I did was some subframe work. Removed it and I will build a new one once my seat arrives and I can see how I want it. My dad is doing body work for me on the gas tank that I will be using.
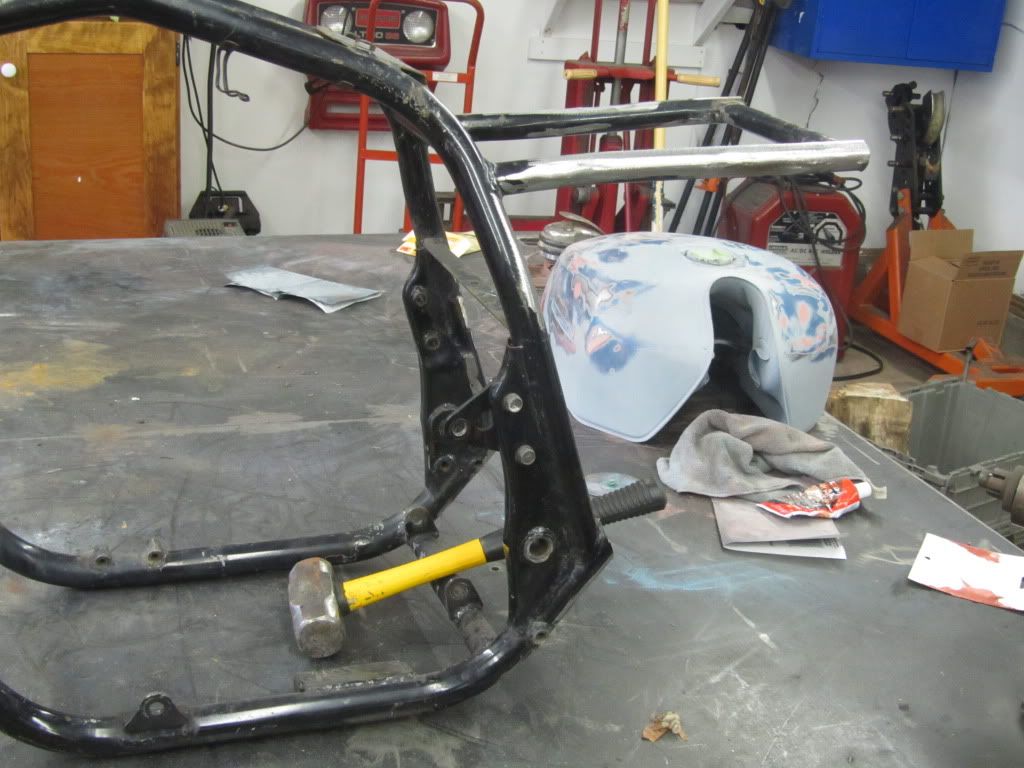
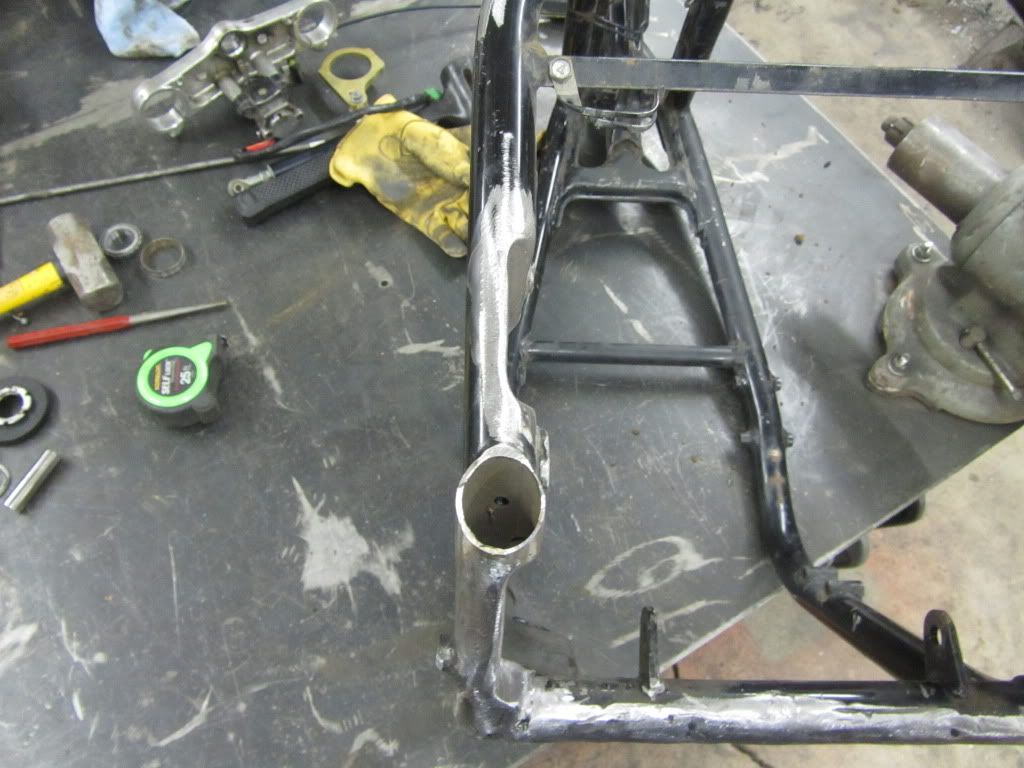
Frame looks much better I think.
Next I mocked up the swingarm and rear tire. Still waiting for the machinist to finish the bushings that will allow me to use the stock gs swingarm pivot bolt with the GSXR swingarm. The New swingarm is almost a 1/4" wider then the gs swingarm. I had the machinist make the new bushing as narrow as possible on the hat part of it to make up some of the 1/4" that I need. When I get them I will post pics so that will make more sense.
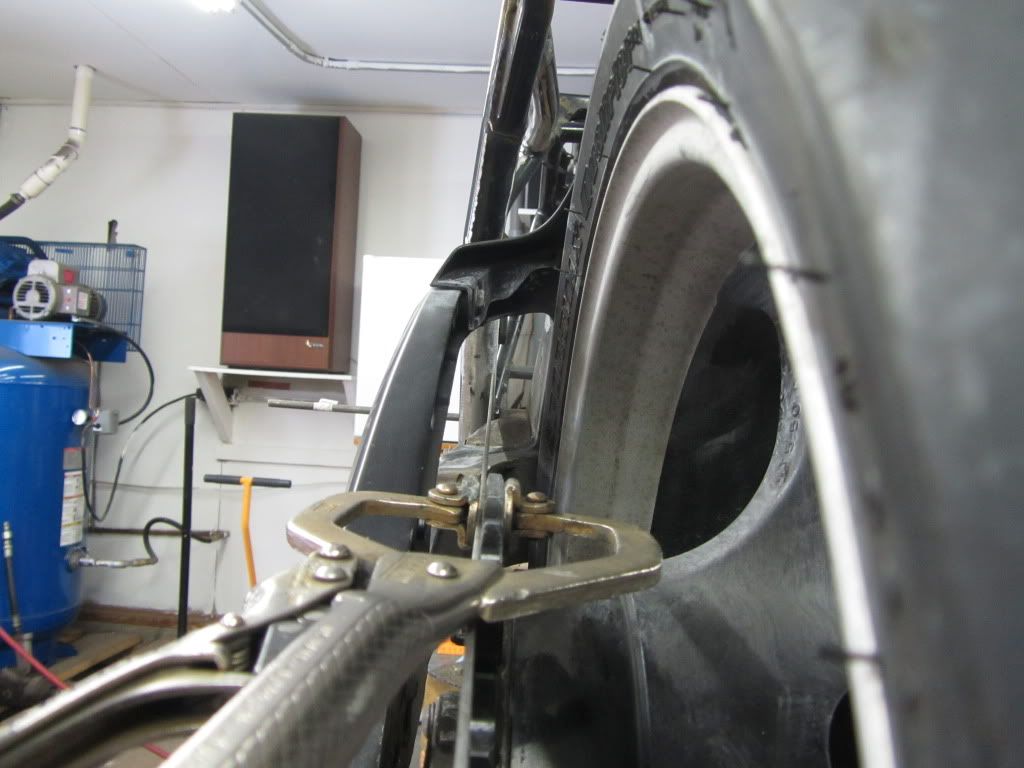
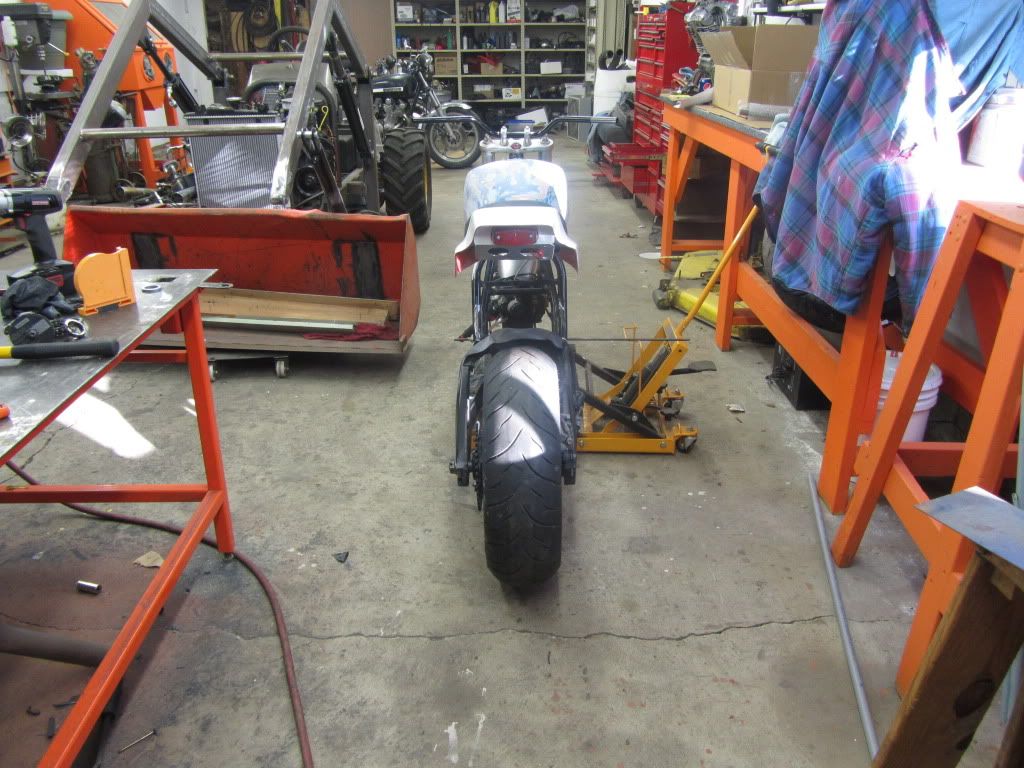
Looks like the I am going to have some issues with the chain hitting the frame.
Well in my search of the internet looking at GS projects I seen this neat little trick on OSS by a man named strangeways and it seemed like the way to do it so of course I copied.
DISCLAIMER!
Let me be the first to say that I am not a professional welder,fabricator,engineer,metallurgist etc.. nor do I claim to be. I have however stayed at a holiday Inn!
This method seemed like a very good way to address the frame clearance issue and still look nice and I like to cut and weld things. I will be adding additional bracing to the frame to help stiffen up the area where the metal was removed.
So first I made some white lines where it needed to be cut. Out come the cutoff wheel.
Both cuts done!
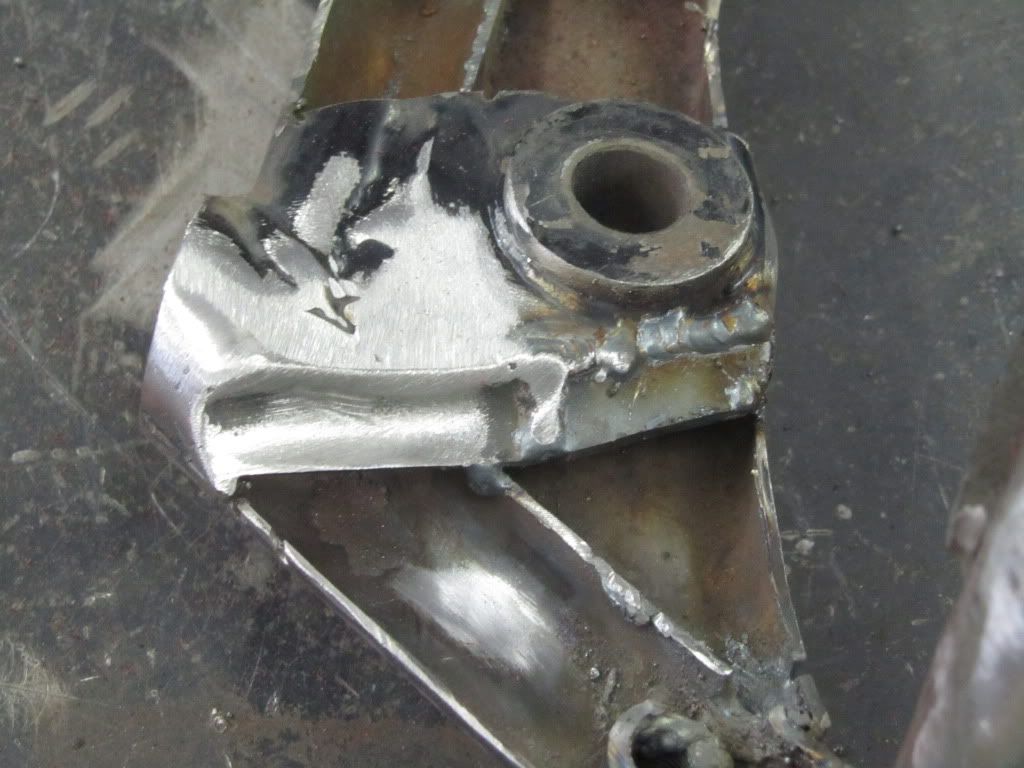
Next I cut pieces of tubing to fill in the ends to give me a nice rounded profile. Here the one side is done and part of it ground down to give you a better idea what I am looking for.
Next I cut a half moon shape and welded in to the gap to bridge the gap and help tie everything together.This will be done to all four gaps.
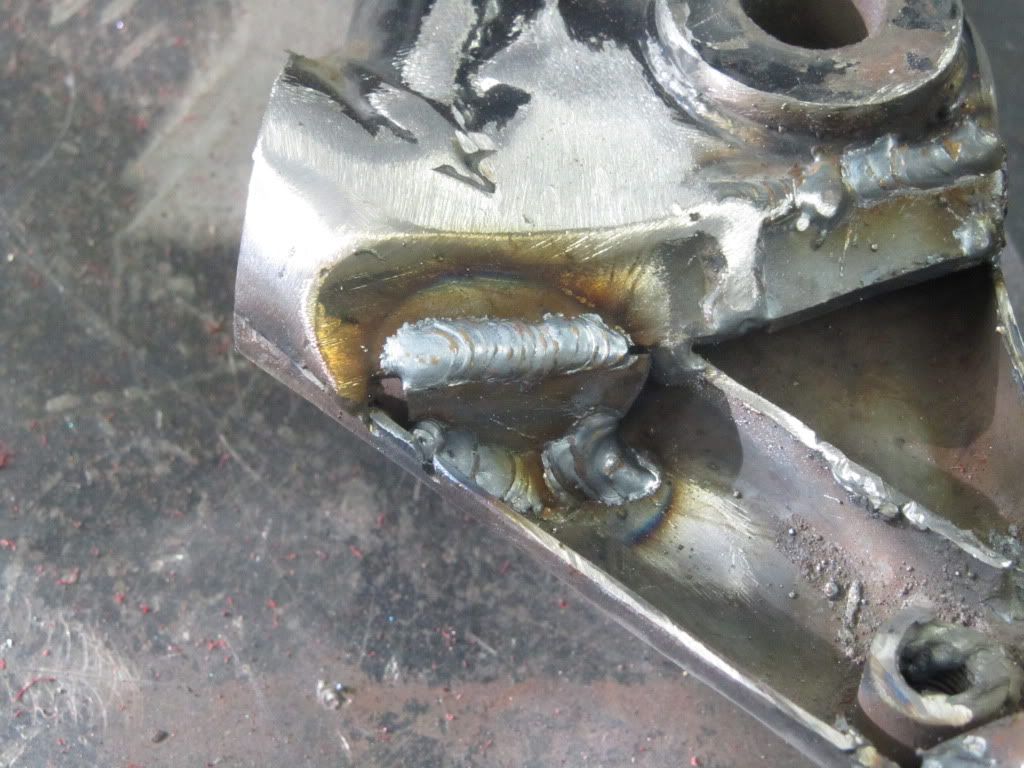
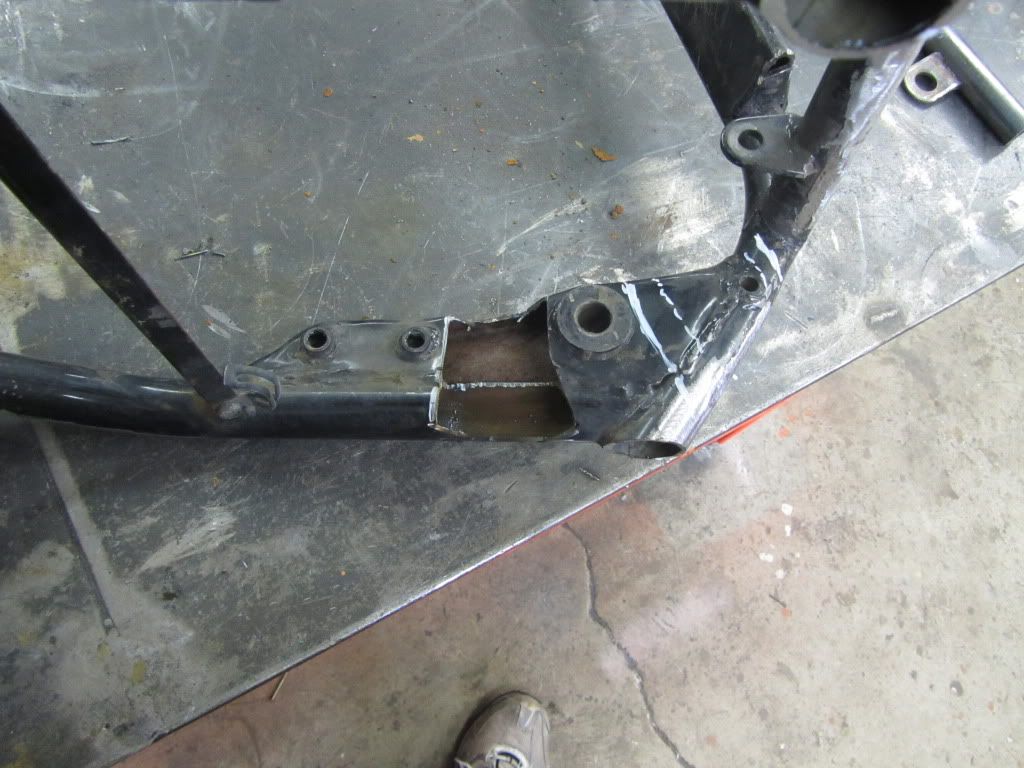
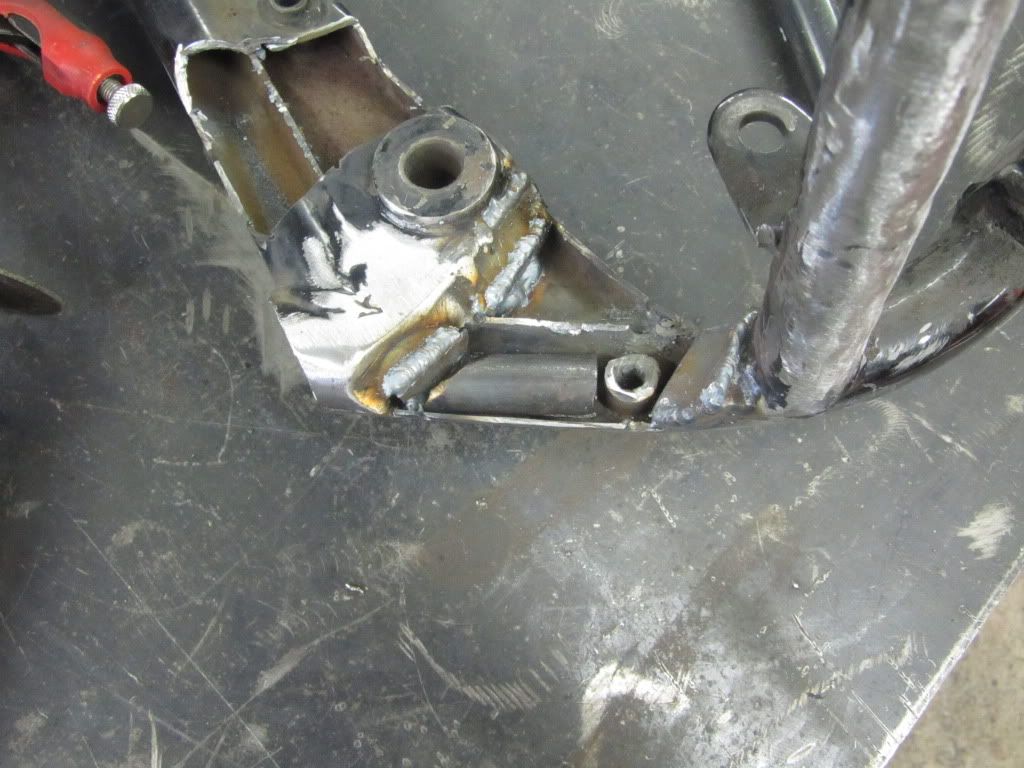
Next I took another piece of pipe cut it length ways and placed it down into the frame. Then I welded this in to add more strength to this area. Kind of like a honey comb effect. You can also see the additional piece added to the other gap in the frame piece. The other side will have a piece of tubing in it also.
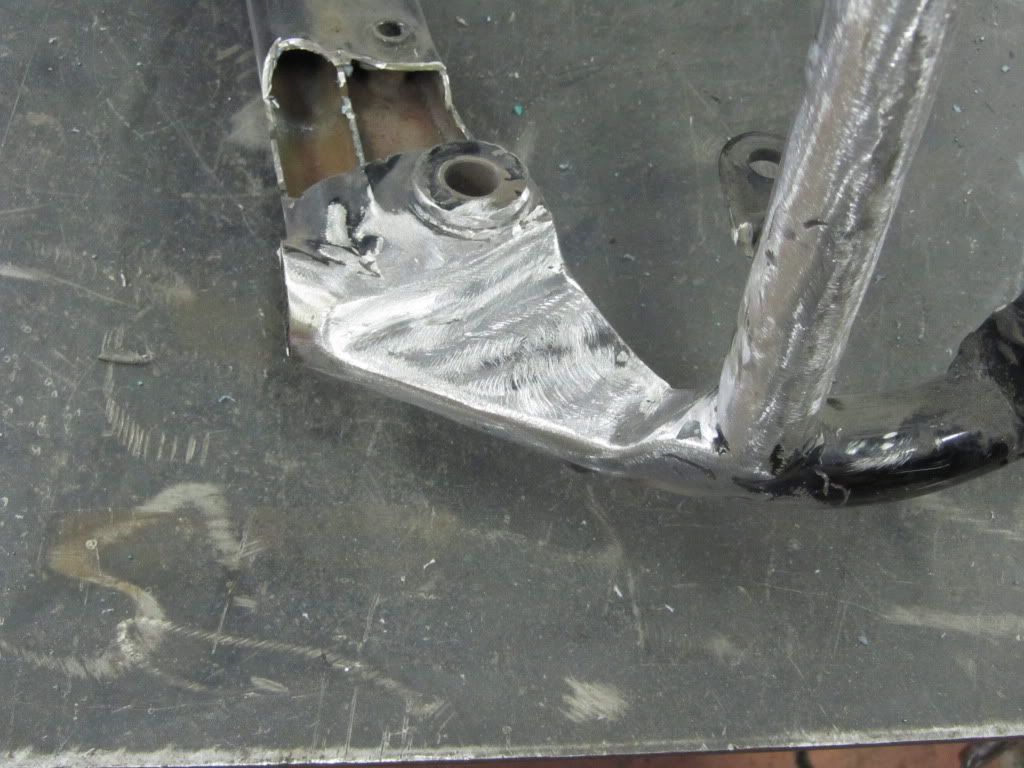
Then I cut a piece of steel plate to fill in the area and welded it in. I then grounded it all smooth and it looked something like this.
Now all I have to do is repeat all of those steps on the other cutout.
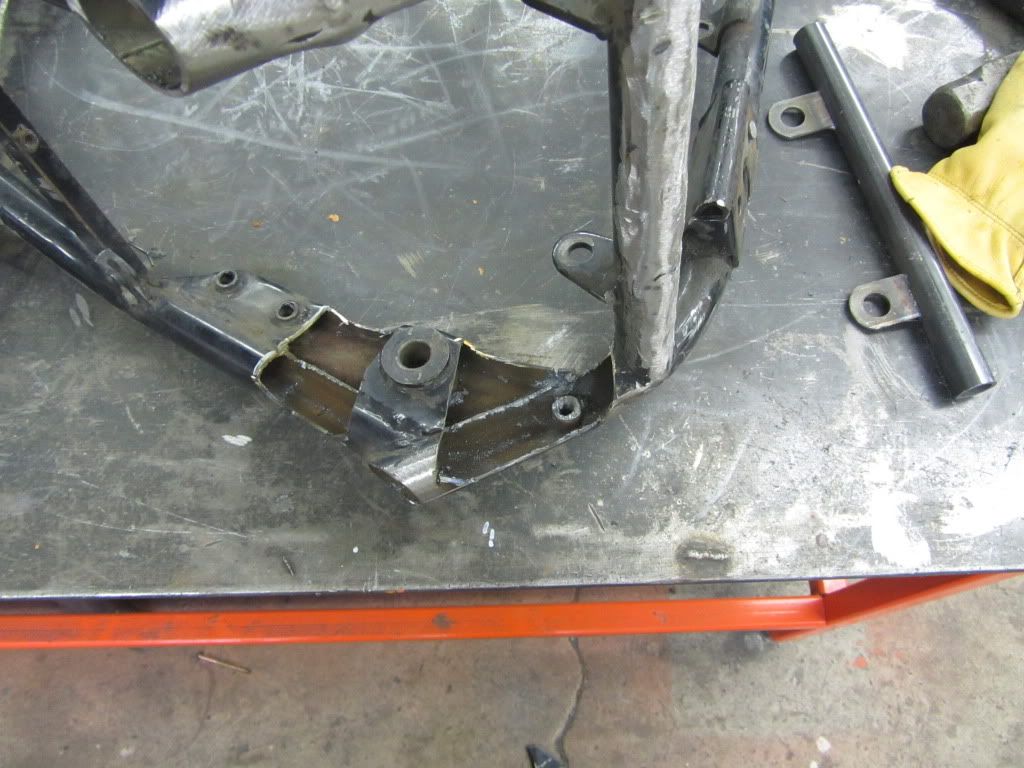
Wow that was quick!!

Pretty much done except filling in some small pin holes other then that it is complete. This is what it looks like from behind.
Thanks For viewing!!
Krank
So i had some time to work on the ol girl on Saturday. First thing I did was some subframe work. Removed it and I will build a new one once my seat arrives and I can see how I want it. My dad is doing body work for me on the gas tank that I will be using.
Frame looks much better I think.
Next I mocked up the swingarm and rear tire. Still waiting for the machinist to finish the bushings that will allow me to use the stock gs swingarm pivot bolt with the GSXR swingarm. The New swingarm is almost a 1/4" wider then the gs swingarm. I had the machinist make the new bushing as narrow as possible on the hat part of it to make up some of the 1/4" that I need. When I get them I will post pics so that will make more sense.
Looks like the I am going to have some issues with the chain hitting the frame.
Well in my search of the internet looking at GS projects I seen this neat little trick on OSS by a man named strangeways and it seemed like the way to do it so of course I copied.
DISCLAIMER!
Let me be the first to say that I am not a professional welder,fabricator,engineer,metallurgist etc.. nor do I claim to be. I have however stayed at a holiday Inn!
This method seemed like a very good way to address the frame clearance issue and still look nice and I like to cut and weld things. I will be adding additional bracing to the frame to help stiffen up the area where the metal was removed.
So first I made some white lines where it needed to be cut. Out come the cutoff wheel.
Both cuts done!
Next I cut pieces of tubing to fill in the ends to give me a nice rounded profile. Here the one side is done and part of it ground down to give you a better idea what I am looking for.
Next I cut a half moon shape and welded in to the gap to bridge the gap and help tie everything together.This will be done to all four gaps.
Next I took another piece of pipe cut it length ways and placed it down into the frame. Then I welded this in to add more strength to this area. Kind of like a honey comb effect. You can also see the additional piece added to the other gap in the frame piece. The other side will have a piece of tubing in it also.
Then I cut a piece of steel plate to fill in the area and welded it in. I then grounded it all smooth and it looked something like this.
Now all I have to do is repeat all of those steps on the other cutout.
Wow that was quick!!
Pretty much done except filling in some small pin holes other then that it is complete. This is what it looks like from behind.
Thanks For viewing!!
Krank


Comment