Well, I had a day off today so I went on a trek to find a space heater for my garage, and painting supplies.
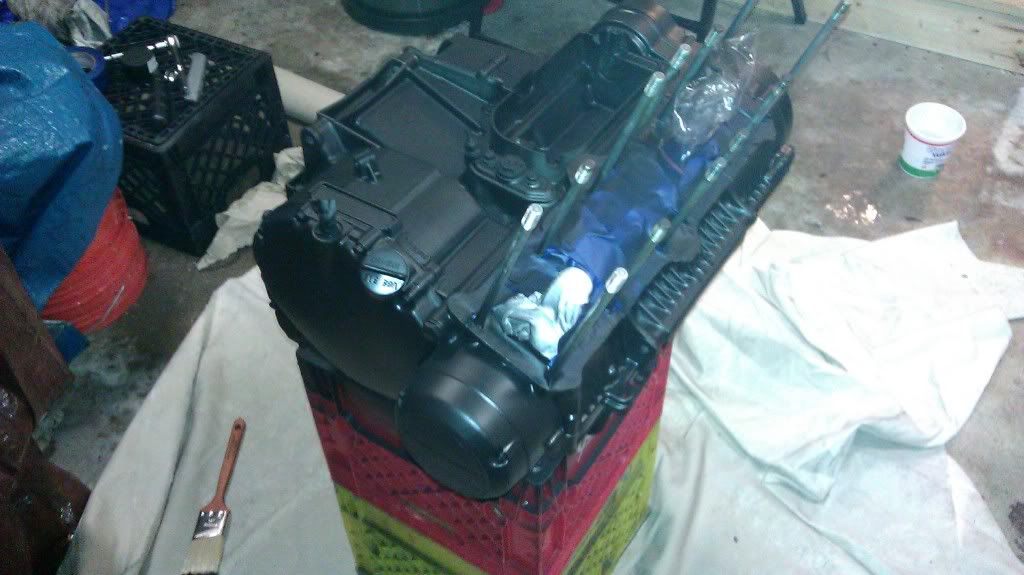
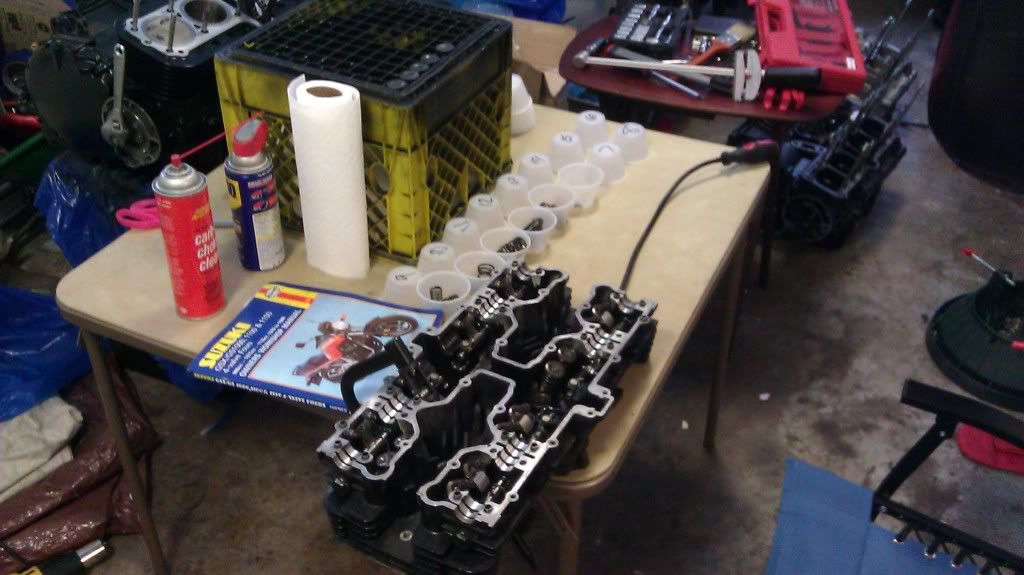
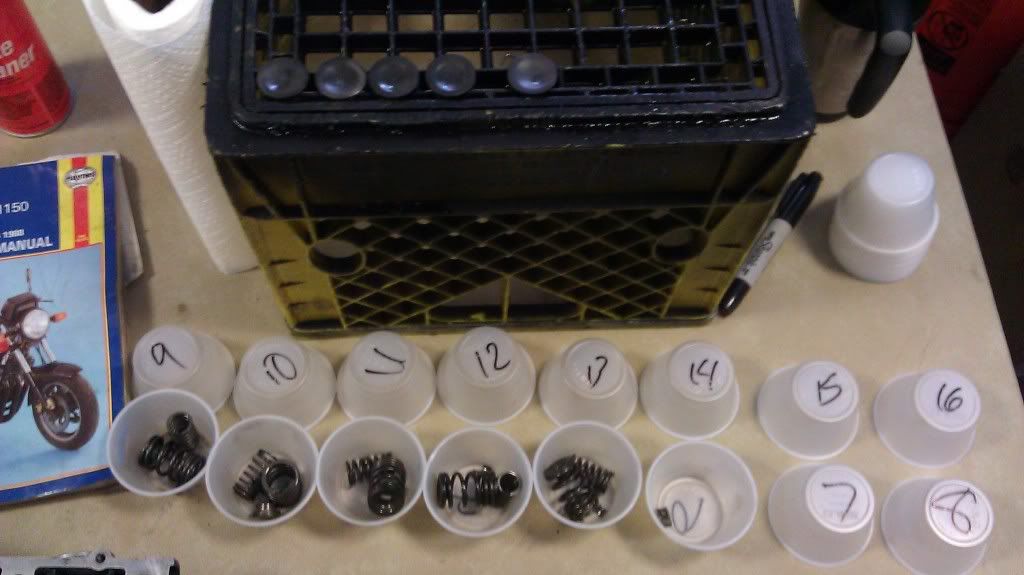
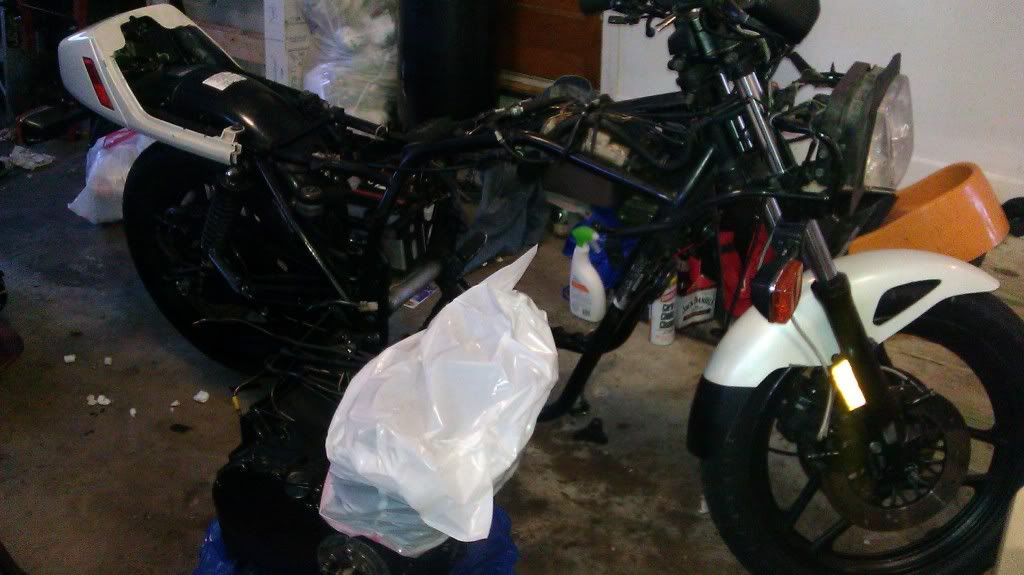
My setup
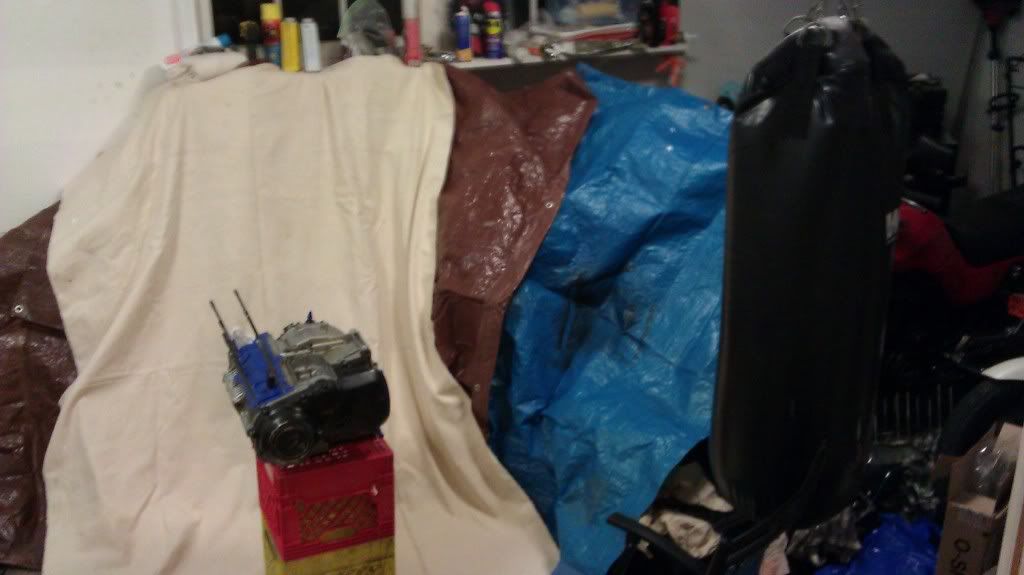
I had debated on how I wanted to paint the cases, but two factors ( kids that like to "help" daddy build the engine, and limited space) directed me to close the cases, and bolt on the covers.
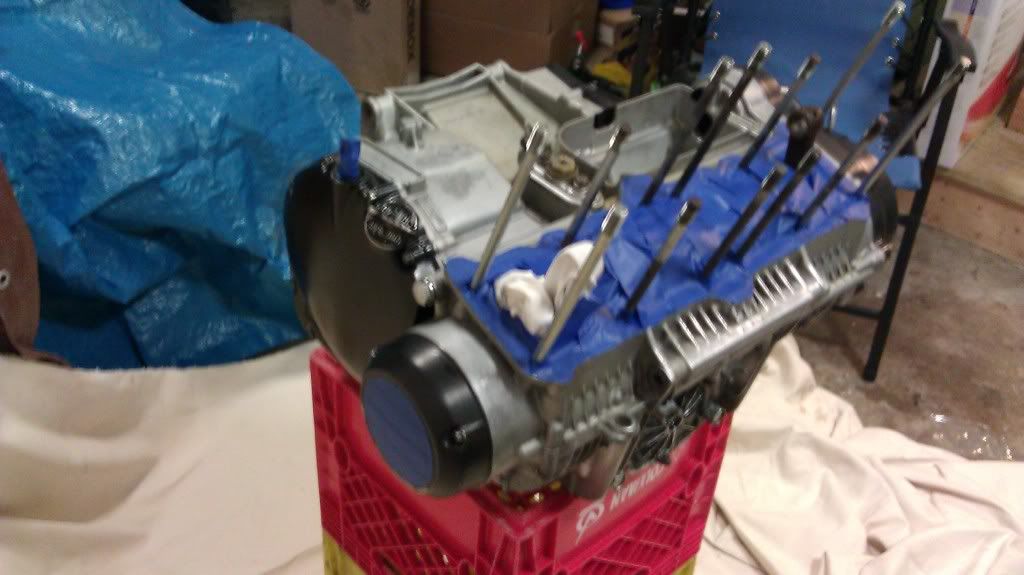
Used Threebond 1194 for the case sealing. All new plastics/rubbers used.
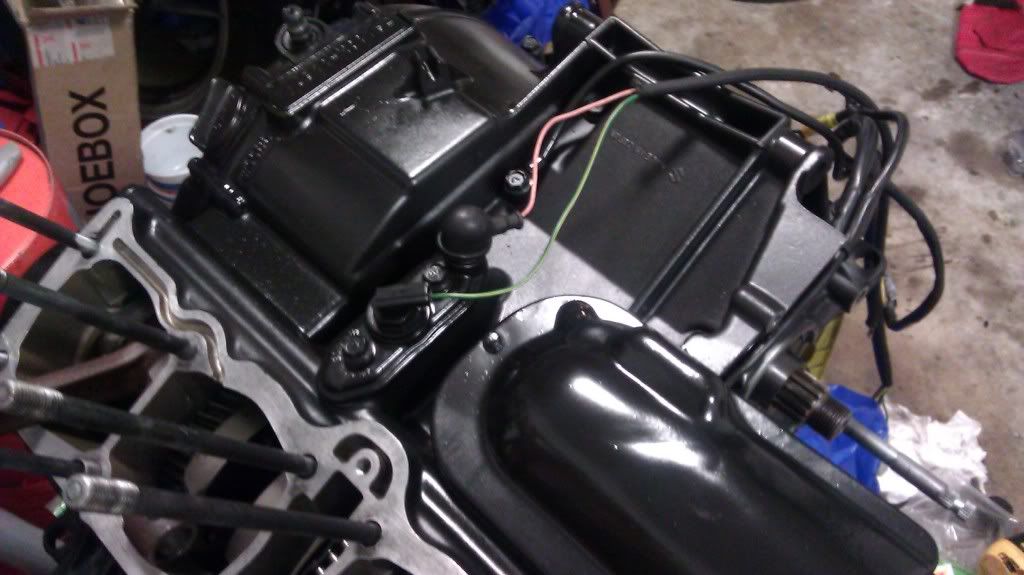
With covers on, taping and final wipe down before painting.
Using this:
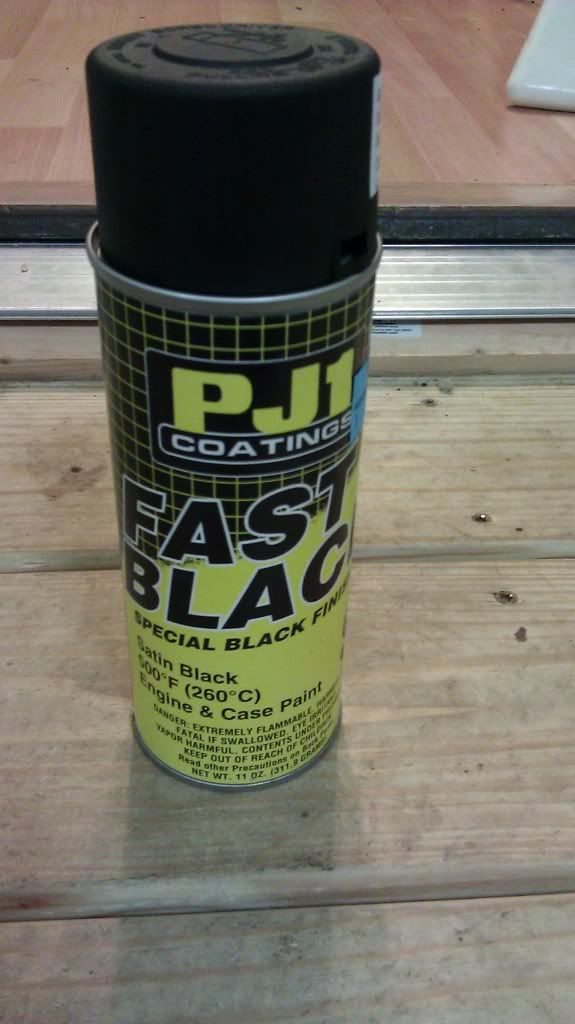
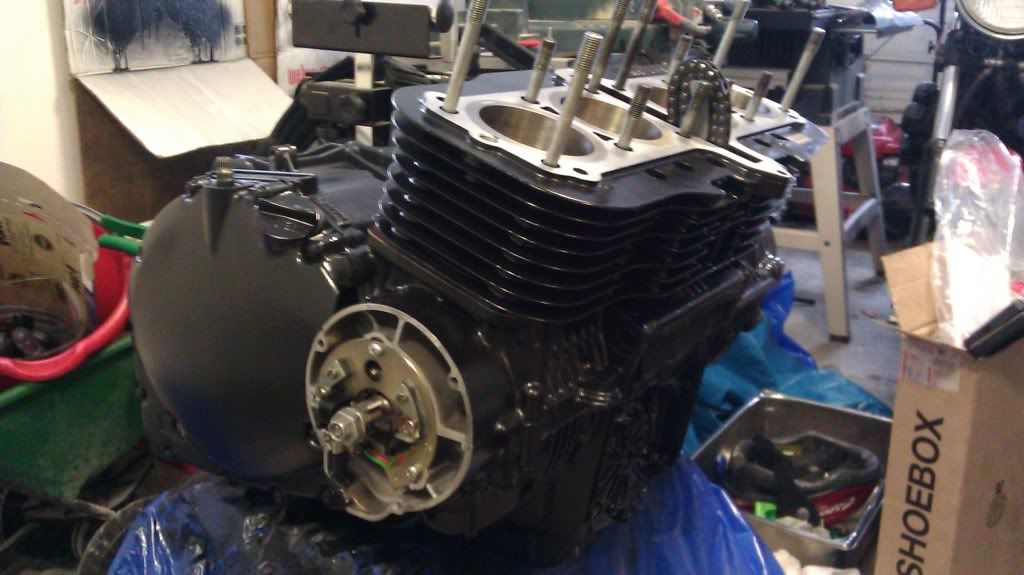
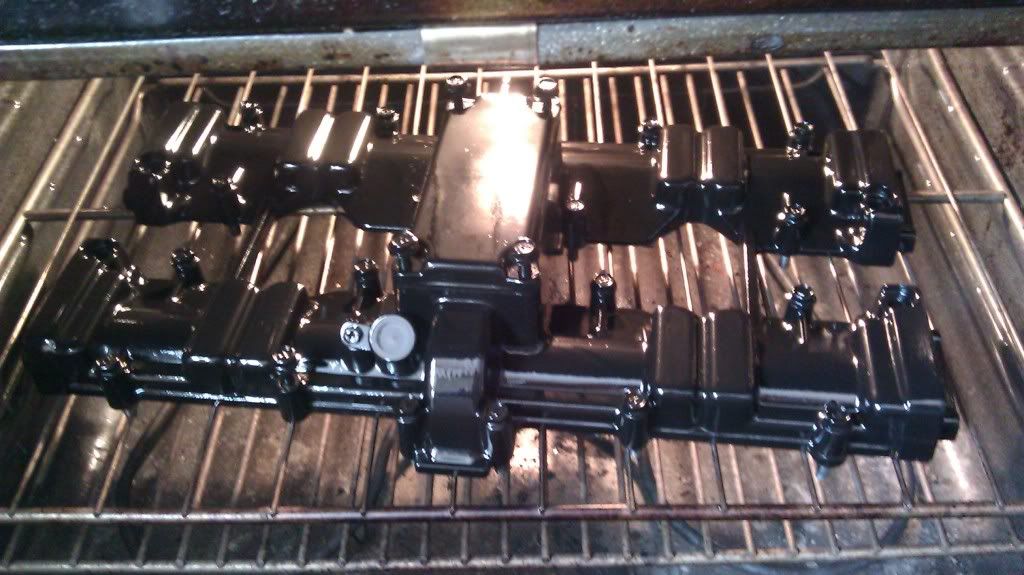
First Coat:
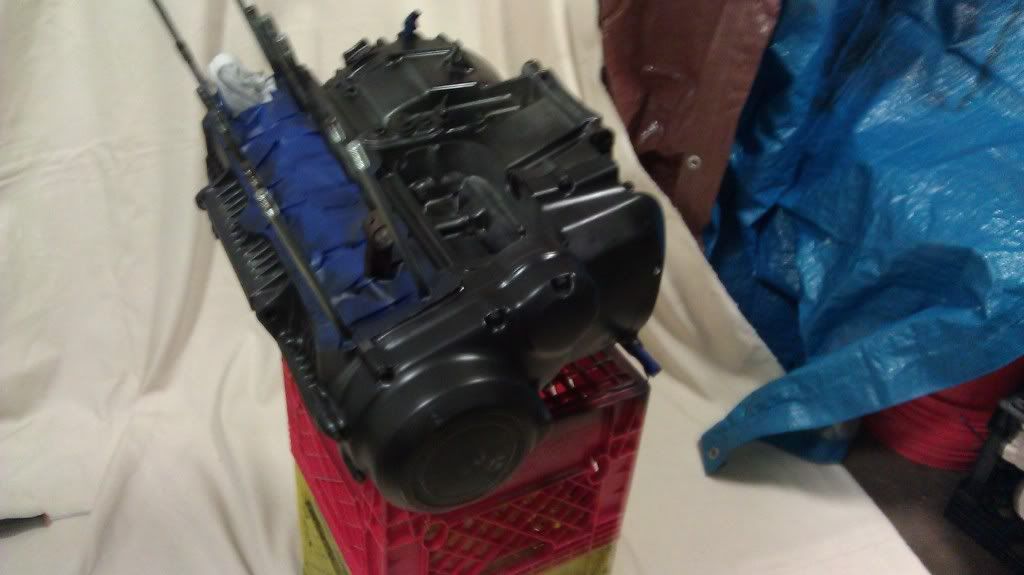
Third, and a bit more heavy coat:
Seems to be turning out nicely. Keeping a fine bristle brush close in case of a runner.
Underbelly tomorrow after work.
Nic
My setup
I had debated on how I wanted to paint the cases, but two factors ( kids that like to "help" daddy build the engine, and limited space) directed me to close the cases, and bolt on the covers.
Used Threebond 1194 for the case sealing. All new plastics/rubbers used.
With covers on, taping and final wipe down before painting.
Using this:
First Coat:
Third, and a bit more heavy coat:
Seems to be turning out nicely. Keeping a fine bristle brush close in case of a runner.
Underbelly tomorrow after work.
Nic
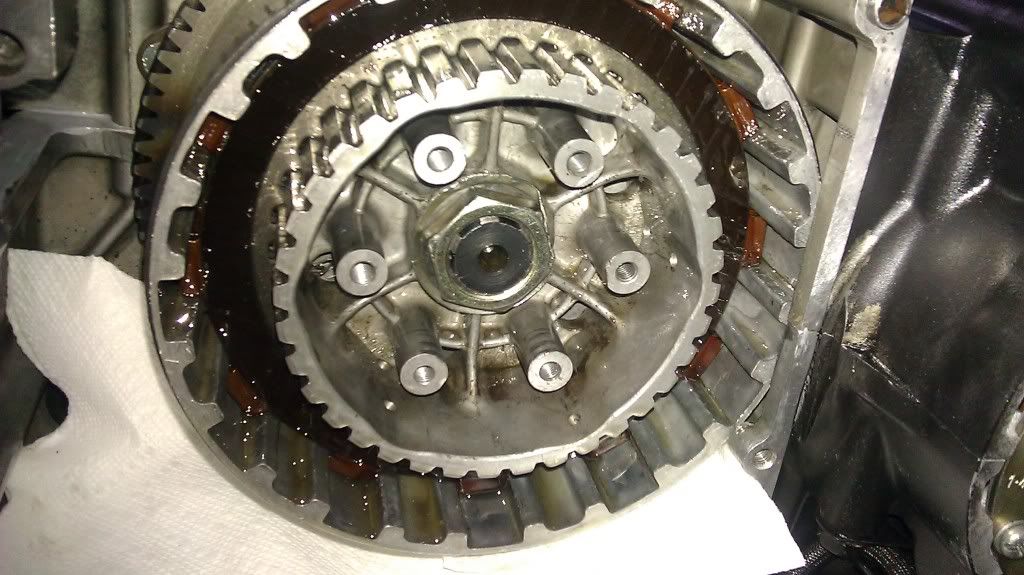


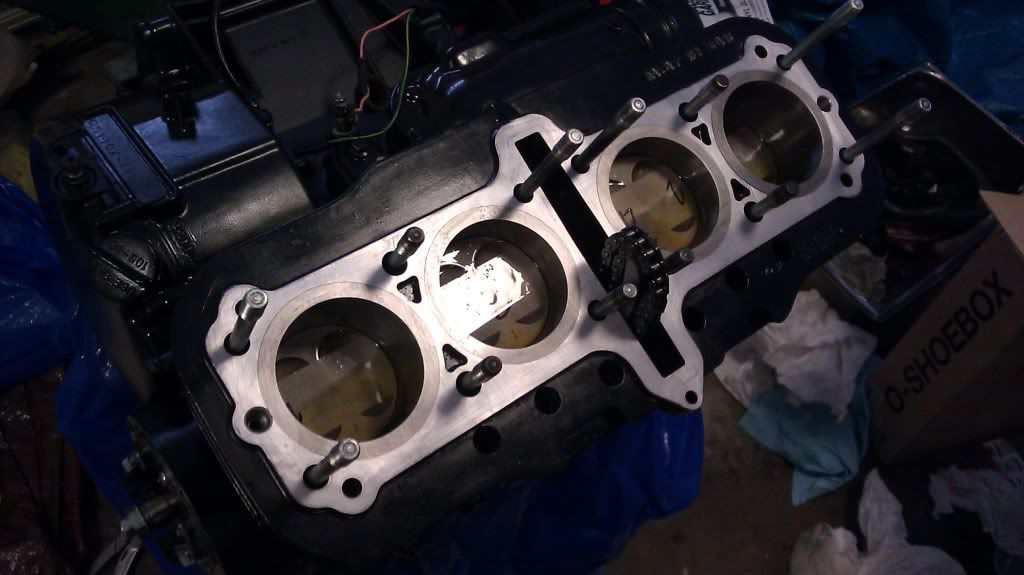

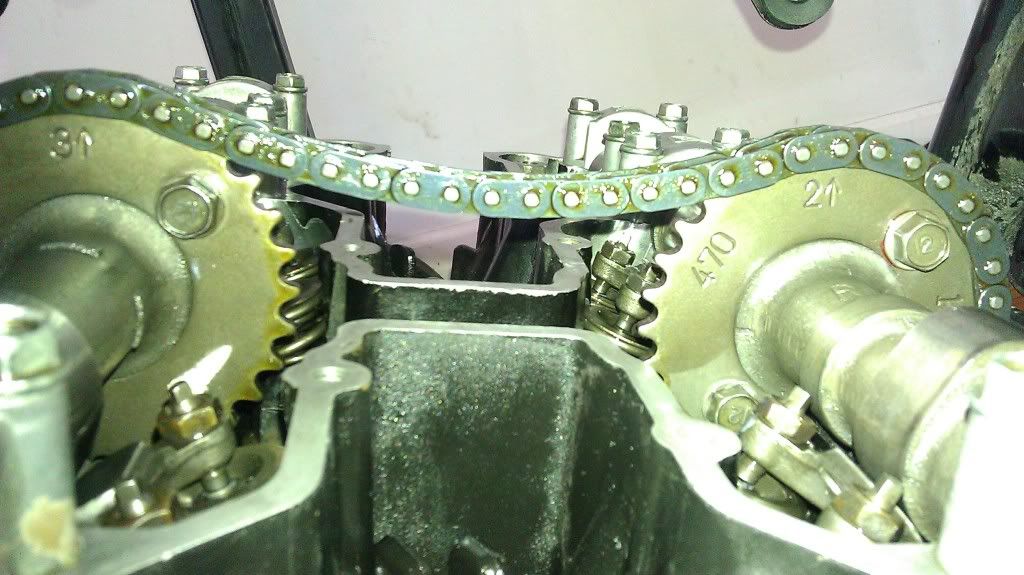
 Looking at your picture (from the angle I can see) you have the cams lined up INCORRECTLY! You need to have 21 pins between the timing marks & I only count 20!!! Check to be sure! You will be sorry if it's wrong!!! Ray.
Comment