Thanks for the link Chuck. We used to use Devcon plastic weld II to repair nylon intake manifolds years ago.
Bought this earlier on this evening... http://www.oreillyauto.com/site/c/de...0400&ppt=C2392
It's already on and sanded with 80 grit. I'll finish it with body filler after work tomorrow. Tuesdays high's are supposed to be in the low 60's and back into the 70's on Wednesday.
Cross fingers for Wednesday.
-
Dale...Devcon Plastic Welder. Blister cards at most auto parts.... heres a picture of what to look for.
Last edited by chuck hahn; 09-28-2014, 04:57 PM.Leave a comment:
-
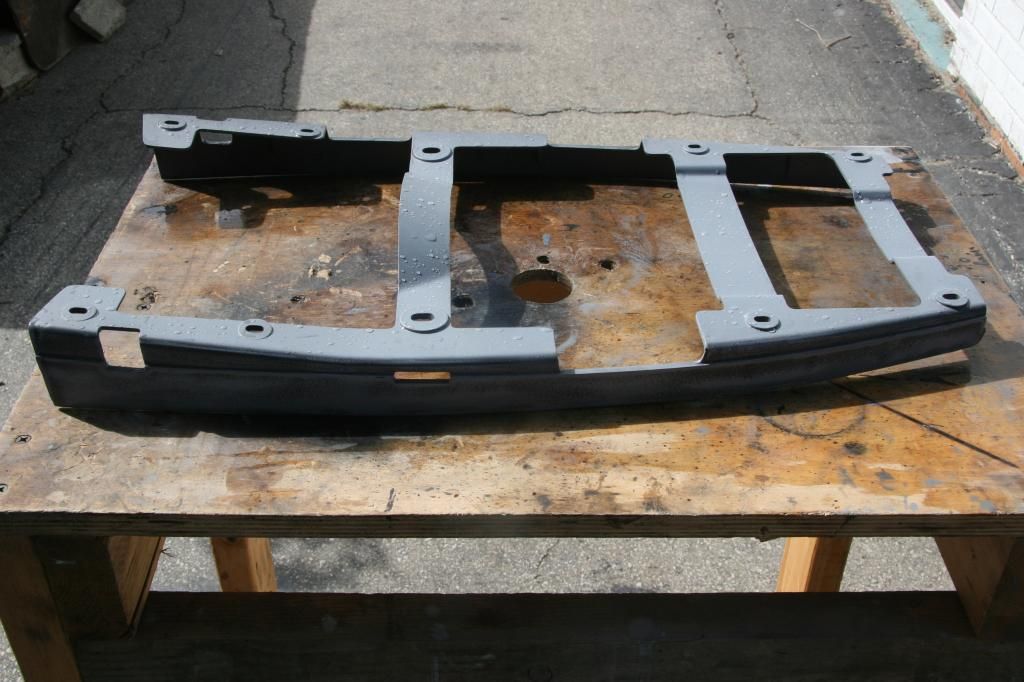
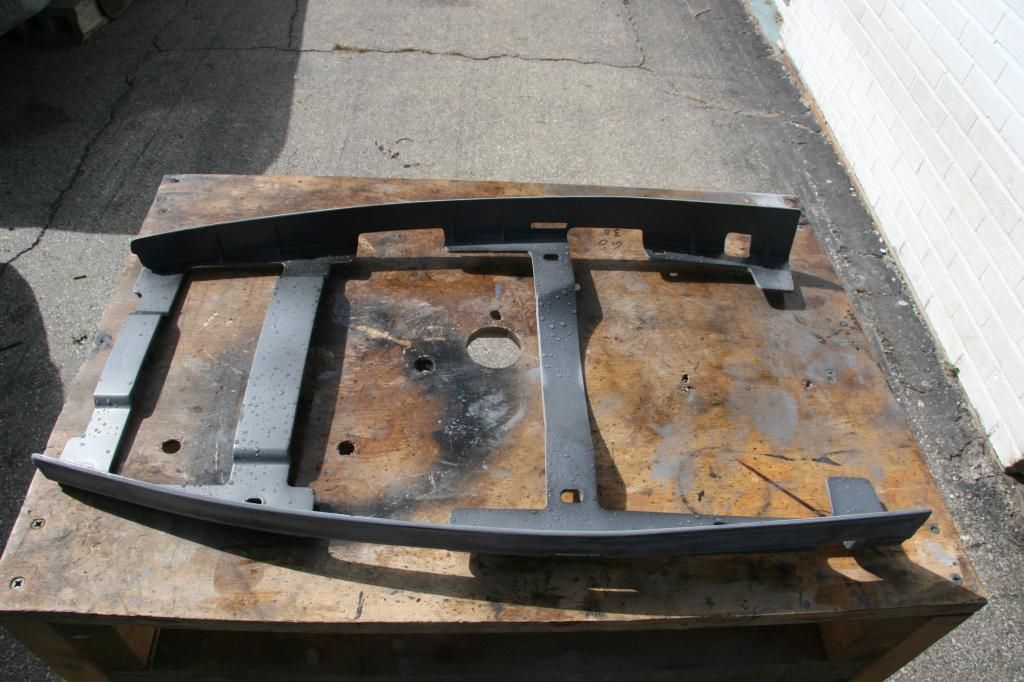
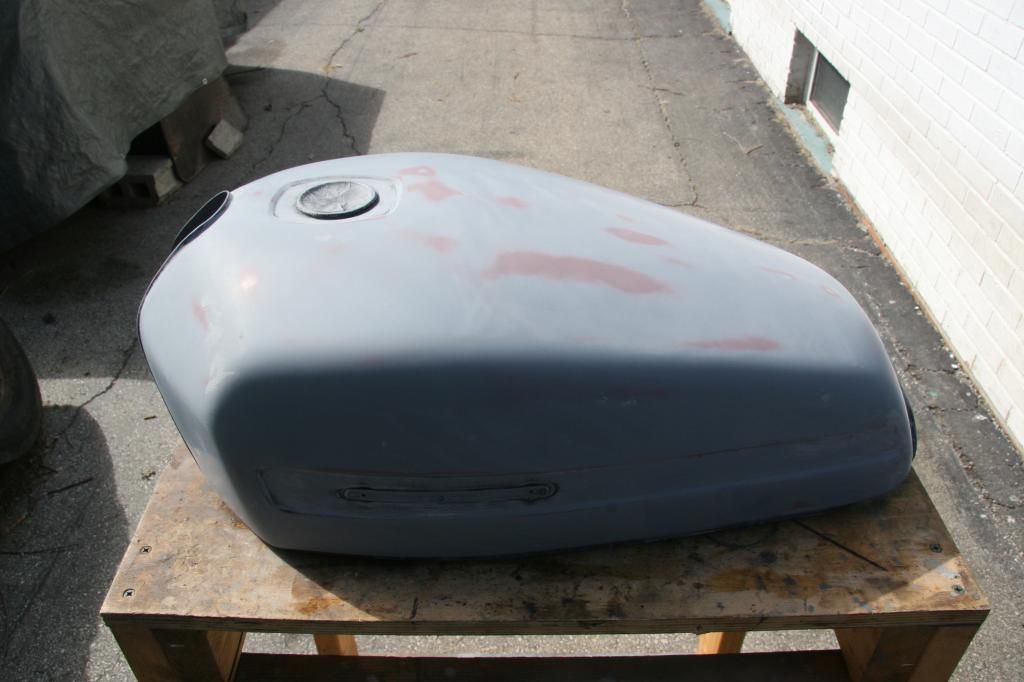
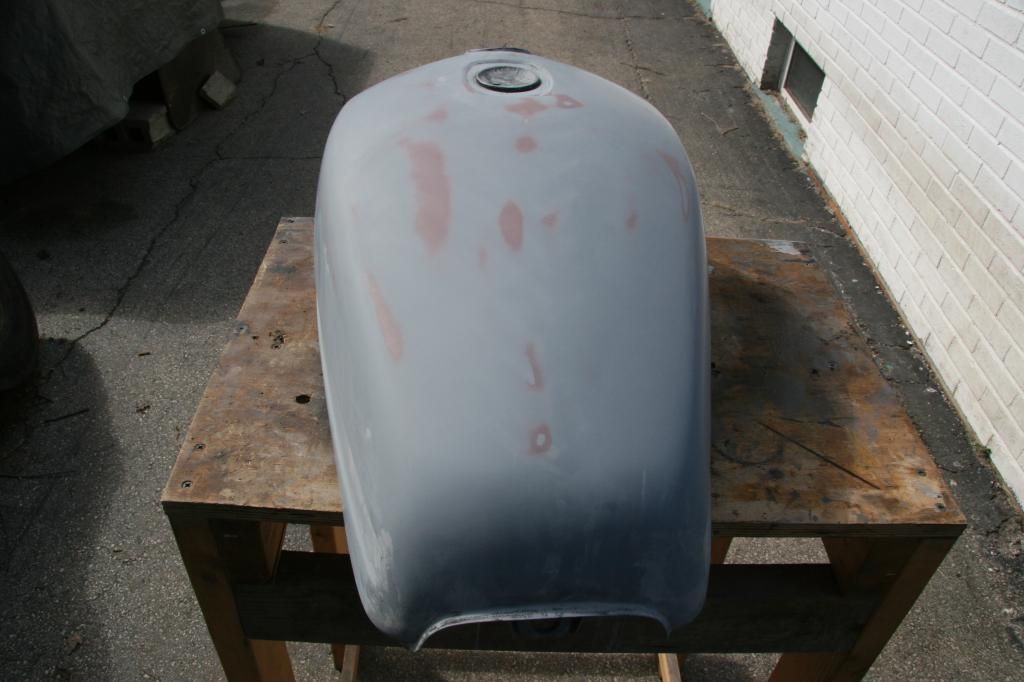
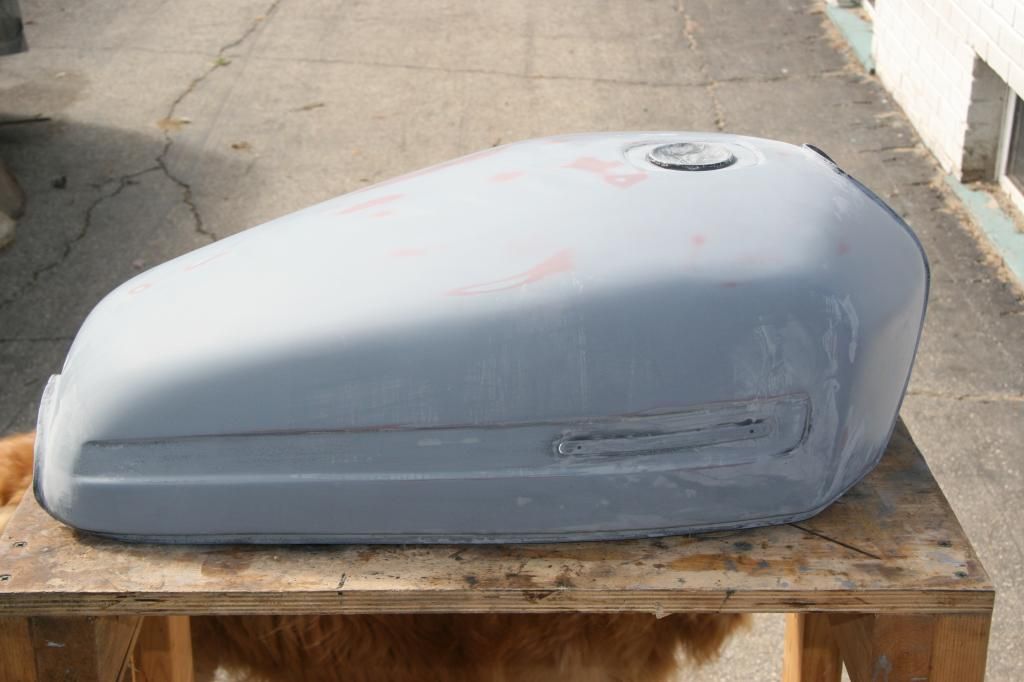
Shot two more coats of epoxy primer last night on top of the already block sanded reddish-gray primer surfacer. This time I used black urethane as a guide coat rather than the black enamel spray bomb disaster I used previously. When they say it will gum up and wear out your paper they really mean it. I'll never make that mistake again. It sure was a pain in the behind.
I spent another three plus hours today wet sanding the tank and seat trim. She's pretty flat as it is now. You always want to go back and put on that final coat to remove every last flea bite or improve on the odd area that might be about a tenth low, but as Nessism recently said to me, there's a point where things are good enough to do the job. My wife tends to agree with him. She said there's a point were you just have to say 'you just can't make it any better with what you have'. So upon the advice of both, I've called it good enough. I picked up some 15 minute epoxy and get after the tail piece shortly, but other than a couple more hours repairing the crack and filling and sanding it, they're ready to be sealed and base coated. We'll see what tomorrow night brings.
 Last edited by rustybronco; 09-28-2014, 03:39 PM.
Leave a comment:
-
I use what's available at any hardware store. The 5 minute epoxies work really well. Just use one that's for ABS and plastic repairs. It should be clearly stated on the package what it's designed for. You shouldn't even have to V it out much because it's such a clean crack. Do both sides and epoxy both sides, and you should be good to go.Last edited by nvr2old; 09-25-2014, 12:12 PM.Leave a comment:
-
Larry, may I ask you if you have a part number for the epoxy you have used with good results?
Unfortunately time isn't on my side if I want to get this painted in the next few weeks.Leave a comment:
-
I'm a huge fan of using the 2-part epoxy glue to fix those cracks. It works beautifully and can be repaired, sanded, skim coat of plastic filler if needed, and then primed, all in an hour. Badda bing, badda boom. The slurry (to me, anyways) seems to be an inconsistent material. You just keep doing what you do, though..because the results are pretty obvious.Leave a comment:
-
Andre, I rather be done and over with this project but I just can't bring myself to do sub-standard work (my definition of it anyway), so on and on it goes. Working on her tonight might be a little tough. Last night Morgan decided his head should occupy the same space as my knee.
All the extra work building the booth and the plumbing for the air lines won't go to waste. My next project is a frame off restoration of the 78 CB750F which I gave to my son Russell. Then there's all the body pieces to paint for the Shelby, the bumpers to paint on the late model (a circle track car). The list is a rather long one.Last edited by rustybronco; 09-24-2014, 11:44 AM.Leave a comment:
-
 Guest repliedHi Dale,
When I see what you are doing, it just confirms your way of doing things! What you do, you do right! You most likely know this, but just remember the slurry suffers from shrinkage and takes quite few days to settle depending on the thickness as the acetone is dissipated.
I wish I had your patience!Leave a comment:
-
Guest repliedhttp://www.thegsresources.com/_forum...ing-discussion this is what started "the quest".Leave a comment:
-
But officer, it's not what you think it is.
I'll start a new thread on how to make a D.I.Y. air line desiccant dryer as soon as the 50 micron screen and 1/4" pipe tap arrives.
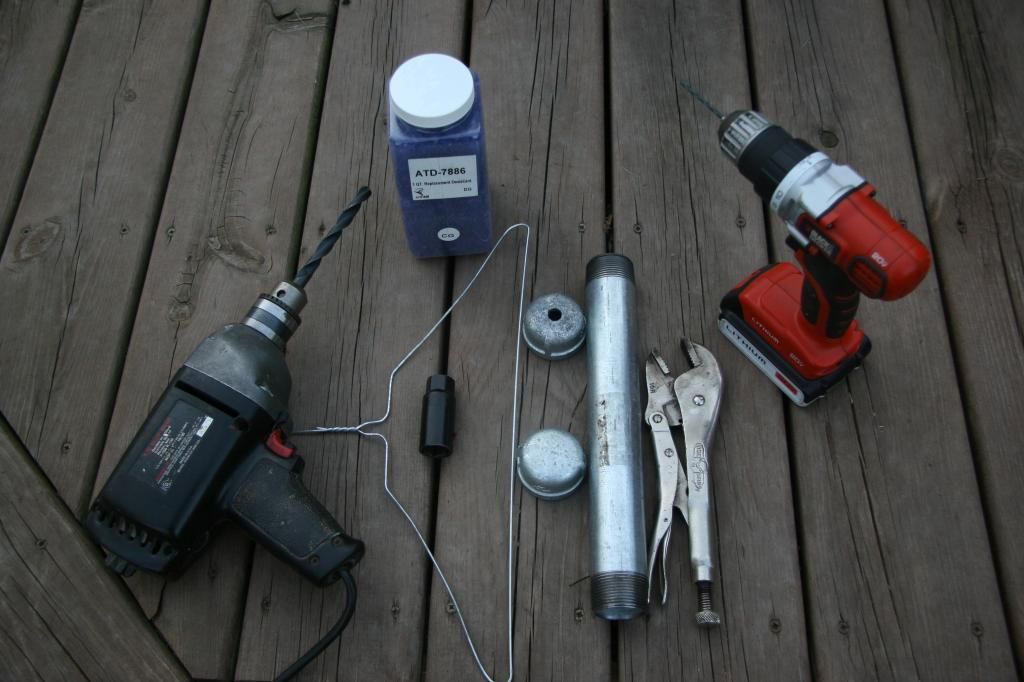
SCFM airflow chart for various diameter orifices. http://www.trident.on.ca/orifice-air-flow.htmLast edited by rustybronco; 09-26-2014, 12:47 AM.Leave a comment:
-
If it turns out to be ABS then I'll fill it with slurry. I'd rather use it than the ABS cement you find at the hardware store; plus I already opened up both cracks with my die grinder.Leave a comment:
-
At least it was a minor issue this time.
And to think of the people who sell their bikes just because they get a little frustrated trying to get it running properly. (where did I put that rolleyes smiley?)Leave a comment:


Leave a comment: