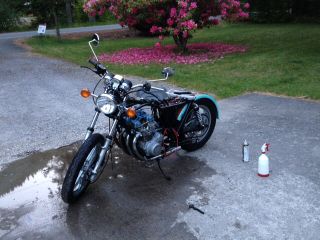
'Nuther Update!
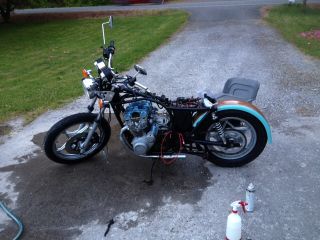
Had a pretty good weekend and got lots of things done. My wife can't really see it, but it really is getting there.
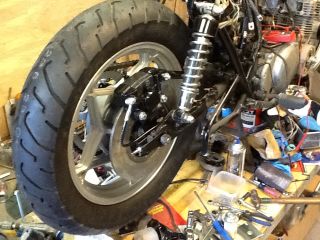
I was able to squeeze some sandblaster time in between raindrops, so I got the exhaust collars cleaned up and painted, as well as the footpeg mounts and hardware. Also got a little further with assembling the wheels and brakes. I messed up and forgot to pick up tubes before the weekend, so. I couldn't get the tires mounted up.
I got all of the electrical up front buttoned up and back together. I can't test anything yet, as I don't have the battery hooked up yet. The new headlight has a different hole configuratiion, so I had to do a little cutting.

There is plenty of room inside the bucket though, so assembling it was fairly simple
Next, I spent some time on the electrical tray. I got a lot of wires traced, cleaned up connections and started mounting components. The R/R mounts underneath the tray

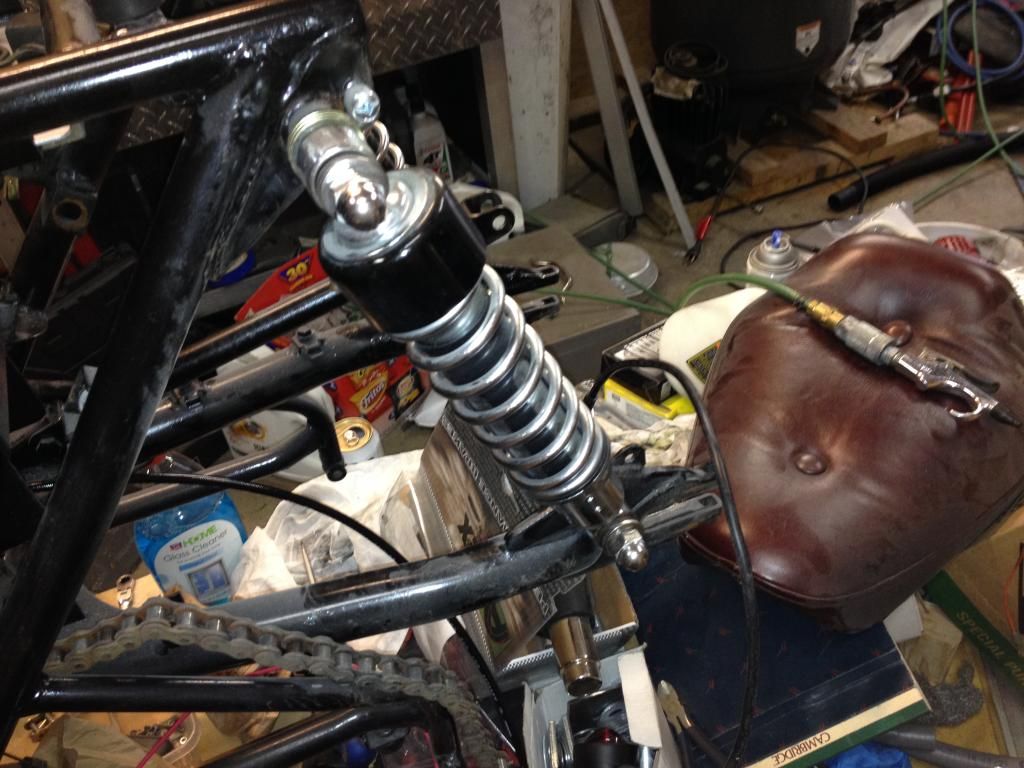
Not a lot to it, but took a few minutes and cleaned up and finished the shocks. New stainless acorn nuts and washers!
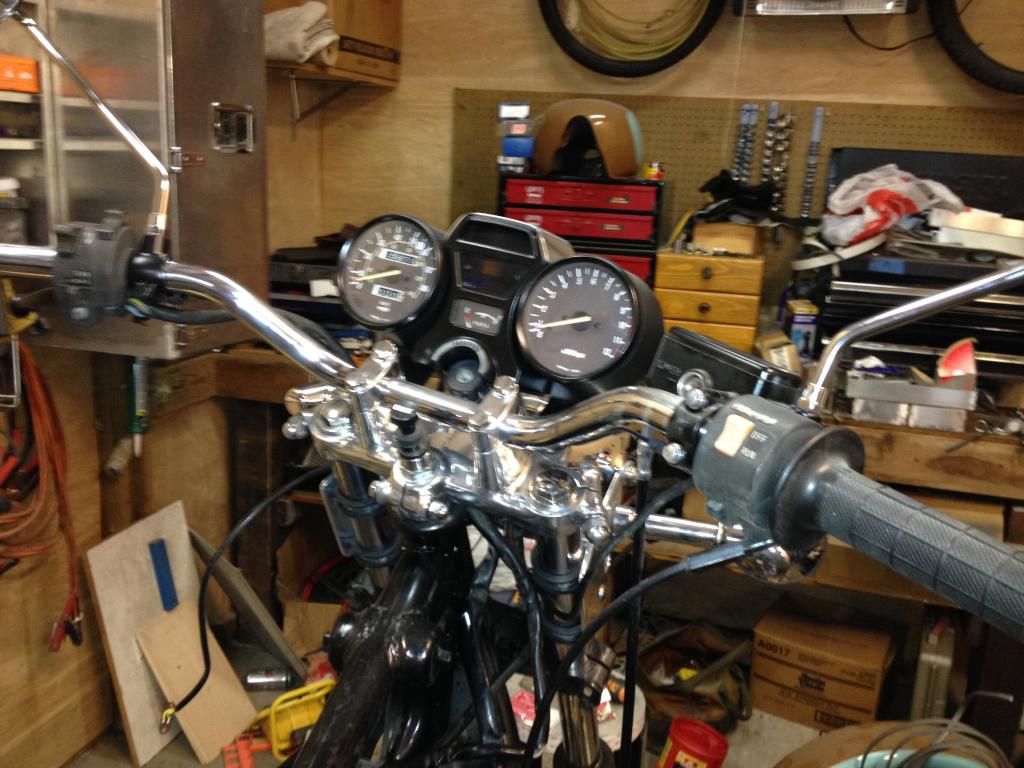
Nothing new here, just like the way the polished crown and clamps turned out!
Had a pretty good weekend and got lots of things done. My wife can't really see it, but it really is getting there.
I was able to squeeze some sandblaster time in between raindrops, so I got the exhaust collars cleaned up and painted, as well as the footpeg mounts and hardware. Also got a little further with assembling the wheels and brakes. I messed up and forgot to pick up tubes before the weekend, so. I couldn't get the tires mounted up.
I got all of the electrical up front buttoned up and back together. I can't test anything yet, as I don't have the battery hooked up yet. The new headlight has a different hole configuratiion, so I had to do a little cutting.
There is plenty of room inside the bucket though, so assembling it was fairly simple
Next, I spent some time on the electrical tray. I got a lot of wires traced, cleaned up connections and started mounting components. The R/R mounts underneath the tray
Not a lot to it, but took a few minutes and cleaned up and finished the shocks. New stainless acorn nuts and washers!
Nothing new here, just like the way the polished crown and clamps turned out!
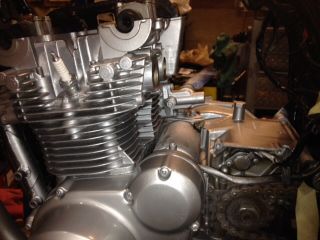
 she sounds absolutely awesome! I went with full exhaust wrap and the Emgo 12" Shorty mufflers on the stock pipes. Very impressed with the sound. Almost quiet, but with a throaty purr. Still only running on three cylinders. Spark but no fire on #3. I was hoping the valve job would help, but it looks like I'll have to tear the carb down again. I only let it run for a few minutes, because I have much more to do before it's ready for a shakedown run this weekend. I sat down next to her, and... "What's this?? You're new..." A nice little puddle of new clean oil underneath. A quick tracing led me to the new half moon plugs. Both rear ones were leaking, the left side really badly. Take it all down, pull the valve cover with plans to use 3bond on them.
Comment