Announcement

Collapse
No announcement yet.

77 GS550B back to my youth

Collapse
X
 
  • Filter
  • Time
  • Show
Clear All
new posts

    77 GS550B back to my youth

    High All
    New here and I though I'd jump straight in with a build thread
    I'm going back to my youth, haven't owned a bike for about 30 years and don't have a current licence but not going to let that stop me
    I've had a few GS550s (see my sig)
    while wasting time on evil-bay I came across this

    -

    this was the description with the add


    -

    didn't mention the twin disc front end swap that has been done

    though "I can handle this" even though I don't have the tools any more (good excuse to re-stock)

    so as it was only half an hour away I went and had a look, its not as nice as the photos show
    I brought it anyway there and then straight into the back of the van and home
    .... more to follow

    #2
    the seller said it was a project bike when he brought it and the PO had cut off part of the rear frame (parts are in the box if I need to weld them back on)
    he also said he had put a kit through the carbs (will have to check that)

    got the bike home and started having a decent look at it
    • has had a front end twin disc wheel/forks/brakes installed by a PO
    • brand new Battlax BT-45 tyres front and back
    • most of the wiring not installed
    • front brake fluid full of gunk
    • rear brakes only half worn
    • lots of miscellaneous bolts and nuts missing and those that are there are only finger tight
    • the seat is completely rusted out and unusable
    • new battery


    so first job it to see if I can get the motor running before I start any major work
    ..... more to follow
    Last edited by Guest; 12-26-2013, 08:02 AM.

    Comment


      #3
      Hi ya, firsty.
      Excellent intro post.
      Looks like a great starting point for getting back into bikes.
      2@ \'78 GS1000

      Comment


        #4
        the first thing to do is get the ignition checked to see whats not working since the Dynatek Dyna-s ignition went in

        pulled the cover off the pickups and found that the advance was locked up solid and the only way to free it up was to loosen the bolt holding it onto the end of the crank, it looked like the rotor magnet was to long (great he has fitted the wrong unit)

        Here is the problem


        after a little research here on GSR it turns out there were 2 different makes of ignition fitted to the early GS's - Kokusan and Nippon Denso
        Dynatek also make 2 versions of the Dyna-s ignition for Suzuki GS's , one for each type and of course I have Kokusan and he fitted Nippon Denso

        that left me with 2 options, try and get the correct Dyna rotor or finding a Nippon Denso advancer for a 37 year old bike
        I'm sure I could get a new rotor but it would have to come from the US. but first off I tried to find an advancer from a wrecker here in Sydney
        the first wrecker I tried only held parts for post 1990 bikes but said that the previous owner had keep all the pre 1990 parts and sells them out of a shed at the back of his property
        after a quick phone call it was off to "Old Golden Motorcycles"
        man it is in a big shed with hundred of barn find bikes and racks and racks of parts and some beautifully restored bikes, an absolute goldmine of stuff

        he took me to a row down the back and said you look like you don't mind a bit of dirt, you "might" find what you are looking for here pointing to about 30 large plastic boxes, if not we may be able to pull something off one of the bikes

        I spent nearly 2 hours looking through the boxes, as well as old parts the boxes were sprinkled with brand new OEM parts (you would need part numbers and a lot of time to find anything) after a few false starts I finally found in a dark greasy corner of the 25th box what I though I was looking for

        My Kokusan on the left and the one I found on the right


        it has ND stamped on it so it should be right (all the early 550, 750 and 1000s use the same Nippon Denso advancer

        and with the dyna rotor fitted


        till I get the motor running I won't know for sure

        .... more to follow

        Comment


          #5
          Welcome and u mite wanna have a look at this...... http://s125.photobucket.com/user/sha...62240019392364

          Comment


            #6
            Thanks for the article Sharpy, nice to see one on my bike for once even if it's a few years older than what I actually ride.
            Cowboy Up or Quit. - Run Free Lou and Rest in Peace

            1981 GS550T - My First
            1981 GS550L - My Eldest Daughter's - Now Sold
            2007 GSF1250SA Bandit - My touring bike

            Sit tall in the saddle Hold your head up high
            Keep your eyes fixed where the trail meets the sky and live like you ain't afraid to die
            and don't be scared, just enjoy your ride - Chris Ledoux, "The Ride"

            Comment


              #7
              thanks for that Sharpy it's good to read some of the old articles, with a bit of hindsight

              the next stage this weekend was to get the electricals working and see if the motor would run

              since the wiring is all over the place I made up a basic total loss system with fuse / kill switch / starter / oil pressure warning light (once had a GSXR 400 race motor delivered without the oil pump drive pin installed, not getting caught out like that again) / power for the the Dynatech ignition and coils
              with that all setup I static timed the ignition, before adding fuel I pulled the plug on 4 to check for spark and then the one on 3 to check the other coil, good solid sparks on both

              as I went to put the number 3 plug back I noticed a small bright mark on the end and wondering what cause that I grabbed torch and had a look in the plug hole

              could not get a shot down the hole but this what I saw


              the bore seems to be ok, nothing that a quick hone won't fix
              at this stage I don't want to spend a lot on the bike so I plan to replace just the one piston and rings as the rest are in reasonable shape
              I have to wait for the shops to reopen from Christmas/new year holidays

              I hadn't planed to strip the motor, but I'll have to do it now just to clean out anything that may have ended up down there
              hope I can find a way to flush the big end bearing as I had one of these let go 5 hours and 40mins into a Castrol 6 hour race back in New Zealand

              off to check online for a complete gasket set

              .... more to follow

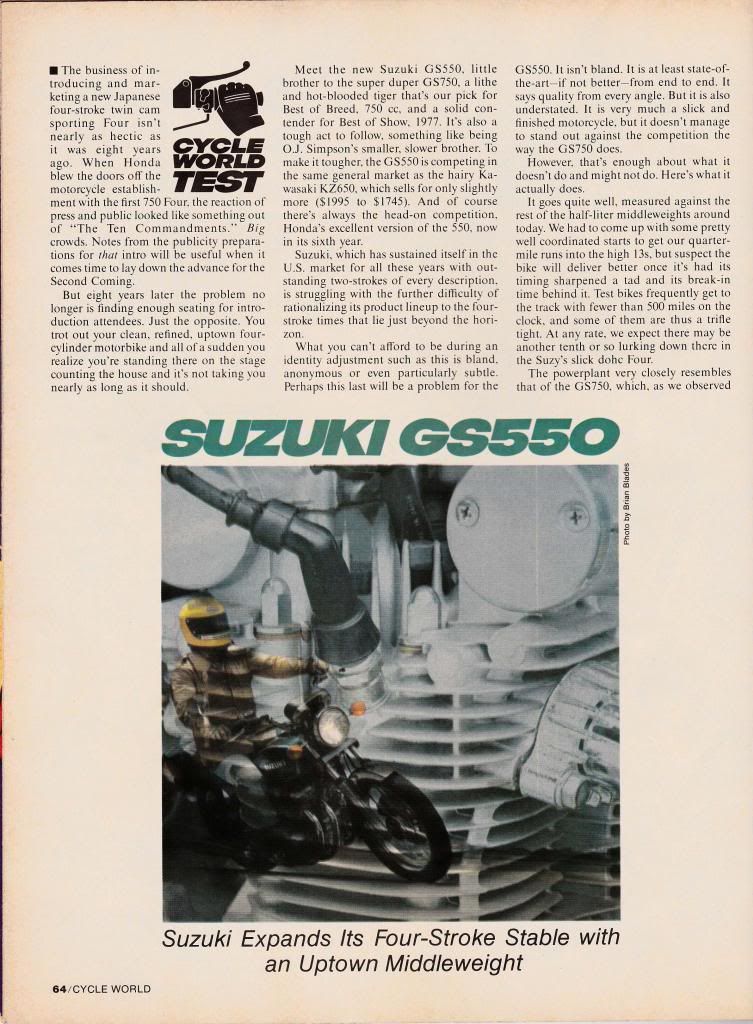
              Comment


                #8
                Please make sure you get an OEM kit as there are many people here who have had bad experiences with the aftermarket ones. They may be a bit more expensive but you won't have to get into it again as quickly.
                Cowboy Up or Quit. - Run Free Lou and Rest in Peace

                1981 GS550T - My First
                1981 GS550L - My Eldest Daughter's - Now Sold
                2007 GSF1250SA Bandit - My touring bike

                Sit tall in the saddle Hold your head up high
                Keep your eyes fixed where the trail meets the sky and live like you ain't afraid to die
                and don't be scared, just enjoy your ride - Chris Ledoux, "The Ride"

                Comment


                  #9
                  having problems working out what brakes I have
                  have posted a question in Tires/Suspension/Brakes so If you think you might be able to help have a look here http://www.thegsresources.com/_forum...d.php?t=217068

                  thanks

                  Comment


                    #10
                    while waiting for piston and rings for the motor I got a little carried away and started to pull the bike apart
                    haven't been able to remove the swing arm bolt as it seems to be fused to the spacer, Once I get the motor out I'll lay the frame on it's side and fill it with some sort of penetrating fluid and see if that will help.

                    so I started on the seat
                    I'm on a bit of budget so I'm trying to use as much of the bike as possible at this stage till I have it running and legal so I can register it. then who knows what I'll end up with

                    I have seen a few bikes that used the standard rear cowl , but on a cut down and shortened seat they look to big and don't flow with the bike


                    I think it needs to sit lower and be made to look smaller but still leave room to put the battery inside

                    drilled out the rivets and removed the base to lower it


                    cut it to change the angles


                    starting to look better


                    not having any welding gear I'm making the base out of aluminium and rivets

                    laying out the shape of the seat


                    slotted the side angles and bent them to fit the shape


                    then after working out the battery compartment I dropped the plate on and riveted it up before trimming off the excess

                    underside of seat, I still have to put in a cross brace/locking bar, there will a strip of rubber under the angle sides so the seat can sit directly on the frame rails


                    the top showing the battery box base


                    the seat base fitted to the bike


                    as you can see the battery base has been angled down so I can use the existing mounts on the frame and still keep enough space for the battery

                    when the cowl is removed the whole seat pivots up so you will be able to get to the wiring tray that will be underneath there

                    .... more to follow
                    Last edited by Guest; 01-07-2014, 08:32 AM.

                    Comment


                      #11
                      the cowl fitted to the base


                      there will be a rear to the seat pan that sits against the cowl, I have removed the leading lip on the cowl so it will sit flush
                      the cowl will be held on by some quick release fasteners so you can easily lift it off to get to the battery

                      the battery area


                      sitting lower with what I hope are more flowing lines along the top


                      the part masked up will be removed to make it into a small cowl and make it line up with the bottom of the tank and seat


                      I need to rase the rear of the tank and the front of the seat slightly to allow for the slight dip in the frame


                      where the rivet is sticking out I left a small part of the cowl lip that I have tucked in behind the side angles for the front fasteners, With 2 more fasteners coming in from the back where the number plate will go


                      .... more to follow

                      Comment


                        #12
                        Pretty cool stuff man!


                        Ed
                        GS750TZ V&H/4-1, Progressive Shocks, Rebuilt MC/braided line, Tarozzi Stabilizer[Seq#2312]
                        GS750TZ Parts Bike [Seq#6036]
                        GSX-R750Y (Sold)

                        my opinion shouldn't be taken as gospel or in any way that would lead you to believe otherwise (30Sep2021)
                        Originally posted by GSXR7ED
                        Forums are pretty much unrecognizable conversations; simply because it's a smorgasbord of feedback...from people we don't know. It's not too difficult to ignore the things that need to be bypassed.

                        Comment


                          #13
                          most of the parts have come in

                          GO


                          TURN


                          STOP


                          the list of jobs is growing

                          -

                          Comment


                            #14
                            finishing off the seat this weekend

                            added the back and braced it to the battery frame


                            cut the rear cowl down and fitted it on


                            I think the lines worked


                            added some padding and shaped with angle grinder (may have to change to a softer foam)


                            I'll run it like this for a few weeks before I cover it (once I get the rest of the bike done)


                            I found a old Leather lounge beside the road the other day and cut all the leather of it
                            it's old weathered dark red-brown (more red) so I have enough to cover a few seats
                            also there was a tan leather chair which I cut up for practice leather

                            as I said I'll wait till I have ridden it for a while before I cover it

                            .... more to follow

                            -

                            Comment


                              #15
                              A little more progress

                              worked on the front end this week

                              fitted new steering head bearings, stripped and cleaned the forks and fitted new fork seals, then painted them satin black


                              fitted new front wheel bearings and painted the whole lot satin black


                              cleaned up the brake rotors


                              I'm picking up bearings for swing arm and rear wheel tomorrow


                              so the rear should be finished some time next week


                              the paint is only a temporary rattle can job to make the bike presentable for it's rego test, the plan is to bead blast the lot and get a proper powder coat job done at a later date and the colour scheme could well change

                              .... more to follow

                              -

                              Comment

                              Working...
                              X