Announcement

Collapse
No announcement yet.

GS550E Project "Kafebiku"

Collapse
X
 
  • Filter
  • Time
  • Show
Clear All
new posts

    #46
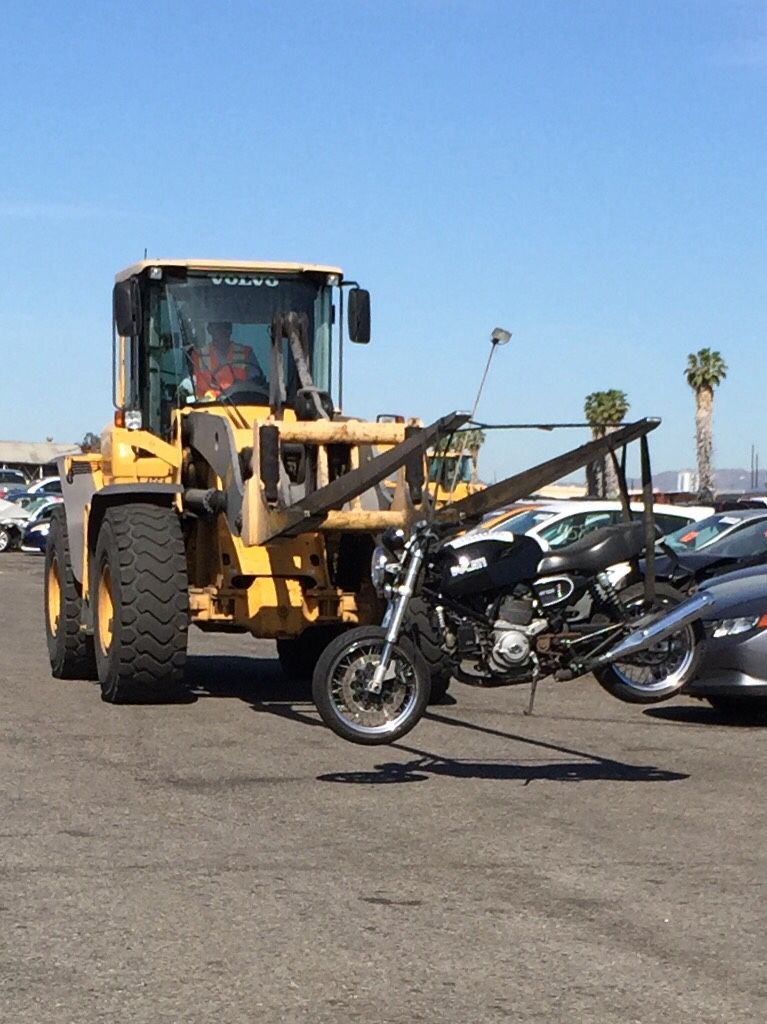
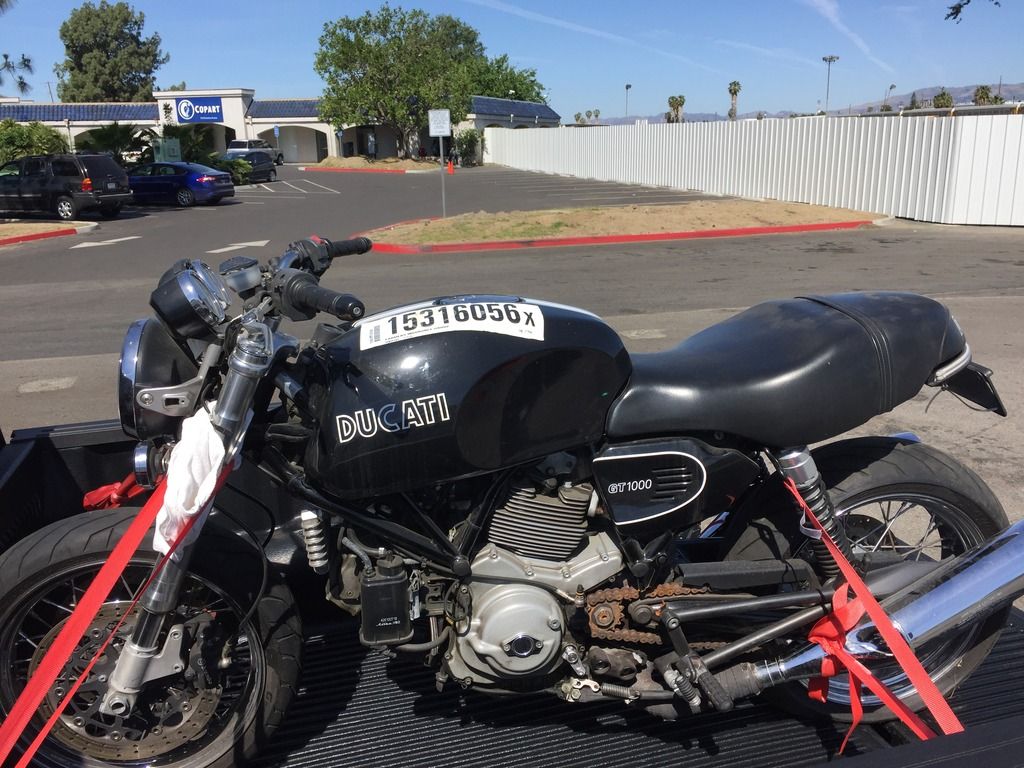
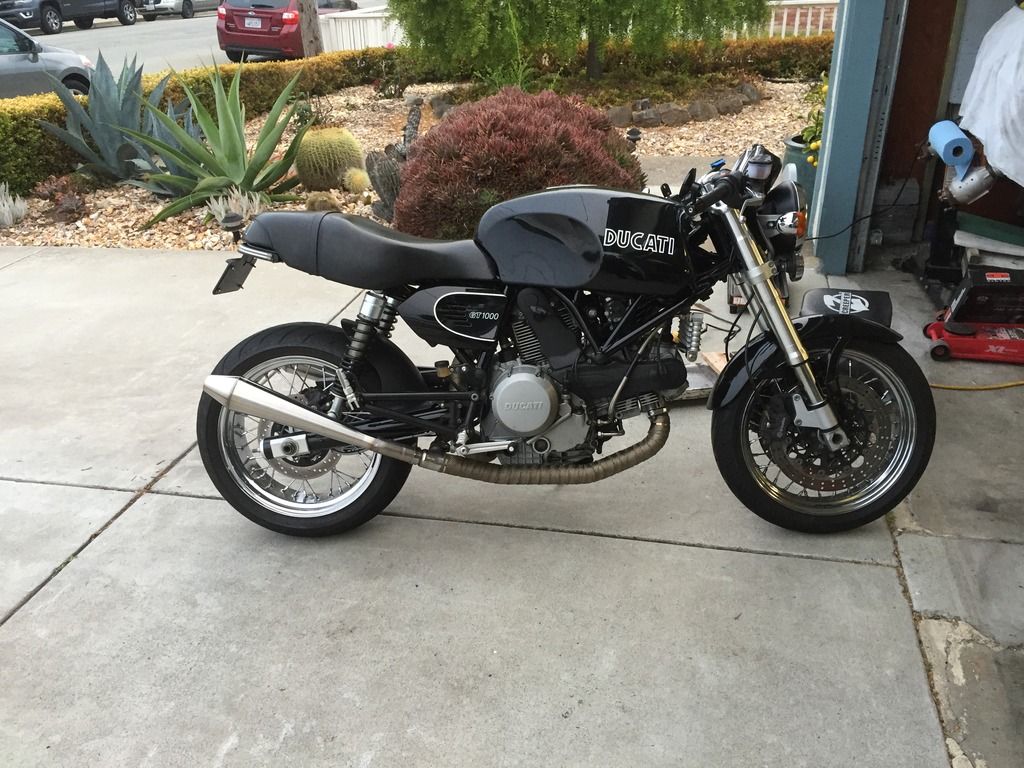
    The reason for the holdup is I sold the BMW and got this Ducati at the auction. Needed more work then I expected but I wanted something to ride while I build the GS. Ended up doing some mods to it while I was at it. Home made exhaust using Cone Engineering mufflers, M-bars and some other things to make it a bit more fun.


    Comment


      #47
      Subscribed!

      Love the quality work

      Comment


        #48
        Originally posted by Rattytatty View Post
        Subscribed!

        Love the quality work
        Thank you sir!

        Comment


          #49
          Made the seat pan mount easy to remove using Quick Latch Mini. Need to visit my upholsterer to see what else I need to make the seat right. Never made a seat before.


          Comment


            #50
            Next is the mockup of the cowl also known as the battery cover. Will most likely upholster the seat first and make the cowl after.


            Comment


              #51
              Battery hold down and license plate mount complete.


              Comment


                #52
                Hey Evo,

                I love the way the bike is turning out. I was looking at the insulator that you made from 3-D printing, and it looks great, but I am a little concerned about it. I have been messing with a ultil-make 2 extended 3-d printer and different materials for about a year now. I am actually 3-d printing a new airbox, dashboard, and a storage compartment for my bike. I am concerned that the PLA does not have a high enough melting point to be used anywhere close to the engine. I know whenever I would leave a PLA in my truck all day in the middle of the summer, I would find it deformed because the inside of the truck was to warm for it. I would suggest using XT or HT material from Color-fabb. XT has a much higher melting point. I am just afraid that if you use PLA in the starter compartment, it could melt into a blog and mess up you starter.

                Thanks,

                Andy

                Comment


                  #53
                  Originally posted by Ace07 View Post
                  Hey Evo,

                  I love the way the bike is turning out. I was looking at the insulator that you made from 3-D printing, and it looks great, but I am a little concerned about it. I have been messing with a ultil-make 2 extended 3-d printer and different materials for about a year now. I am actually 3-d printing a new airbox, dashboard, and a storage compartment for my bike. I am concerned that the PLA does not have a high enough melting point to be used anywhere close to the engine. I know whenever I would leave a PLA in my truck all day in the middle of the summer, I would find it deformed because the inside of the truck was to warm for it. I would suggest using XT or HT material from Color-fabb. XT has a much higher melting point. I am just afraid that if you use PLA in the starter compartment, it could melt into a blog and mess up you starter.

                  Thanks,

                  Andy

                  Thank you!

                  The closer it gets to starting the bike the more I am concerned with that part. I will need to think of another option for this. Thank you for pointing that out, Andy.

                  Comment


                    #54
                    Finally got to start and "finish" the rear cowl. Here are some in progress pics.


                    Comment


                      #55
                      Made a little cutout to put the integrated tail, brake and turn signals. Not sure I am 100% happy with the way the cowl turned out. I'll get it painted and see if I like it better.


                      Comment


                        #56
                        The wheel parts arrived. Got a good deal on black Friday from Cognito Moto. Got their gsxr750 front hub and Warp 9 17x3.5 front 17x4.25 rear rims. New rotors to fit the 1989 GSXR750 front fork/brake setup. Can't wait to get these laced up and some tires put on. Ordered 120/70/17 front and 150/70/17 rear tires.

                        Comment


                          #57
                          This was the best I can come up with when removing the swing arm bearings. Some heating, some beating and it came out pretty easy. Just need the right pry bar and a hammer.


                          Comment


                            #58
                            Hoping this week will be the week I drop all this stuff off at the powder coater. Would like to begin the assembly in the new year.

                            Comment


                              #59
                              Has everything been assembled and tested already once, or did I miss something? Paint and powdercoat is a final step, after shakedowns and revisions. A correctly built, finished custom has been built/assembled in totality at least twice.

                              Comment


                                #60
                                Originally posted by DohcBikes View Post
                                Has everything been assembled and tested already once, or did I miss something? Paint and powdercoat is a final step, after shakedowns and revisions. A correctly built, finished custom has been built/assembled in totality at least twice.
                                I test fitted engine in the frame, the forks on the frame as well as all the parts I made. It's been together before and I haven't changed any structural areas of the frame. It will all workout in the end.

                                Comment

                                Working...
                                X