Announcement

Collapse
No announcement yet.

1981 gs750 (gs750e) Retro Racer project

Collapse
X
 
  • Filter
  • Time
  • Show
Clear All
new posts

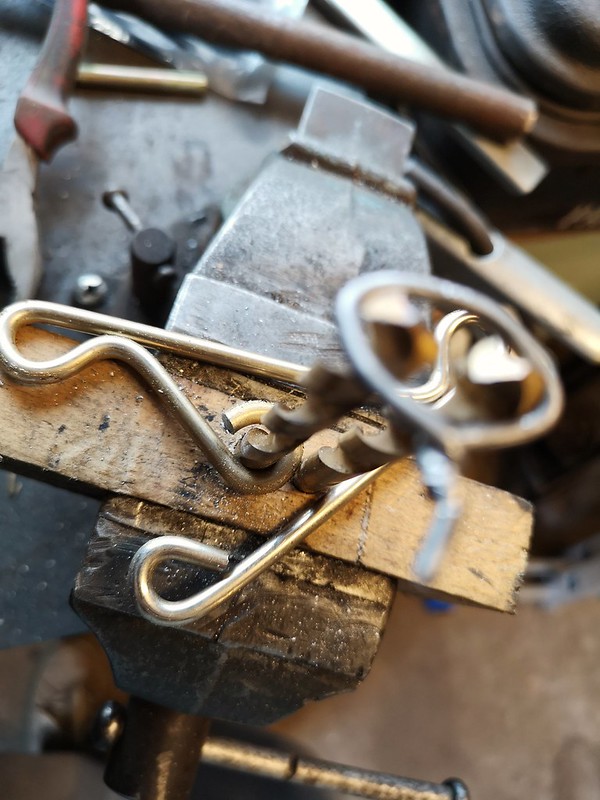
    Made a small "bending jig" as I wanted to try out some different ideas for the headlight mount. The first version had an extra loop for mounting the mini blinkers. I thought it looked too cluttered so I removed it.


    Mount by Lars Krogh-Stea, on Flickr


    Mount by Lars Krogh-Stea, on Flickr
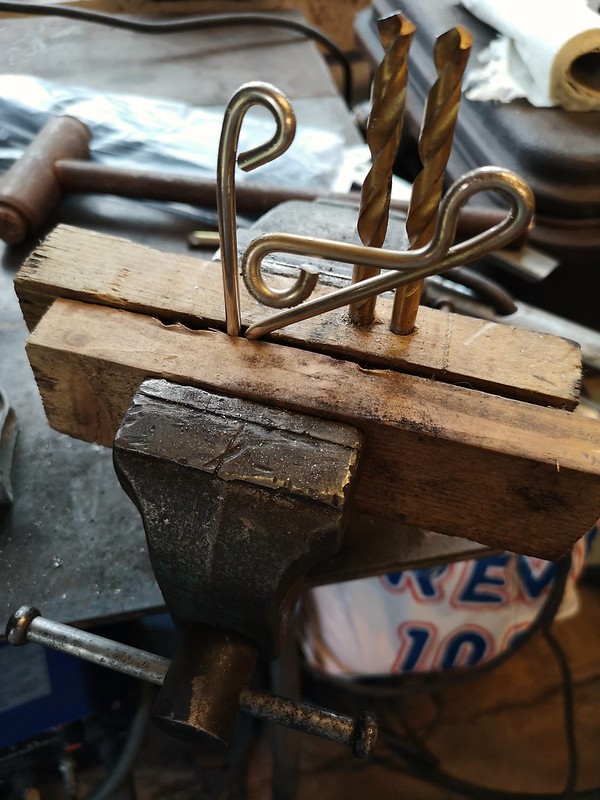

    This is how it turned out with just the loop for the headlight. Not sure if I should powdercoat the clear or black..


    Mount by Lars Krogh-Stea, on Flickr


    Mount by Lars Krogh-Stea, on Flickr

    Comment


      There is a downside to having the bike 1,5 hours drive away. Sometimes I plan something and impatiently order the parts, and when they arrive it doesn't quite turn out as I wanted.
      I was planning to use mini switches like on the image below on both sides so I ordered a set of these:


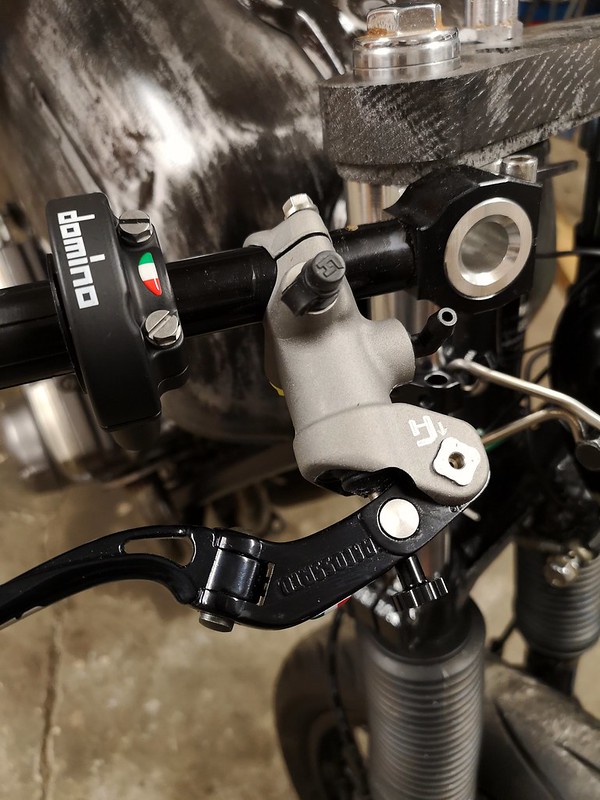
      But with the new Domino throttlecontrol there was very little room left on the clipon:


      Bike by Lars Krogh-Stea, on Flickr


      I have some of these switches laying around, so I'll take som if the plastic I used to prototype the fork triple to make someting similar to the Motogadget switch cluster. Ideally there will be three pushbuttons som I can control the Motoscope mini from the handlebar as well.


      Comment


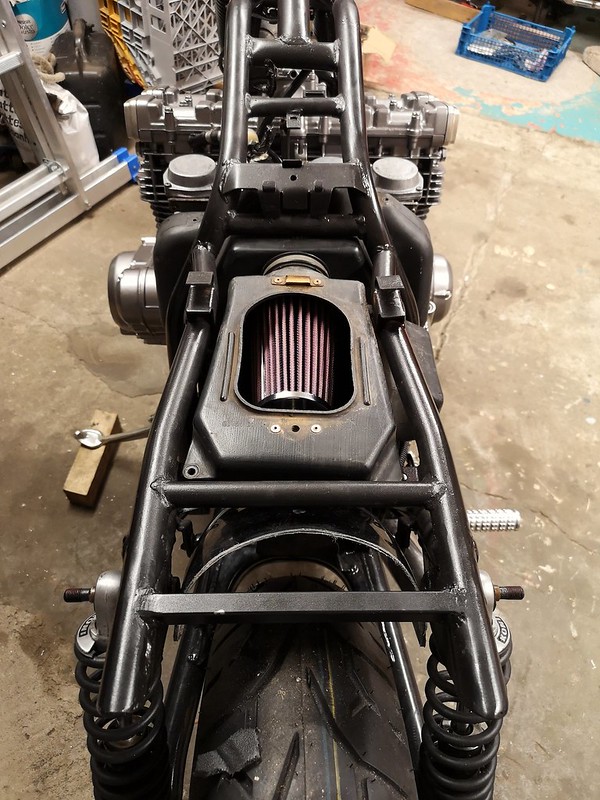
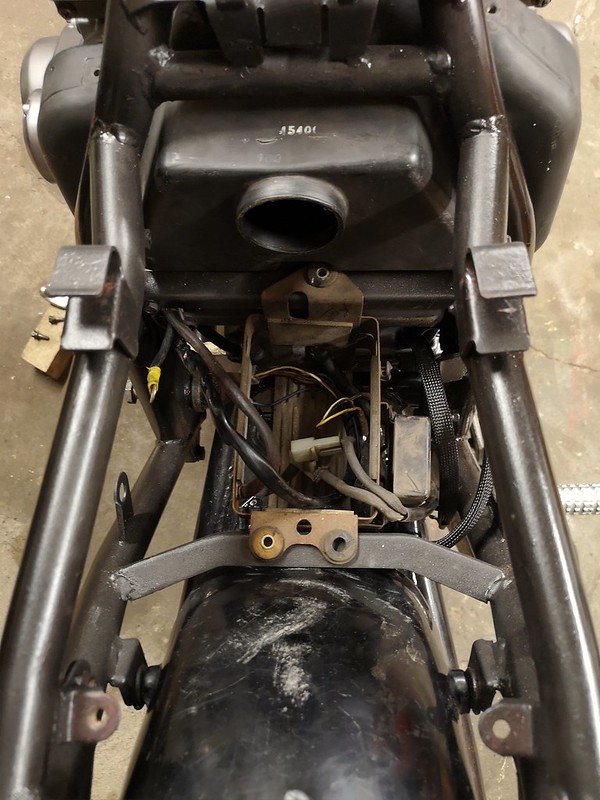
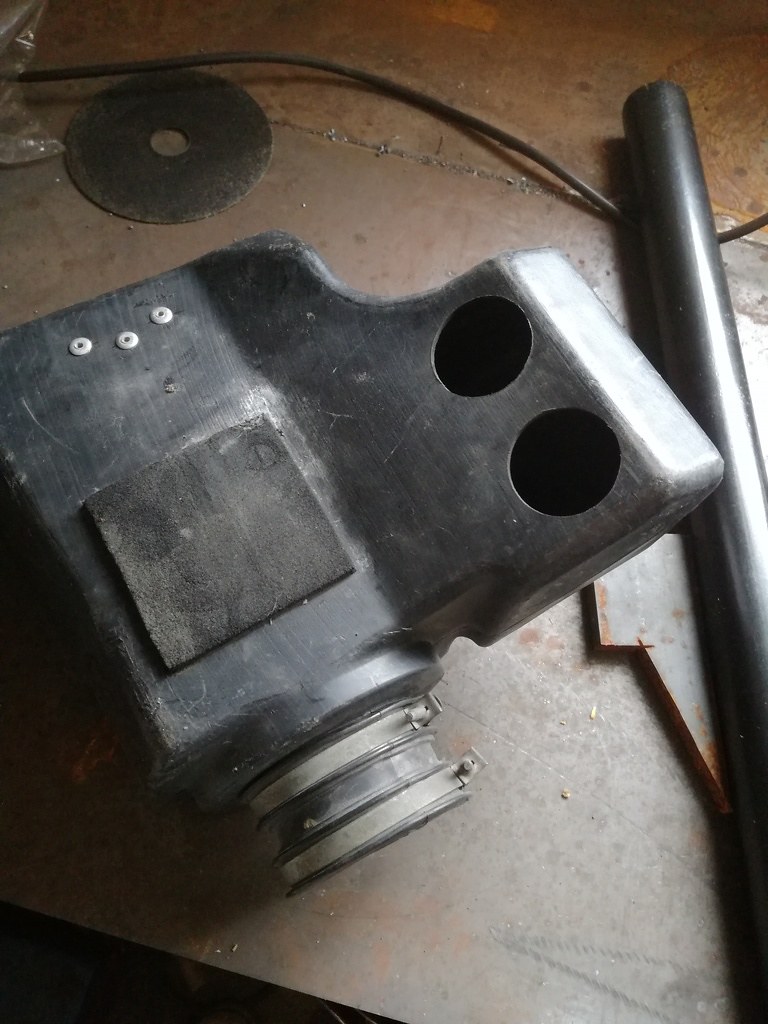
        In my mind there would be room for electronics under the seat, but when the airbox was in place, there wasn't even room for the seat :P


        Filter by Lars Krogh-Stea, on Flickr


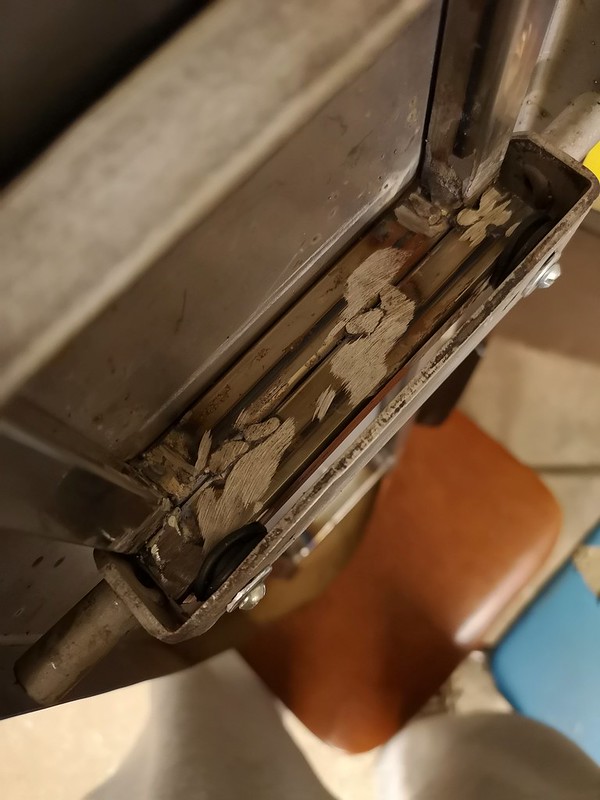
        I've used the original seat "hinge" and turned it upside down like this


        Seat by Lars Krogh-Stea, on Flickr


        I'll have to modify it by grinding off the square bar and weld a new round bar directly on the seat frame to get the seat at the right hight.


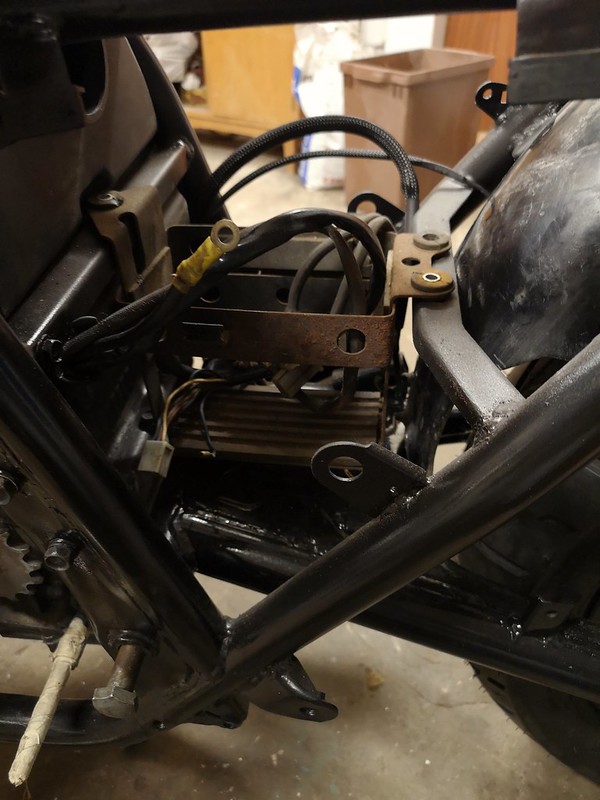
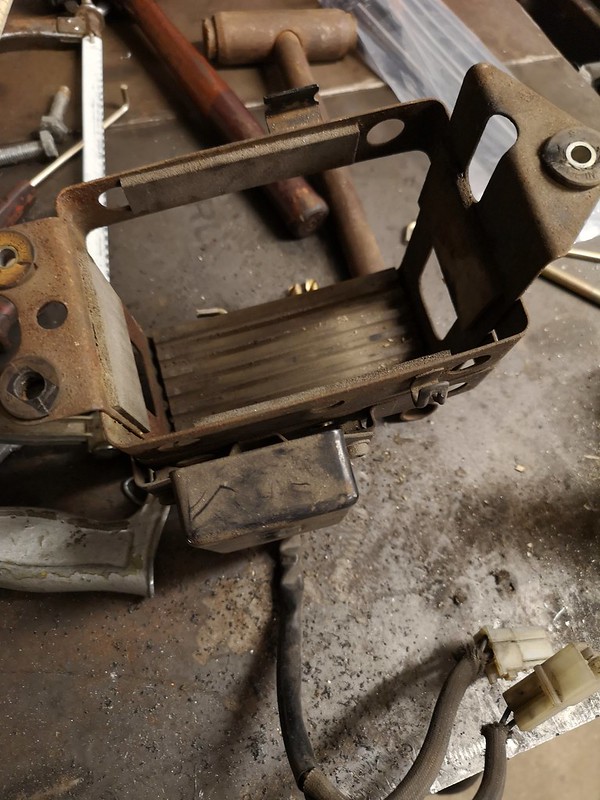
        Any way, that opens up a new problem; where to put the m-unit and the other electronics. I see there's plenty of room on both sides of the batterytray. I'm thinking of making a new tray with a deviding section in the middle. Then the battery will go to the right and the rest of the elctronics will go on the left side. Has anyone done this before? Please post a link to your build thread, and maybe I'll save som time doing trial and error work


        This is how it looks now:


        Batterycase by Lars Krogh-Stea, on Flickr


        Battery case by Lars Krogh-Stea, on Flickr


        Battery case by Lars Krogh-Stea, on Flickr

        Comment


          I'll also throw in a cuple of picture of how the bike looks now. Putting the headlight, carburettors and airbox on really made it look a lot closer to beeing a rideable bike I've decided to powdercoat the rearsets black as I think they stand out too much from the rest of the bike.
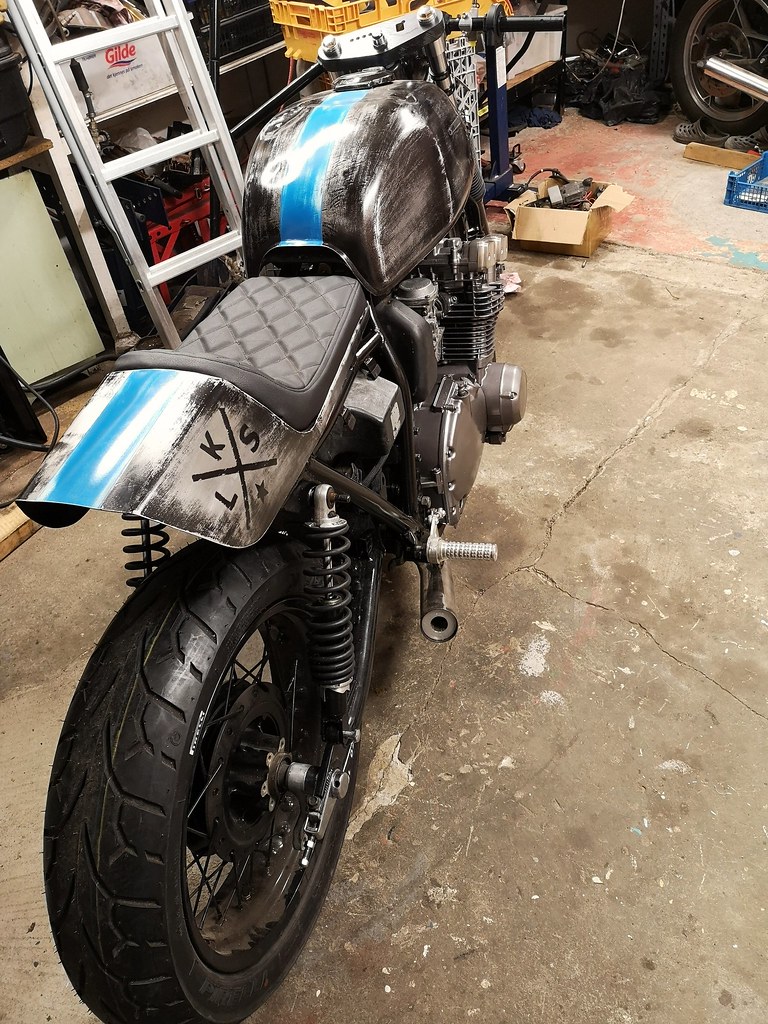
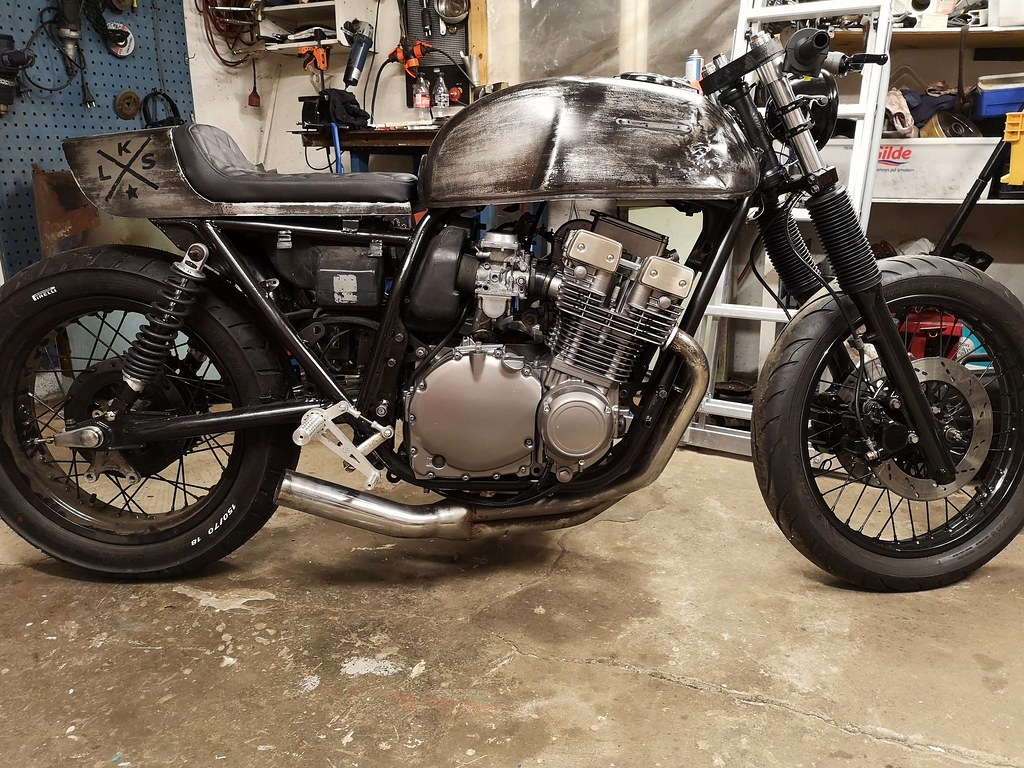
          Bike by Lars Krogh-Stea, on Flickr


          Bike by Lars Krogh-Stea, on Flickr

          Comment


            On my GS 1000 with the GSXR engine, I turned the battery around and fitted the fuse box and the ECU in front of the battery.
            I'll try to get a picture for you.
            sigpicJohn Kat
            My bikes: CB 77, GS 1000 ST Cafe Racer with GSXR 1052 engine, GS 1000 ST, XR 41 Replica with GS 1085 engine,
            GS 1100 SZ Katana with GS 1135 EFF engine, KTM Superduke 1290 R 2020

            Comment


              Originally posted by John Kat View Post
              On my GS 1000 with the GSXR engine, I turned the battery around and fitted the fuse box and the ECU in front of the battery.
              I'll try to get a picture for you.
              I read through your thread on the GS and got the picture Thanks for the input

              Comment


                Some impressive fabrication going into this bike. It's going to be really cool by the looks of it.

                Is that the standard airbox/filter for the 750? Curious since my '82 550 has a completely different design. I've been toying with the idea of having one big automotive style cone filter like that attached to the "front" airbox as something in-between proper airbox setup and pods. (Ditching the rear part of the airbox, just the filter)

                Comment


                  Originally posted by LightsOut View Post
                  Some impressive fabrication going into this bike. It's going to be really cool by the looks of it.

                  Is that the standard airbox/filter for the 750? Curious since my '82 550 has a completely different design. I've been toying with the idea of having one big automotive style cone filter like that attached to the "front" airbox as something in-between proper airbox setup and pods. (Ditching the rear part of the airbox, just the filter)
                  You might try but beware that this will probably disturb your AFR ratio and you could be spending a lot of time getting it right...
                  sigpicJohn Kat
                  My bikes: CB 77, GS 1000 ST Cafe Racer with GSXR 1052 engine, GS 1000 ST, XR 41 Replica with GS 1085 engine,
                  GS 1100 SZ Katana with GS 1135 EFF engine, KTM Superduke 1290 R 2020

                  Comment


                    Originally posted by LightsOut View Post
                    Some impressive fabrication going into this bike. It's going to be really cool by the looks of it.

                    Is that the standard airbox/filter for the 750? Curious since my '82 550 has a completely different design. I've been toying with the idea of having one big automotive style cone filter like that attached to the "front" airbox as something in-between proper airbox setup and pods. (Ditching the rear part of the airbox, just the filter)

                    luftfilter by Lars Krogh-Stea, on Flickr


                    It's the original filter/airbox/plenum arrangement. I knew I didn't want pods, as I wantet to keep the plenum (the box between this one and the carburettors). Then I thought of getting rid of the airbox, but it made it harder to attach the K&N filter. This could be done with a short connecting tube I think, but I optet to keep the airbox as I changed my design plans and went for side covers. I then did some research to descide wther or not to make the holes underneath larger. No definitive answer. I have larger carburettors and a freer flowing exhaust, so I might end up needing more air, but I wont make the holes larger until I know for sure. The bike ran pretty well with this setup, so I'll probably keep it like it is.

                    Comment


                      Originally posted by LarsKroghStea View Post
                      luftfilter by Lars Krogh-Stea, on Flickr


                      It's the original filter/airbox/plenum arrangement. I knew I didn't want pods, as I wantet to keep the plenum (the box between this one and the carburettors). Then I thought of getting rid of the airbox, but it made it harder to attach the K&N filter. This could be done with a short connecting tube I think, but I optet to keep the airbox as I changed my design plans and went for side covers. I then did some research to descide wther or not to make the holes underneath larger. No definitive answer. I have larger carburettors and a freer flowing exhaust, so I might end up needing more air, but I wont make the holes larger until I know for sure. The bike ran pretty well with this setup, so I'll probably keep it like it is.
                      The 1100 Katana moved from the two holes you have to one larger hole between the 1982 and 1983 model years.
                      You could also simply delete the airbox cover if you need more air...
                      sigpicJohn Kat
                      My bikes: CB 77, GS 1000 ST Cafe Racer with GSXR 1052 engine, GS 1000 ST, XR 41 Replica with GS 1085 engine,
                      GS 1100 SZ Katana with GS 1135 EFF engine, KTM Superduke 1290 R 2020

                      Comment


                        Good point John I'll test with and without the cover and check the sparkplugs for color changes. Won't happen in the near future though, as it's winter in Norway.

                        Comment


                          So, got a few hours of work in the garage

                          I,ve mounted the M-unit blue and connected the R/R, starter relay, starter and ignition on the output side. On the input side I've connected the horn button (for initial setup of the m-unit) and the start button. I've filled the engine with new oil and connected the oil pressure switch via a test lamp to the positive side on the battery. When I crank the engine the test light doesn't go out. The engine has been parked for three years. I think the pressure switch probably is stuck? Can I remove the cover for the pressure switch and test it without draining the oil again?

                          I must say it was a fantastic feeling to hear the engine turn over again!

                          Comment


                            IMG_20190414_180251 by Lars Krogh-Stea, on Flickr

                            Quick and temporary M-Unit hookup.
                            On the input side I've connected Key, Start/Kill (pushbutton) and Horn/Config (pushbutton, to initialize bluetooth pairing).
                            On the output side, I've connected Ignition (power to ignition and coils), Start (one wire, activates original starter relay).
                            I addition to this I've grounded the charging system , the two push buttons and the ignition.
                            The key input is, per manual, connected to the positive side of the M-unit. I guess this is to make it compatible with the M-lock or other wireless key systems that require power to operate.

                            I can now monitor voltages and amps on my phone, as well as shut off inputs and outputs for testing purposes.

                            I must say the M-unit blue is an awsome toy for gadget-lovers in addition to som cool practical features.

                            I've also sorted out the oil pressure problem, which relly was just a rookie problem. I filled the engine to the correct level and cranked the engine. Didn't notice that the oil level dropped. Topped it off today and cranked it without the pressure switch in the hole so I could se oil coming out of the hole. Connected the switch and a test light and it worked as it should.

                            Comment


                              First run by Lars Krogh-Stea, on Flickr


                              Here's a short clip of that first run Feels amazing to reach this milestone!

                              Comment


                                Short lived happiness..


                                The two carburettors on the left side of the bike are leaking a lot and there was also a leak between the two on the right. The small leaks between the outermost carburettors was fixed by replacing the O-rings on the connecting tubes. I changed theese on both sides. Se pictures below:


                                IMG_20190609_125606 by Lars Krogh-Stea, on Flickr


                                IMG_20190609_125534 by Lars Krogh-Stea, on Flickr


                                I connected a one liter gas tank to the carbs to see what was happening. The gas is pouring out of the two holes on the next picture:


                                IMG_20190609_125512 by Lars Krogh-Stea, on Flickr


                                Nothing comes out of the overflow tubes. Removed the floatbowl on the leftmost carb and the float is moving unrestricted, the needle seems fine too. The float hight might be off but I checked this when I cleaned them. I might have done the measurements wrong. I sodablasted the carbs so there is also the possibility that some passage is clogged. Does anyone know what might cause gas flowing out from the holes on the intake side? Any tips on how to go about fixing this? Is it better to measure float hight with a ruler or check with gas and clear tube and measure on the outside? These are BS34s instead of the original BS32, but they are rejetted and worked well last time I ran the bike three years ago.

                                Comment

                                Working...
                                X