Announcement

Collapse
No announcement yet.

GSX400E Project Suzzie.

Collapse
X
 
  • Filter
  • Time
  • Show
Clear All
new posts

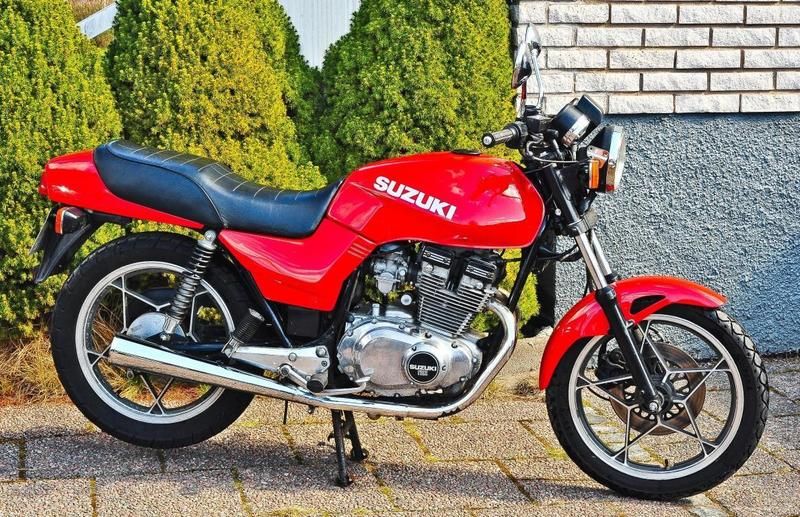
    That bikes looking sweet! Great job!

    If you have a day to wait you might want to throw that chainguard on the dash of your car and leave the car in the sun. The heat may stress relieve the part and return it to the original shape. Or not...

    Black would look awesome. That's a great looking bike...only (my opinion) I hate where that tank "Suzuki" emblem is located. It would look much better in the normal tank position, such as the 1100E used.
    Ed

    To measure is to know.

    Mikuni O-ring Kits For Sale...https://www.thegsresources.com/_foru...ts#post1703182

    Top Newbie Mistakes thread...http://www.thegsresources.com/_forum...d.php?t=171846

    Carb rebuild tutorial...https://gsarchive.bwringer.com/mtsac...d_Tutorial.pdf

    KZ750E Rebuild Thread...http://www.thegsresources.com/_forum...0-Resurrection

    Comment


      Thank you Sir.

      I ordered White decals, on the way. Decided to paint it Flame Red. Saw a new Dodge truck sitting at the local dealership. Loved it!

      Yeah, I agree, straight would look better but will go with stock location. The frame cover is painted wrong but she looks good in Red.


      I need to get the metallic silver decals listed in the classifieds. Two sets, large (OEM) and smaller.
      Last edited by Guest; 05-12-2016, 02:35 PM. Reason: Picture

      Comment


        Forgot Ed. Yeah, I could set in the sun especially in Arizona however I'll make them deal with it. Already sent UPS return label.

        I still have to drop it off. Just an idiot in shipping. Deal with idiots everyday, just the norm.

        Comment


          It's going to look great in Red.


          Life is too short to ride an L.

          Comment


            Originally posted by tkent02 View Post
            It's going to look great in Red.
            I must admit I agree!

            Comment


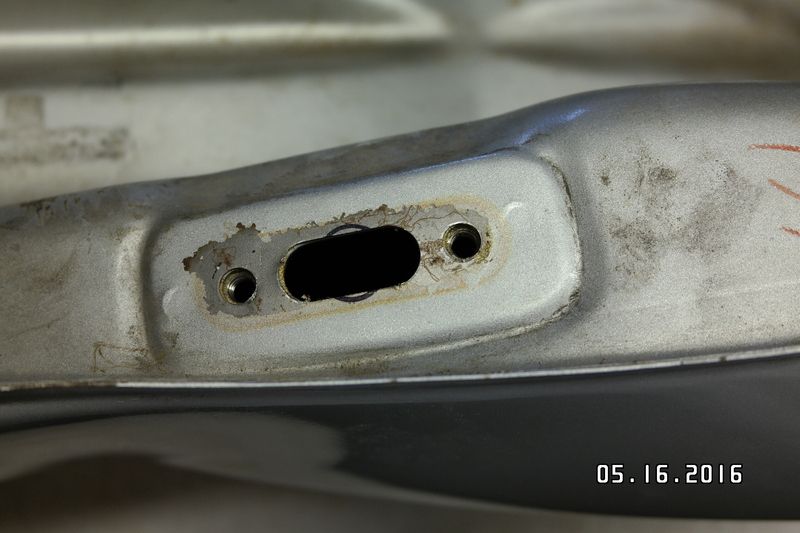
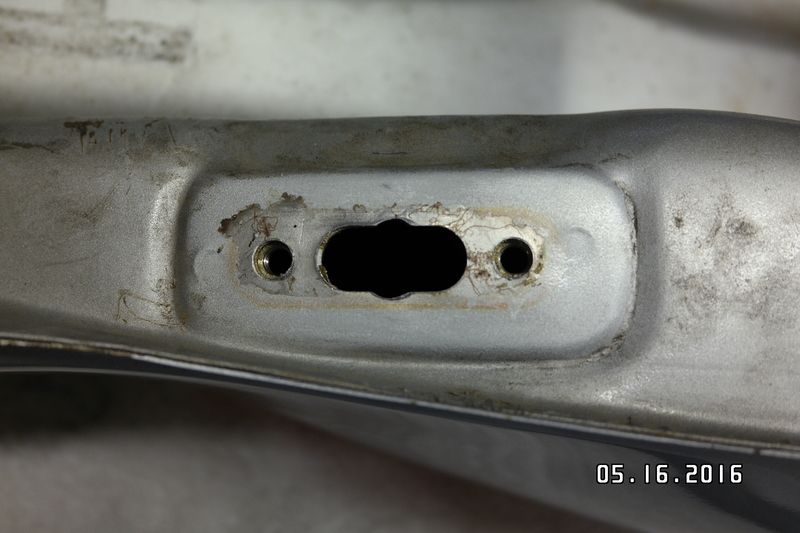
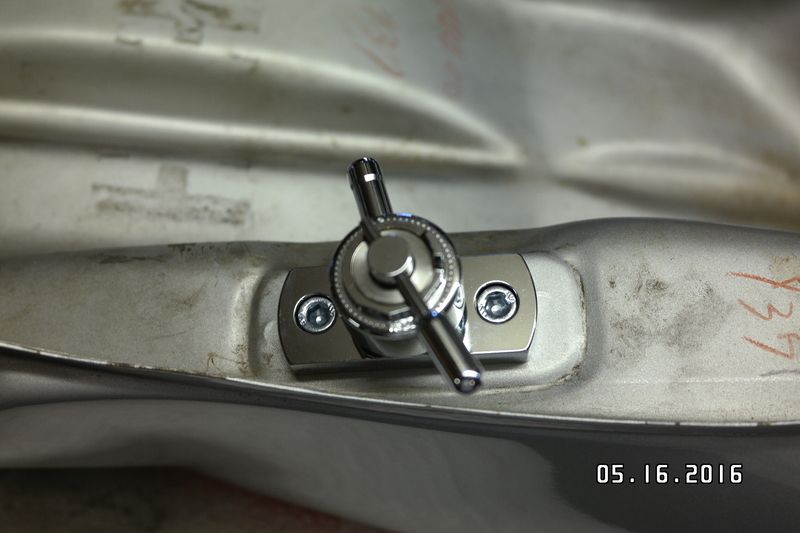
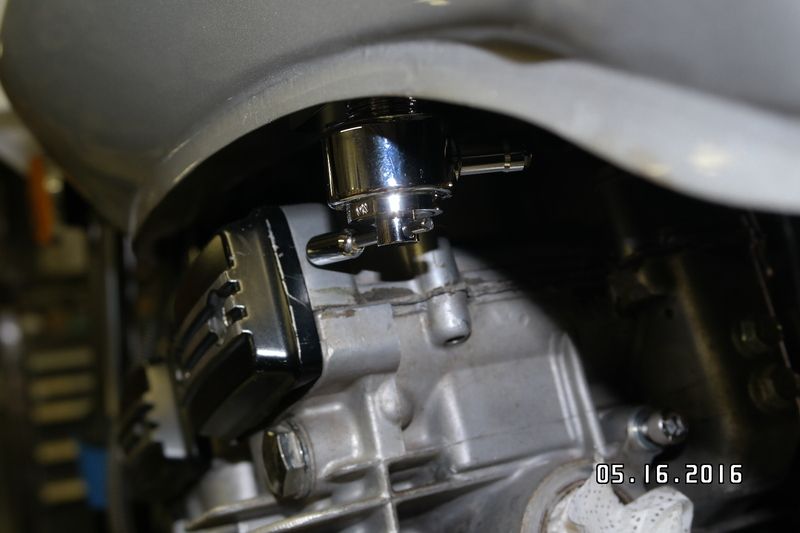
              I lost vaccum!

              Well, on the petcock anyway.

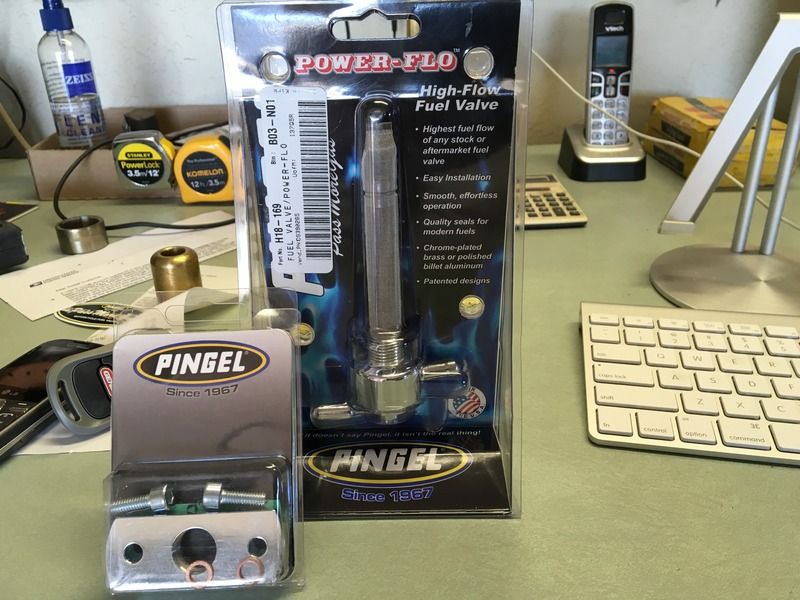
              The parts.


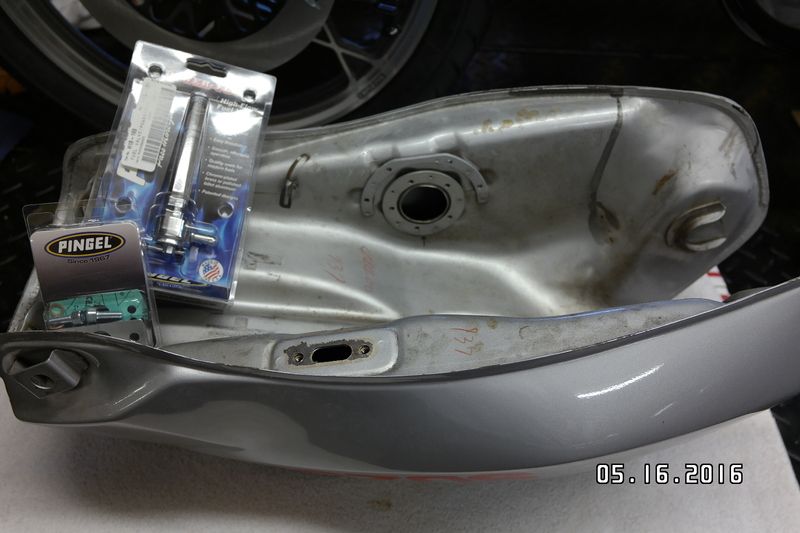
              First thing is to mark just how much you need to remove.


              I would highly suggest a fat rat tail file. This will keep the circumference true, at least better than a small file. I worked inside out to keep the shavings down as much as possible. A little at a time until the fuel screen fits inside without crushing or bending. Sand any burrs from filing.


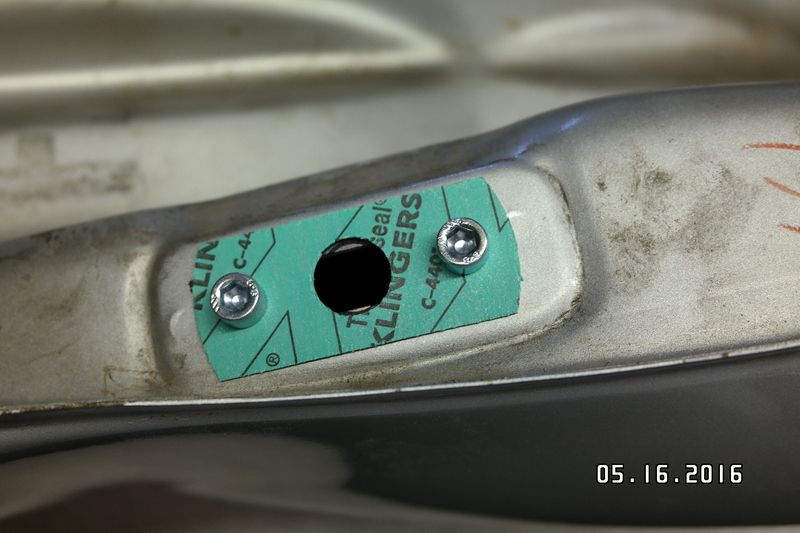
              Perfect.


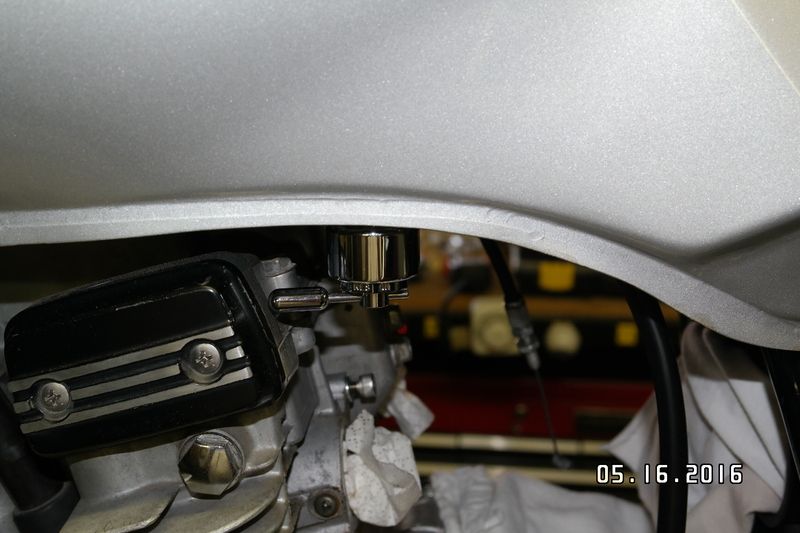
              Test mounted the fuel tank. I did not tighten it home. I'll wait until final assembly. Tight but clears.


              Let's face it, still have to clean the inside of the tank. I used compressed air with a small fuel line attached to the tip. I'll rinse after its painted.

              Hope this helps someone in the future.

              Comment


                Now you just have to remember to shut it off.

                And get used to running out to the garage at 3 AM in your jammies to check if your memory serves you correctly….
                '82 GS450T

                Comment


                  Originally posted by John Park View Post
                  Now you just have to remember to shut it off.

                  And get used to running out to the garage at 3 AM in your jammies to check if your memory serves you correctly….
                  Not only that John but which way to turn it too!

                  Comment


                    Awesome, same bike as mine. Good luck with your build.

                    Comment


                      Thanks Mate.

                      Comment


                        Need assistance.

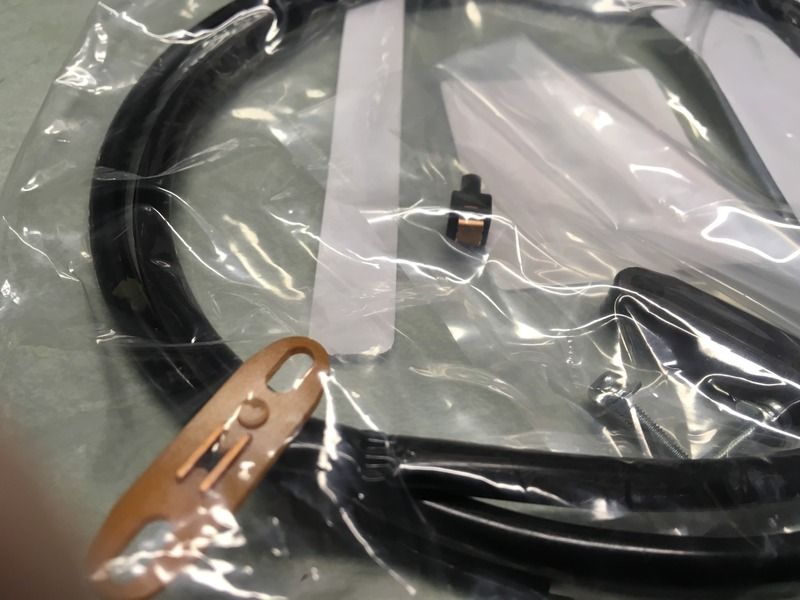
                        Going to replace the brake light switch. Tried to salvage the old one but when squeezing the lever the brake light came on and never shut off.

                        Need to figure out the orientation of the base plate and copper piece.

                        1) I assume the wire leads out the front of the perch. The round imprint throws me off as to whether this is the off position or a stop or just the cast in the mold.

                        2) Small copper piece. If I remember correctly only goes one way.

                        TIA.

                        Comment


                          You already have your new switch it appears so this is moot but I ended up using banjo bolt brake light switches. My front switch essentially disintegrated upon disassembly so I went the bolt switch route as it is far easier and, to me, more reliable. Not sure how accurate you are trying to make your resto so that could factor in to it as well.

                          Comment


                            I have used those but not this build. Original as I can get it. Thanks.

                            Comment


                              Just pulled mine apart as I forgot how it went when I replaced that contact piece. Wires exit towards the rider, so the contact piece rests on the dot while not pulling the brake.
                              1983 GS650G
                              Build thread: http://www.dotheton.com/forum/index.php?topic=66251.0

                              Comment


                                Originally posted by JonnyC View Post
                                Just pulled mine apart as I forgot how it went when I replaced that contact piece. Wires exit towards the rider, so the contact piece rests on the dot while not pulling the brake.
                                Thats what I thought. Thank you Sir.

                                If I'm not mistaken it was mounted backwards by someone else. Can't be sure however. I'll get to it first thing in the morning and report back.

                                Appreciated.

                                Comment

                                Working...
                                X