• Required reading for all forum users!!!

    Welcome!
    Register to access the full functionality of the GSResources forum. Until you register and activate your account you will not have full forum access, nor will you be able to post or reply to messages.

    A note to new registrants...
    All new forum registrations must be activated via email before you have full access to the forum.

    A Special Note about Email accounts!
    DO NOT SIGN UP USING hotmail, outlook, gmx, sbcglobal, att, bellsouth or email.com. They delete our forum signup emails.

    A note to old forum members...
    I receive numerous requests from people who can no longer log in because their accounts were deleted. As mentioned in the forum FAQ, user accounts are deleted if you haven't logged in for the past 6 months. If you can't log in, then create a new forum account. If you don't get an error message, then check your email account for an activation message. If you get a message stating that the email address is already in use, then your account still exists so follow the instructions in the forum FAQ for resetting your password.

    Have you forgotten your password or have a new email address? Then read the forum FAQ for details on how to reset it.

    Any email requests for "can't log in anymore" problems or "lost my password" problems will be deleted. Read the forum FAQ and follow the instructions there - that's what we have one for...

  • Returning Visitors

    If you are a returning visitor who never received your confirmation email, then odds are your email provider is blockinig emails from our server. The only thing that can be done to get around this is you will have to try creating another forum account using an email address from another domain.

    If you are a returning visitor to the forum and can't log in using your old forum name and password but used to be able to then chances are your account is deleted. Purges of the databases are done regularly. You will have to create a new forum account and you should be all set.

1985 GS700E build

  • Thread starter Thread starter MrMcTavish
  • Start date Start date
M

MrMcTavish

Guest
Bought this bike a few years ago with intentions of getting up and running and it just kept getting delayed after I accidentally snapped off a header bolt. I was going to replace the old ones with stainless steel and it snapped. Then to make matters worse, I snapped off a carbide extractor bit trying to get it out :cry:
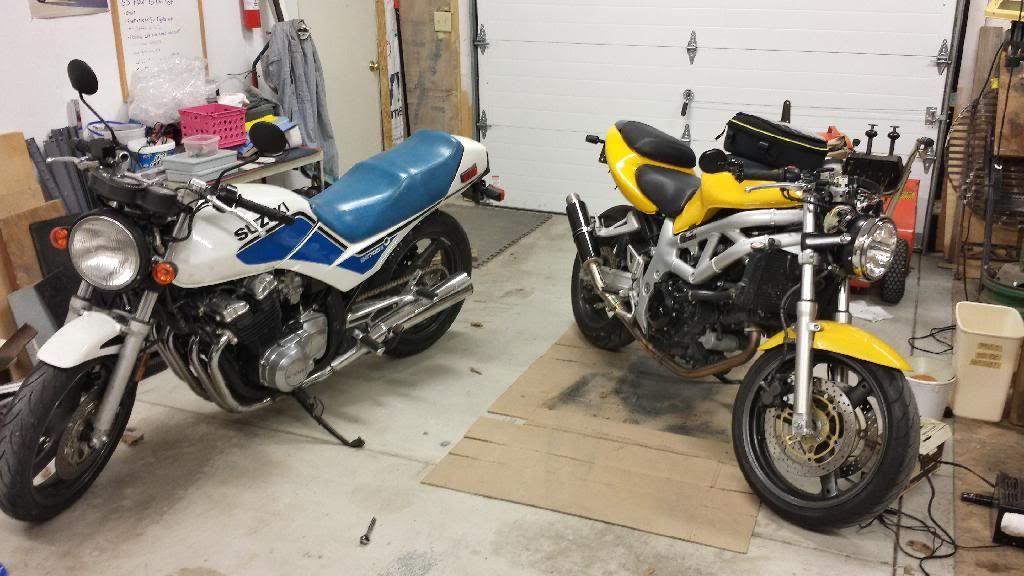
So until I either find a way to get that out, or find a new head that engine is taking a break under my work bench. How ever about a year later, my buddy got a hold of a 81 or 82 GS750 motor. The motors were basically identical looking except his chrome and paint was in better shape, but I knew that this motor was going to be a few ponies short of the newer 700. After finding a '93 katana 750 parts bike and making a few swaps here and there with my friend, I managed to get the 750 motor, the rear wheel and the complete front end from the katana. After wiring everything up and getting everything to fit, the bike was finally starting to come along. I finished it up with newer GSXR gauges and IMO it's looking pretty sweet.

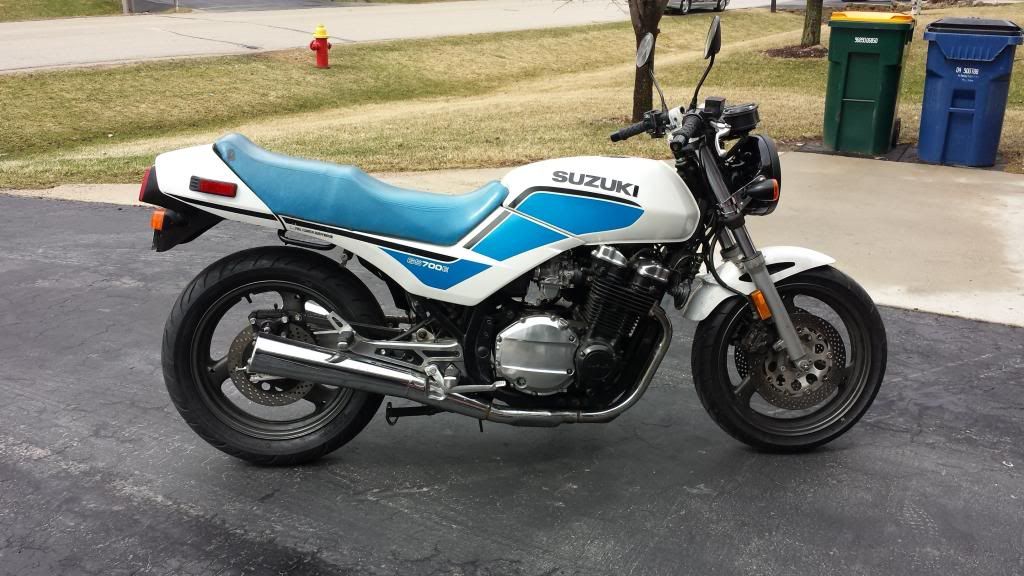
This is when I first got the bike:


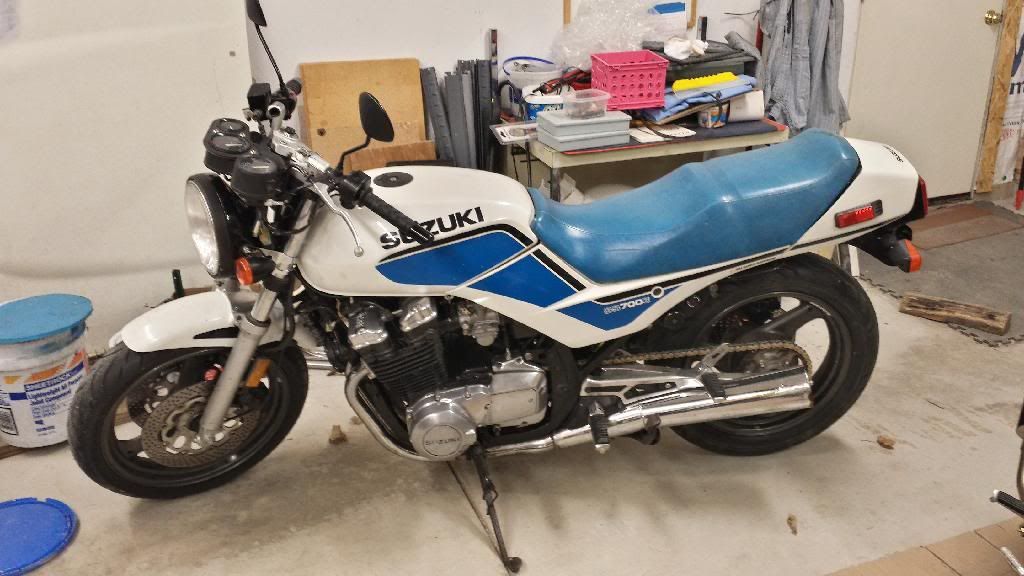
And this is when I was all finished. (Sorry, no "in progress" shots):


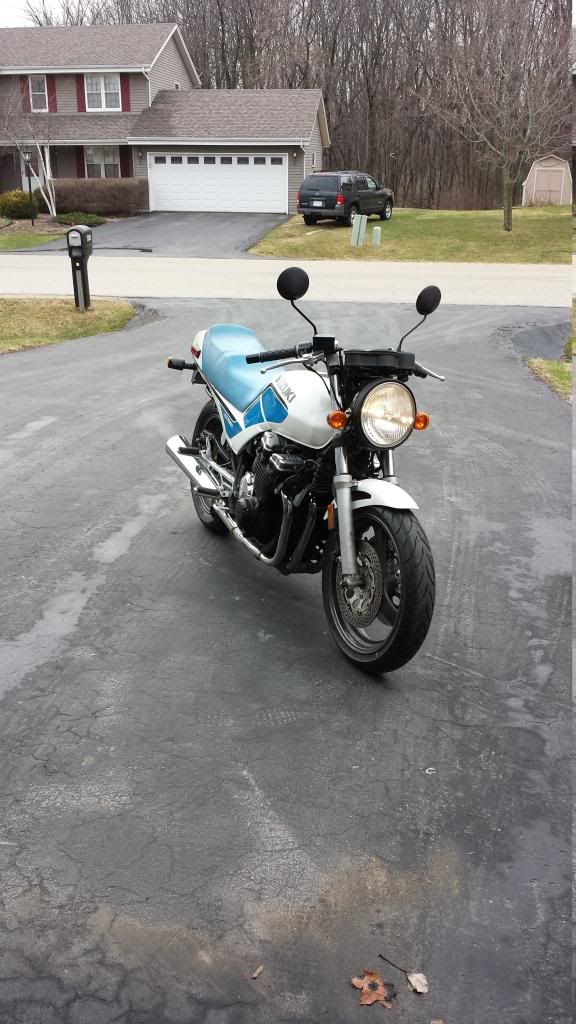
I don't know if you can tell from the pictures, but the front end has been lower dramatically. The Katana forks are much shorter. I was worried at first about the header scrapping but after some riding I'm more at ease. And with the front being much lower it feels more comfortable too.

I'm currently working on one last known issue with it now. Some electrical bug in either the charging system or the battery. The bike will start up fine and ride perfectly but then I'll shut it off sometimes and when I go to start it again, nothing. I'm thinking it's probably the r/r since it is still the stock unit but I will be doing some testing shortly.

If anyone is wondering how I did any of the swaps just let me know. Everything was pretty straight forward though. Forks are a bolt in affair and the gauges just took a little bit of research to find the proper wires.

I also have some stock pieces for sale if anyone is interested. I believe the front brake calipers and the repaired stock gauges with no wiring.
 
You actually have the motor from an '83 GS750, which is the same motor as the 700, but with a longer stroke and different cams. It makes a tiny bit more peak horsepower, but quite a bit more torque, so in reality it's a performance upgrade over the stock motor. If you swap out the cams and ignition plate from the GS700 motor and put them in your 750 motor, it will be even hotter.

The jetting in the carbs for that motor is different than the 700 motor. Don't know if you did anything with the carbs other than clean them. If you didn't, I highly recommend a Dynojet Stage I kit. It makes the bike much more rideable, shortens warmup time, and eliminates the "dead band" in the power curve from about 4,000-6,000 rpms.

Wow thanks for the info, I would rather keep the cams and ignition plate in the 700. It's got all the power I want so getting a little bit more isn't too important for me. I'm just happy to finally be riding it.
I will be sure to look into the dyno jet kit because your absolutely right about that dead spot. I can feel a huge surge of power coming on right after about 6,000
 
Hmmmmmmm........


Just had a friend give me a 96(?)Kat fork.I can get a both the wheels to.How hard was fitting the rear wheel?
 
Hmmmmmmm........


Just had a friend give me a 96(?)Kat fork.I can get a both the wheels to.How hard was fitting the rear wheel?

it wasn't too difficult. I played around with the different spacers and rear brake brackets a little. IIRC I took one of the spacers to my friend and had him mill it down slightly. You could probably just sand it down but it would take a while. If you measure it and figure out how much you need taken off(how how long you need it to be) a machine shop that does small jobs could have it done in about 5 mins for fairly cheap. Although it depends on your model bike.

Edit- I also think I used the cush drive off of a gs500 because it was narrower I believe. Lowered the gearing a ton becuase I kept the stock 500 rear sprocket but it accelerates pretty quick now
 
Last edited:
Wow thanks for the info, I would rather keep the cams and ignition plate in the 700. It's got all the power I want so getting a little bit more isn't too important for me. I'm just happy to finally be riding it.
I will be sure to look into the dyno jet kit because your absolutely right about that dead spot. I can feel a huge surge of power coming on right after about 6,000

I've owned a 700ES since new and have messed around with lots of things with it over the years before converting it back to completely stock, except a Stage I kit in the carbs, and upgraded charging system components.

The Stage I kit is a huge improvement over stock.
 
I've owned a 700ES since new and have messed around with lots of things with it over the years before converting it back to completely stock, except a Stage I kit in the carbs, and upgraded charging system components.

The Stage I kit is a huge improvement over stock.

Then hopefully you can help me out. Is there a good way to put the carbs back in? I hate wrestling with that airbox when I'm putting them back in. It takes me a good hour to get all the seals just right. Maybe I just need more practice haha
 
Then hopefully you can help me out. Is there a good way to put the carbs back in? I hate wrestling with that airbox when I'm putting them back in. It takes me a good hour to get all the seals just right. Maybe I just need more practice haha

It took me four years to reinstall them the first time I took them out (no kidding, I gave up until I found this website in 2002). Here's what you have to do:

1. Spray the inside of the inlet boots on the engine with silicone spray, and spray the outside of the carb outlet ports as well. Spray the inside of the airbox boots, as well as the outside of the carb intake ports. Let dry.

2. Use a hair dryer on the highest heat setting to get the intake boots on the engine hot. I mean hot to the touch, so they're soft.

3. While the boots are heating up, route the throttle cable through the frame the proper way, then install it on the carbs. It is a bit awkward, but it is long enough to do so holding the carbs at a wonky angle over the frame backbone.

4. Make sure all the tubes are on the carbs - the two vent lines, the fuel line, and the vacuum line. A couple of them are nearly impossible to install on the carbs once they are in place.

5. Wear a pair of work gloves with padded palms. If you don't, it will be difficult to shove them into place without hurting your hands.

6. To install them, once the boots are hot, remove the hair dryer, straddle the bike facing forward, and shove the carbs in behind the boots from the right side. You'll have to do it with the front of the carbs pointing down. Once all four carbs are lined up with the boots, wiggle them around until the carb outlets are all slightly pointed into the boots. At this point, the back of the carbs is still higher than the front, and the tops of the carb outlets are slightly inside the boots.

7. Now, with all your strength and weight, with each hand on the outermost part of the carb rack, shove forward while rotating downward. The carbs will take quite a bit of force, but in they will go.

8. Now use the hairdryer to heat up the airbox rubbers. When they're hot, line up the airbox over the rear of the carb ports, and shove it forward. It will be easier than getting the carbs into the intakes ports.


It f*cking sucks. I don't know why Suzuki had to make it so tight in there, since the bike was a new design from the ground up. In fact, it is impossible to remove the airbox from the frame without removing the engine mounting bolts, unhooking the exhaust mounts from the frame, and pushing the motor forward until it is resting up against the front frame downtubes. I've never been successful trying that, although others say they have. I've just removed the entire engine from the frame to remove/reinstall the airbox.

Good luck.
I just replaced the carb boots going to the engine not too long ago because they were so stiff. I got the new ones and was amazed how soft and pliable they were. It was worth the $100 or so. All I do is take a little oil on my finger and lube up the insides and just shove them in then I spend an hour or so with a long thin screw driver trying to get the air box boots on lol. I will be sure to try the hair dryer next time.
The first time I took them out I basically destroyed the air box and just figured I would go to pod filters. How hard could it be I said. Long story short, I bought a new air box. Maybe eventually if I keep upgrading it I'll switch to some flat slides. I heard they're easier to tune than cv carbs.
I also just did the quick battery test on this site and found that my charging system is no good. I think it's my rr but I can't be sure. I might just replace it anyway though because I'll end up doing it down the road any way.
 
I finally figured out my charging issue thanks to the many helpful people on this site. Turns out my r/r was fried. I was recommended to install a Polaris unit which regulates all three phases. It is installed and the bike charges again. It's up and running only to be met with crappy weather :(
 
I was at a motorcycle meet and we were all getting our bikes dynoed. Power graph is super linear and made 76.25hp at 10,000rpm! having the oldest bike there making that much power was impressive
 
Back
Top