Announcement

Collapse
No announcement yet.

Project 700ES

Collapse
X
 
  • Filter
  • Time
  • Show
Clear All
new posts

  • tejasmud
    Guest replied
    Dang Brother you have been hard at work. Looks real good, and can't wait to see it all mounted on the bike.

    I have been wondering about the Tarrozi fork brace, anyway you can shoot a pic of the ID where it mounts to the tubes?

    Just curious. Looks like the dust seals mount to the brace.

    Here waiting on parts and doing some research, my thread will come alive soon.

    Leave a comment:


  • jwhelan65
    Guest replied
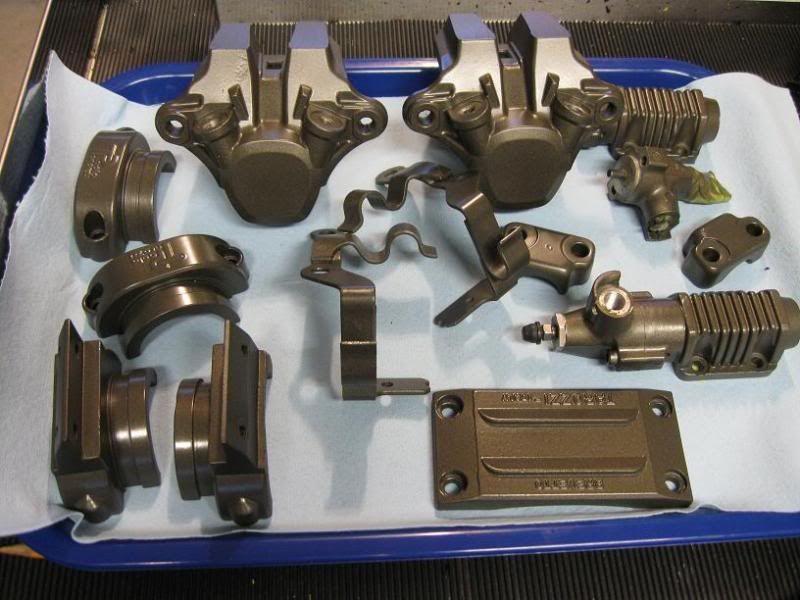
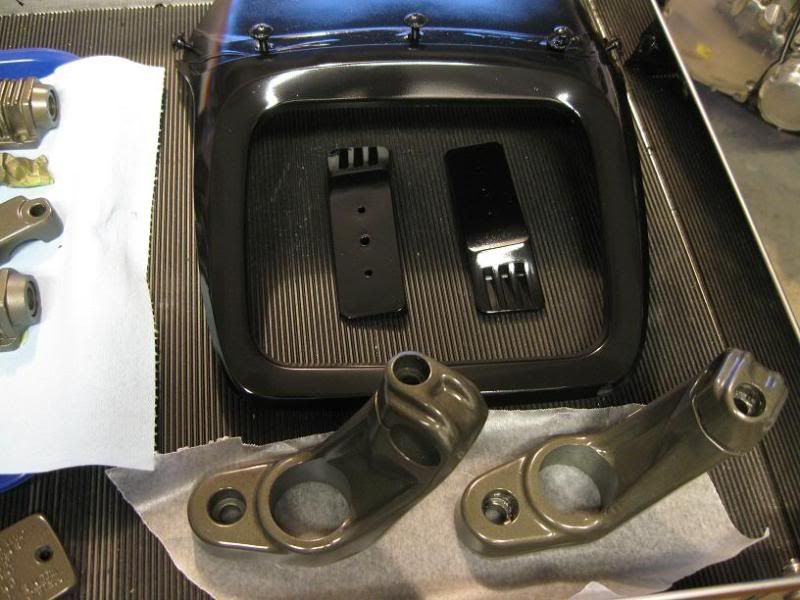
    Decided to save a little green and rattlecan a few parts, turned out better than I expected. Did the calipers, modular valve and plunger, axle holder, and the hose guides. Also did the fork brace. Used three coats of Dupli-color and two coats of VHT high temp clear.


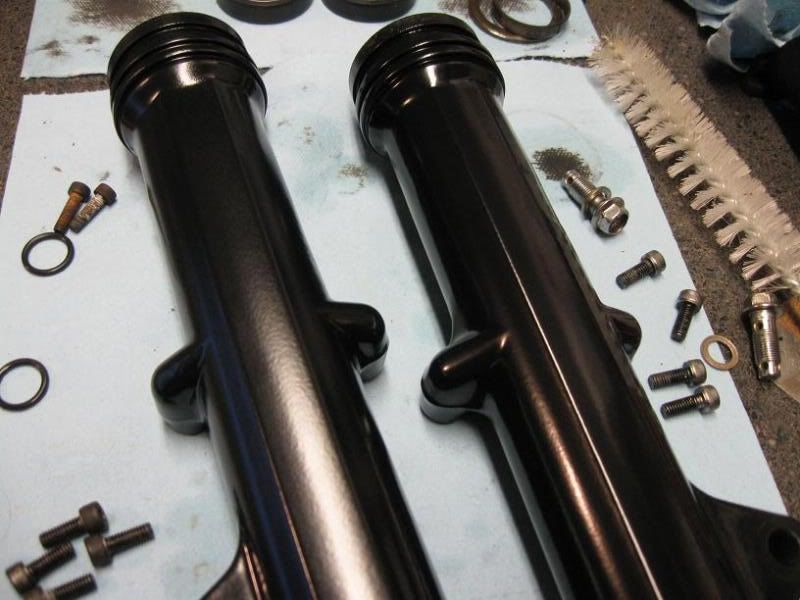
    Followed tejasmud's lead and painted the outer tubes and ordered a set of Progressive springs to complete the fork re-build.


    Did the holders in the granite to add a little contrast to all the black. Finished up the nose piece with some Plasti-coat.

    Last edited by Guest; 08-02-2009, 11:05 PM.

    Leave a comment:


  • salty_monk
    replied
    I may have a set of forks going soon... (if my upgrades work out as planned) They should come apart easy as there isn't even any pitting on the tubes. It's a desert bike.

    Leave a comment:


  • Rkt-Rch
    Guest replied
    I am NOT looking foward to doing my forks !!! They look at least as bad if not worse, the tops of the fork tubes had NO caps and it was solid rust...

    Good news is my VC is ready to go back on, I did a Semi sand/polish and it came out fairly decent, BUT I WANT to ride so it will have to wait for a total polish jod this winter, It really looks better then the pictures shows.

    I still need to do a final buffing wheel polish in the morning before it goes back on. Tank Por 15ed and ready, Valves adjusted, New plug wires, New Clutch plates, new S/S front brake lines, Used 1100 R/R...

    Leave a comment:


  • tejasmud
    Guest replied
    Originally posted by jwhelan65 View Post
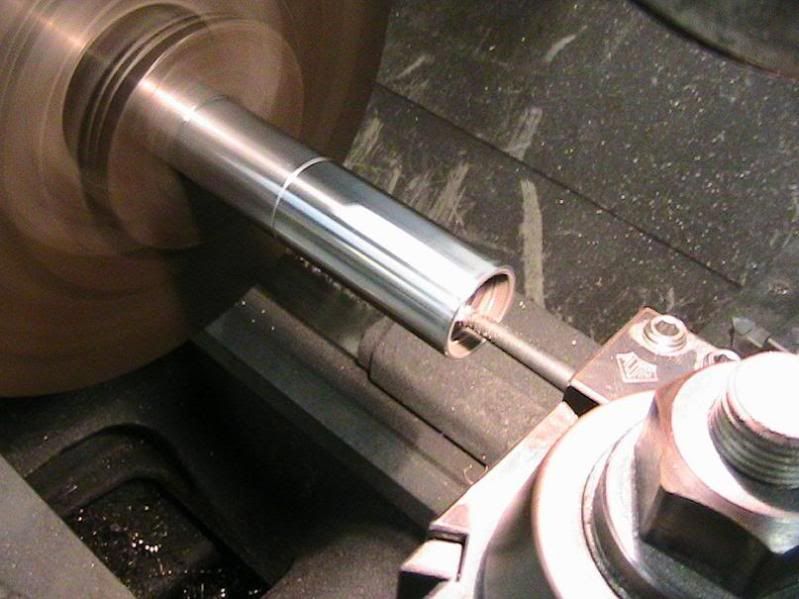
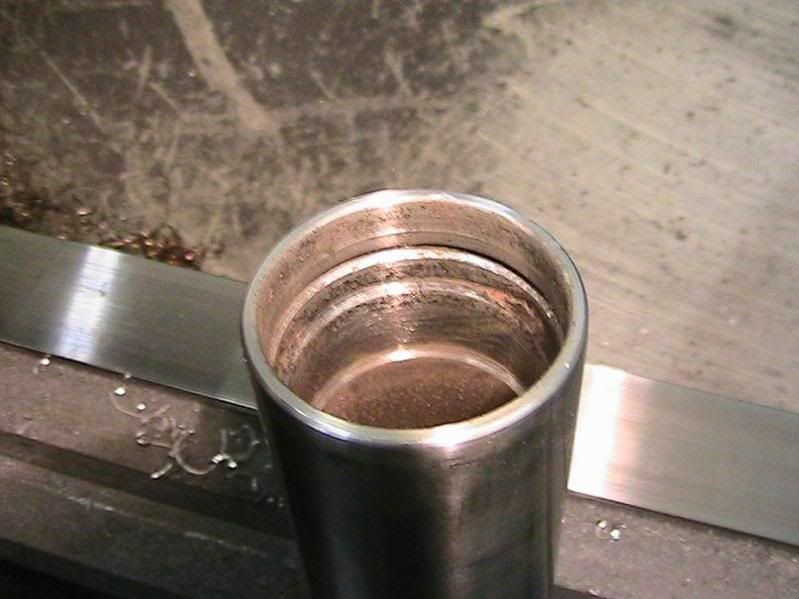
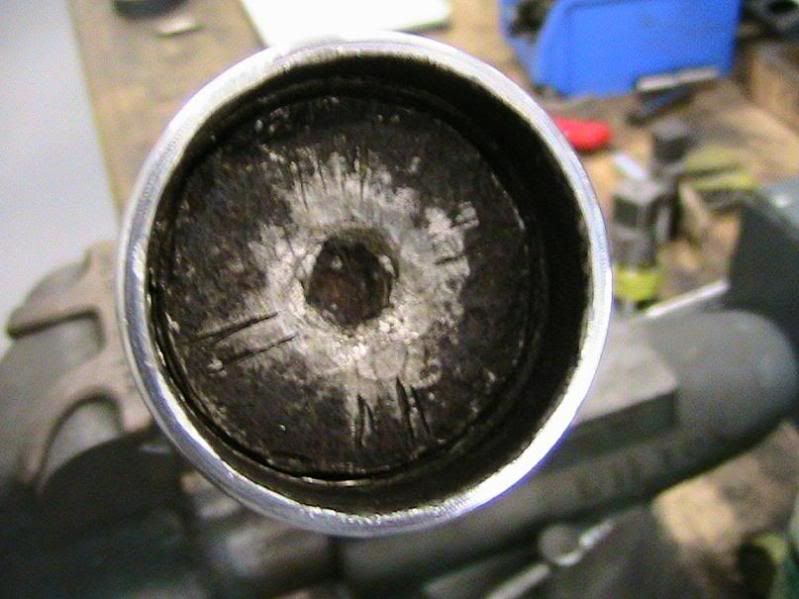
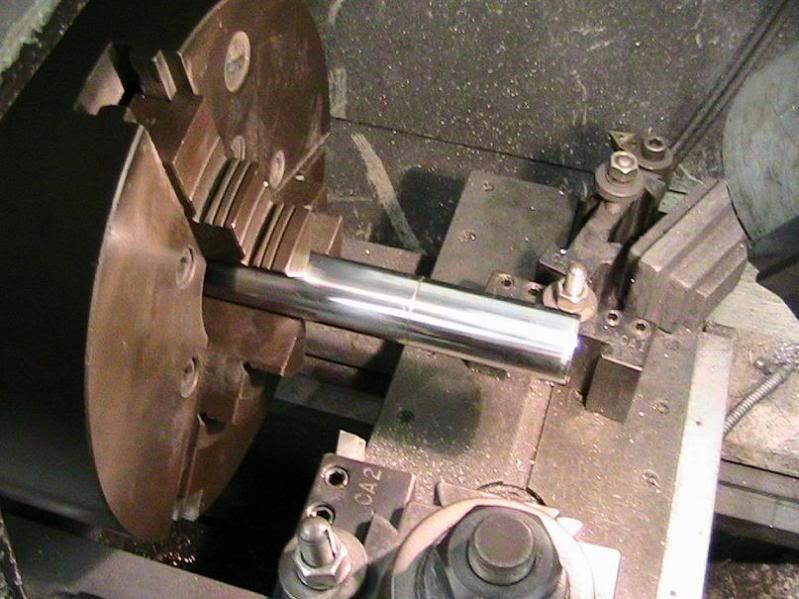
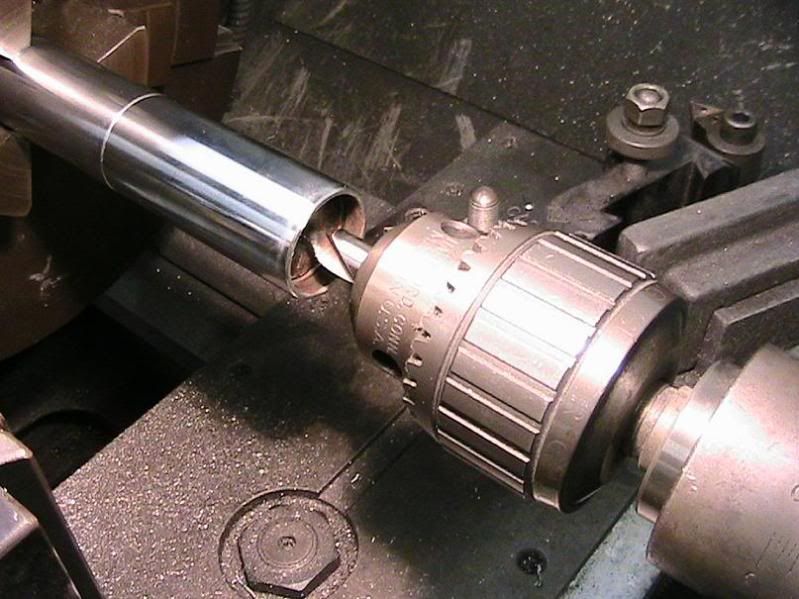
    After removing the clip on the left fork, the seat would not budge, it was totally rusted shut. My good friend Mr Eric (Tejasmud ) up in McKinney Texas put it on a lathe and bored it out..ordred new seats with the fork parts I was able to salvage the clips. Thanks Eric!
    Not a problem Joe. Given this fork tube design was not a Suzuki highlight of the era, a dab of bearing grease smeared under the rubber caps to coat things should prevent them from ever getting this way again, I would think.

    Leave a comment:


  • gs700es
    Guest replied
    wow i pulled 2 gs700es engines in the last 24 hours what a pain only to swap from one frame to another i got a good bike with no title and a seized bike with a title funnnn funnnnnnnn

    Leave a comment:


  • jwhelan65
    Guest replied
    a few more


    Leave a comment:


  • jwhelan65
    Guest replied
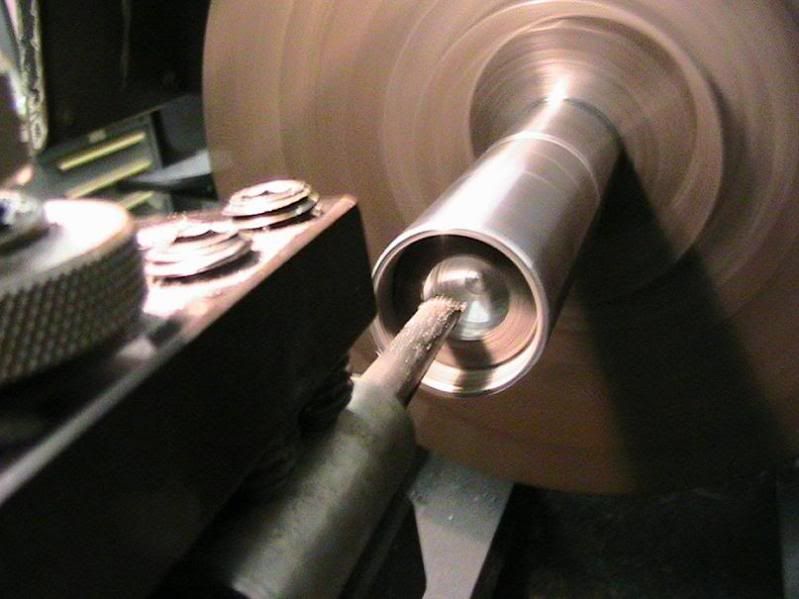
    After removing the clip on the left fork, the seat would not budge, it was totally rusted shut. My good friend Mr Eric (Tejasmud ) up in McKinney Texas put it on a lathe and bored it out..ordred new seats with the fork parts I was able to salvage the clips. Thanks Eric!

    Top of fork..


    Last edited by Guest; 07-24-2009, 10:38 PM.

    Leave a comment:


  • jwhelan65
    Guest replied
    Originally posted by Nessism View Post
    Evapo Rust will eat the rust and not hurt the metal. Won't hurt paint either. Good stuff.

    Ordered some today..whats the best way to use it?

    Leave a comment:


  • Nessism
    replied
    Evapo Rust will eat the rust and not hurt the metal. Won't hurt paint either. Good stuff.

    Leave a comment:


  • renobruce
    replied
    Originally posted by jwhelan65 View Post
    The tank was acid dipped but still has some rust in it. Wondering if I should use some form of tank liner POR-15?
    How bad is the rust? If it's just a few freckles, I'd leave it alone. I personally wouldn't want to be messing with that pretty tank if I absolutely didn't have to. With my luck I would probably drop it or spill crap on it. Maybe just run a fuel filter on it for awhile, and keep the tank full on a regular basis. If it's bad, then use the POR-15 stuff...much better than the Kream stuff.

    Leave a comment:


  • Rkt-Rch
    Guest replied
    Agreed, always better to be a bit looser than to tight and burn a valve, I just did mine because I was not sure WHEN they were last done or checked and when I did check them I did find 3-5 of them alittle tight. I set mine at .005 which they were all pretty much at already but I do feel better that at least I have checked them. Sounds like you coud just get a pint/quart (what ever the kit had I used) of the Por 15 and be done with it and feel better about that Beatuiful painted tank.
    I'm almost done polishing the VC (What a pain) good enough for now anyway. The Por 15 sealant looks to have come out great and feels like steel.. (silver) I wasn't going to say anything about the painted over rubber groumets on the tank... LOL You must be going nuts now that the forks are all apart..

    Leave a comment:


  • renobruce
    replied
    Originally posted by tejasmud View Post
    Which way does the valve terrain usually go?

    A. It loosens up?

    B. It tightens up?

    They tighten up, so looser is better (lasts longer before needing another adjustment) than tighter.

    Originally posted by jwhelan65 View Post
    With only 8600 miles on mine do you think it needs it?
    My 1150 has 7000 miles. I checked them at 2500 and they were all fine. I checked them again at 5800 and 4 needed adjustment.

    Leave a comment:


  • tejasmud
    Guest replied
    Originally posted by jwhelan65 View Post
    With only 8600 miles on mine do you think it needs it?

    Just depends on the PO, and how well the bike was maintained.

    If no initial adjustments were ever done, or no record, yep, in a heartbeat.

    It is easy, best to just do it and know.

    Sort of like the forks.

    Leave a comment:


  • jwhelan65
    Guest replied
    Originally posted by tejasmud View Post
    Joe,

    I'm about too on the 700E.

    It has been a while since the last adjustment.

    But, since this relates to your machine as well as many of the 16v engines.

    Per the manual on the 700/750E ES/others, adjustment is 0.09-0.13mm (0.004-0.005") is splitting hairs here. On the low side, on the high side, there is not a high side or low side in the spec. Dead nut is the phrase.

    Now, for those who have done miltiple valve adjustments as miles accumulate on the 16v engines enlighten us.. 8v engines speak out if you need too.

    Which way does the valve terrain usually go?

    A. It loosens up?

    B. It tightens up?


    I know, do a search.

    Everything I have read says tightens up.

    Maybe wrong.

    Makes sense to me, all the parts are steel, but the head. My guess is the aluminum head takes the beating. Correct me if I am wrong. The valves sink, in turn the valves become tighter.

    I think I have read that explaination in a reply from Ed somewhere.
    With only 8600 miles on mine do you think it needs it?

    Leave a comment:

Working...
X