Announcement

Collapse
No announcement yet.

Yoshimura GSX1135R (EFE) Project

Collapse
X
 
  • Filter
  • Time
  • Show
Clear All
new posts

    #31
    Thanks guys!

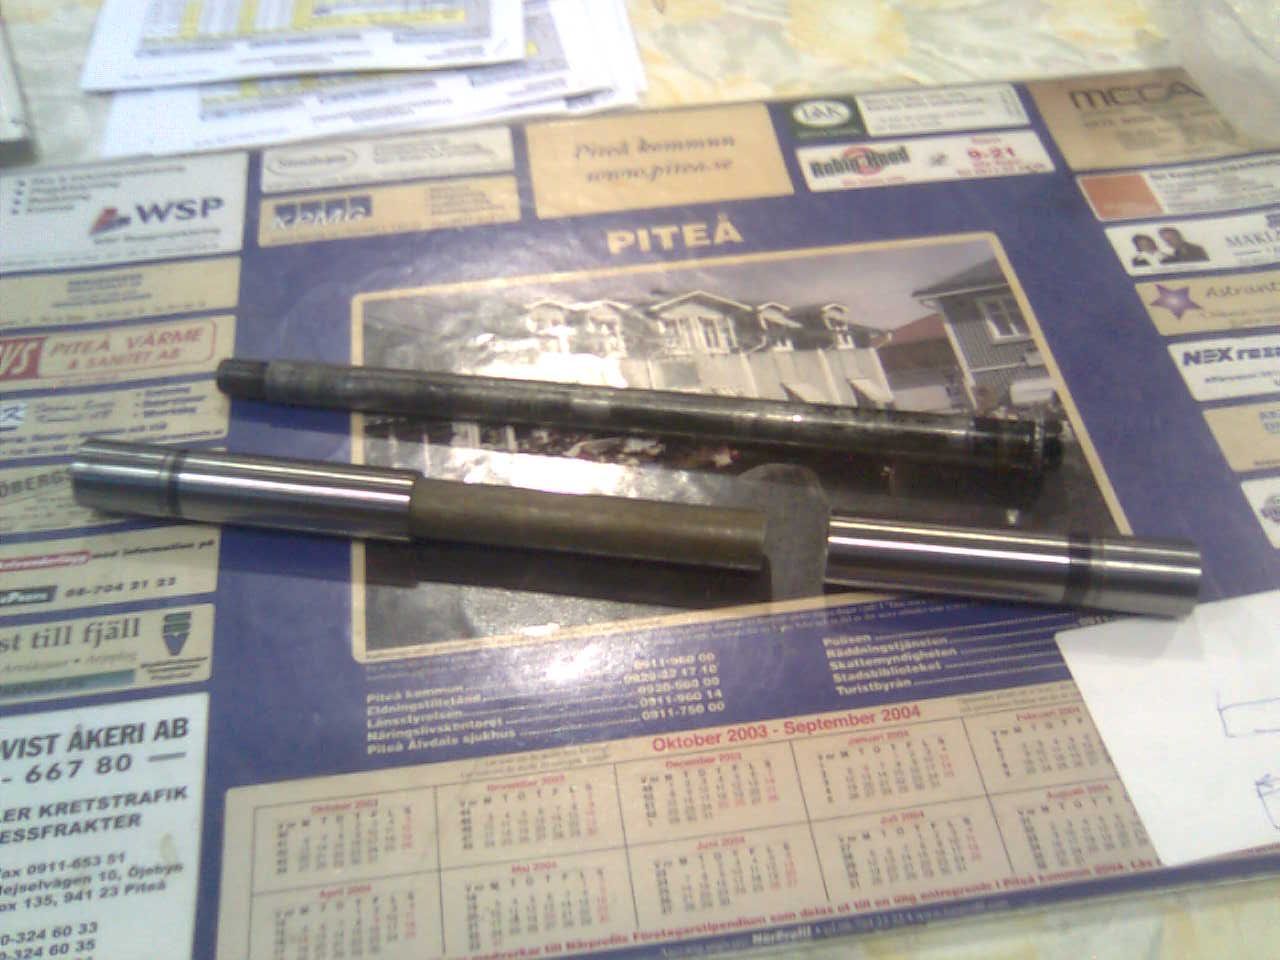
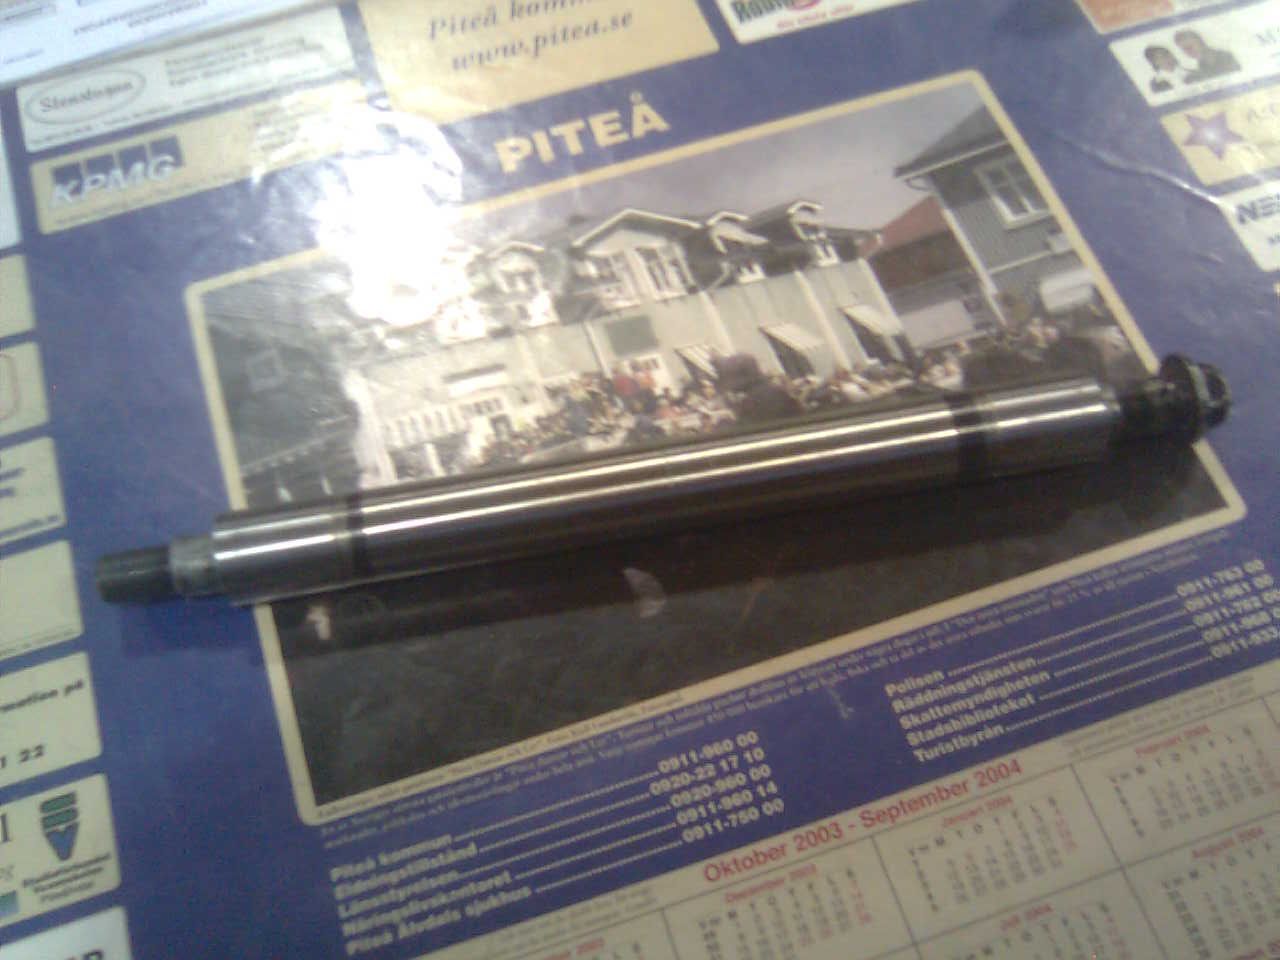
    Managed to sort out the swingarm tube (which goes inside the swingarm pivot). Put it up in the lathe and removed 18mm in the middle off it. Turned out I didn't remove enough so the swingarm was a bit of a snug fit but after some work I got it to fit perfectly.


    I lined the swingarm tube with a 20x2mm pipe (16mm inside diameter, same as the swingarm axle). Fits like a glove.


    Glued in place with Loctite 648. Won't be going anywhere unless I put a blowtorch to it.
    Last edited by Guest; 12-14-2009, 06:16 PM.

    Comment


      #32
      Amazing build so far bro.... And for aluminum welds those look damn good from your friend, Keep up the good work bro

      Comment


        #33
        Originally posted by ShortyzKustomz View Post
        And for aluminum welds those look damn good from your friend, Keep up the good work bro
        Come on now they are not that great; if done in a zero G environment with binocular heat protected microscope and 1 micron rod they could have been pretty enough for a MLS gasket .


        Sorry could not resist.

        Comment


          #34
          Originally posted by posplayr View Post
          Come on now they are not that great; if done in a zero G environment with binocular heat protected microscope and 1 micron rod they could have been pretty enough for a MLS gasket .


          Sorry could not resist.
          you Engineer.

          Comment


            #35
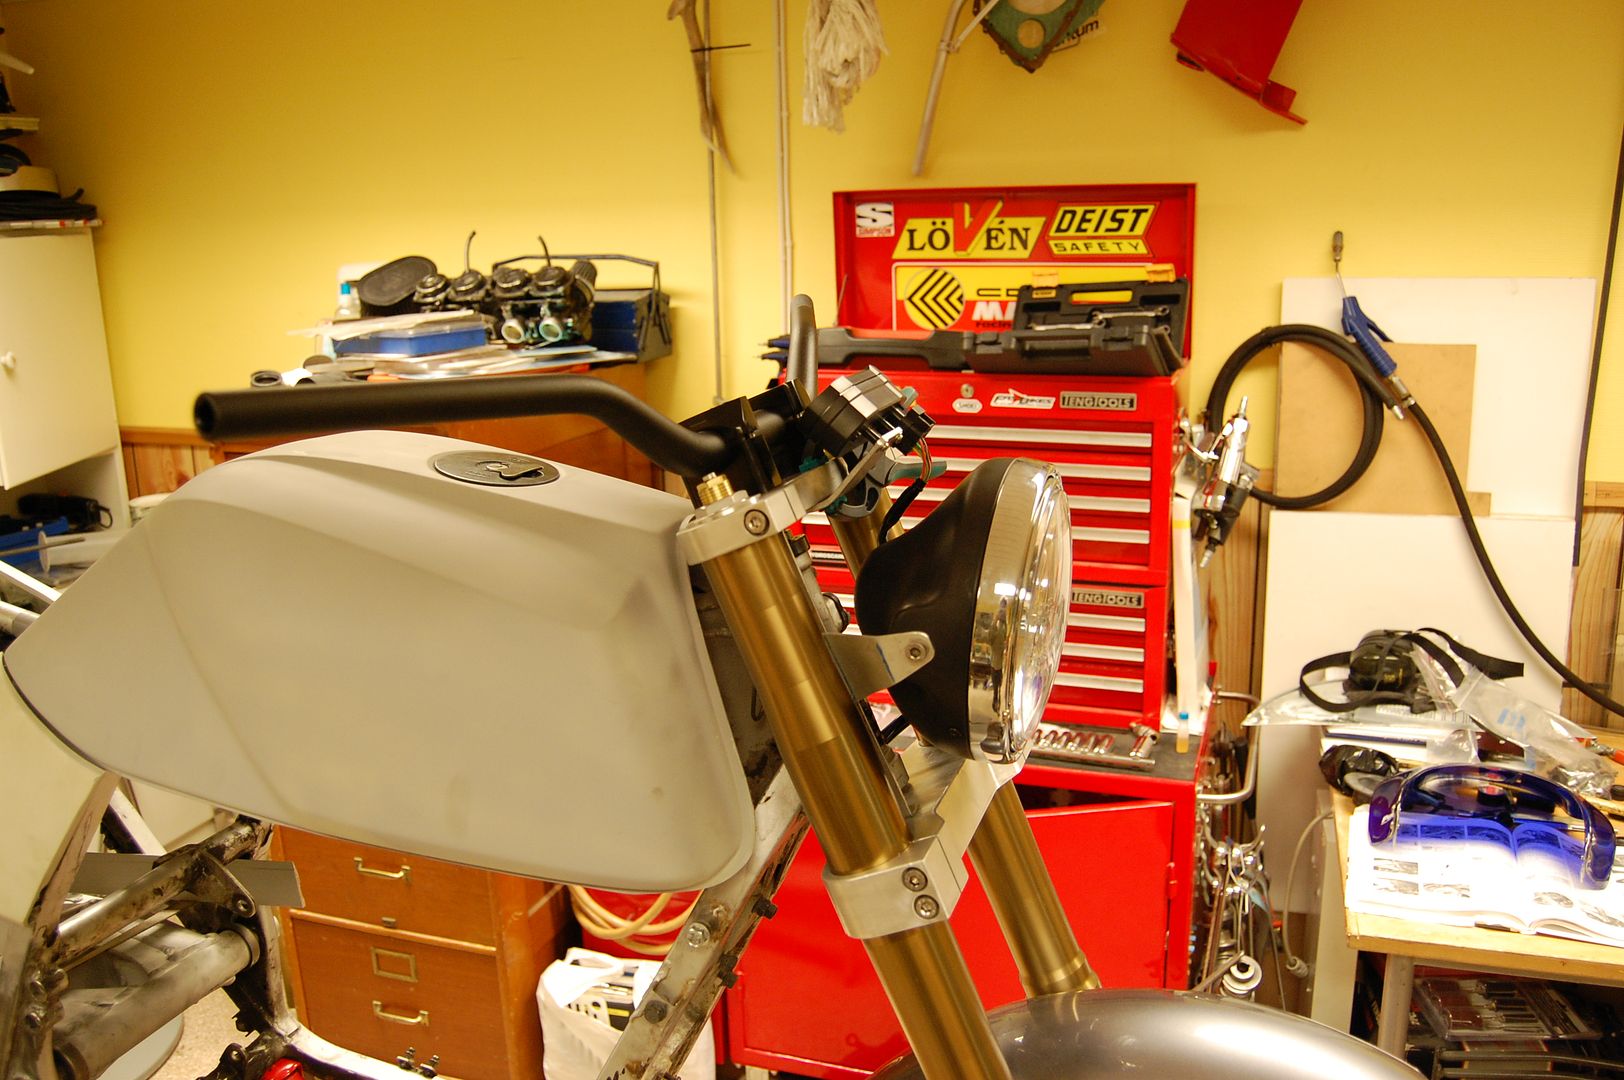
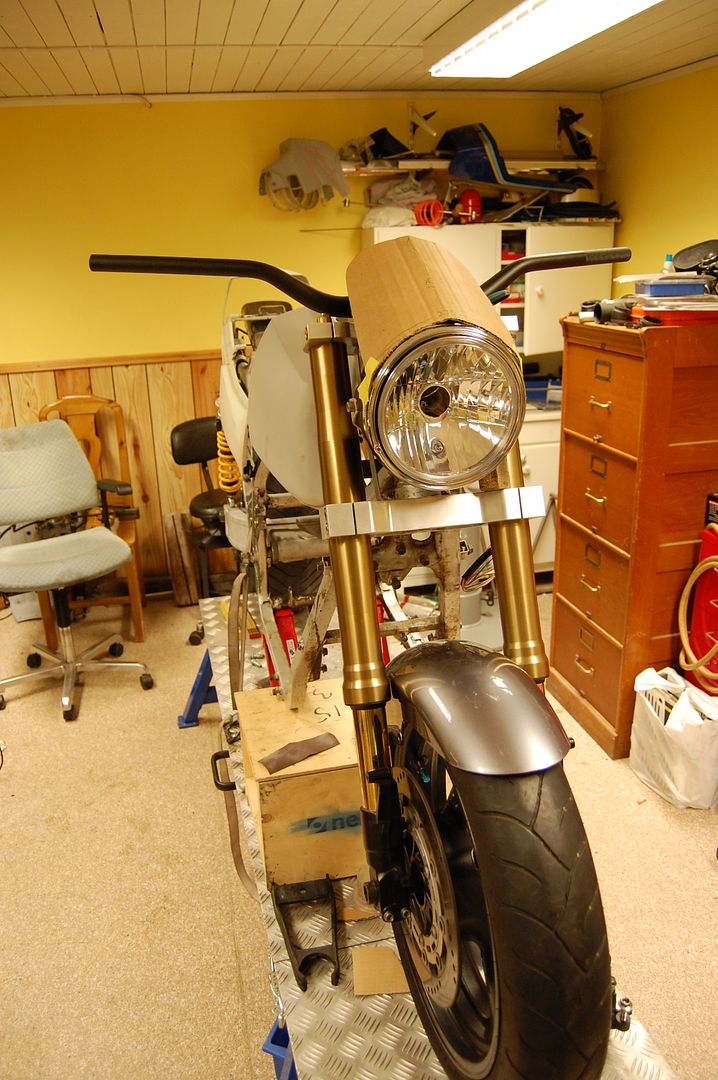
            Not much progress to report yet but I've been doing some thinking, mainly regarding the front end.

            Everything is pretty much sorted except some adaptors for the break calipers and some bushings for the wheel spindle, but I can't really decide on what to do about a possible fairing or windshield.

            The windshield I thought about using looks alright I suppose.


            But at the same time; it's tall as a house and gives off more of a touring vibe than a racer vibe. Hmm...

            I'm a big fan of naked musclebikes, but I'm not sure it would work with my current front end configuration or with the "race look". The headlight is where it's supposed to be and so is the speedo, but the problem is that there's just too much air around everything.


            The gap is just huge. Looks stupid from the side. Even if getting all the cables and break lines in place would fix some of it, I think it'd just look cluttered and out of place. So, back to the drawingboard. Came up with this "lip" for a windshield. It doesn't look that bad I think, but I think it gives more of a café- or fighter-look than it does super/musclebike.


            It does however fix the problem with the void between the headlight and speedo. But I'm still not really satisfied with the way it is. Sure, I could cut out a different mock-up windshield but there's something about it that doesn't look "spot on".

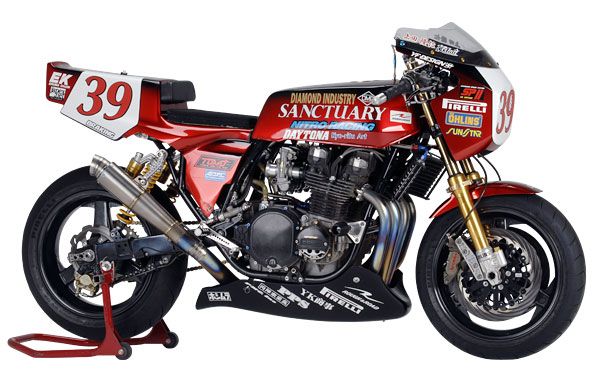
            So, I went out hunting for some influences and what better place than japanese custom bike sites like Auto-Magic, Mid-Knight and Sanctuary. Sanctuary has one of the most kickass bikes I've ever seen and their Z1 racer is just beyond amazing. One-off frame with all the goodies you can imagine. Here's yesteryears incarnation of their bike, it looks a whole lot different now but it's still kickass in this picture.


            This is exactly the look I'm aiming for. Sure, a different paintscheme and not as much sponsor decals but the overall look is just what I'm going for - which got me thinking: "Hey, the Z1R fairing isn't too bad...?"

            The lines aren't as soft as the rest of the bike but that's fixable with some filler and sandpaper.

            I think it could work pretty well. I know it boils down to me in the end since it's my build but what do you guys think?

            In other news: I think I might send off the fork legs for some anodizing. I decided I want them black instead of gold.

            Comment


              #36
              Originally posted by Mindless View Post
              So, I went out hunting for some influences and what better place than japanese custom bike sites like Auto-Magic, Mid-Knight and Sanctuary. Sanctuary has one of the most kickass bikes I've ever seen and their Z1 racer is just beyond amazing. One-off frame with all the goodies you can imagine. Here's yesteryears incarnation of their bike, it looks a whole lot different now but it's still kickass in this picture.


              This is exactly the look I'm aiming for. Sure, a different paintscheme and not as much sponsor decals but the overall look is just what I'm going for - which got me thinking: "Hey, the Z1R fairing isn't too bad...?"

              The lines aren't as soft as the rest of the bike but that's fixable with some filler and sandpaper.

              I think it could work pretty well. I know it boils down to me in the end since it's my build but what do you guys think?

              In other news: I think I might send off the fork legs for some anodizing. I decided I want them black instead of gold.
              There is some resemblence with a Maier Sport Fairing


              I think I have the larger one and the PO opened the hole a little for the trainlight.


              Comment


                #37
                Finally some worthwhile progress to report. Been kinda slow now with all the holidays and going back to school.

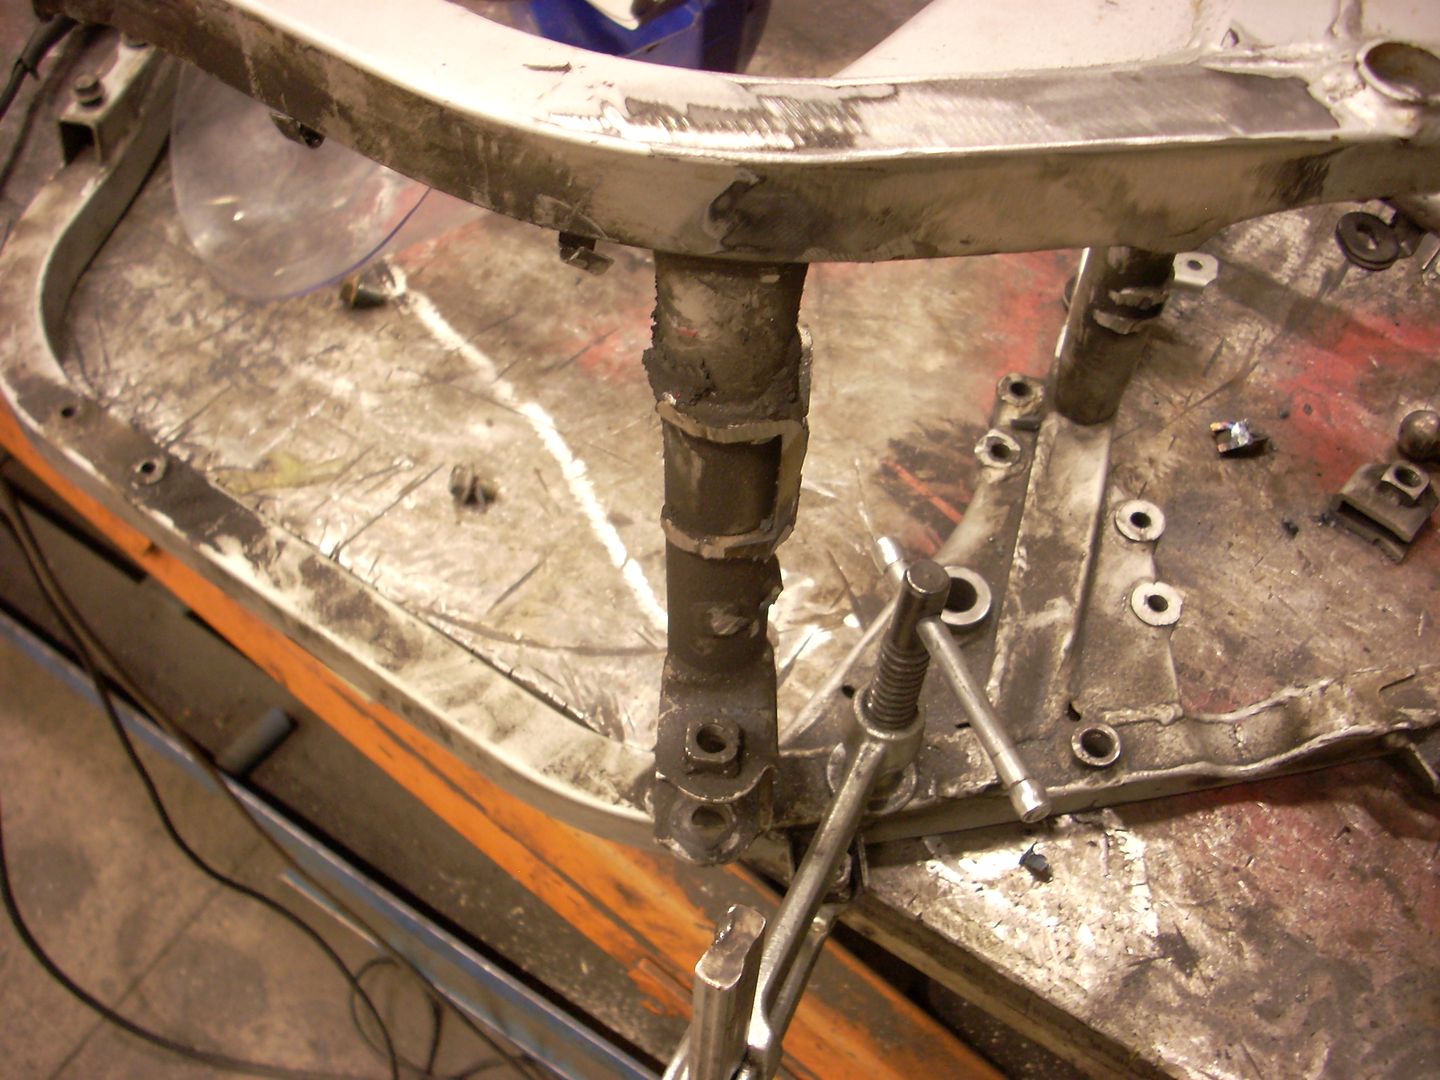
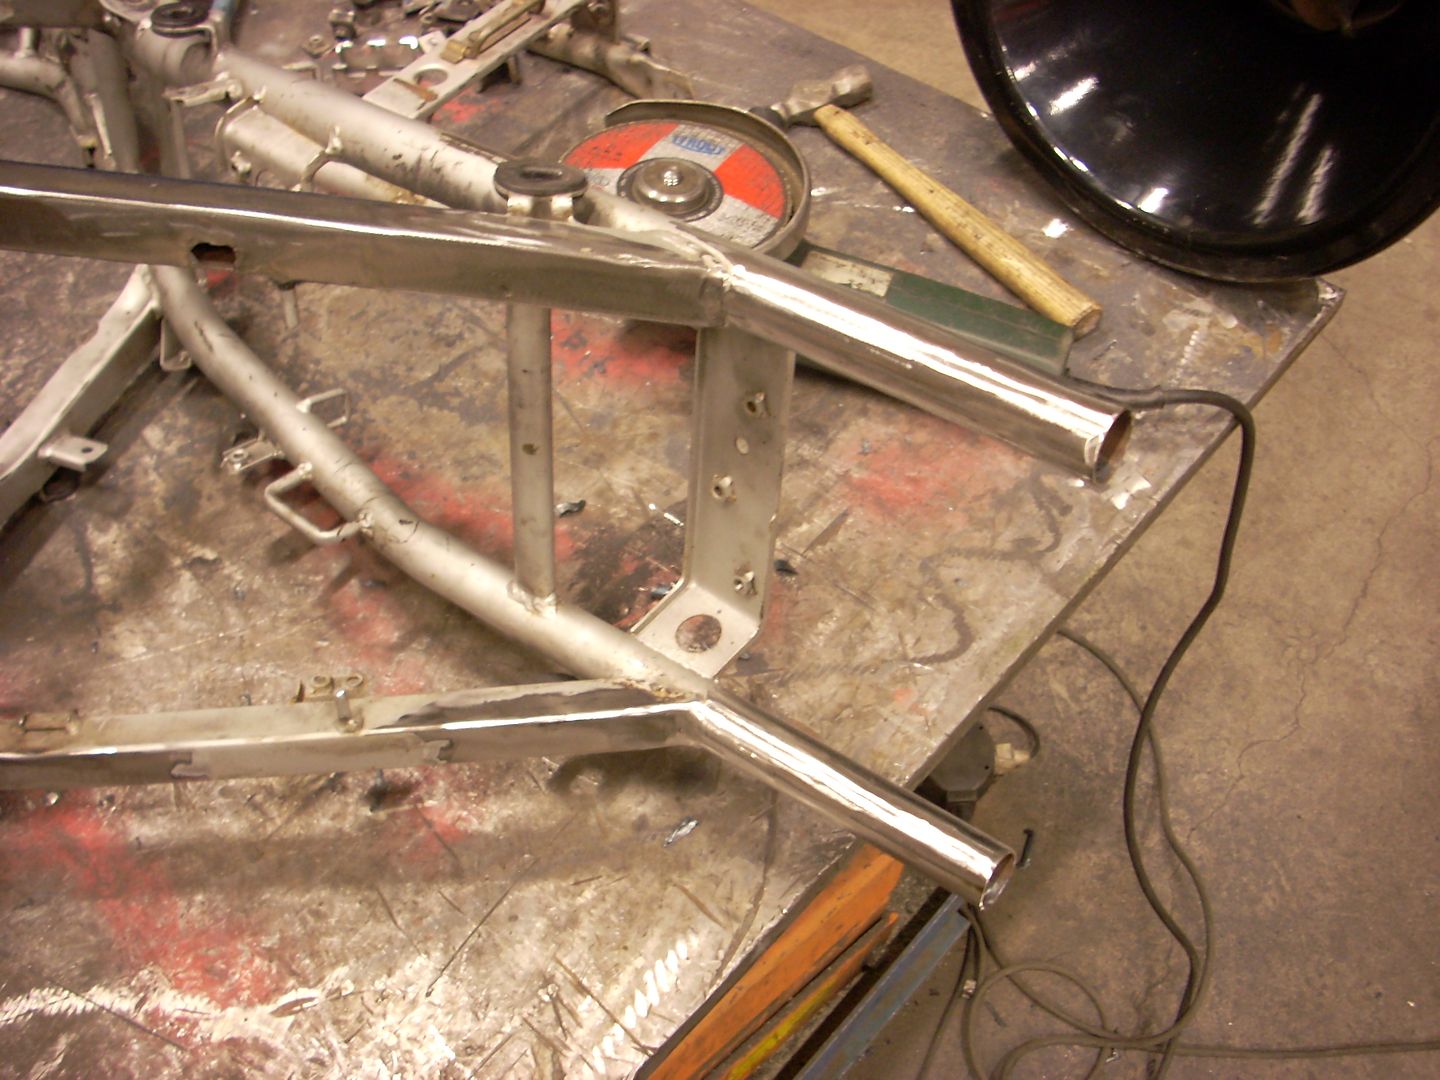
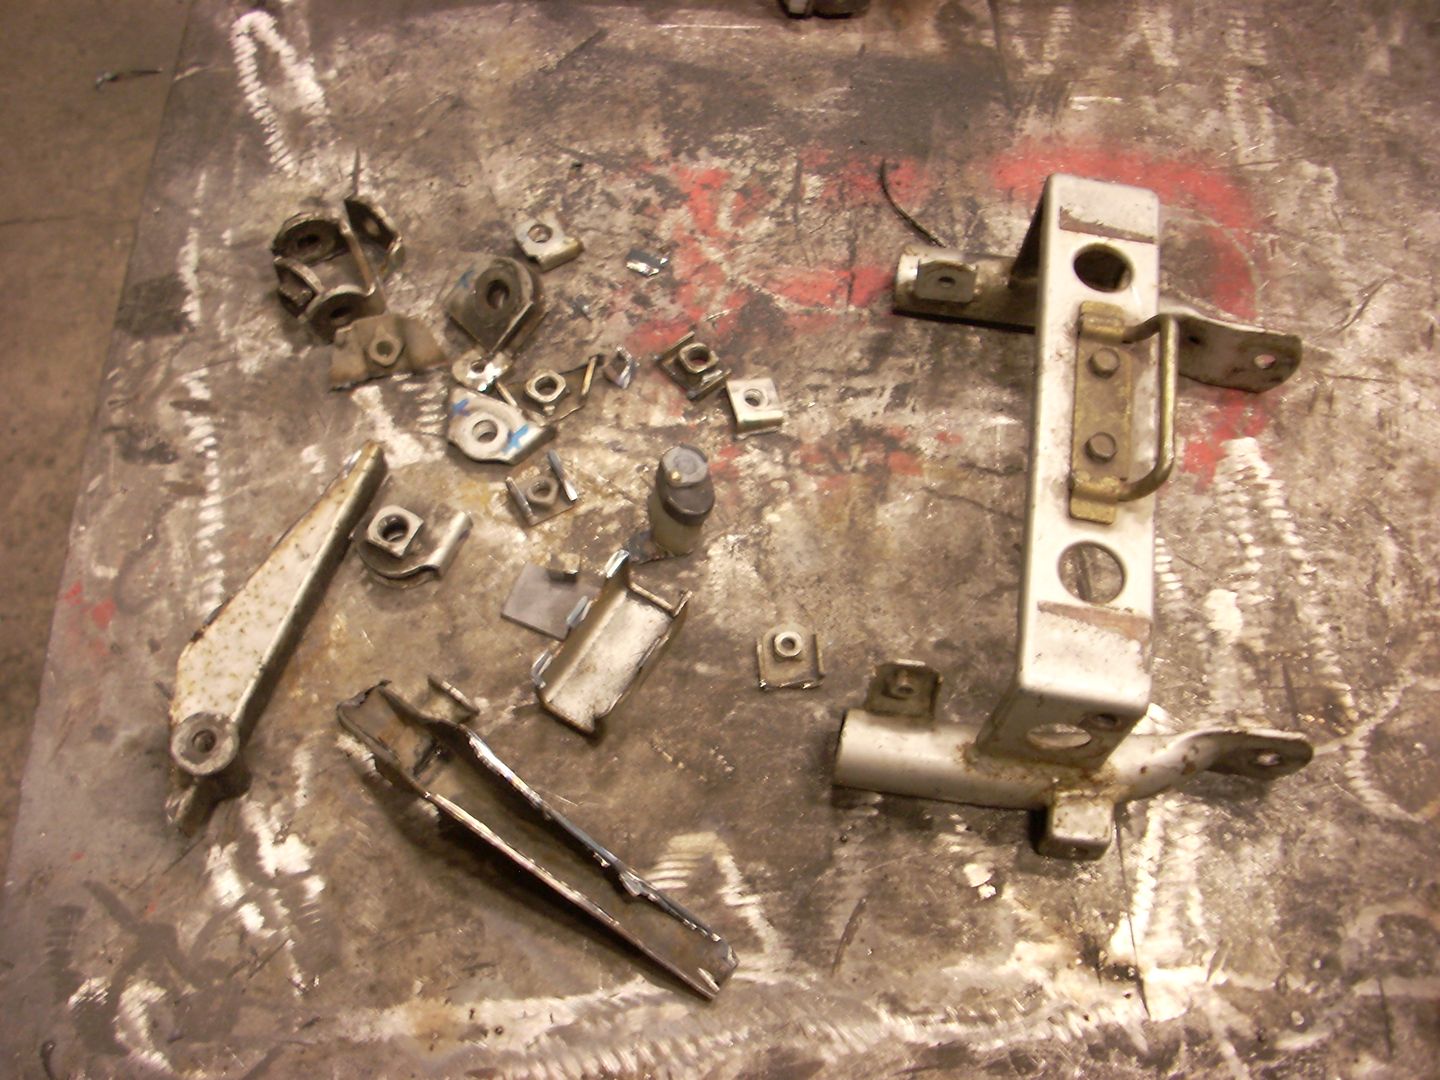
                Todays job was to deal with the frame. Chop off all the unwanted stuff. Started out with the main stand and old shock mount.


                Gonna clean it up so it's all nice and smooth at a later time. Also dealt with the old footrest mounts at the same time.

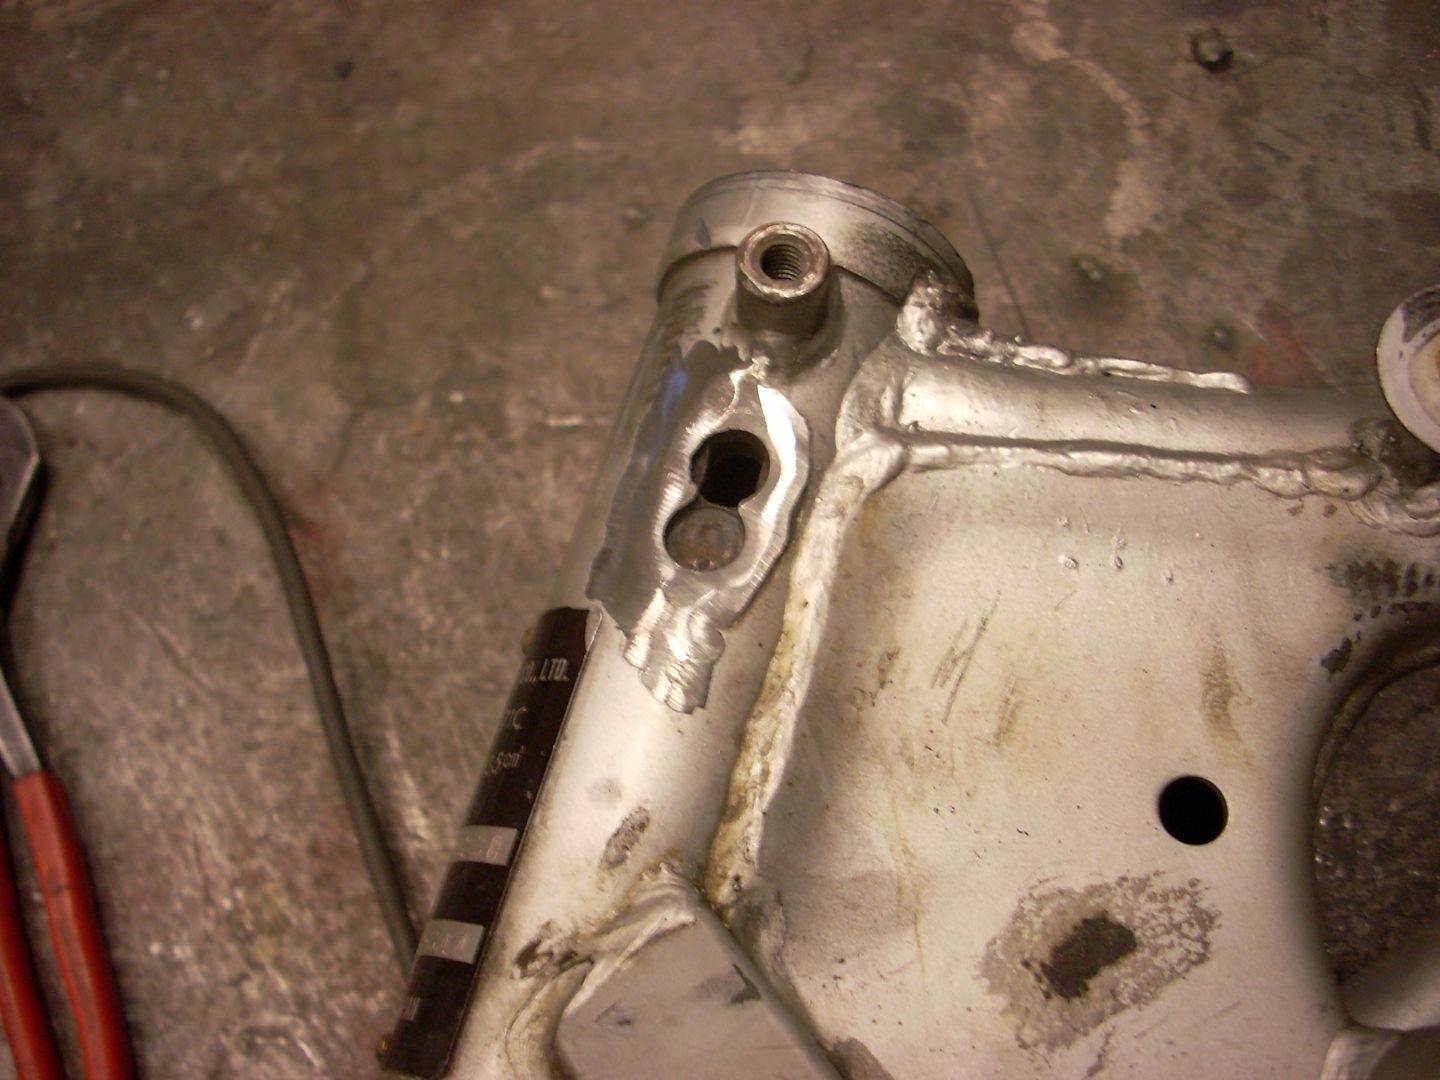
                Then I removed the steering stem lock. No key for it so what's the use in keeping it? Only in the way for the wiring harness.


                Needs some final cleaning up but I didn't bring the small air-powered grinder with me to the workshop. *sigh*

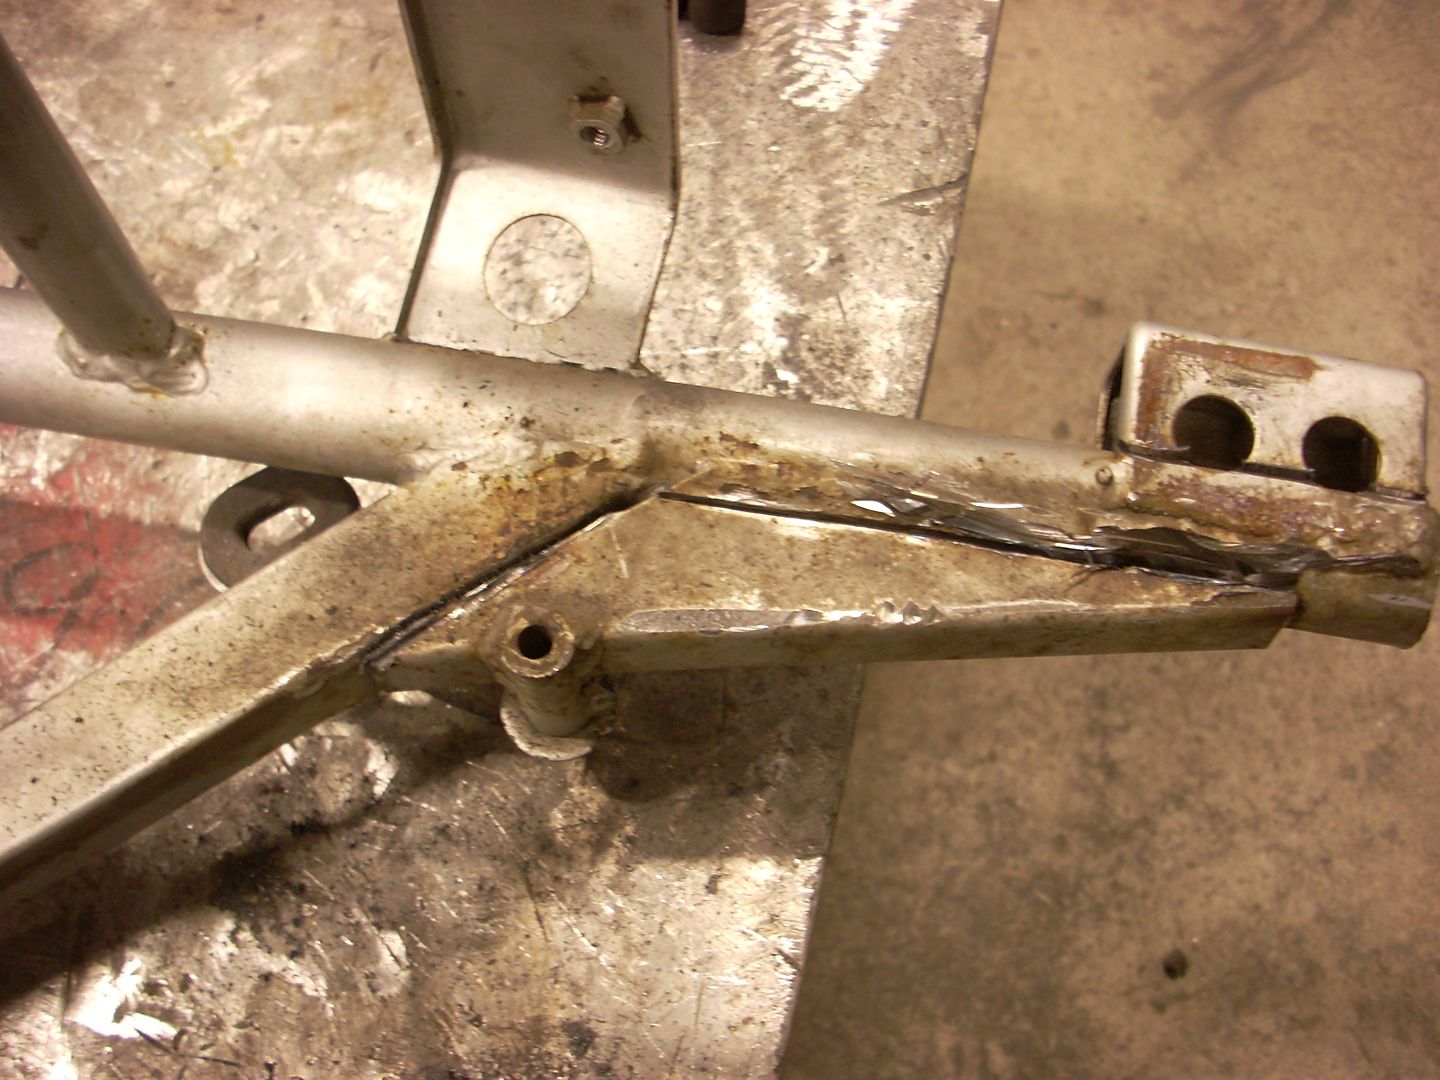
                After that I cut out the brace from the rear of the frame in order to make place for the new shock mounts. Crappy welds all over the place. A blind quadriplegic could do a better job....


                Then I cleaned it all up so it was nice and tidy. New mounts should fit in without much trouble I think.

                Comment


                  #38
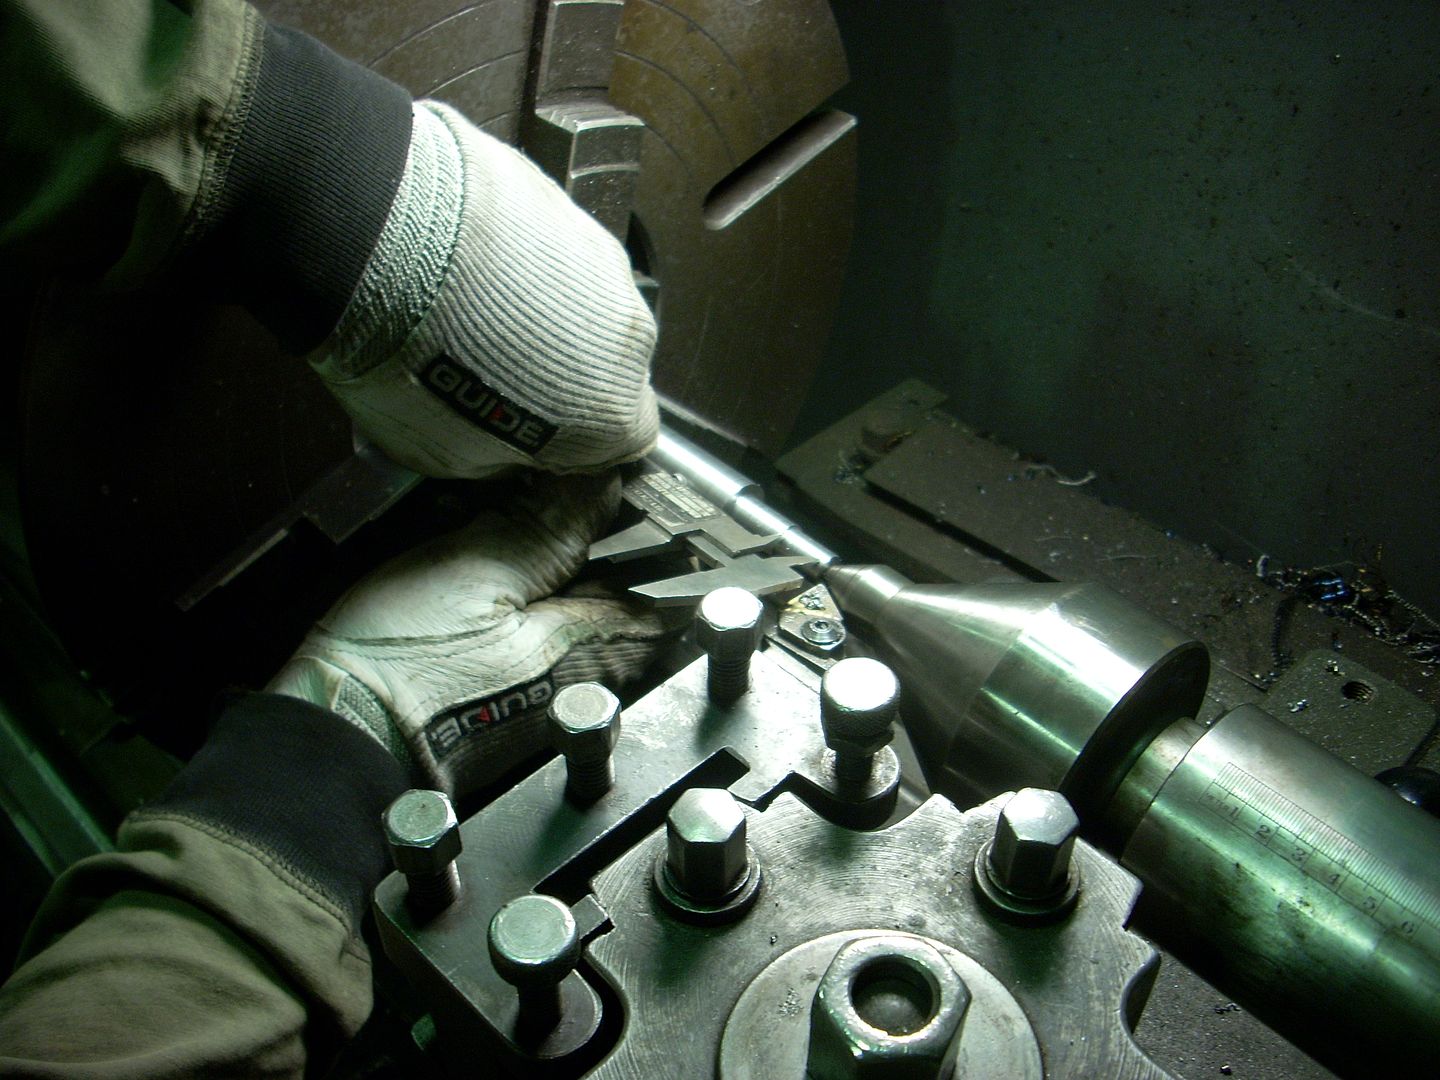
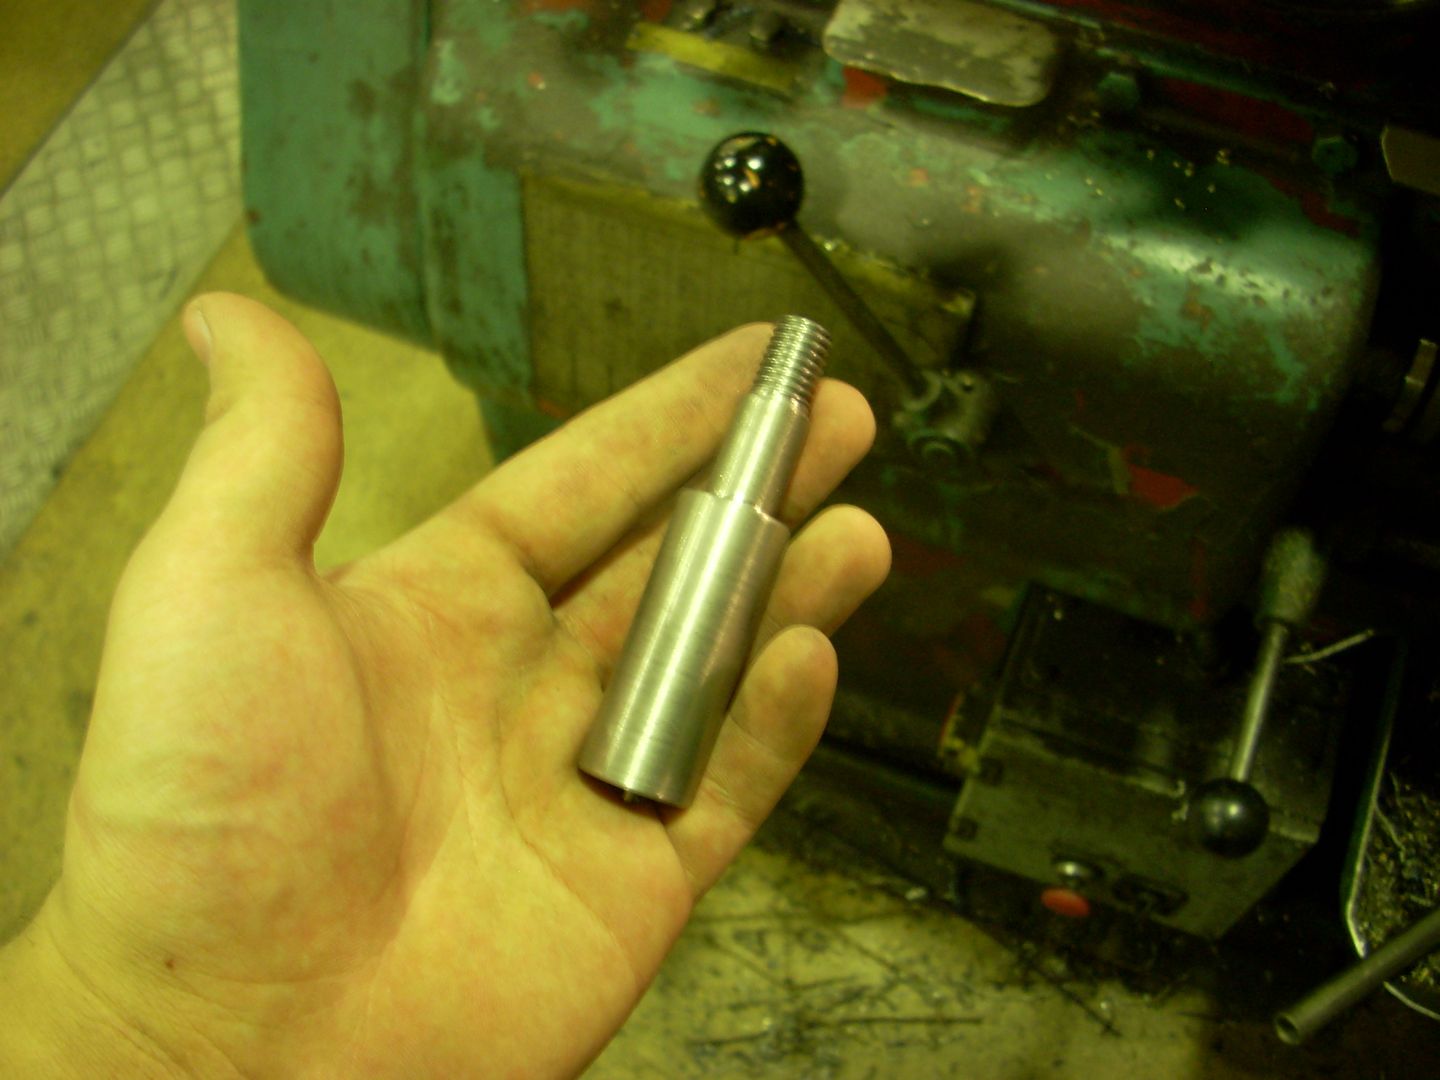
                  Speaking of new mounts - while I was going haywire with the grinder on the frame, my dad was at the lathe making the shock mounts. Turned out really nice.


                  The result:


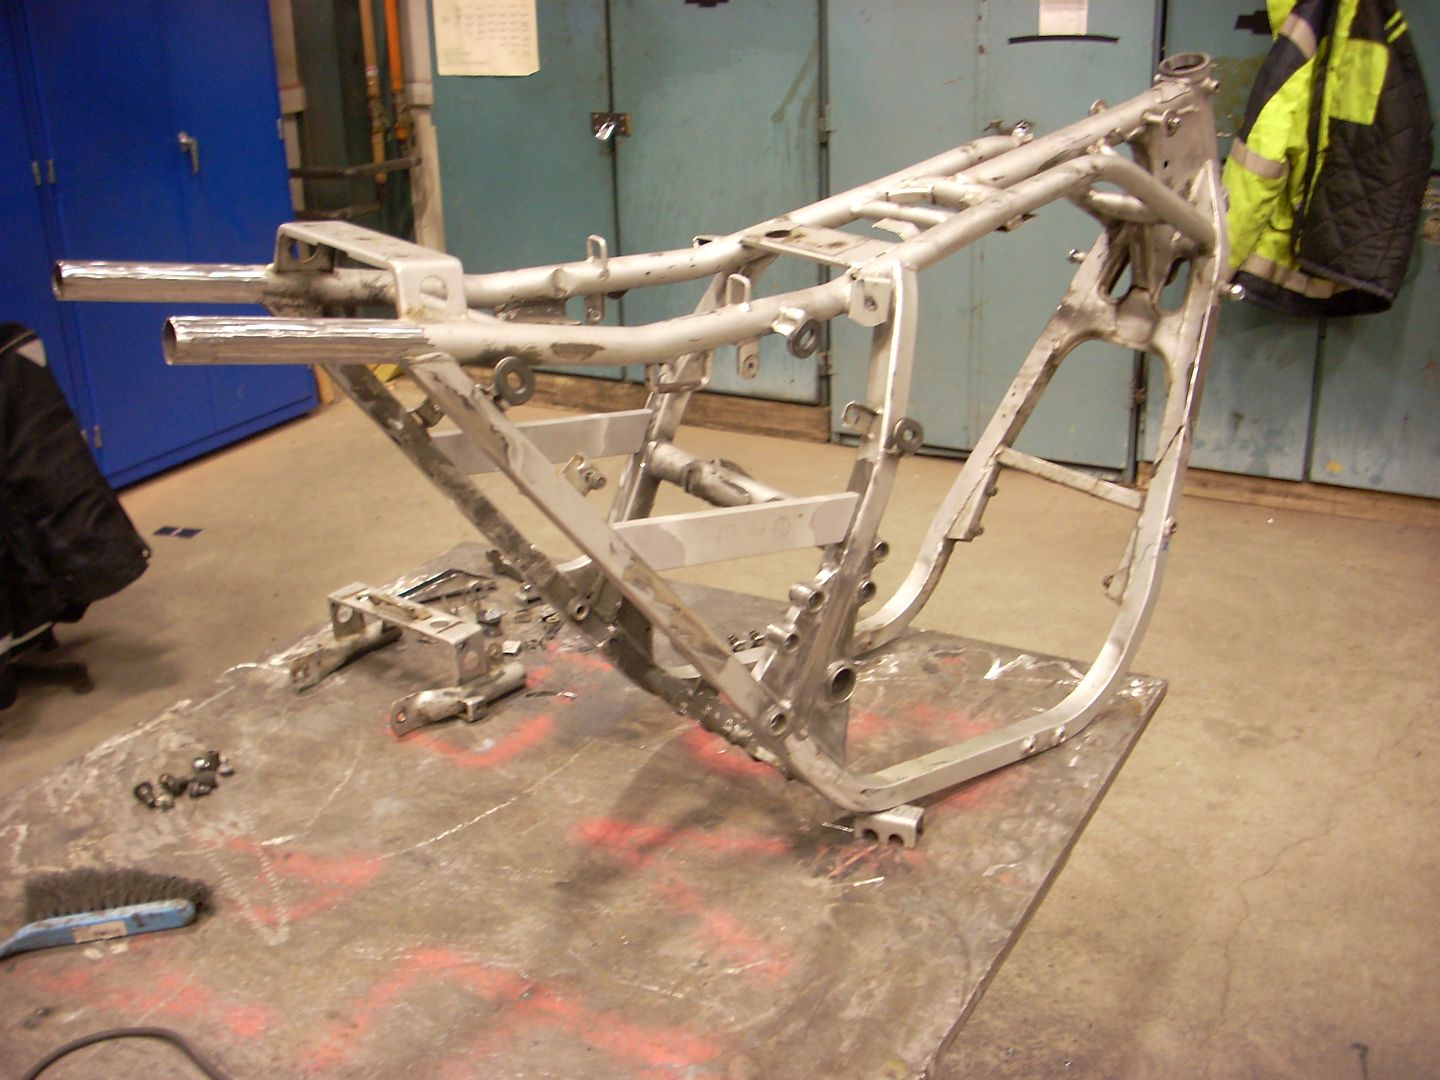
                  After a total of almost 5 hours work the frame was pretty much clean. And I was left with a small pile of scraps.


                  Aiming to get the new mounts welded in place sometime this week so expect another update in a few days or towards the weekend.

                  All for now folks.

                  Oh, and I also found a guy selling some FCR39 carbs for cheap. If he still has them by the end of the month I think I might buy them. Originally intended to put CR37's on the bike (fits the era better + they are great carbs), but a set of FCR's for almost half the price of a set of CR's is too good to pass up.
                  Last edited by Guest; 01-10-2010, 07:26 PM.

                  Comment


                    #39
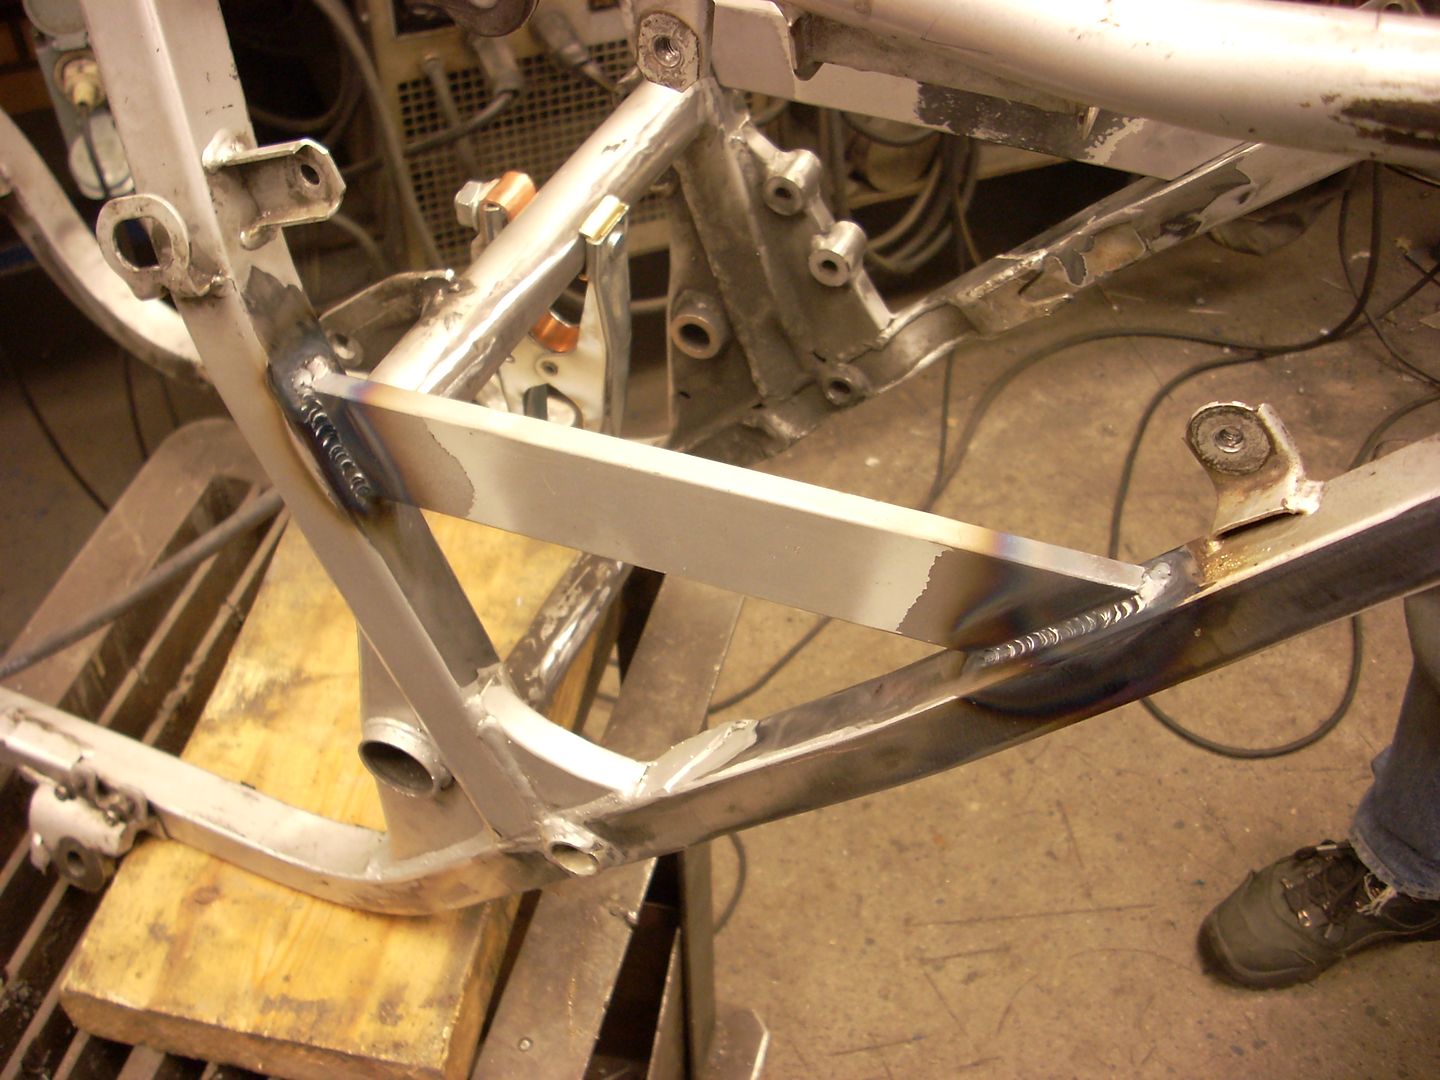
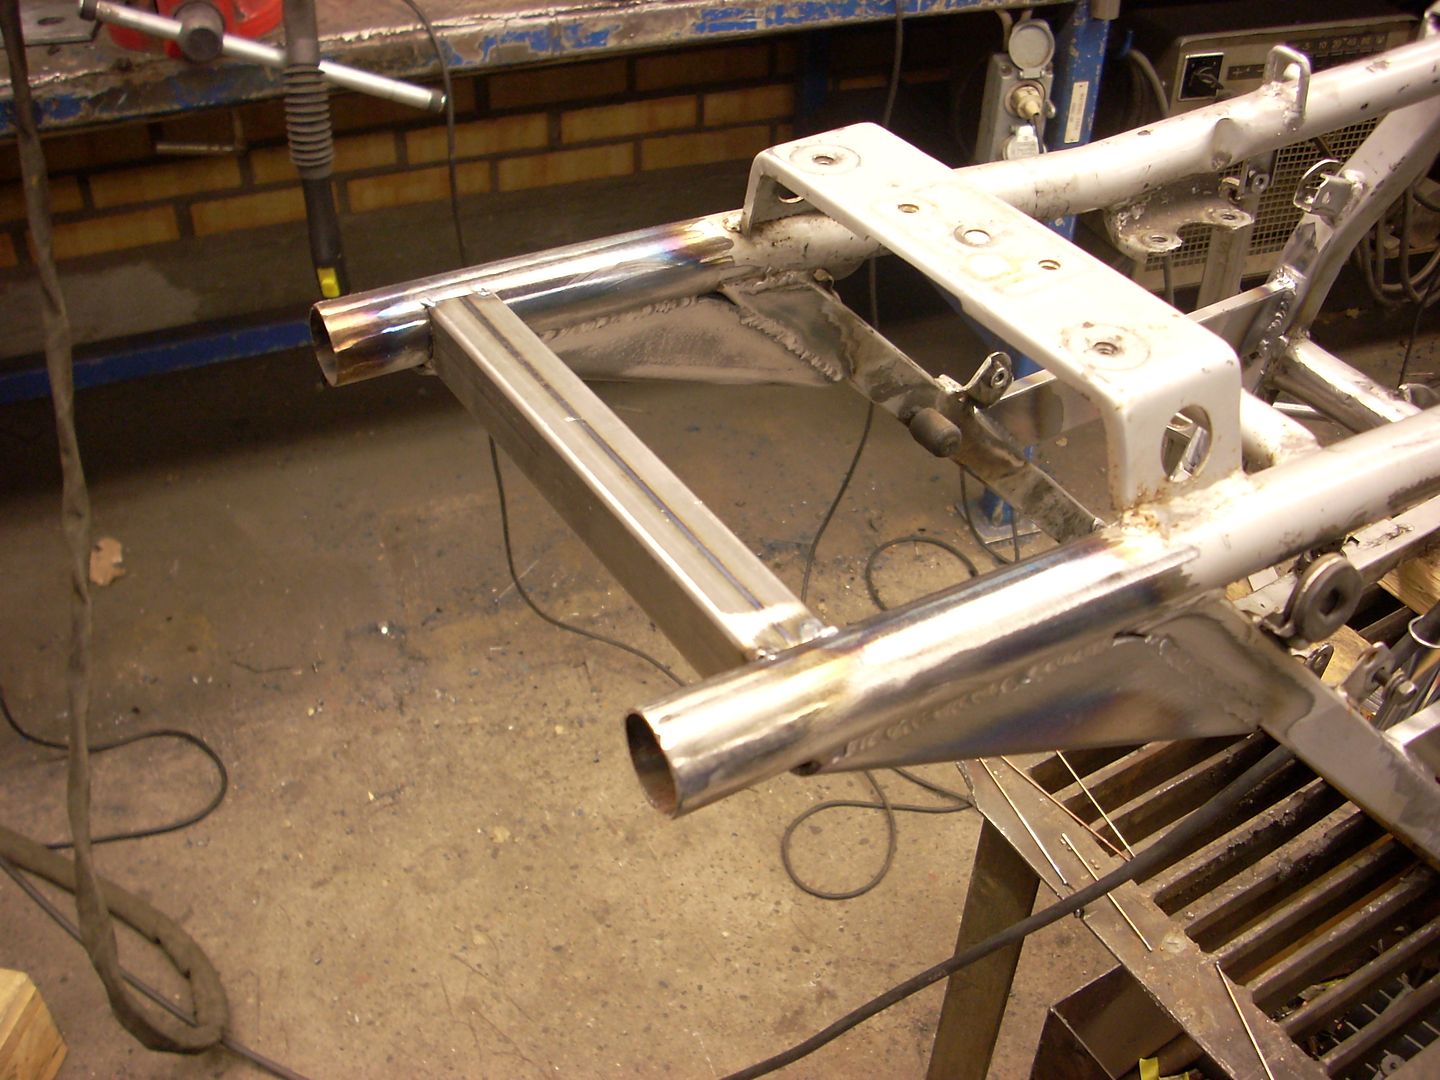
                    Well, got to work with the new shock mounts today. Started out with the frame braces on the sides.


                    Taking in mind I only got about three days of experience with TIG welding, I have to say it looks alright.

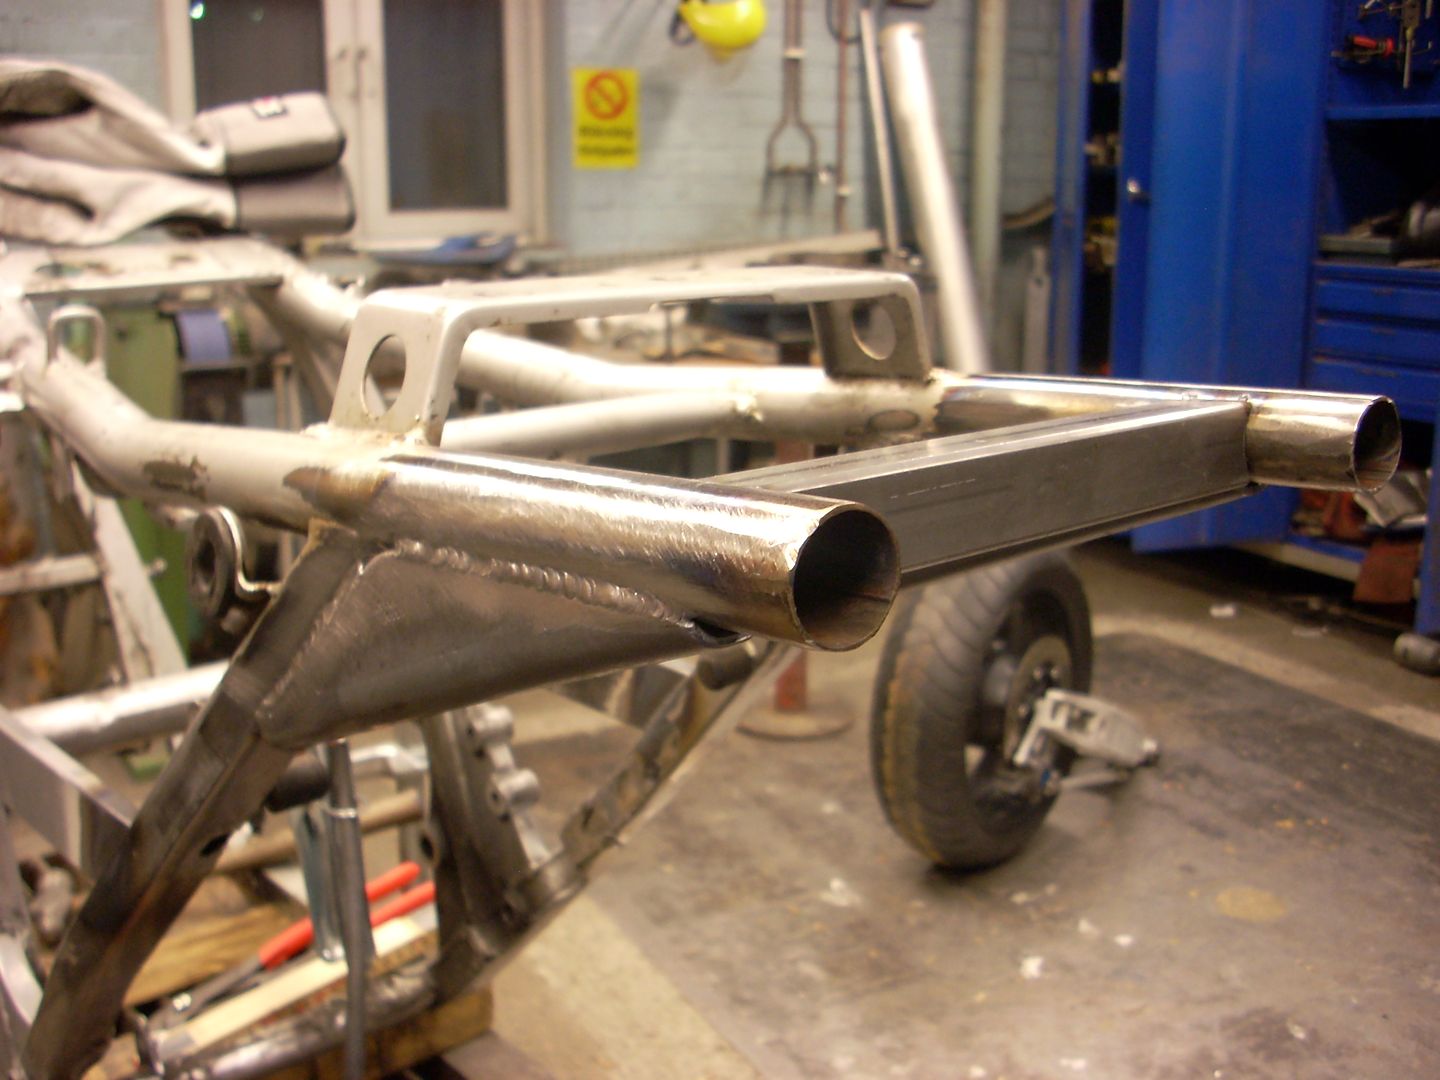
                    Next I aligned the brace for the shock mounts and tacked it in place.


                    Looks straight enough to me.

                    Comment


                      #40
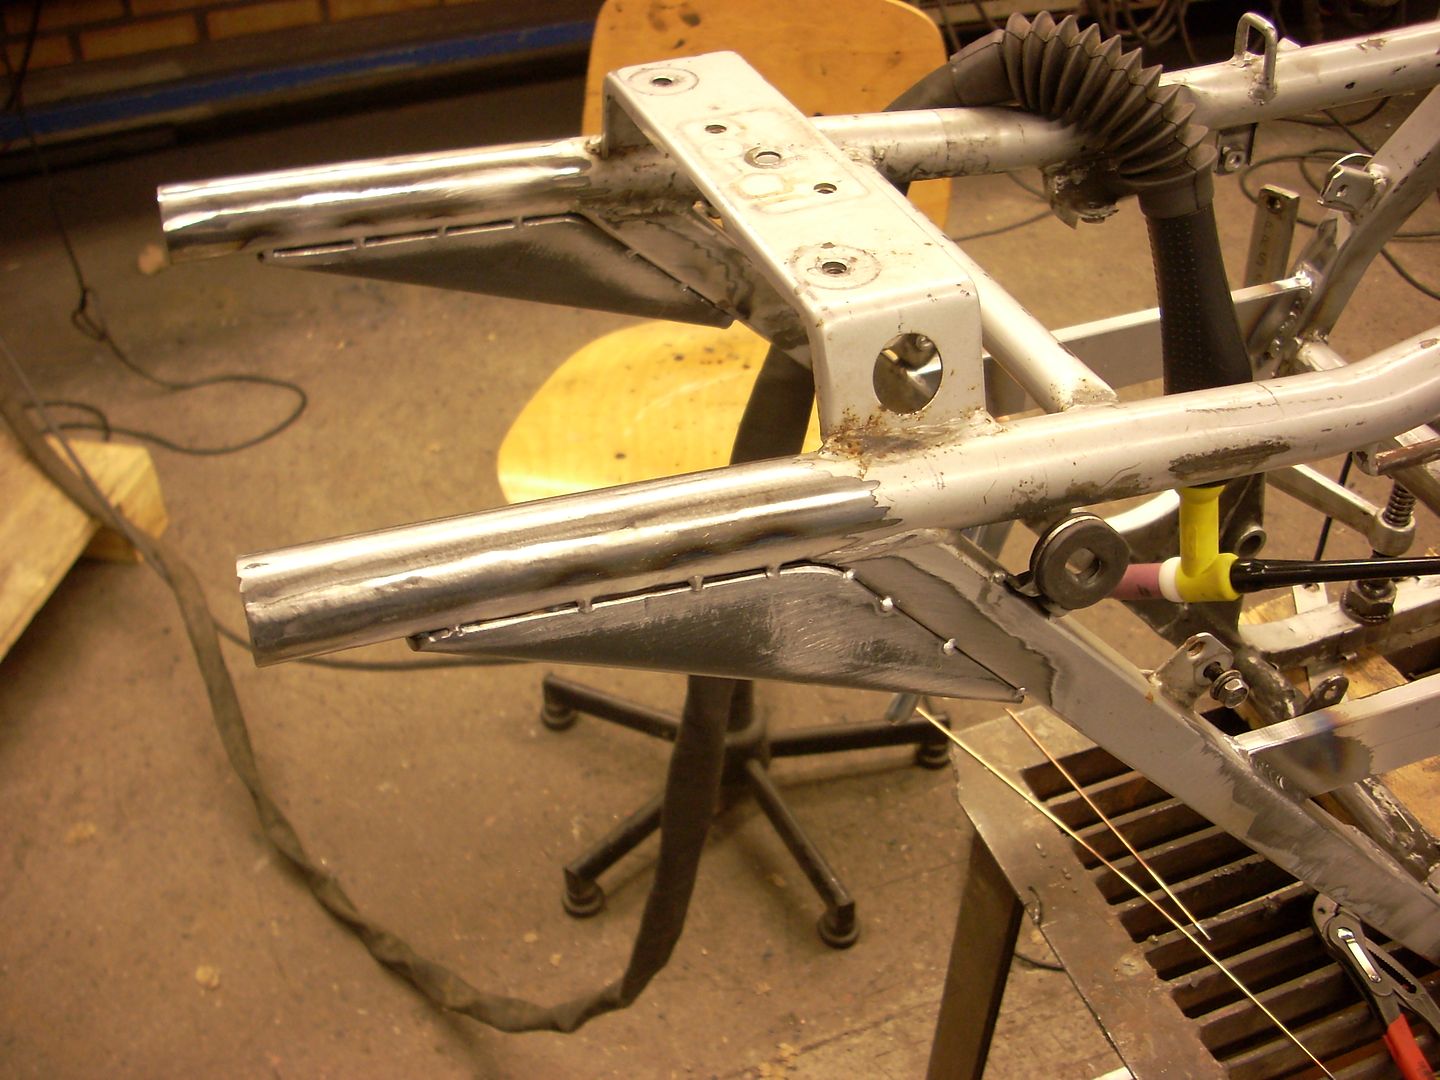
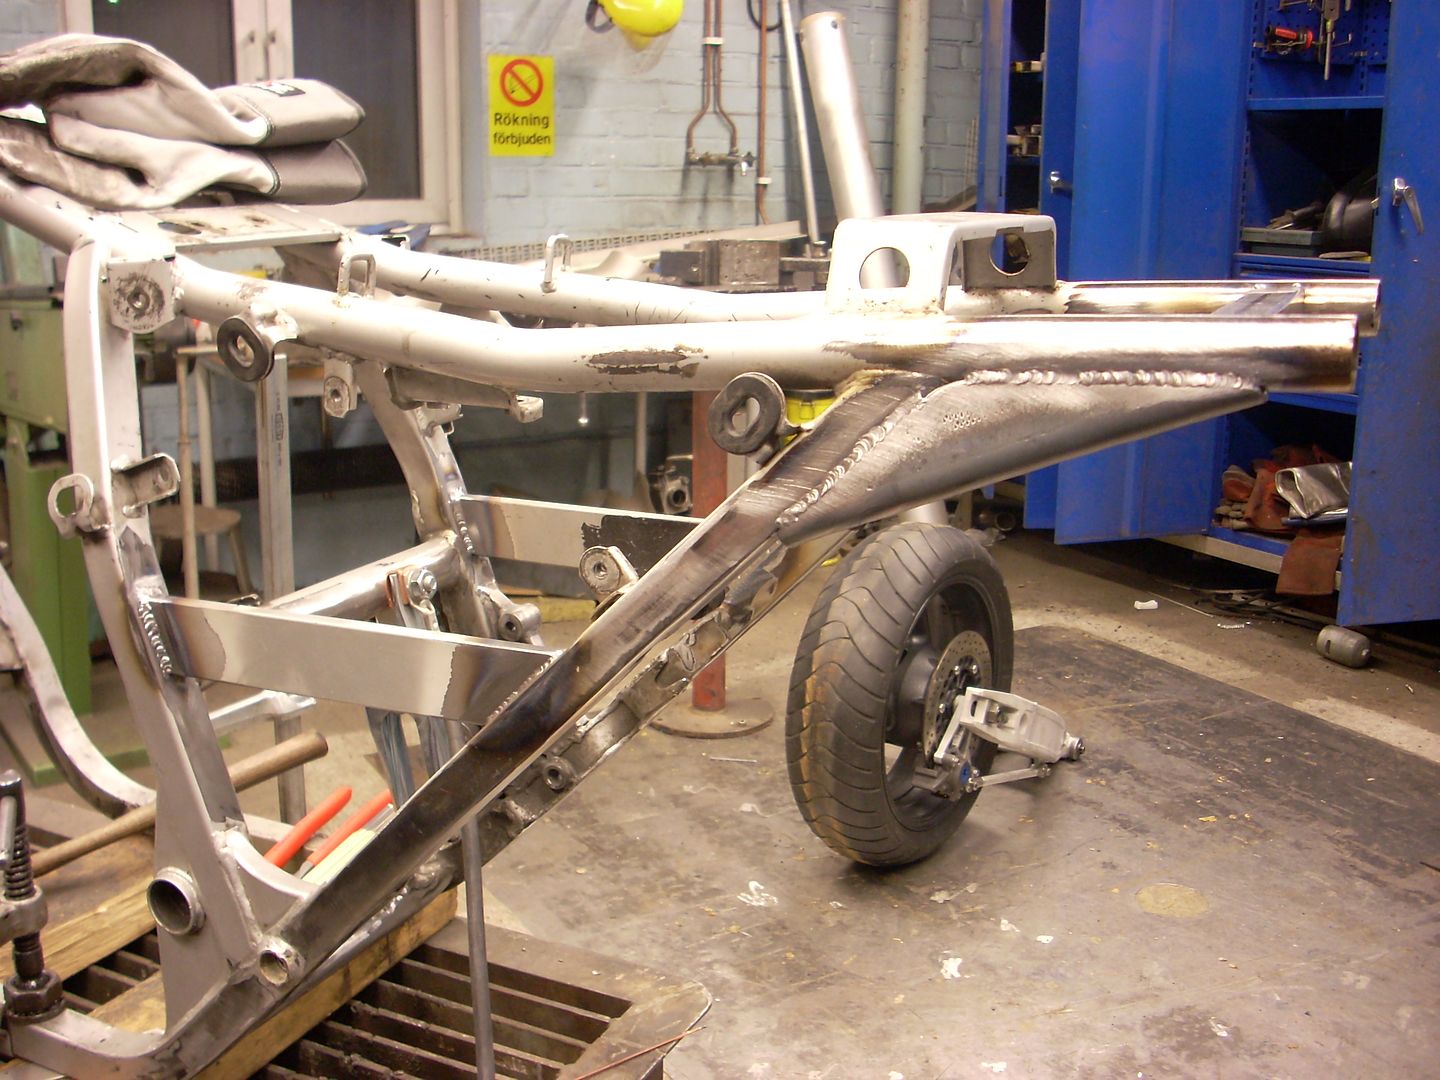
                      After a while with the welder, I ended up with something looking like this:


                      The brace between the frame rails will probably have to go as the exhaust / silencer needs quite a bit of space under the seat.

                      Anyway - everything turned out nice. Some minor imperfections here and there but at least I can say that I did all the weldig on the bike when someone asks.

                      Tomorrow I'll get the shock mounts welded into place. Look forward to some pictures then.

                      Comment


                        #41
                        Thanks for all the detailed photos as you work your way along; I have no idea where you are going but I'm sure you have a plan .

                        Comment


                          #42
                          MINDLESS-That is some SICK welding!!! Only 3 Days experience??? I want to crawl under a rock and cry. It looks like you've been doing it for 20 years plus!!!! You bastard! Great photo's too!

                          Comment


                            #43
                            nice welding-for some reason the square braces look photoshopped coming together great!

                            Comment


                              #44
                              Originally posted by posplayr View Post
                              Thanks for all the detailed photos as you work your way along; I have no idea where you are going but I'm sure you have a plan.
                              No problem. People seem to enjoy a project much more when you take decent photos.

                              As for what I'm doing - more below

                              Originally posted by oshanac View Post
                              MINDLESS-That is some SICK welding!!! Only 3 Days experience??? I want to crawl under a rock and cry. It looks like you've been doing it for 20 years plus!!!! You bastard! Great photo's too!
                              Haha, that's quite an overexaggeration. The photos hide quite a bit of flaws and I tried to pick photos where the welds looked their best.

                              And while I say I have three days of experience with TIG-welding, I've got a whole bunch of years experience holding an airbrush. To me both methods are quite similar.

                              Originally posted by midnightcafe View Post
                              nice welding-for some reason the square braces look photoshopped coming together great!
                              Thanks!

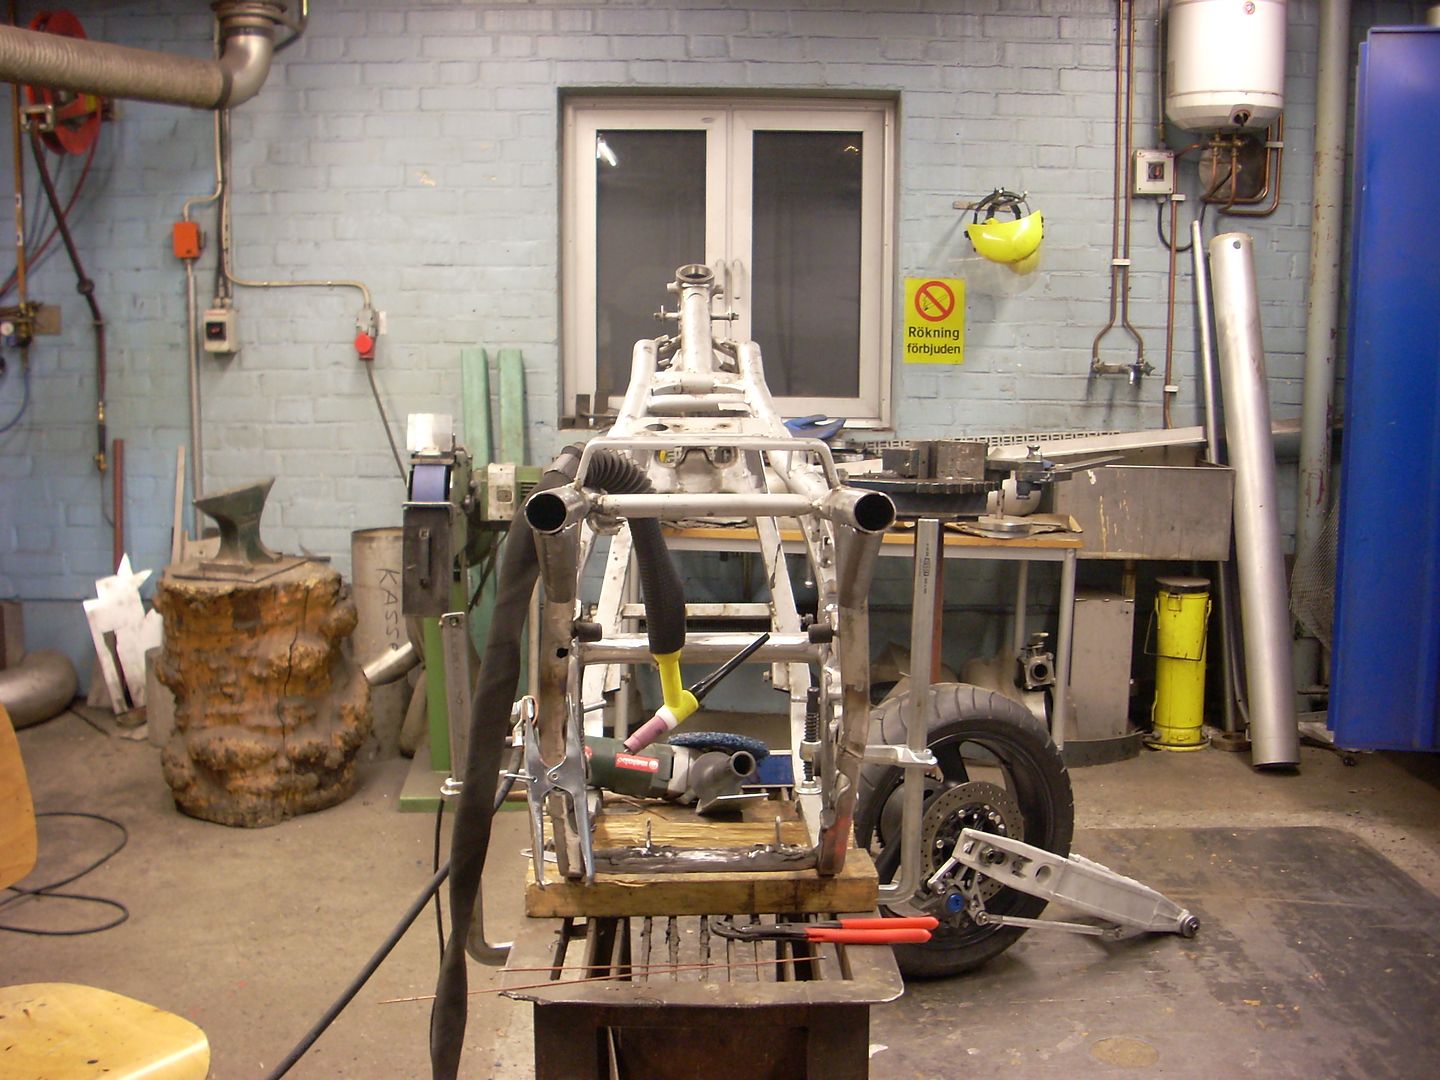
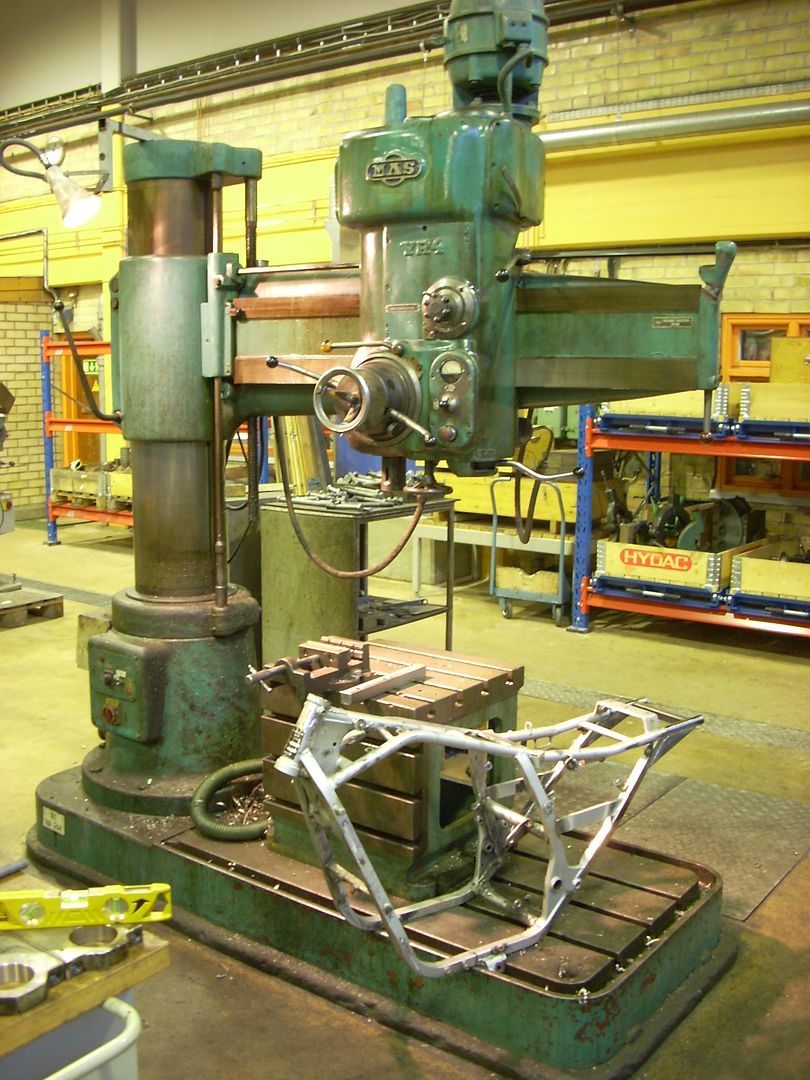
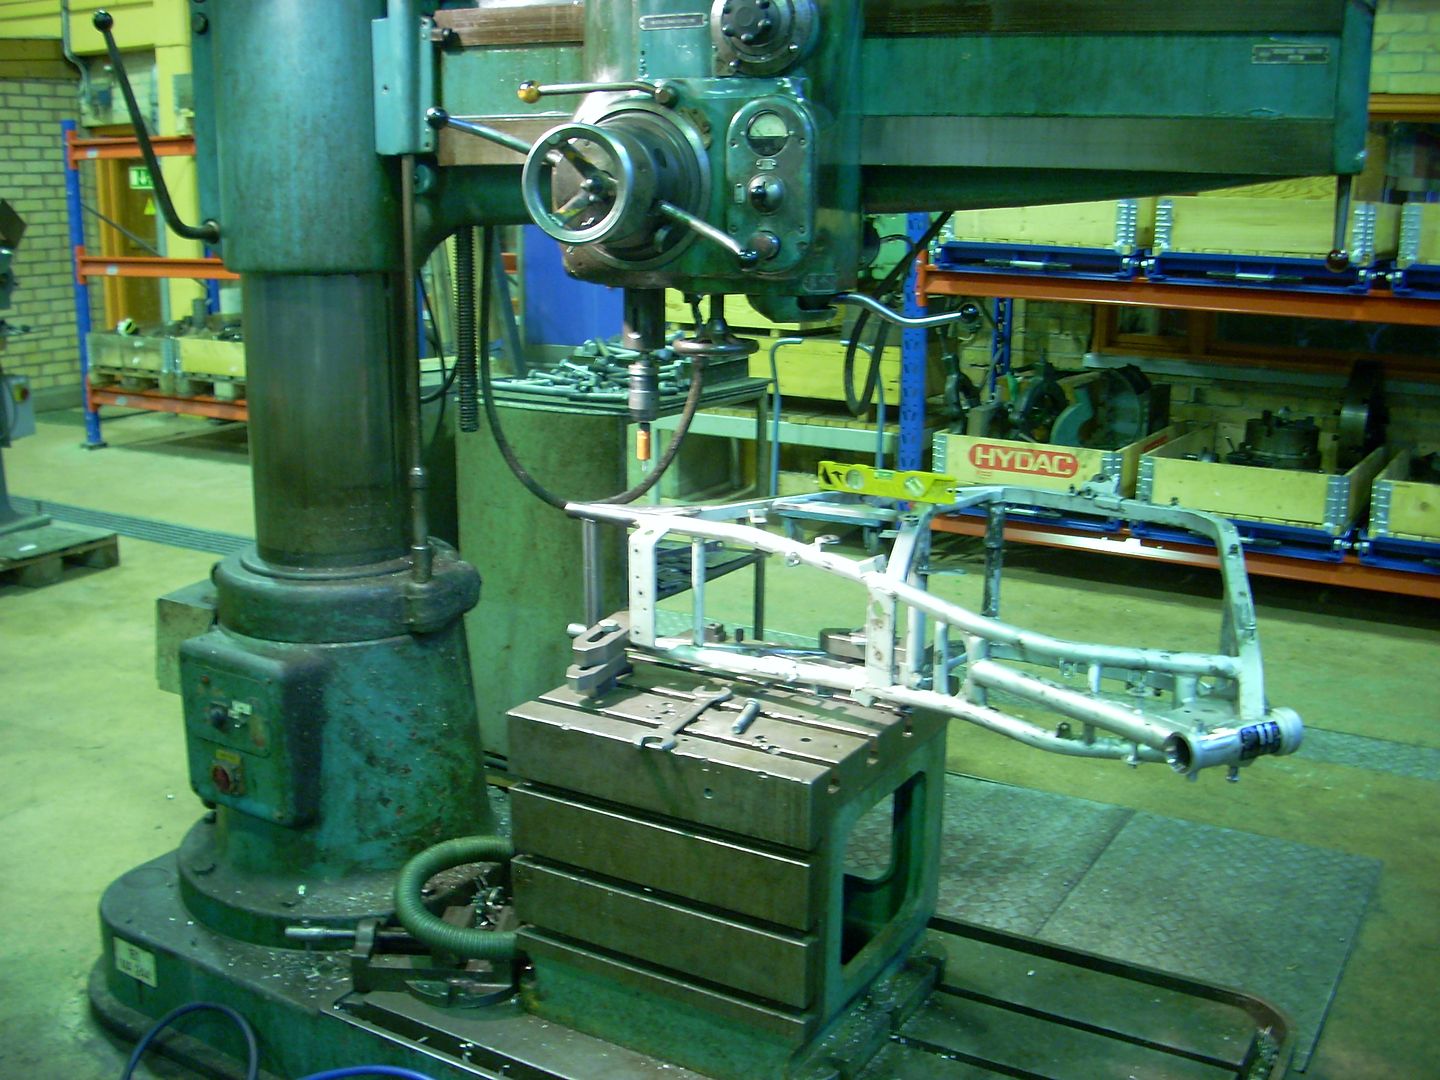
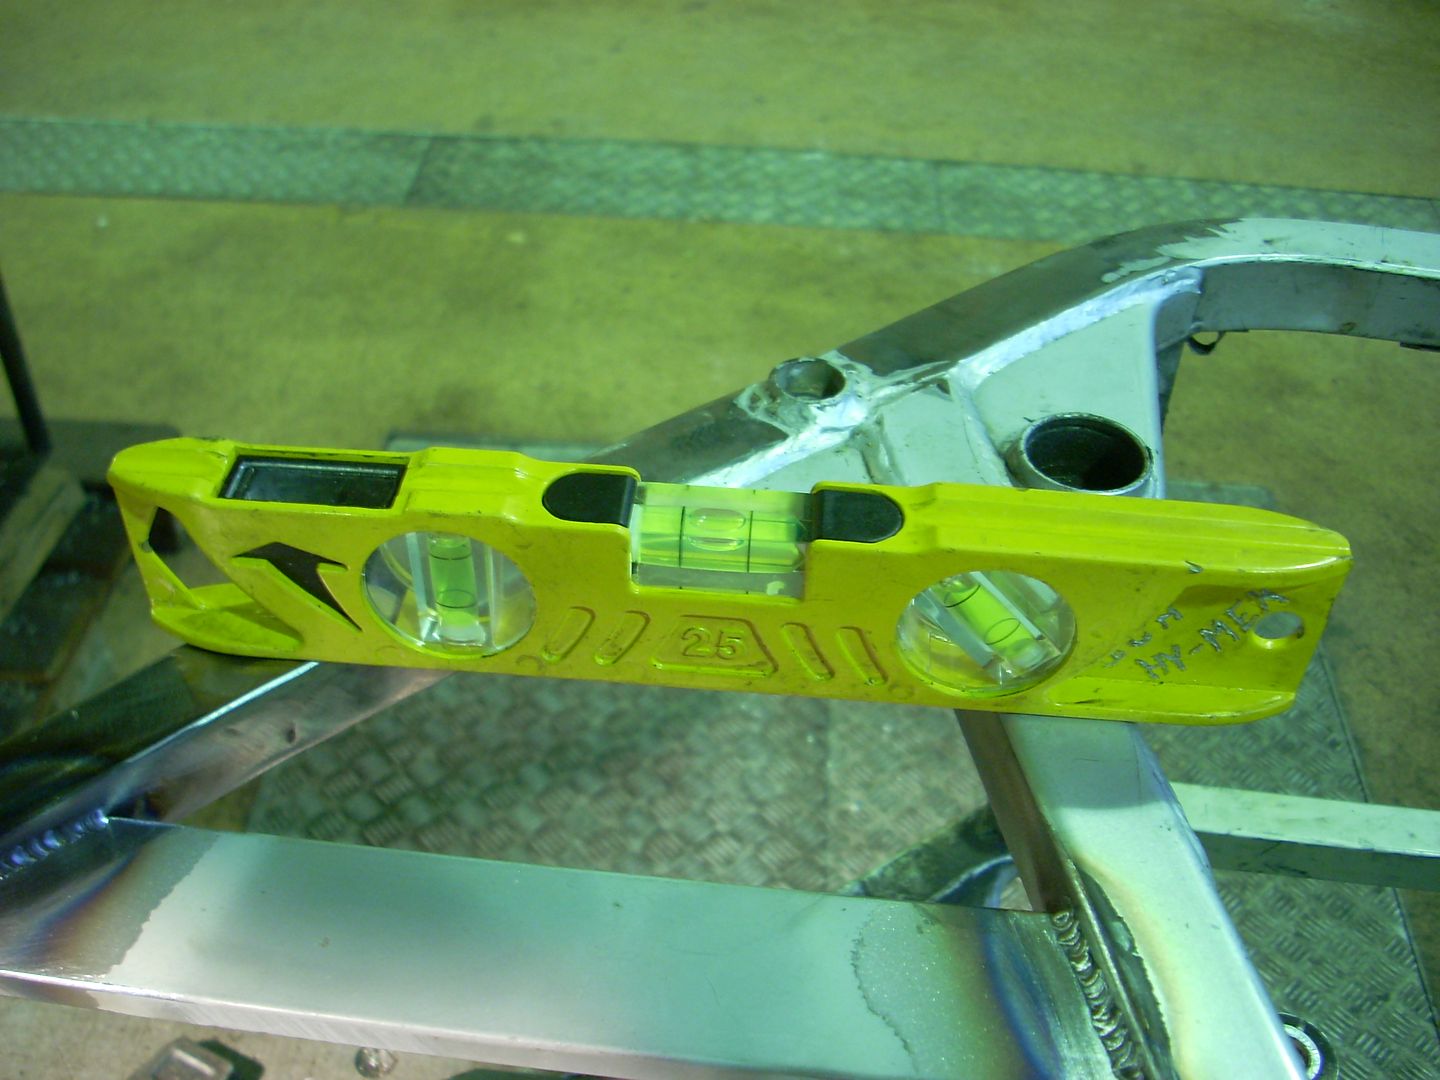
                              Went back down to the workshop today to finish up the shock mounts so I can focus on some other stuff in the coming weeks. First job was to get the frame all leveled in the mother of all drills. It's huge.

                              Comment


                                #45
                                Frame all clamped down and levelled.


                                Went much smoother than I expected. Glad we're two people working together (me and my dad). Doing this on your own would be easier said than done. I could imagine a few curses being cast both on the machine and on the frame.

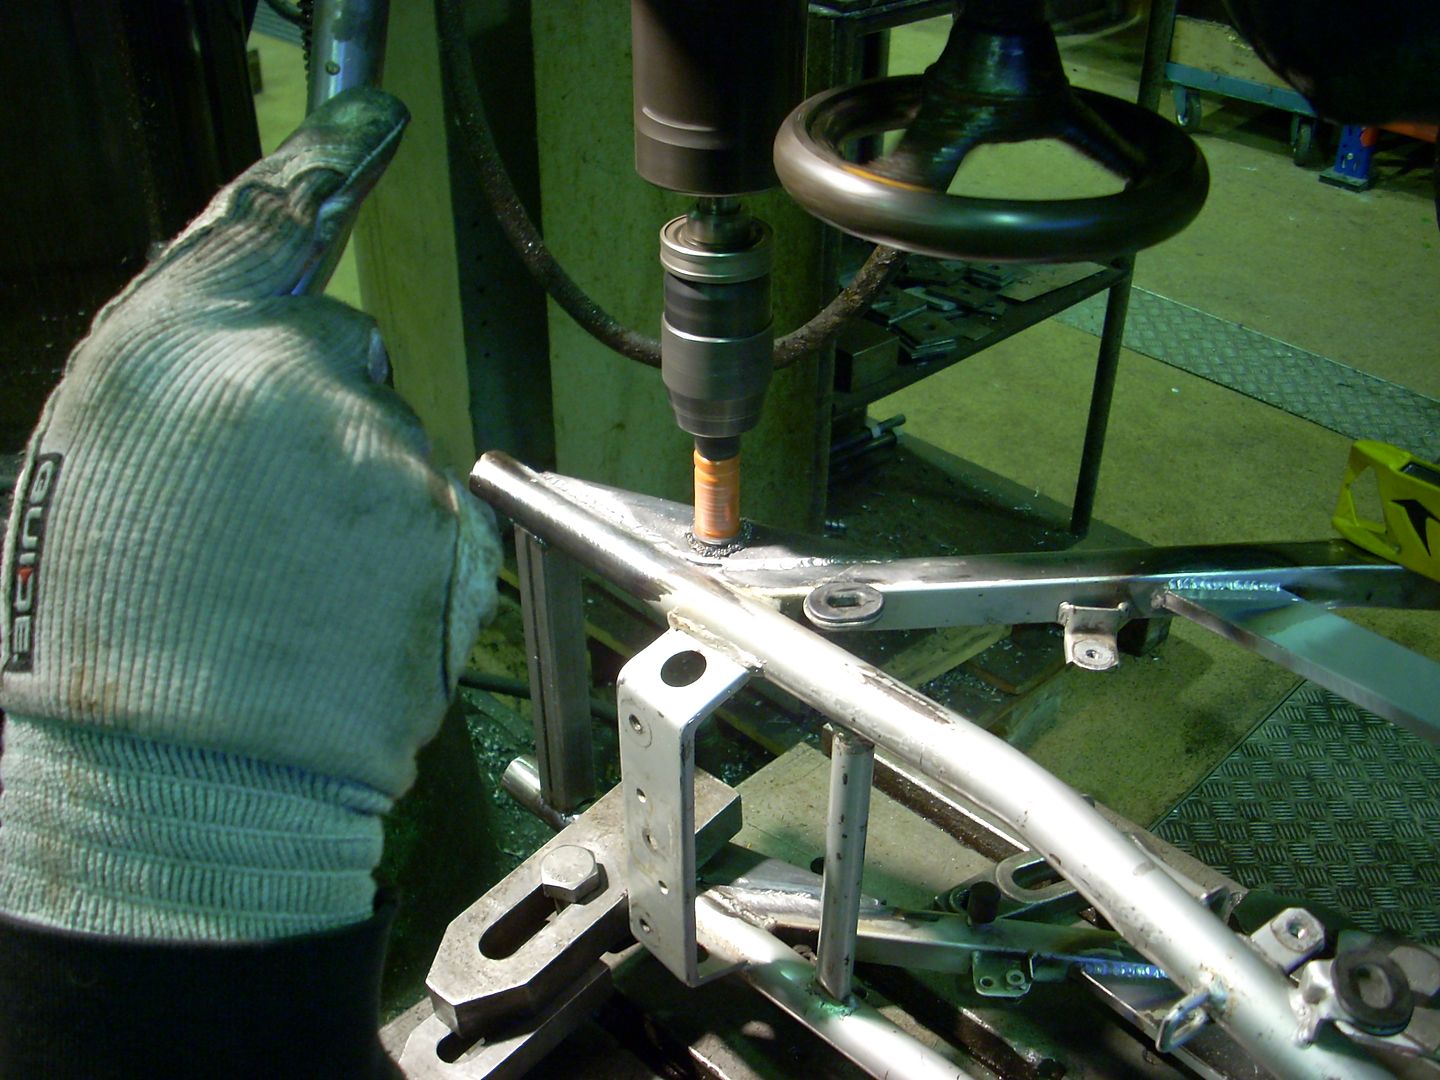
                                Next: drill / saw out some holes for the shock mounts.


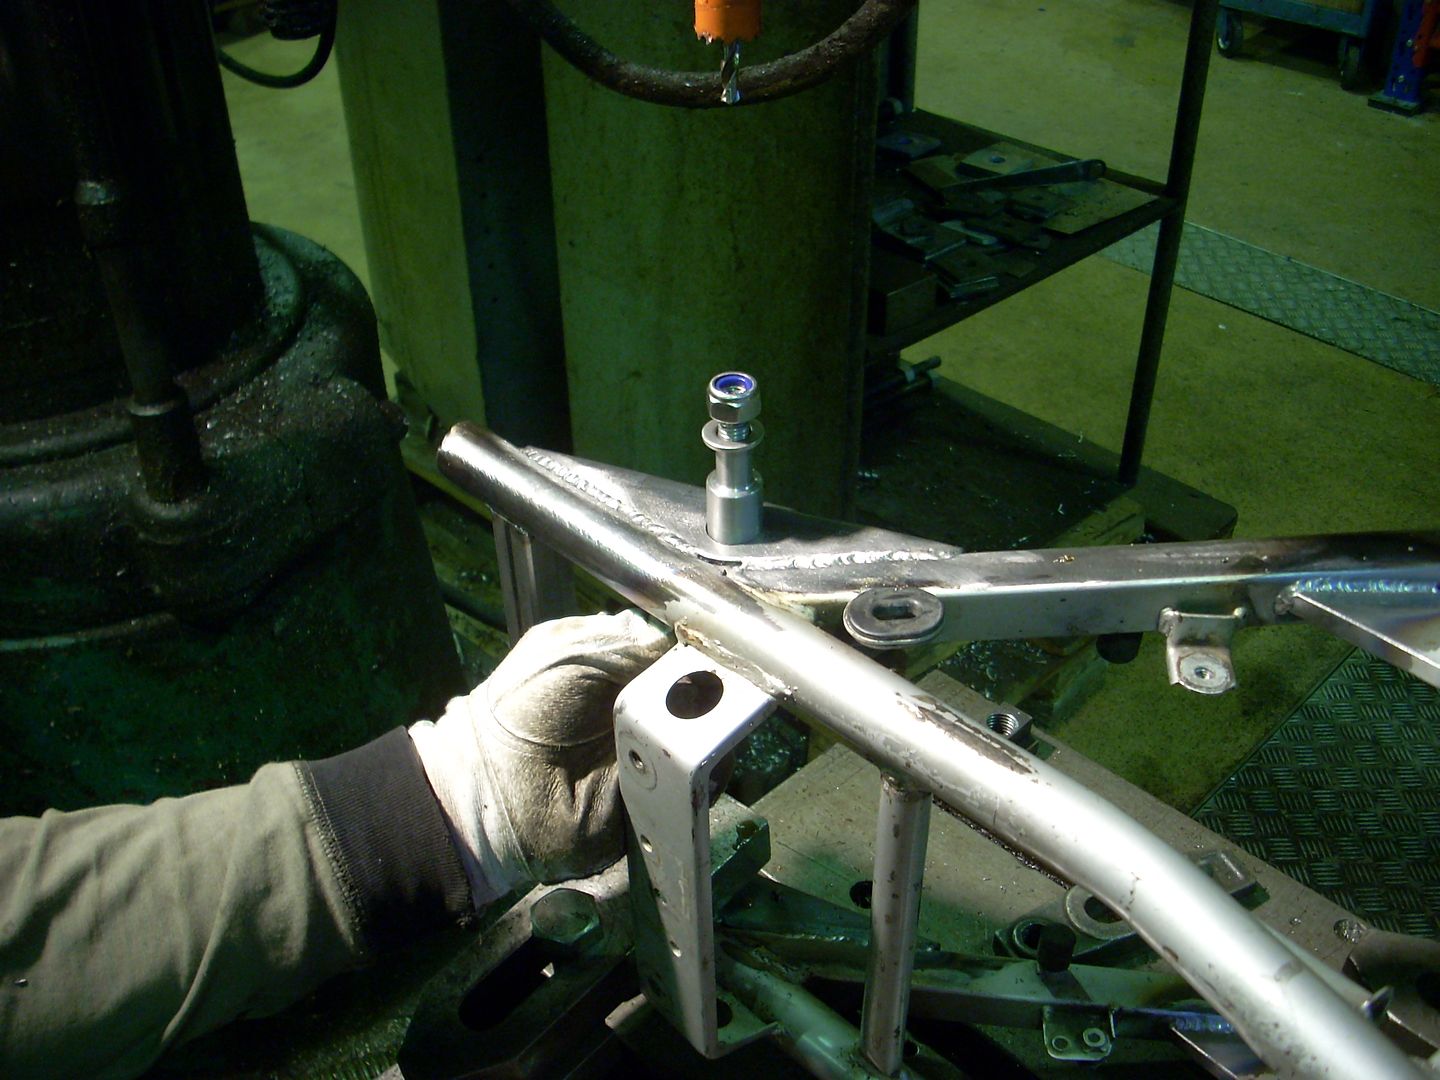
                                The result:


                                Starting to see where it's going now posplayr?

                                Comment

                                Working...
                                X