[QUOTE
i'll try the above method unless there are other suggestions?
anyone know what's the factory procedure / tool for disasembling these forks?[/QUOTE]
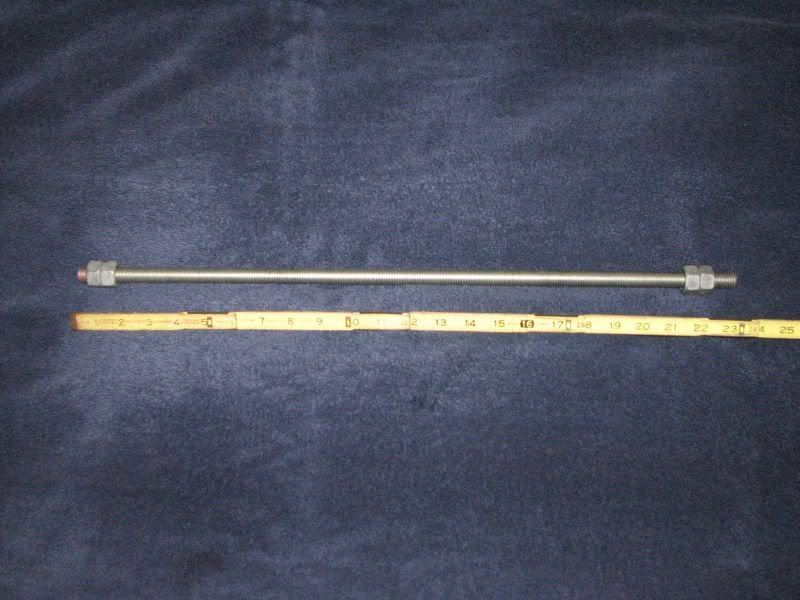
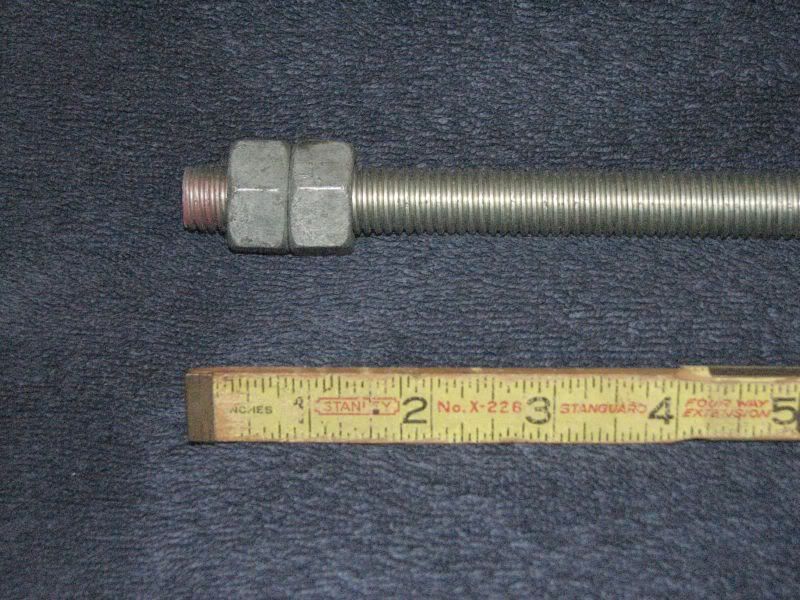
why not leave the springs and spacer in the fork for tension to hold the lower dampening rod? I hit the bottom allen bolt with an air impact gun while pushing the assy down on a padded board.
no jam stick necessary.
lord the previous owner stories - why my forks do not work!!
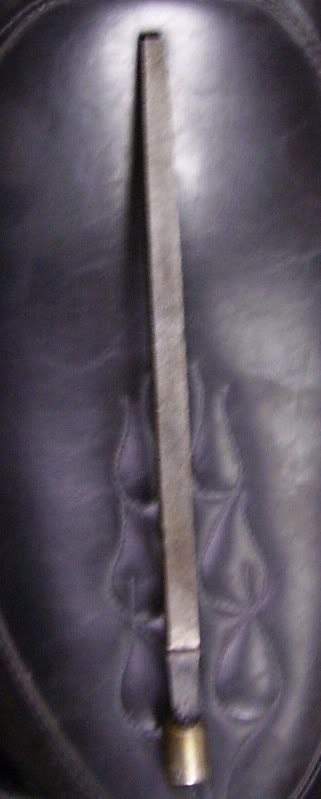
still pulling splinters out of the forks???
previous owner used red loctite??? get a propane torch and heat up the bolt itself to break the adhesive--then hit it with the impact gun while alternating pushing and pulling the fork assy.
A set of soft jaws for the vise is a good tool accessory to have too.
i'll try the above method unless there are other suggestions?
anyone know what's the factory procedure / tool for disasembling these forks?[/QUOTE]
why not leave the springs and spacer in the fork for tension to hold the lower dampening rod? I hit the bottom allen bolt with an air impact gun while pushing the assy down on a padded board.
no jam stick necessary.
lord the previous owner stories - why my forks do not work!!
still pulling splinters out of the forks???
previous owner used red loctite??? get a propane torch and heat up the bolt itself to break the adhesive--then hit it with the impact gun while alternating pushing and pulling the fork assy.
A set of soft jaws for the vise is a good tool accessory to have too.


Comment