-
My bikes:
1983 GS850G - cafe racer
1986 Honda Goldwing (GL1200) - work in progress -
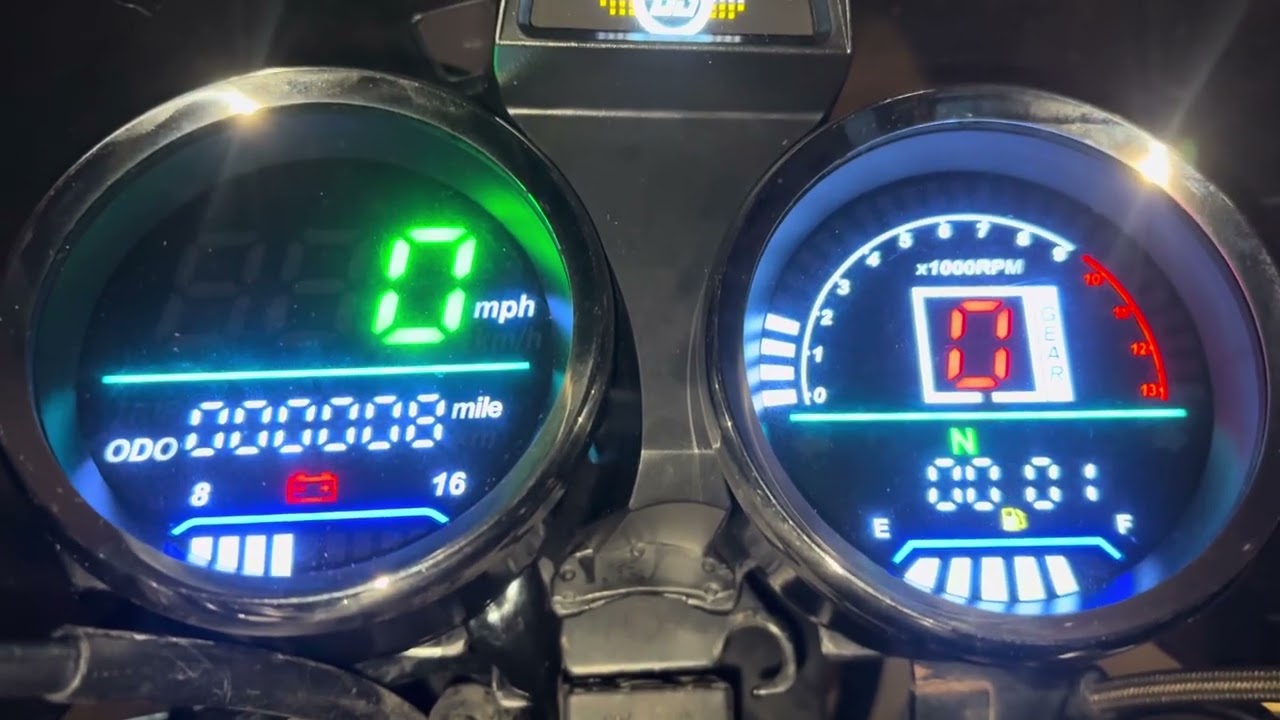
Well, this pretty much wraps it up. An upgrade? I’m not quite sure. But it is modern and very easy to read all info at a glance. Very bright. Better quality than expected for the low cost. All in all a fairly easy project if you can read a wiring diagram and make good crimps, use a hacksaw and a hammer.
Comment
-
Since we’re off topic anyway. Your leak is something most of us have had and have dealt with. The tach drive (in the valve cover on some models/ in the head on others) has an oil seal and a square profile o-ring. Get new of both. You can find the part numbers on any site that sells parts for our bikes. I like Partshark.com. But the fiches are the same on all such sites. There is a writeup on the procedure by Brian Wringer on BikeCliffs Website. He lists part numbers, but best to do your own homework. Do this job when you have the valve cover off for valve clearance work.
Comment
-
To be clear: the hacksaw and hammer were for cutting the ears off the digital gauge cluster bracket and for bending the Suzuki gauge cluster bracket. I have a very spiffy crimper from Vintage Connections for the wire work.
Comment
-
your work looks great! I have to say that getting the angle right is the hardest part of a gauge setup. my 450 tach cable is long gone and hole filled in. i would like to tap into a coil for a solution at some point.
Also, there is probably a setting on the unit to adjust how it reads the tach. i bet it is set wrong. it has to be a digital pickup inside the pod, so it is prob doubling the signal or something.Comment
-
Thank you. As I noted, (or thought I did), the tach is cable driven, as is the speedo. There is only one button on the unit. sort of like older digital clocks in some cars that had 2 buttons to change settings, except, just one button that I muddled through a mixture of short and long presses to scroll around to the things you could change (like KPH/MPH). And of course there are no instructions. There is a mire marked "Tacheometer" [sic] that I left disconnected. I can only imagine that it's meant to attach to a coil, instead of the cable from the valve cover. I'm not really worried about it. I know what a 1200 rpm idle feel/sounds like, and I've rarely ever red-lined the bike. Well there was that ONE time. If you want to read about that, here's the link to my Destroy-Rebuild thread. Destroy-Rebuild 750TComment
-
1982 GS1100E V&H "SS" exhaust, APE pods, 1150 oil cooler, 140 speedo, 99.3 rear wheel HP, black engine, '83 red
2016 XL883L sigpic Two-tone blue and white. Almost 42 hp! Status: destroyed, now owned by the insurance company. The hole in my memory starts an hour before the accident and ends 24 hours after.Comment


Comment