1982 GS300 Project - Where do I start

Collapse
X
 
  • Time
  • Show
Clear All
new posts
  • hjacobmiller

    #151
    Originally posted by bakirkwold
    looking good. You might want to switch those hose clamps on the header wrap though. I had mine originally like that but I used a thin gage wire and wrapped it a frw times around where the hose clamps are. Then paint over it. Just my suggestion.
    Why did you switch to wire?

    Comment

    • GateKeeper

      #152
      you can get these instead, they are thin, less noticeable on the pipes

      DEI specializes in heat and sound insulation products. This includes heat wrap for headers or exhaust systems, heat shields, sleeve products, & more.


      get it at who ever stocks the wrap....

      I used them and they are nice, I did use the larger clamp you did as well, but only where the can and header met, since it was a larger area I wanted the wrap held good and tight, that and I broke the thin stainless strap...LOL, but I might go and get another one....

      Comment

      • hjacobmiller

        #153
        Well, carbs are back on.

        Rechecked the float heights, reseated the intake orings, snugged down the boots/clamps.

        Got a little polishing done on the float bowls. I'll throw some pics up later.

        Really irritated because while my tank was sitting on the sawhorse it was full enough that some gas leaked out onto the tank. It sat there the whole time I was working so it completely ate away some of the paint.

        I was planning on repainting everything anyways, but its a GD eyesore now.

        Going out for a quick spin.

        Thanks for the help guys.

        Comment

        • Guest

          #154
          Fingers crossed it's all sorted...

          Bugger on the paint but if fuel eats it then it really wasn't too good to start with... proper 2K should take that no sweat...

          Comment

          • hjacobmiller

            #155
            Well I haven't thrown the gauges on since I redid everything but it seems to be running well.

            Went for about 30 mile ride this morning (see pics in "ride today?" thread).

            Seemed to handle just fine.

            I've noticed that if I want to get any higher than the 60 mph range I really have to wait until higher rpms to upshift. Guess that is a joy of riding a 300

            Got a little polishing done on the bowls last week. Nothing to write home about:

            Before:

            After:


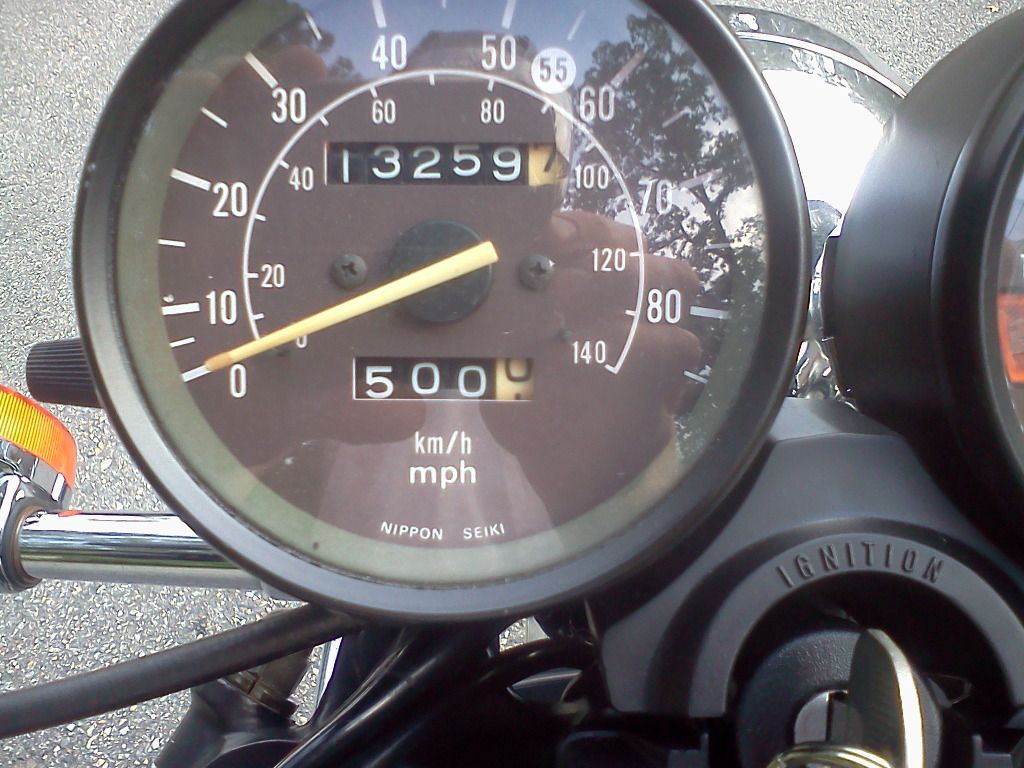
            Hit the five hundo mark since I got her:


            Going to ride her all week before I move up north and have to leave her behind til I get a place of my own.

            Comment

            • hjacobmiller

              #156
              Here is sort of what I'm thinking with the fifties chevy sort of thing:


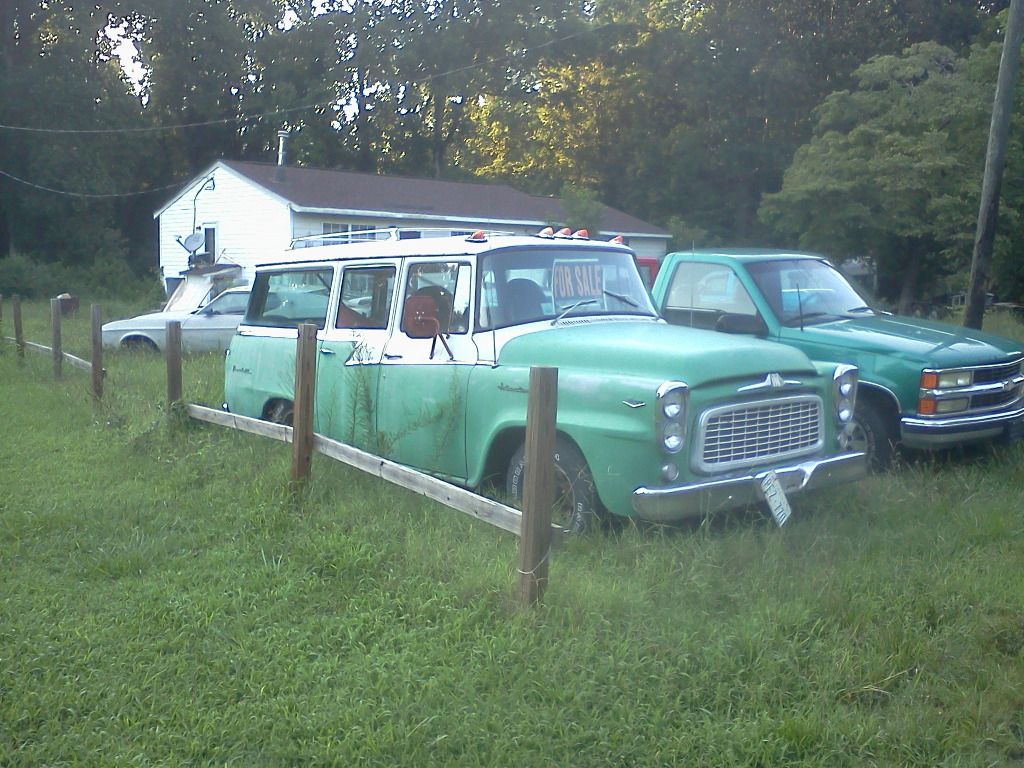
              Stumbled across it on this ride:

              Store your photos and videos online with secure storage from Photobucket. Available on iOS, Android and desktop. Securely backup your memories and sign up today!


              Think I got the rust part covered

              Comment

              • Guest

                #157
                You really want Tim Tom to do what I'm going to attempt, but it might give you an idea of what I'm thinking... or it might not... will have something back soon I hope unless I give it away as a bad joke...

                Comment

                • Guest

                  #158
                  Ok, I feel like it's missing something at the rear, but I think you get the idea... a lower profile seat with the two tone theme, and you need to keep some chrome around as every classy old chevy still has a reasonable amount of chrome...

                  Comment

                  • hjacobmiller

                    #159
                    Originally posted by pete
                    Ok, I feel like it's missing something at the rear, but I think you get the idea... a lower profile seat with the two tone theme, and you need to keep some chrome around as every classy old chevy still has a reasonable amount of chrome...
                    Mate that is IT!!!!! Awesome!!!!

                    I had come up with something else but it looked like a toy.

                    That is really sharp, but I agree it may need something at the rear.

                    Thanks!
                    Last edited by Guest; 07-27-2012, 08:57 AM.

                    Comment

                    • Guest

                      #160
                      Originally posted by hjacobmiller
                      Mate that is IT!!!!! Awesome!!!!

                      I had come up with something else but it looked like a toy.

                      That is really sharp, but I agree it may need something at the rear.

                      Thanks!
                      No worries mate! Sometimes I actually get some reasonable ideas... less often I can put them into viewable form... glad it worked this time

                      Still not sure on the rear though... I tried putting a white top just on the passenger seat but that was feral... where's Tim when we need him?

                      Comment

                      • hjacobmiller

                        #161
                        Maybe I could see about crafting some sort of bench seat for it with that old pan I have instead of the bubble/cafe I was thinking.

                        I'd really like a place to stash some tools though...

                        Oh and gaiters. Can't forget the gaiters!

                        Comment

                        • Guest

                          #162
                          I can think of three places for tools...

                          1. There seems to be room directly under your headlight for one of those round leather tool bags. Don't mount it too low though or you'll compromise air flow to the motor.

                          2. Stock location on mine was under the right side cover. Do you have an empty looking plate there? Mine just had a rubber strap like the battery strap to hold the tool bag in place.

                          3. Potentially behind your battery in front of the inner mudguard.

                          Comment

                          • hjacobmiller

                            #163
                            Originally posted by pete
                            I can think of three places for tools...

                            3. Potentially behind your battery in front of the inner mudguard.
                            I think option 3 could be the best place with the least amount of work. Maybe I could glass something in or make a metal box. The main issue there is the intake boots for the airbox. Things get a little crowded in there.

                            Hmmm...

                            Comment

                            • Guest

                              #164
                              Originally posted by hjacobmiller
                              I think option 3 could be the best place with the least amount of work. Maybe I could glass something in or make a metal box. The main issue there is the intake boots for the airbox. Things get a little crowded in there.

                              Hmmm...
                              Should'nt be hard to attach something to the rear of the battery box... oh and if your carb intake boots are *behind* your battery then you're doing it wrong

                              Comment

                              • hjacobmiller

                                #165
                                Originally posted by pete
                                Should'nt be hard to attach something to the rear of the battery box... oh and if your carb intake boots are *behind* your battery then you're doing it wrong
                                No like the intake boots for the airbox.

                                Comment

                                Working...