-
 Guest replied"It will be a royal PIA if it needs re-jetting after all this." .........but then at least you'll have heard the engine run and then invest in a set of new boots
 -
Video of First Start Attempt
Video says it all:
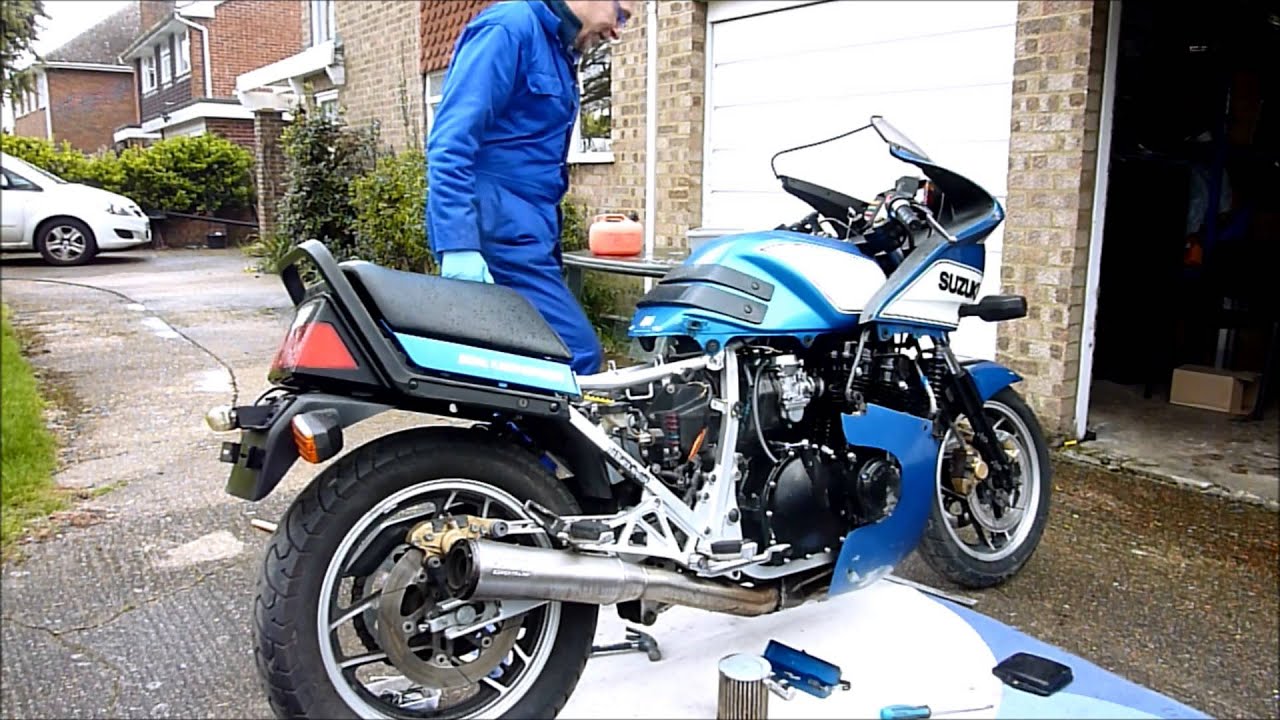
What next?
My checking so far has revealed only one cylinder is firing on full choke. There is fuel in the other cylinders. One spark plug (used on the plug lead of the firing cylinder) produces no spark.
More work to do.
Is it possible to test a spark plug with a continuity tested/multimeter. On this duff sparkplug I get no continuity down it's central core. Is that possible?
GreetingsLast edited by londonboards; 07-25-2014, 04:15 PM.Leave a comment:
-
The Final Push To Fit the Carburettors
The carbs were in place and the air box was ready. Now I just needed to push the carbs into the engine boots and get the air box boots on the carbs. Well the engine boots were pretty hard and the weather was cold. So even warming them up in the house had little effect. This was a tough job. Firstly I propped them up with some timber and strung them up with some cable ties. The idea being to align them to the engine boots so they could be pressed home.
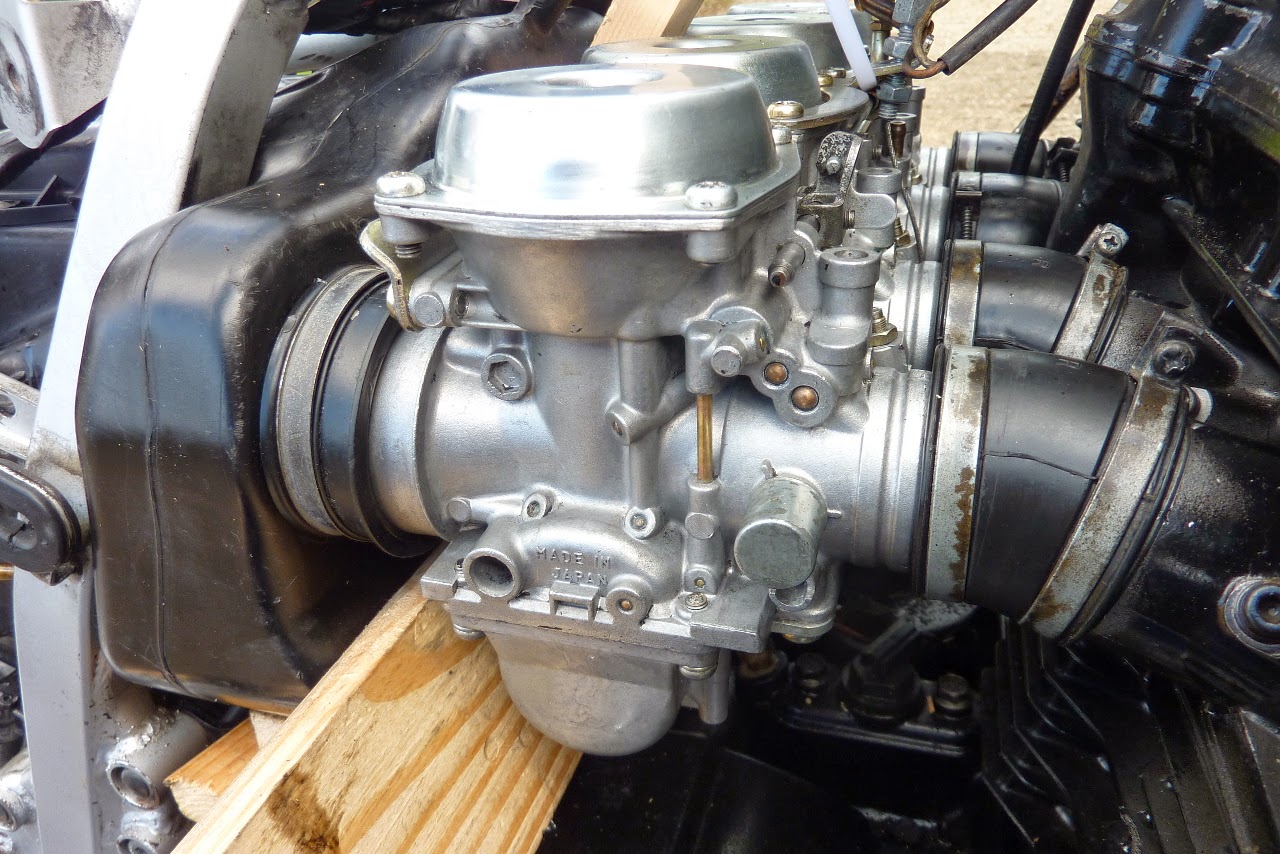

Some of the boots turned whilst being pushed against so there were frequent re-alignments:

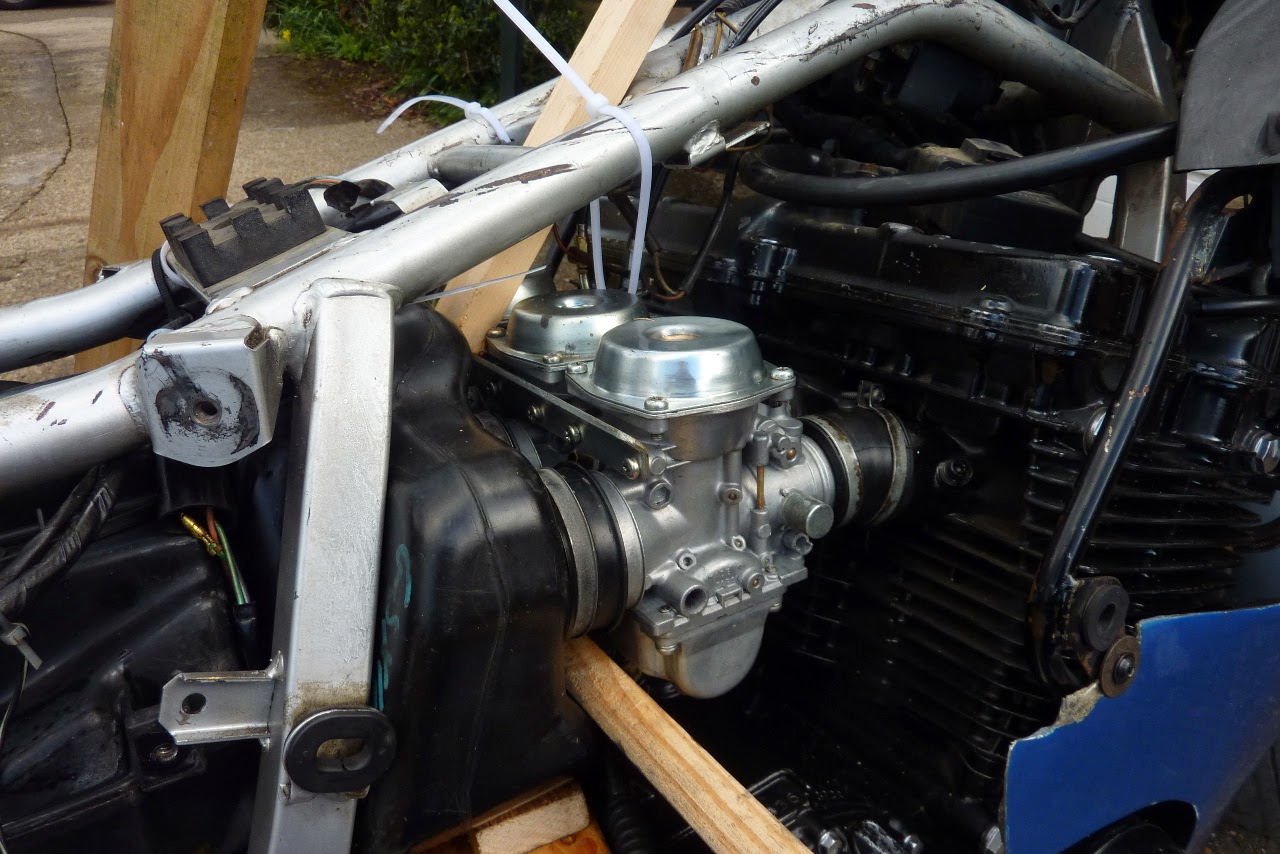
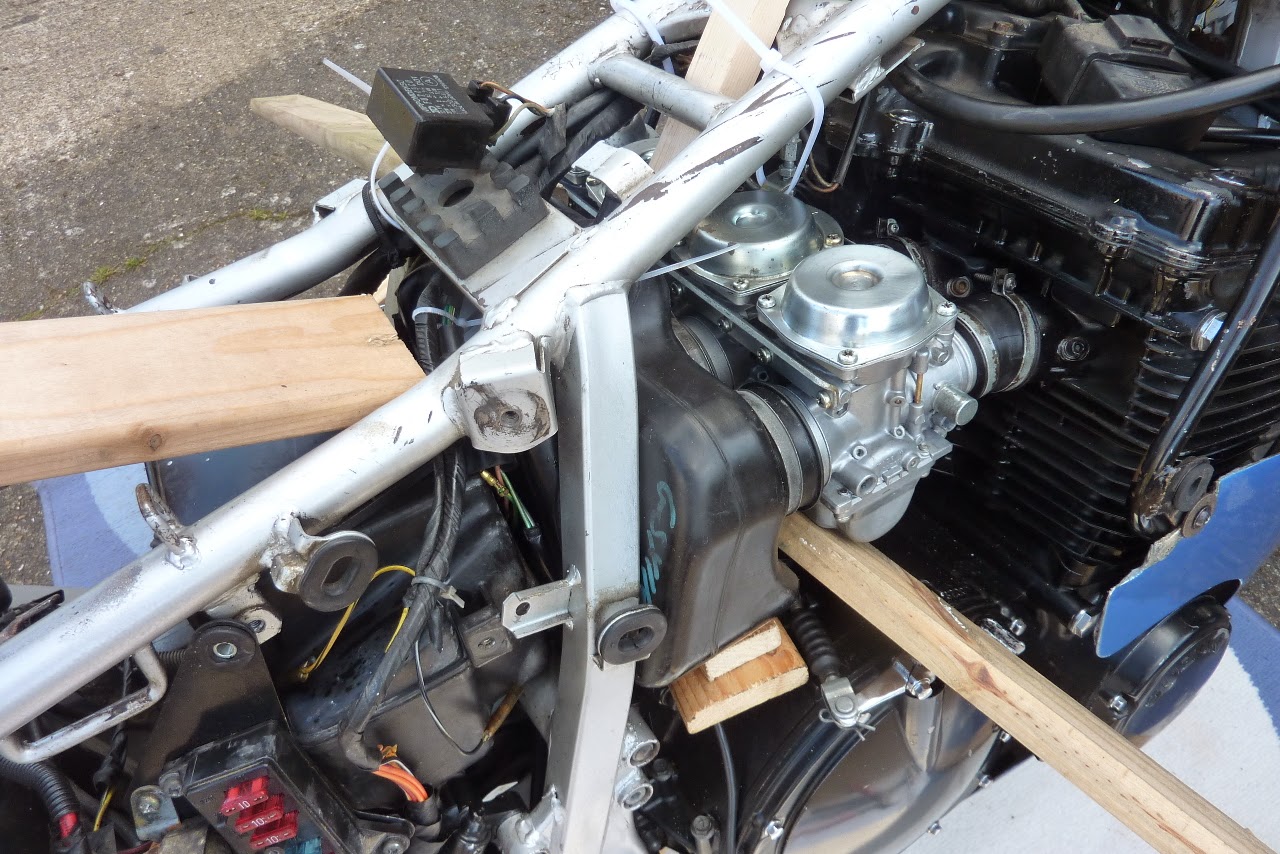
In order to get sufficient leverage, I resorted to my old trick of more timber.

This bike will fly:

Finally:

It will be a royal PIA if it needs re-jetting after all this.
Now does it fire up?
GreetingsLeave a comment:
-
Guest repliedAgain Sir, I must say, you take the BEST pics!Leave a comment:
-
Carburettor and Airbox Instal
Finished the carb rebuild. Next job was to get them on the bike. This was more difficult than I realised, especially as I had bought the bike with no air box and I had no idea how they had come apart.
See My Suzuki GS1150ES Blog for lots of big pics (click to enlarge).


Got the engine boots on first:


Then slipped the carbs in and attached the cables:

Took off electric plates to help move things around:

Then lined them up for the final push:

Leave a comment:
-
GSX1000E - Thanks for that. The PO put 2 washer UNDER the circlip. I can't see the point of that. Washers on the top of the circlip - I can understand.
GreetingsLeave a comment:
-
Guest repliedYOU are correct Richard. The plastic shims measure 2.45-2.48mm.
If you replace it with four 3mm flat washers (mic each one in sets for uniformity), it should get you to about 2.00mm and therefore raise the needle about .50mm roughly.Leave a comment:
-
Nessism - One more thing.
My little plastic washer measures 0.096 inches or 2.45 mm.
If I was to shave off 0.06 inches I would only be left will a slither of a washer.
Or does that mean my washers have already been sanded down to a smaller size? Or would it be OK to sand them down to 1/3 rd of their existing size? I feel that would compromise their strength.
GreetingsLeave a comment:
-
You are up early there in CA!
Thanks for that tip - I will indulge in a little sanding before re-assembly.
GreetingsLeave a comment:
-
Inexperienced carb people often times put washers under the needle clip thinking that will raise the needle and richen the mixture. In reality those extra washers do nothing, because needle height is managed by the thickness of the plastic spacer on top of the needle clip. When redoing carbs I typically sand down that spacer by .060" or so before putting it back in. That will richen the mixture just a smig and improve cold driveability.
Good luck.Leave a comment:
-
Thanks for that. You gave me the confidence to really poke around in there. A paper clip did the trick. Took a while though because there is that restriction near the bottom of the hole that prevents easy access.
Job done
GreetingsLeave a comment:
-
Carb Reassembly
This has to be my most favourite task of all time. I love stripping, cleaning and assembling these beautiful pieces of history. This 30 year old set has come up looking like new with a paint strip, wash and ultrasonic clean. I have installed new jets (it was previously jetted for K&N filters) and put it back to stock. Thanks to Robert, I have all the little O rings. This set of carbs has a piece of hose linking the vent tubes so I now have a spare set of vent tube O rings! I love my job.


I just need to remove one of the 2 washers on the main throttle needle on the slides, put the slides back in and we are good to go back on the bike.
Then clean out the fuel tank, borrow a rectifier (from my other GS) and see if she runs. How much fun can you have with your clothes on?
GreetingsLeave a comment:
-
Carb Needle Question
So this bike was re-jetted with 150 mains and 50 pilots. Stands to reason that with out an airbox, this would have been done to adjust the mixture for a freer flowing air intake. Would it also follow that an extra washer was installed on the needle of the throttle slide? There are 2 on mine. I want to return it to stock. So do I remove one of them?

GreetingsLast edited by londonboards; 03-22-2014, 04:09 AM.Leave a comment:
-
Some Electrical Issues
For bigger hi-res photos visit my G1150ES Restoration Blog.
Discovered that I don't have a rectifier and the plug to connect one is knackered:


And that the fuse box is damaged with a burned out signal fuse holder (if indeed this fuse actually does service the signal lamps!) and we have a 25 amp Main fuse. That is sure to burn out the harness if anything goes wrong:

New parts on order (Nic - where art thou?).
GreetingsLeave a comment:
Leave a comment: