I thought about the GS1100E swingarm - only problem is that on some GS1000 frames, the frame loops that hold the rear footpegs may interfere with the sides of the aluminum swingarm (due to it being a smidge beefier/wider). At this point in the game, I wanted to go with a sure thing, hence the original swingarm.
Announcement
Collapse
No announcement yet.
Progress!!! 1978 GS1000E Restoration/Performance Rebuild
Collapse
X
-
Rudy,Originally posted by rudeman View Post
I thought about the GS1100E swingarm - only problem is that on some GS1000 frames, the frame loops that hold the rear footpegs may interfere with the sides of the aluminum swingarm (due to it being a smidge beefier/wider). At this point in the game, I wanted to go with a sure thing, hence the original swingarm.Cogito ergo sum - "I think, therefore I am"
René Descartes
-
 rudeman
The stock swinger will serve you well.Originally posted by philosopheriam View PostRudy,
I thought about the GS1100E swingarm - only problem is that on some GS1000 frames, the frame loops that hold the rear footpegs may interfere with the sides of the aluminum swingarm (due to it being a smidge beefier/wider). At this point in the game, I wanted to go with a sure thing, hence the original swingarm.
Comment
-
Originally posted by 80GS850GBob View PostHey, check this pic from progressive suspension/ FB....she's a Suzi with an arm brace. Maybe they can direct you to the owner and get dimensions for that!
https://www.facebook.com/43365542338...type=3&theater
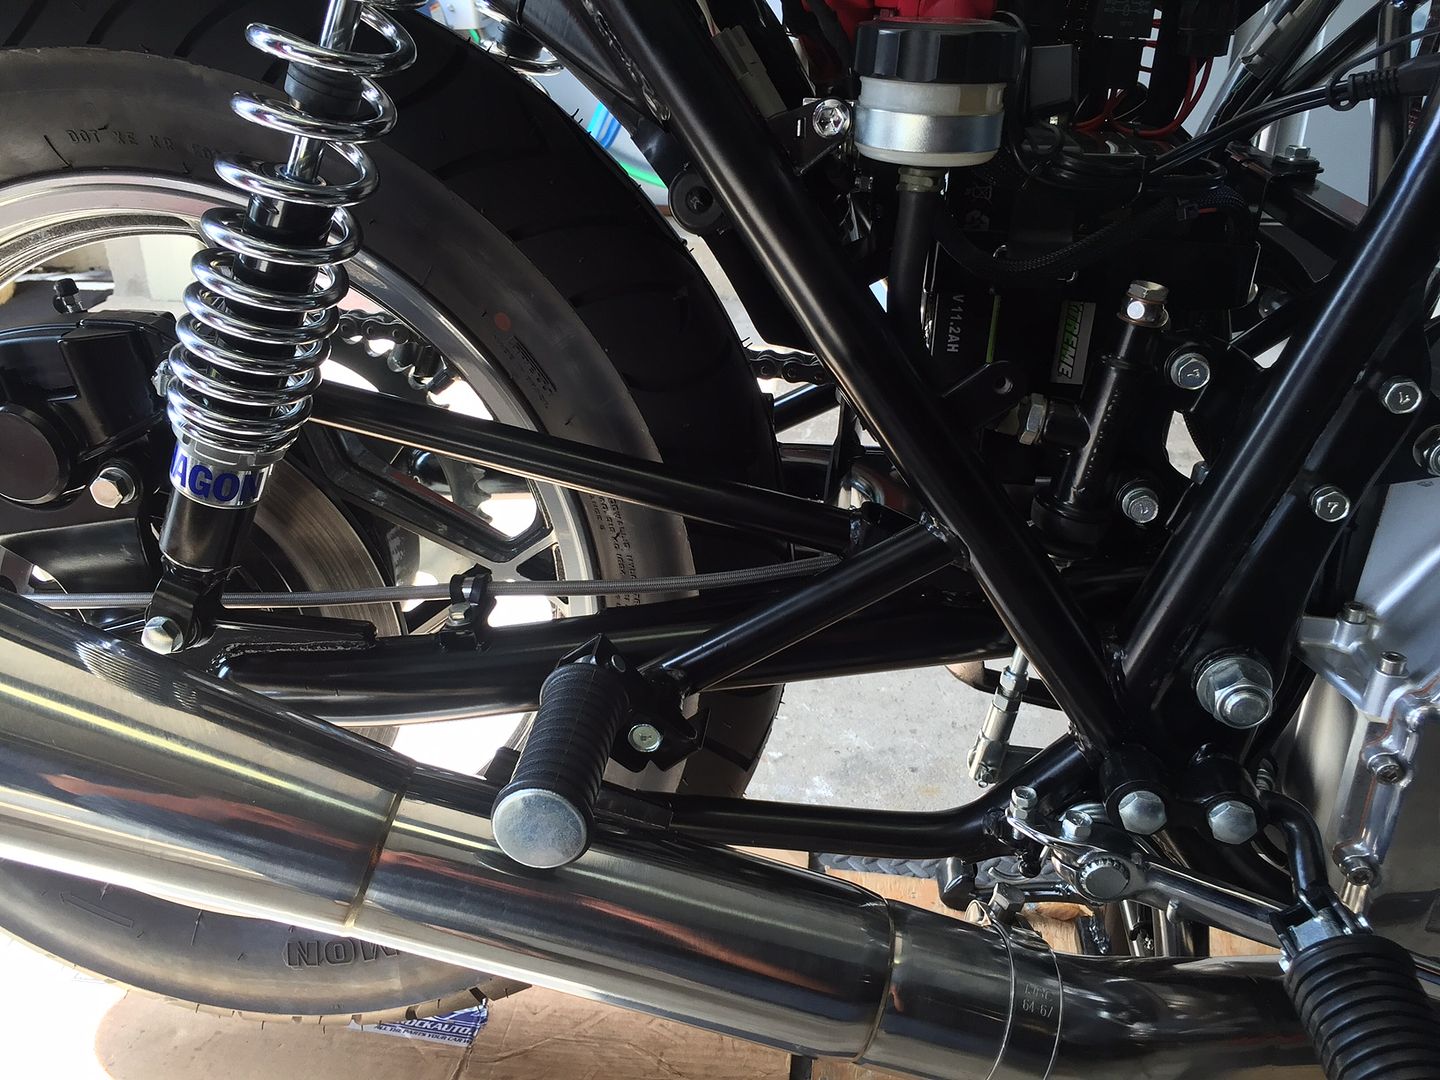
Looks like a calfab swingarm to me - they're nice, but it's not possible to retain the center stand with that style of bracing.
Unfortunately, I've hit a level of "ffing done" with my modded swingarm. It doesn't work, and without a major engineering change, I don't think it will ever work. At this point, I'd like to recoup some of my investment, but I doubt that is possible. I also have no desire to tear the rear end of my bike apart again.
To strip the modded swingarm (which my powdercoater offered to do for free), and then to cut all of the bracing off of it, is a timely endeavor. To me, it makes more sense to get a used one from eBay and start over.Cogito ergo sum - "I think, therefore I am"
René Descartes
Comment
-
 80GS850GBob
Me, I'd say don't toss it out but also don't stress on it now.....step away and regroup/rethink. Hey, I work maintenance - sometimes things don't easily work out on a refit the way it's supposed to {and I deal with some really old stuff}. Use the new plain swing arm to get the needed loaded and unloaded swing arm deflection angles and transfer those clearances, via cardboard, to the beefed up one - and revamp/re-angle - any piece/section that doesn't conform needs to be moved or re-angled to clear the chain and center stand. When it all jives, then strip it all down and re-powder coat. You can do this after seeing all the other mods you've done so far....this one is just fighting you more than usual. You will get this even if it takes you all winter - I know it - and you'll be happier in the end when she's done the way you wanted. My two cents - fwiw.Originally posted by philosopheriam View PostLooks like a calfab swingarm to me - they're nice, but it's not possible to retain the center stand with that style of bracing.
Unfortunately, I've hit a level of "ffing done" with my modded swingarm. It doesn't work, and without a major engineering change, I don't think it will ever work. At this point, I'd like to recoup some of my investment, but I doubt that is possible. I also have no desire to tear the rear end of my bike apart again.
To strip the modded swingarm (which my powdercoater offered to do for free), and then to cut all of the bracing off of it, is a timely endeavor. To me, it makes more sense to get a used one from eBay and start over.
{edit}...if you still say uncle- cool. If, after getting it all to work on a chain drive, you could sell it too....
Comment
-
 rudeman
 -
 growler
I am so impressed by this build - not even sure what to say.
A highlight for me is that headlight/turn signal bracket. Love the signals too. So clean. I'll go back and read - curious if that was purchased or fabricated.
Comment
-
 BasketCase
This is the most detailed and clean build I've seen on here yet. Great job man! I'm definitely following this thread closely.
Comment
-
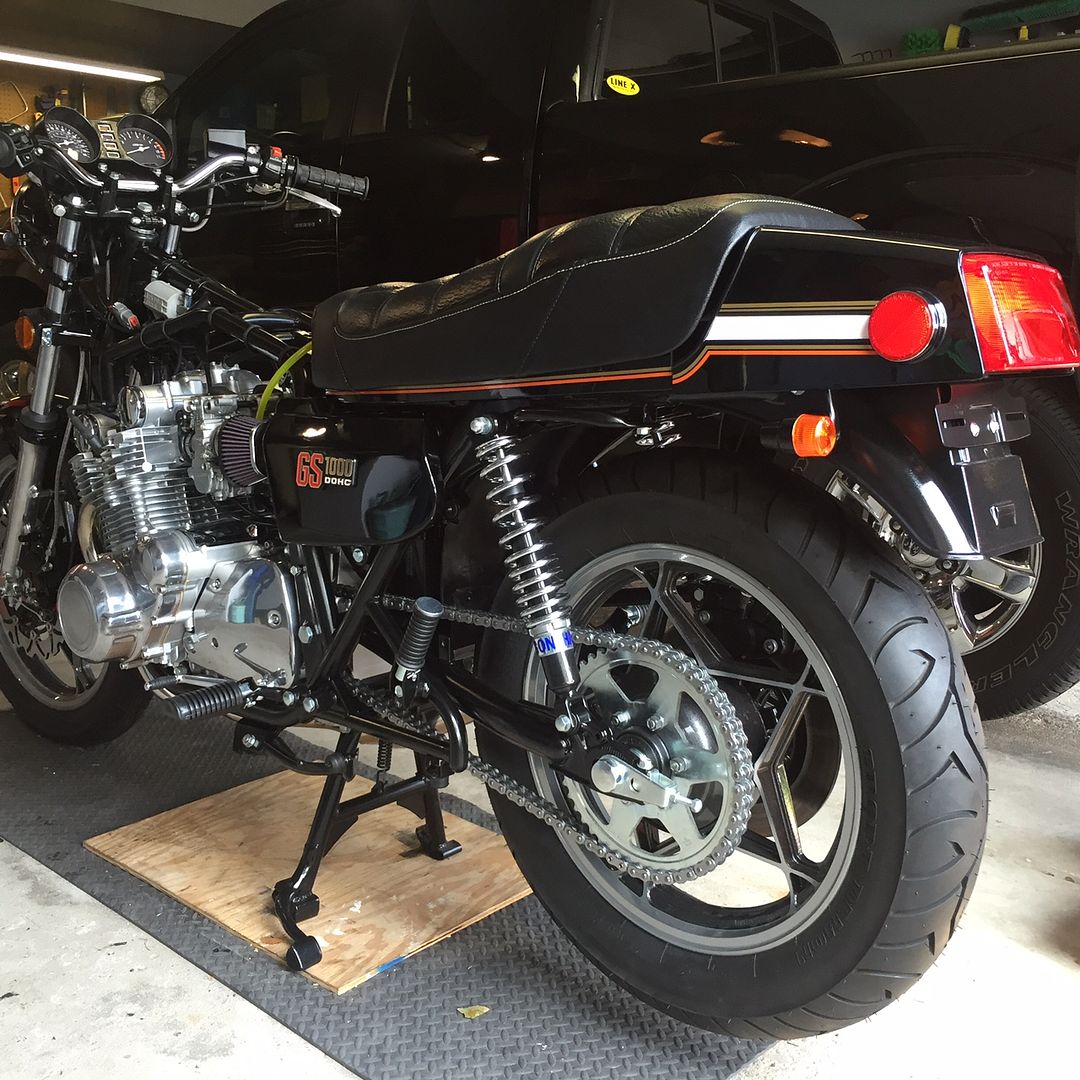
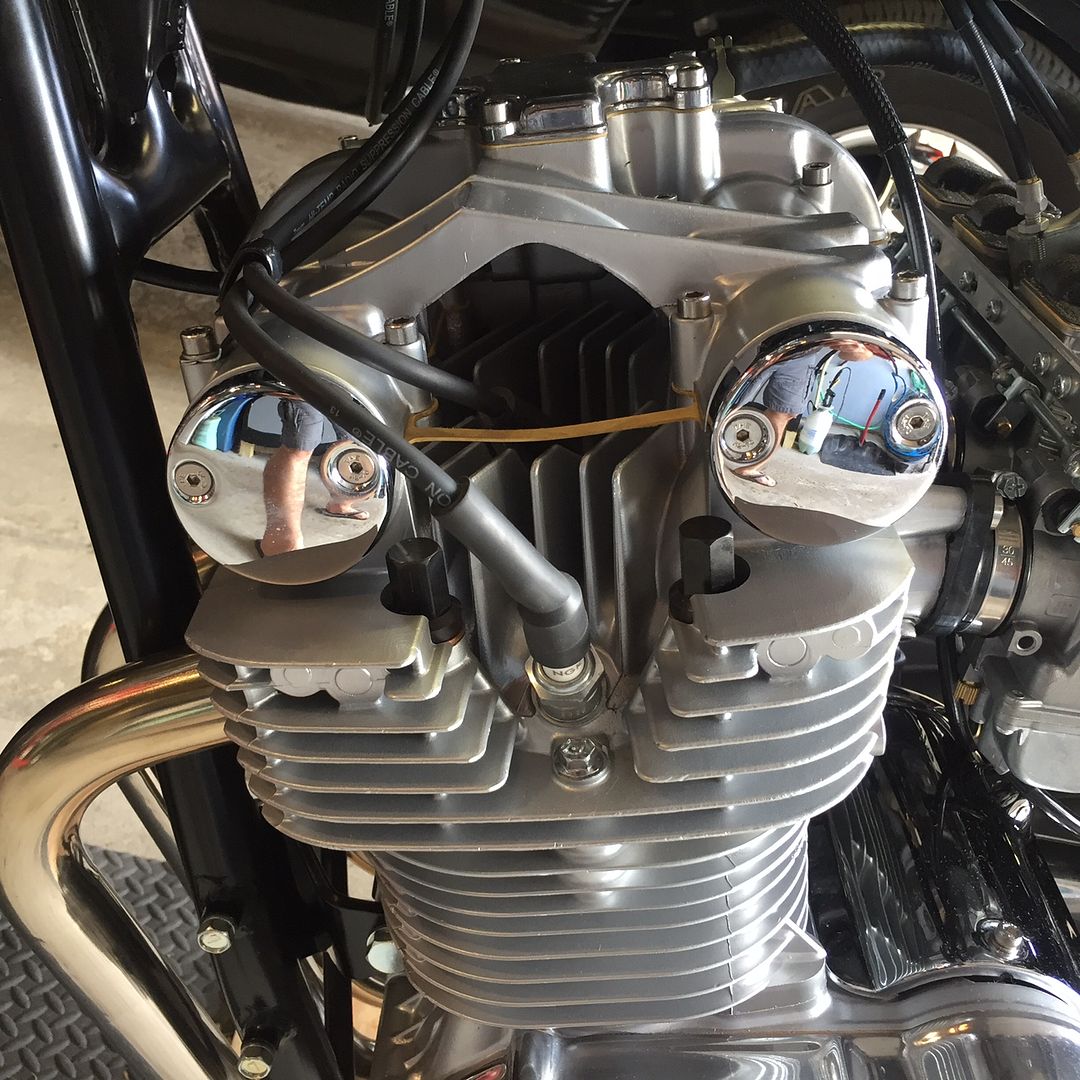
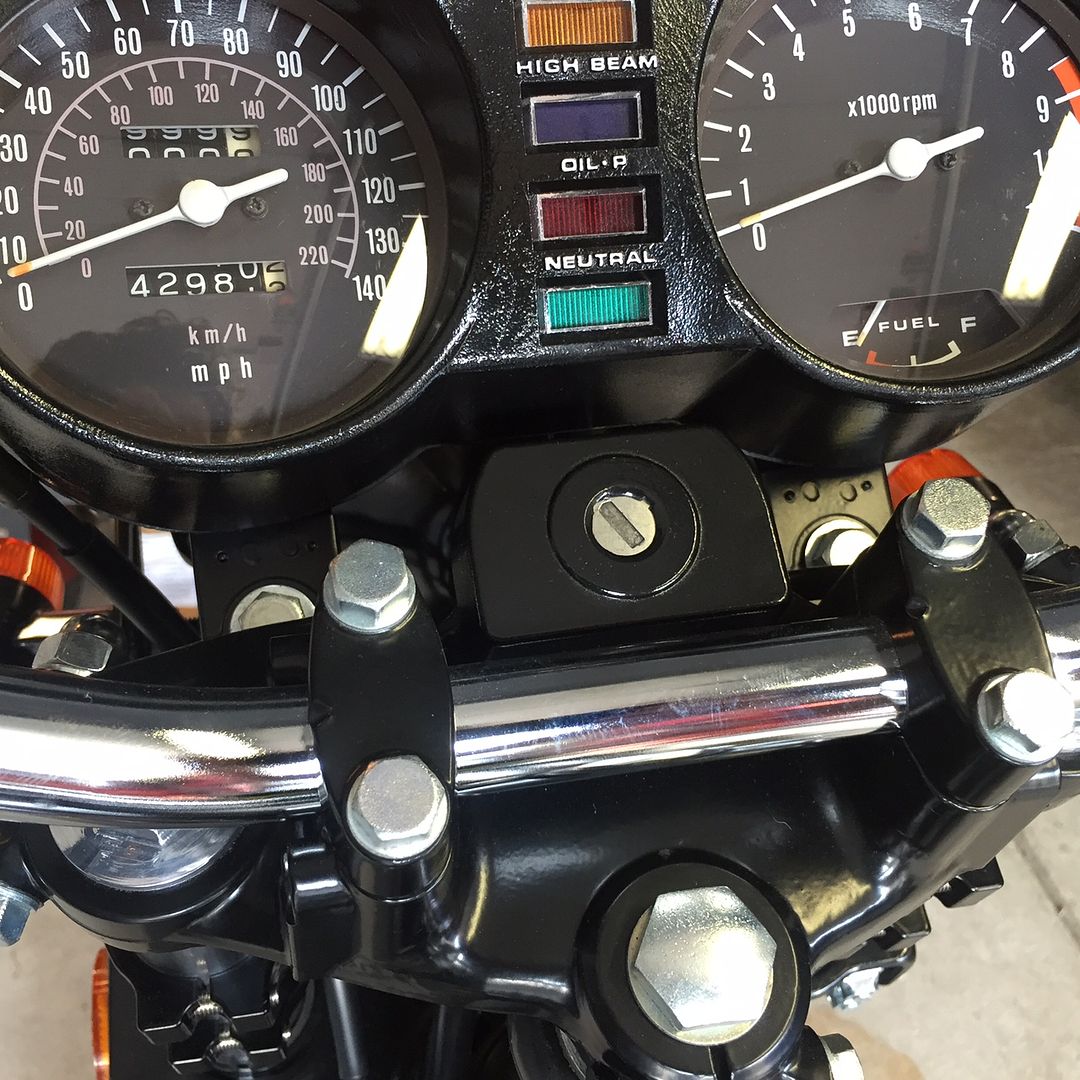
Updates - it has been a couple weeks due to working a bunch of OT at my job - when the opportunity presents itself, I take it, as it is how I pay for toys and delicious dinners :-)
Anyway, here's what's new:
1. Refurbished the seat lock - cleaned 30+ years of goo out of the inside, soda blasted the outside, and painted it.
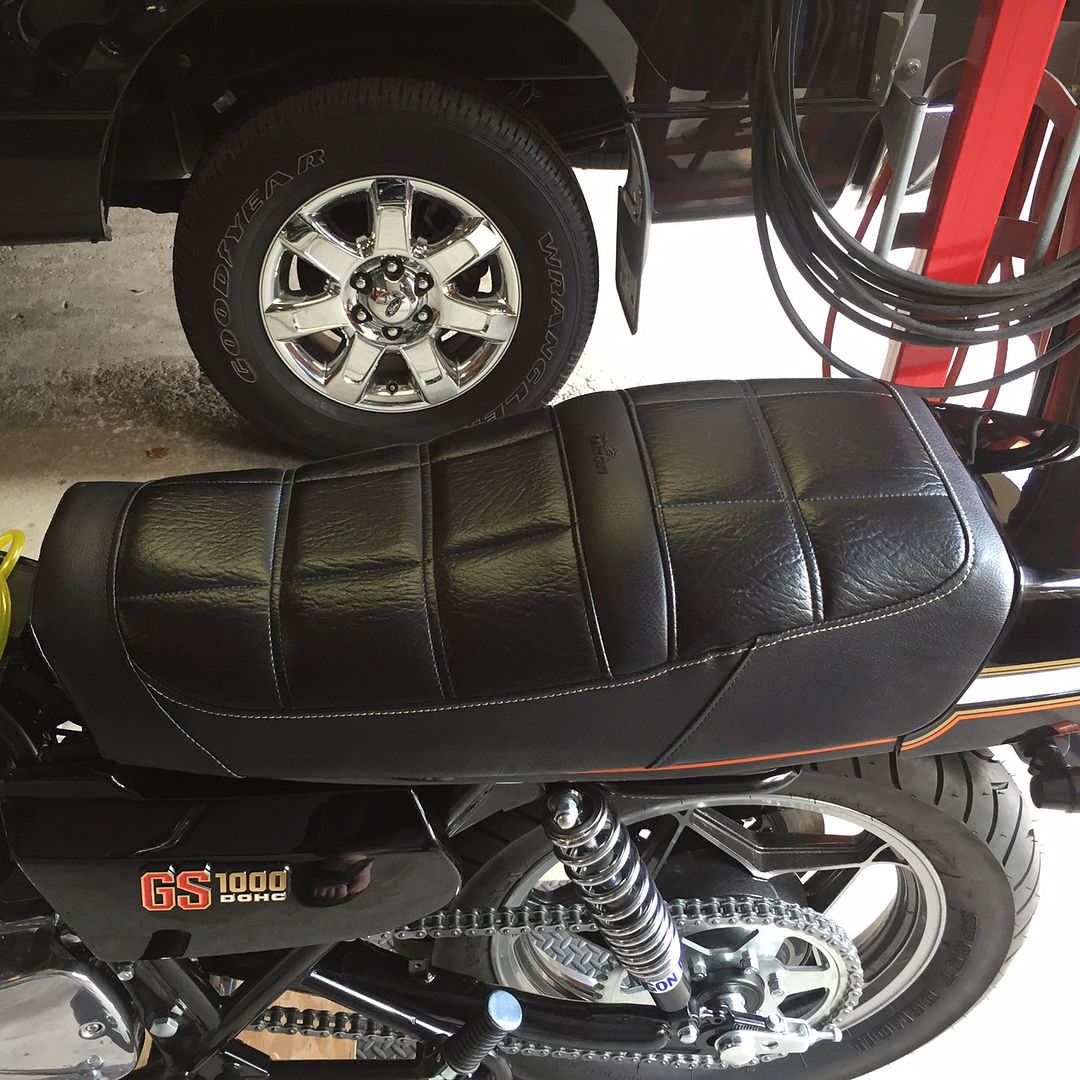
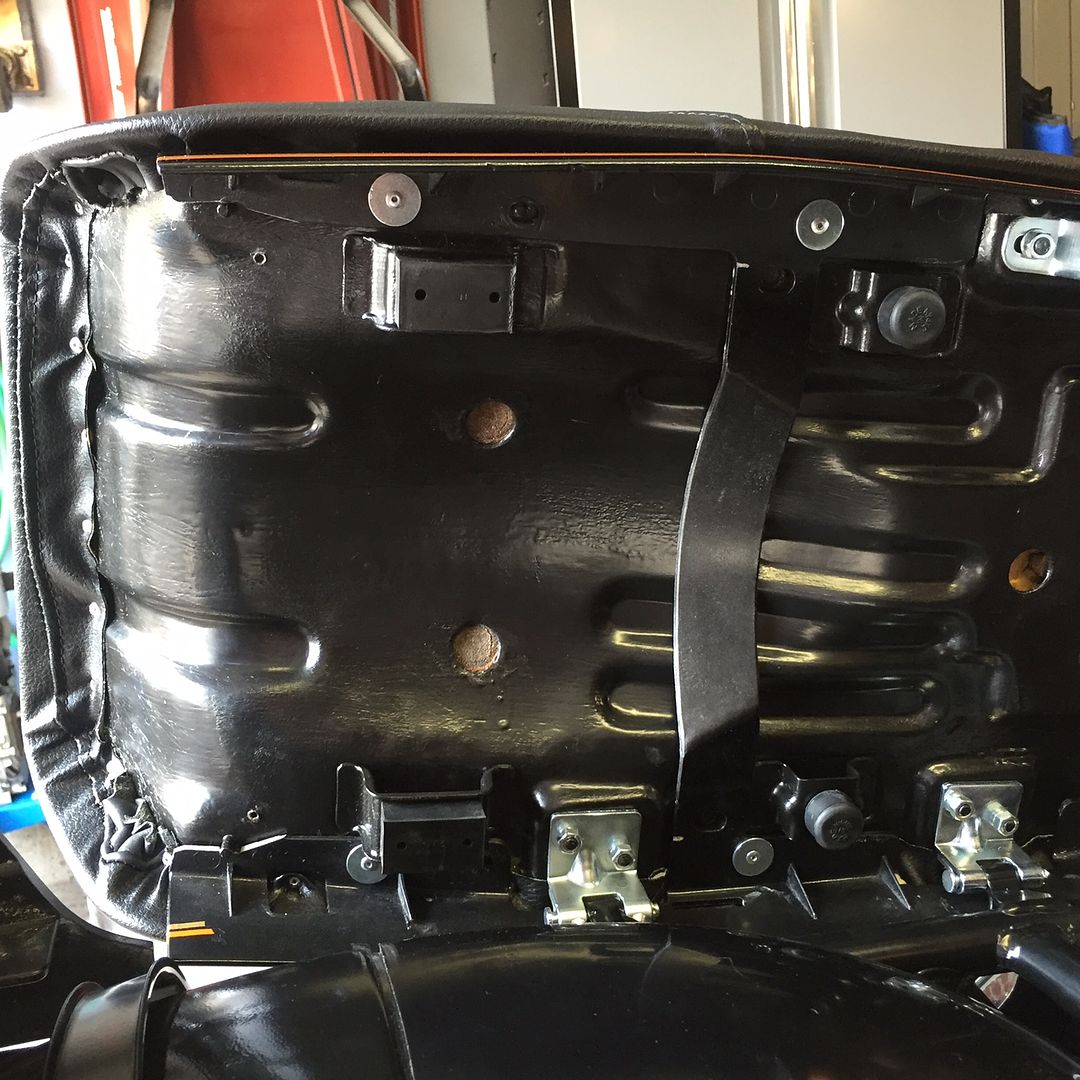
2. Attached the seat trim - this was trickier than expected, as the thicker vinyl on my custom-made seat prevented the trim from sitting squarely in a few areas. Moreover, the plastic is more brittle than when it was new, and one area near the rear rivet hole cracked. Long story short, a little trimming here, a bit of sanding there, neoprene cushions, fender washers and aluminum pop rivets, and the trim piece is now mounted securely and looks good. PS: I KNOW the pinstripes on the rear trim piece do not line up with the pinstripes on the seat trim - they didn't line up from the factory, either :-) I had my painter put the decals in the same place as the originals, and that's where they are going to stay. At some point, I'm not going to let perfection be the enemy of damn good!
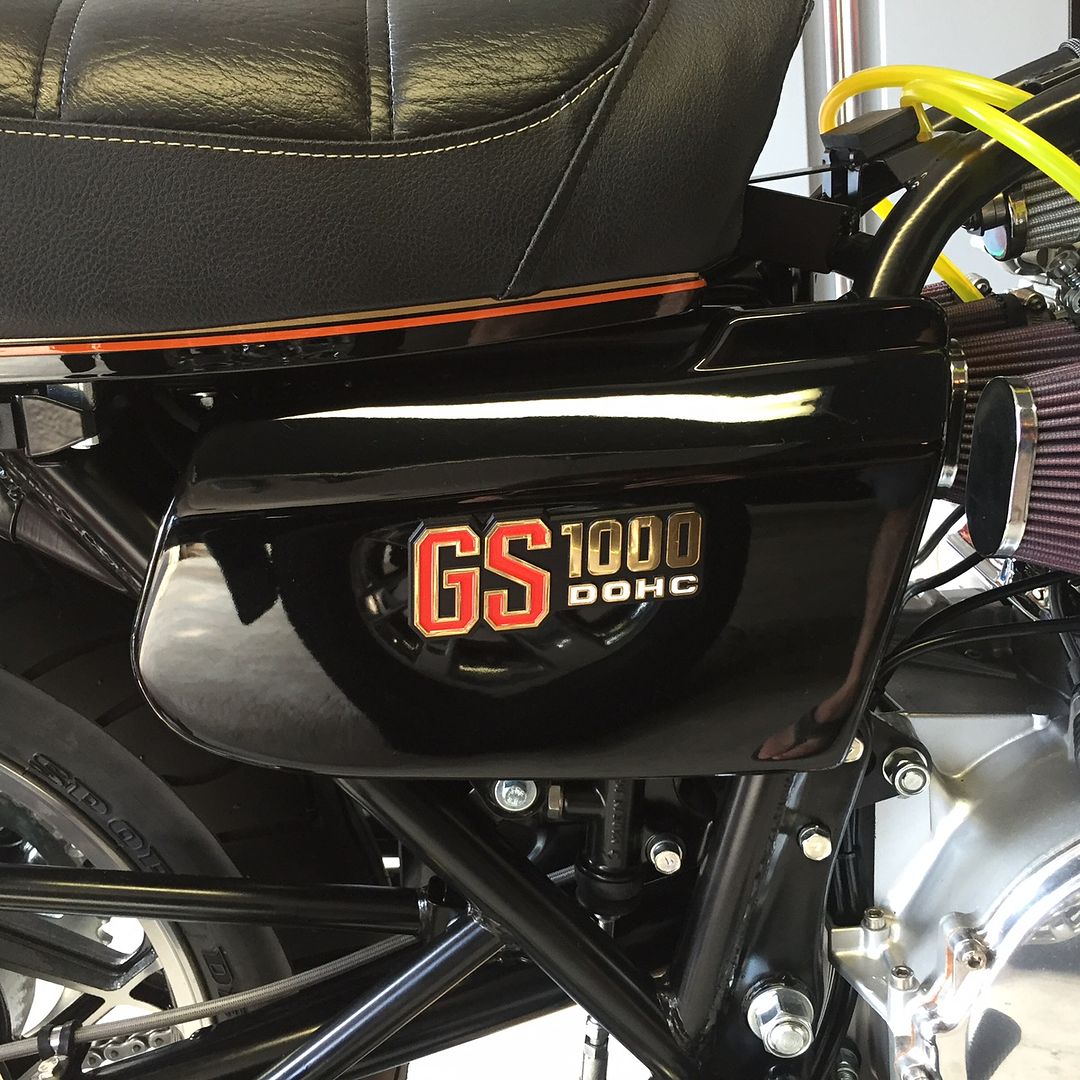
3. Applied side emblems to side covers and installed them.
4. New tygon fuel lines
5. Removed the valve cover and readjusted the cam chain
6. Installed the seat
7. Installed the chrome valve cover caps
8. Handlebar grips installed
9. Shifter arm installed
10. Plastic keyswitch cover installed
11. Rekeyed my new gas cap - was able to rearrange all but 1 of the wafers in the new lock and used one of the wafers from the old lock to rekey the new lock to my old key. Sweet!



 Last edited by philosopheriam; 09-24-2016, 05:20 PM.Cogito ergo sum - "I think, therefore I am"
René Descartes
Comment
.png)








Comment