.png "Powered by vBulletin")
Wow, nice work! I just got done (sort of) refreshing my GS850. I polished my cases as they were ratty looking and I had a few weeks to kill before a few parts came in. I thought they looked great, I went with a brushed aluminum look. Well, I thought they looked great until I started looking at this thread! Wow. That's a lot of shine!
I'm catching up here.......the frame, wheels and calipers turned out great too. Nice restoration, sir.
-
 Guest replied
 -
polishing cases
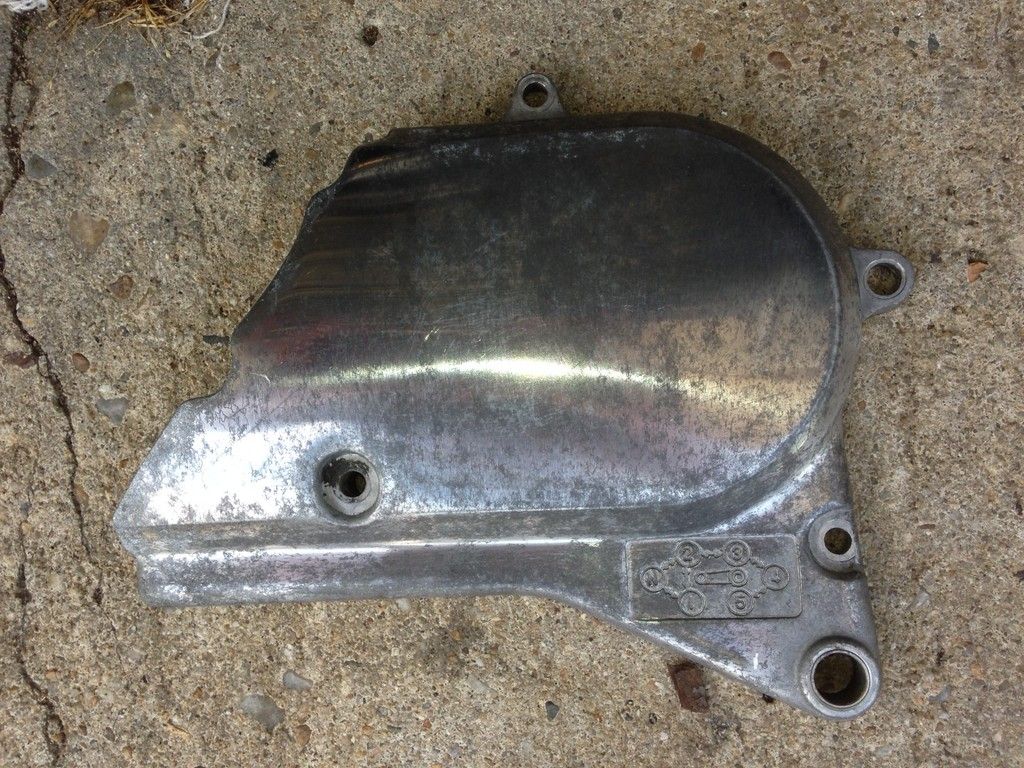
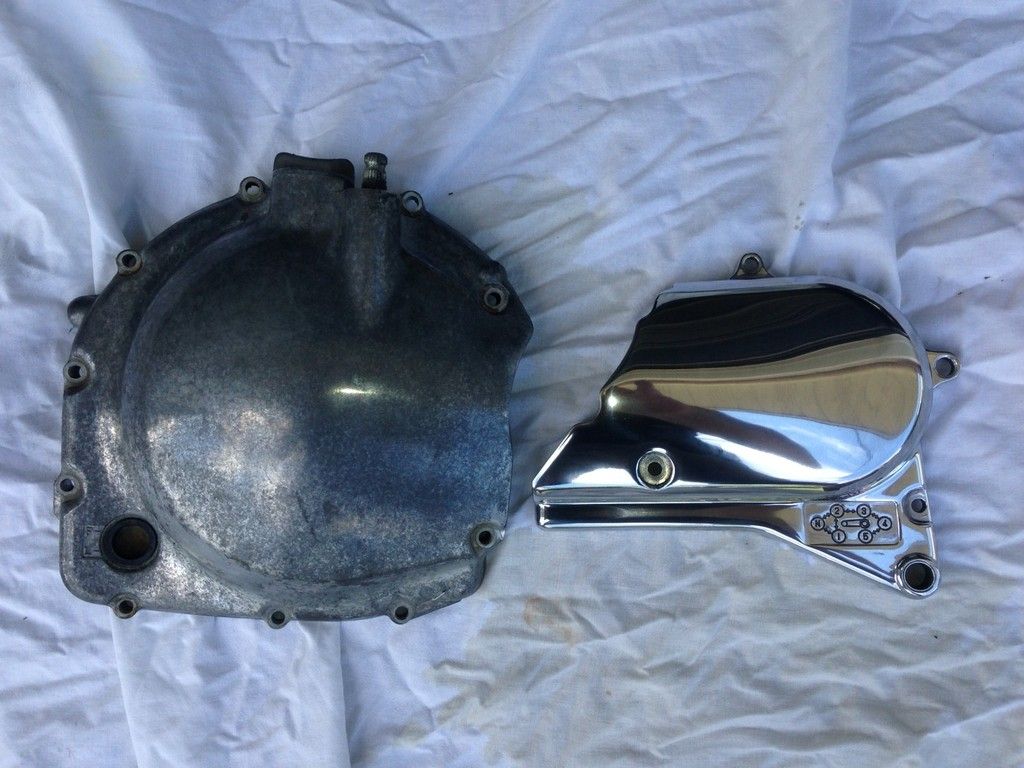
Had a little time in the garage today, so I started polishing cases. Only got 1 finished, but did get started on the clutch cover too.
Before:
After:
Leave a comment:
-
Curious how yours cures/hardens with the heat lamps, mine will be internally cured once I get it painted and carefully back into the frame, which I am also touching up.
Blasted mine out in my circle last night (neighbors love me, I'm sure but last time I soda blasted some carbs, the grass nearby dried up) and wasn't able to get all the paint off, the desiccant in my in-line drier became consumed and my poor HF compressor didn't sound too good and was really hot running non stop. I have access to a screw compressor at work, it's just a matter of getting the motor down there as my trailer has a 3.5L Honda V6 strapped down right now. Might just sand and use the primer, but I'm worried about heat containment..Leave a comment:
-
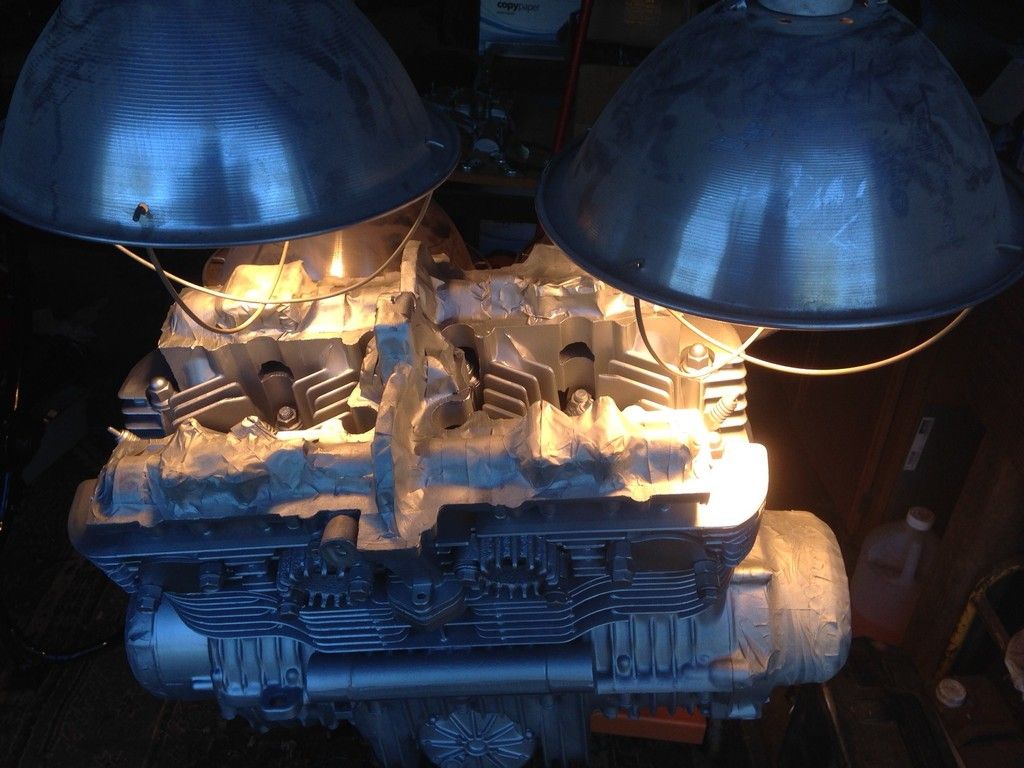
Heat lamps
So, the highest I could get with the heat lamps consistently was 160 degrees. One spot did get to 175. I'm sure if I took the guards off of the lamps and lowered them more, it would have gotten hotter. Didn't want to do that since I still have masking tape on the covers and cams. Fire wouldn't be a good thing. The can says 200 degrees for 20 minutes, and I went 160 for an hour. That will have to do until I get the motor back in the bike.
Leave a comment:
-
That is the VHT SP-127. The pics were taken in the shade, it looks a little brighter in the sun. I skipped the primer, since I blasted the motor. I borrowed some hanging heat lamps from work to do the curing. I'll post how those work out.Originally posted by mikerophone View PostLeave a comment:
-
Looks great - is that the VHT SP-127? Did you prime it too? Funny cause I'm blasting mine today and with any luck will paint tonight or tomorrow night.
I picked up the SP-127 and the VHT engine enamel primer from Autozone today. I don't have an oven that will fit my engine") and it says it needs to bake at 200° F although it says the heat from the engine will also curious so I need to get the engine there shortly after I paint it.
and it says it needs to bake at 200° F although it says the heat from the engine will also curious so I need to get the engine there shortly after I paint it.
Forgot to reply to this thread but I also ended up cutting my in and ex ports with the CNC at work out of PVC. So far they are working great, thanks for the idea!Leave a comment:
-
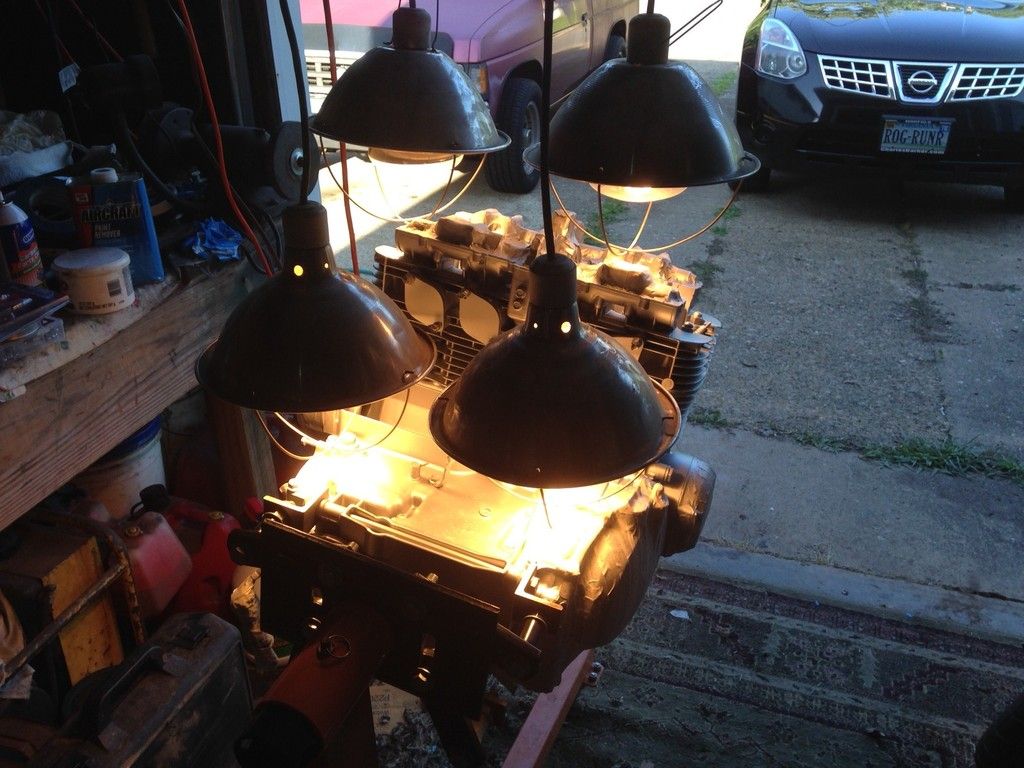
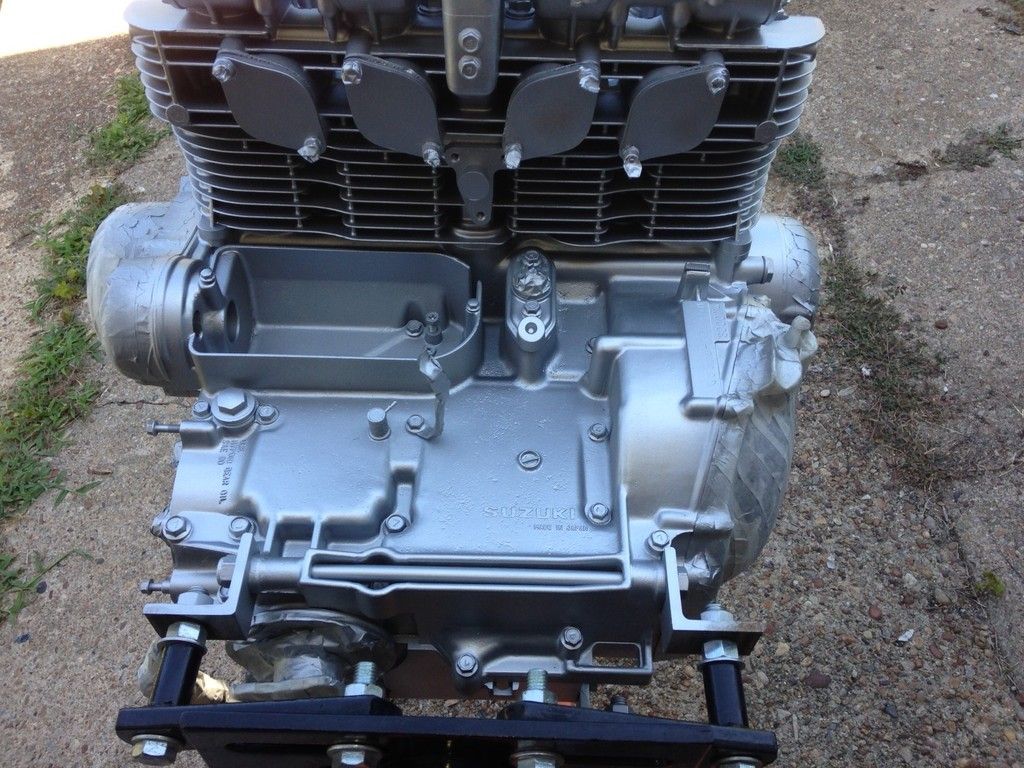
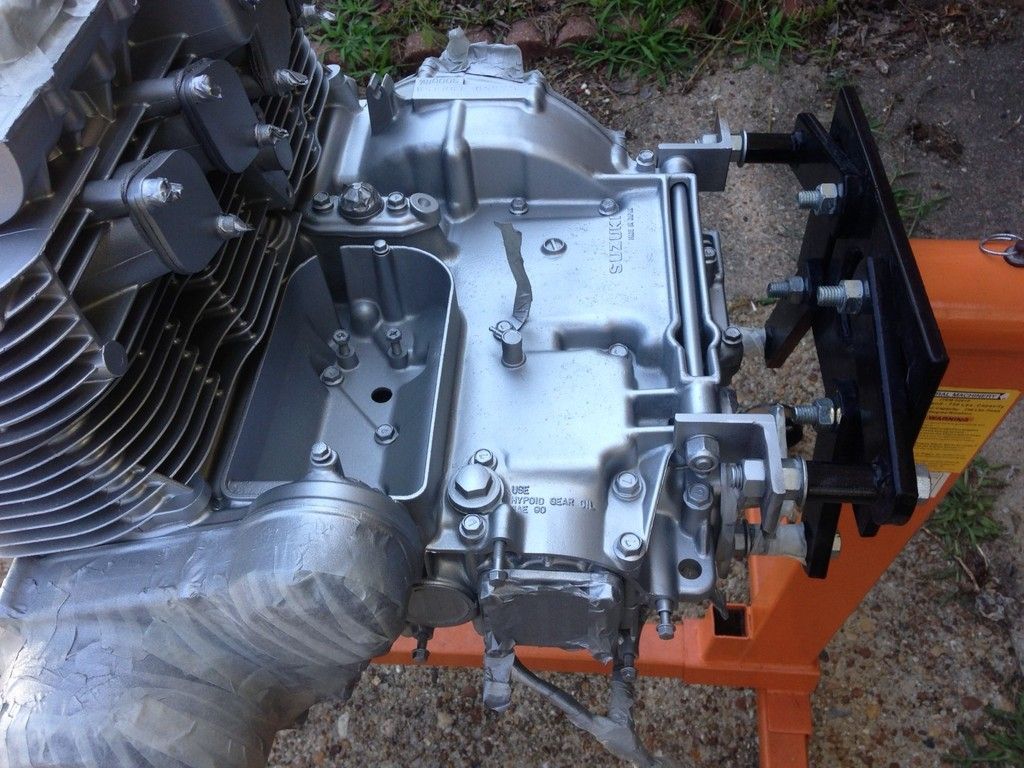
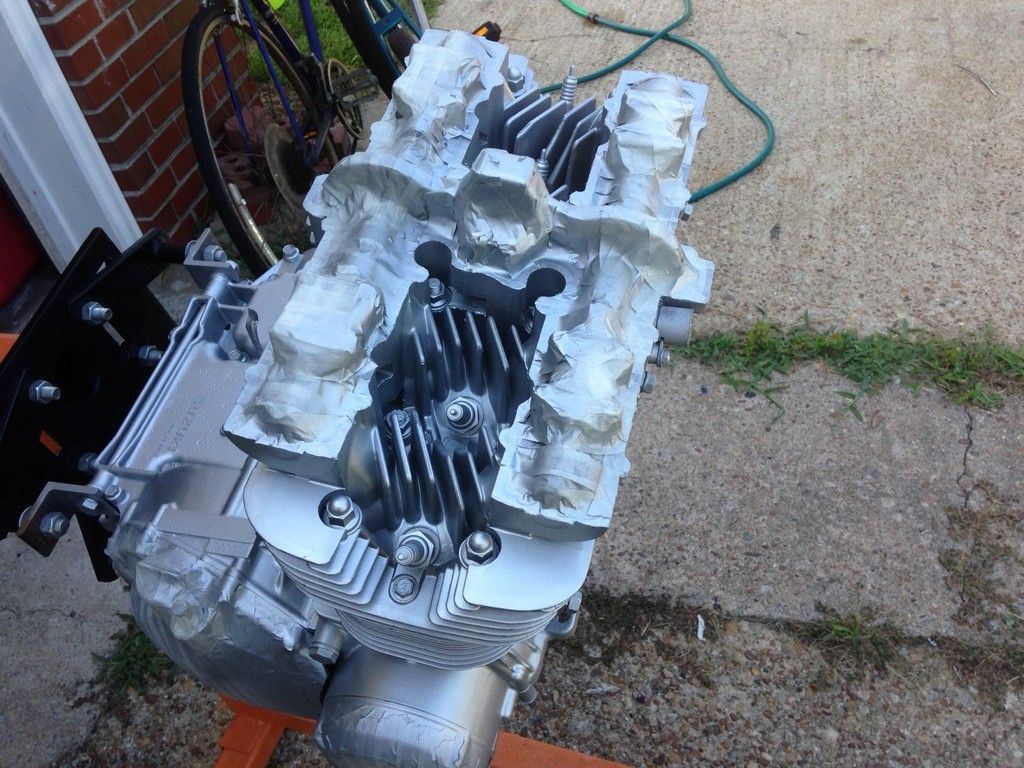
Engine paint
Today was motor painting day! Very pleased with the VHT paint. Covers are still masked off, I'll start polishing them next weekend.

Leave a comment:
-
That's awesome - I have a laser cutter at work too! Cuts up to 1" thick acrylic (but not polycarbonate) although I have a lot more scrap PVC/Sintra on hand to use.The rubber mat is a good idea as well, I was just going to use some cut up inner tubes but the mat may work better I just think it will smell and smoke like crazy when cutting.Leave a comment:
-
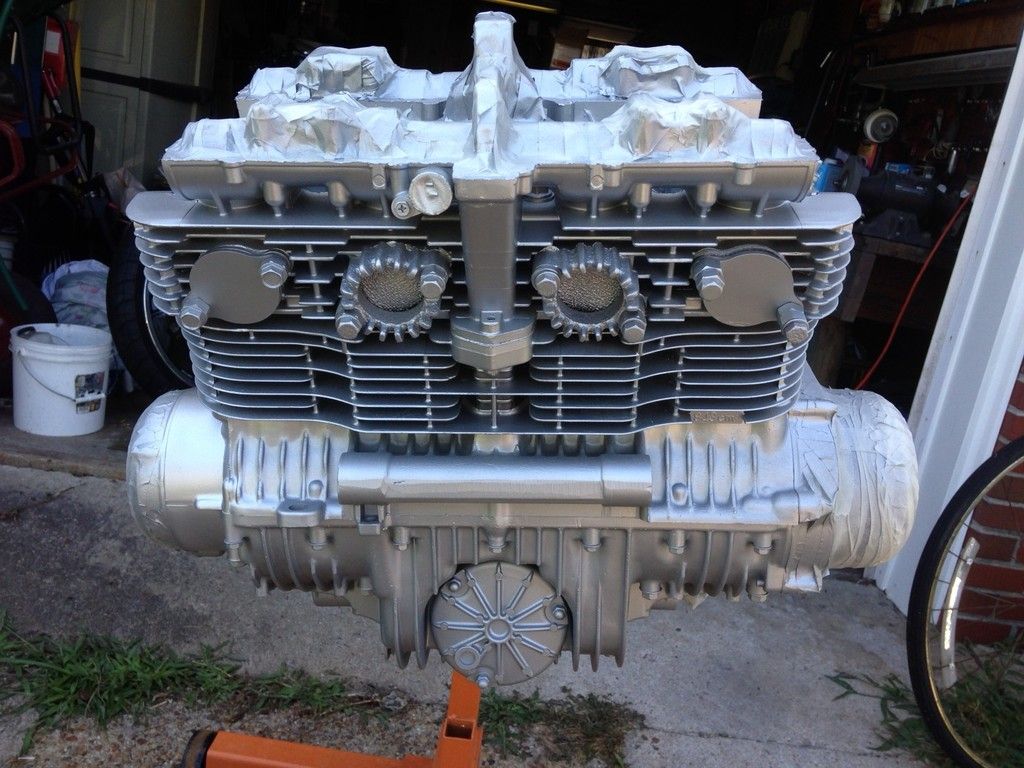
I have a laser cutter at work, so I cut them from acrylic. Had to double up the material. You can see in my pic that one of them cracked before I doubled them up. Underneath them is some rubber mat that is adhesive backed. Cut that on the laser too. The 2 center exhaust ports have the rubber being held in with the stock exhaust collars, since they are obviously stiffer than acrylic. The other 2 don't come off of the exhaust, or I would have used them too.Originally posted by mikerophone View PostLeave a comment:
-
Awesome - you gave me a great idea on how to cover the intake and exhaust ports... I have a cnc router at work so I am going to trace the carb boots an exhaust clamps and cut them out of PVC or acrylic, complete with holes and all.Leave a comment:
-
Finally got the engine on a stand today to start the cleanup. There must have been 1/4" of crud in the starter cavity!
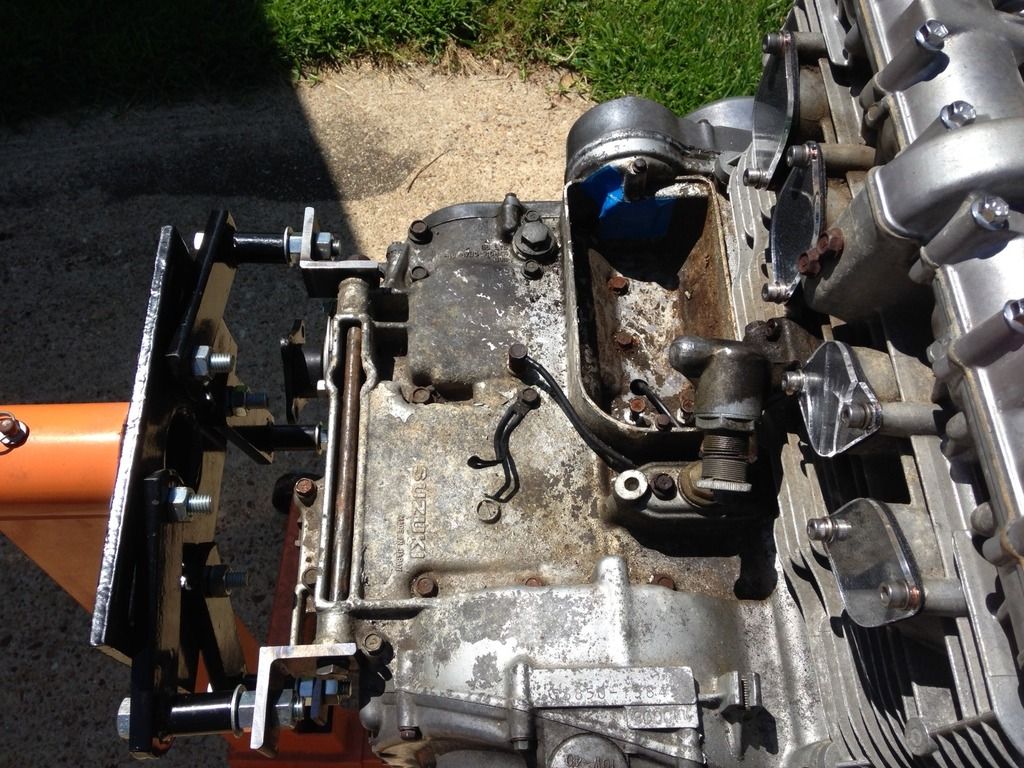
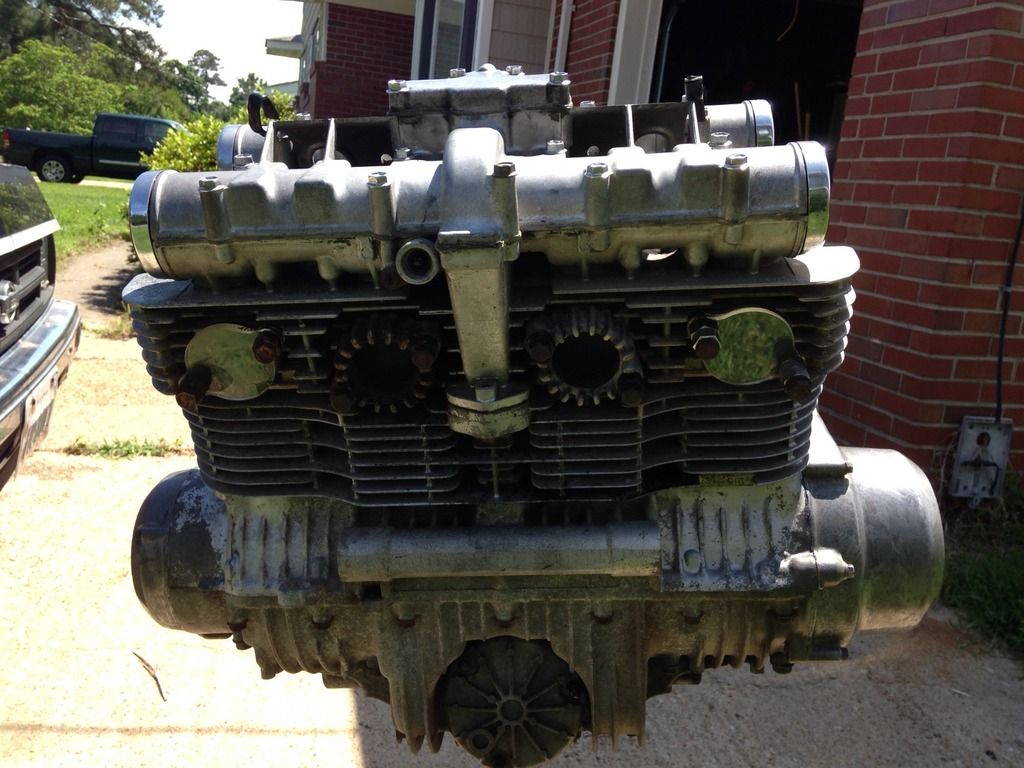
These are before pictures. I'll be scrubbing with Simple Green tomorrow. All I've done so far is scrape and vacuum that starter cavity.Leave a comment:
-
Guest repliedLooks great. I will be doing this on 750L #1 in the near future and will be mimicking you quite a bit with the polishing and powder coating.Leave a comment:
-
More progress! Powdercoated the rotors and calipers. Got the front end assembled, finally. Also have the motor all sealed up to scrub down for paint. I'll post some before and after pics of the motor. It looks awful now.
Leave a comment:
-
Guest repliedLooks great JS!Leave a comment:
-
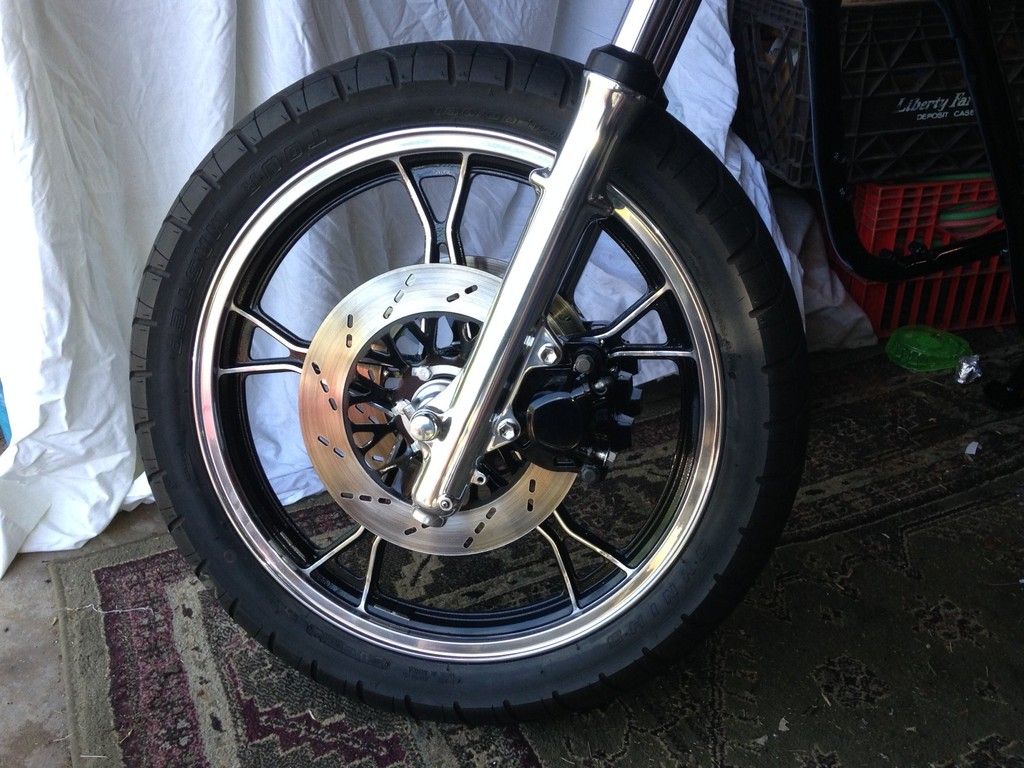
Can you guess which one I've been working on?

Stripped the whole wheel, polished the spokes and rim, masked it off with high temp tape, then powdercoat. Still have to put the final polish on the shiny parts. No, that's not an oops at the bottom, it's a reflection!Last edited by jsandidge; 05-02-2015, 03:22 PM.Leave a comment:


Leave a comment: