G
Guest
Guest
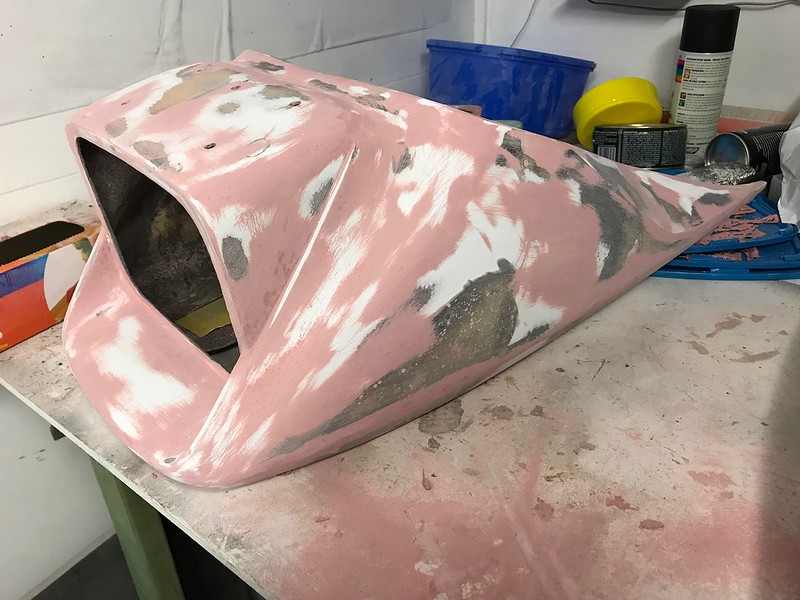
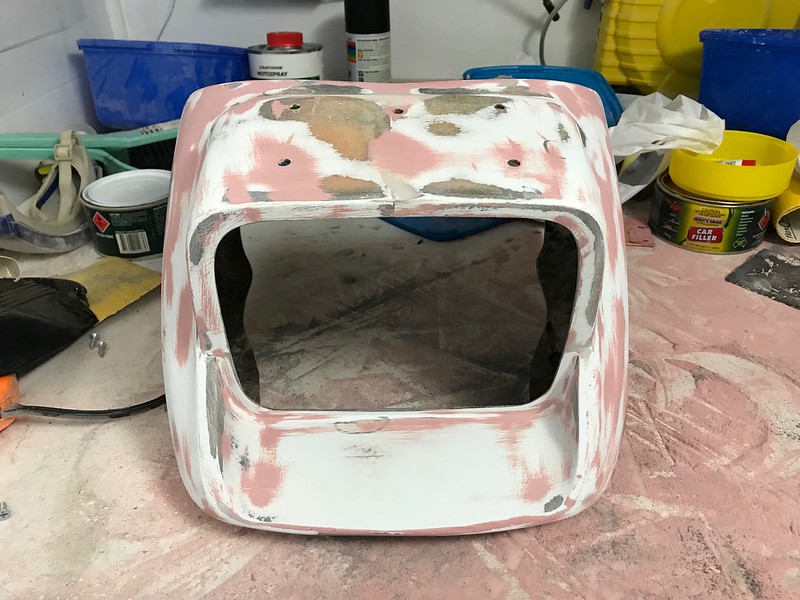
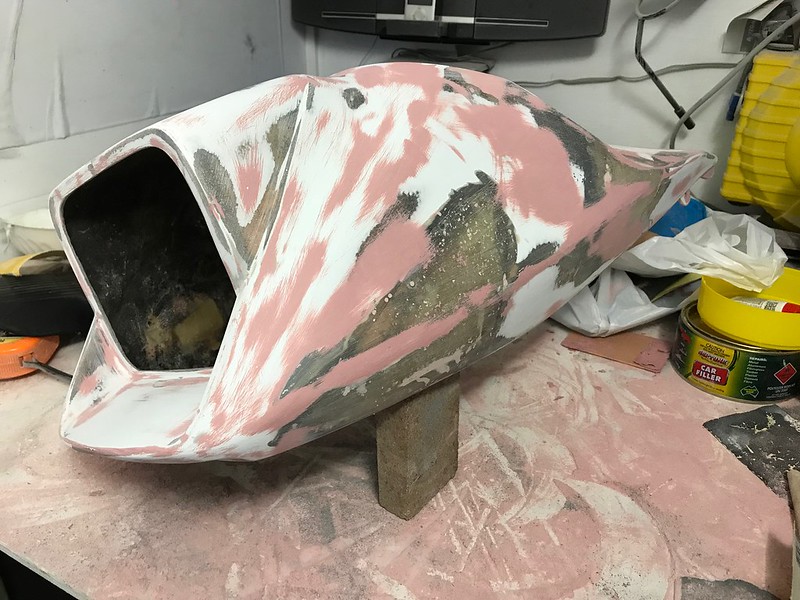
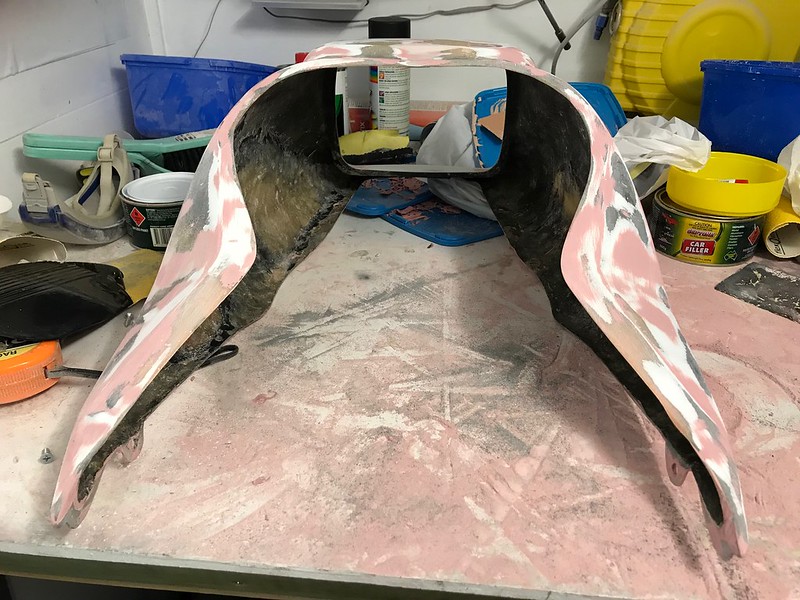
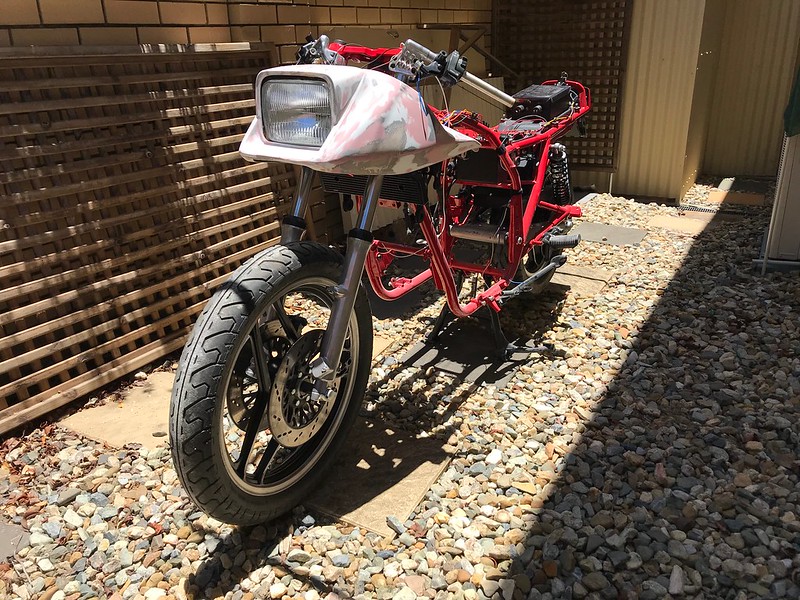
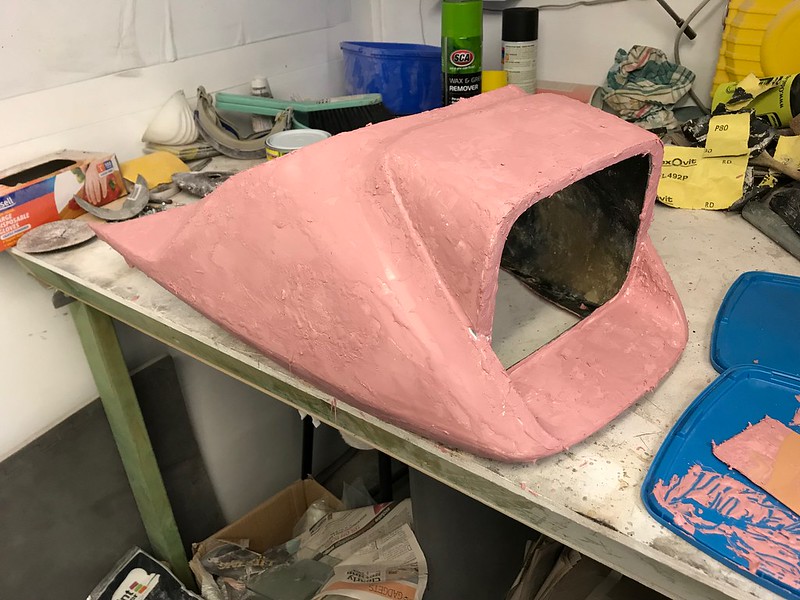
Pretty in pink? Well, pink but a little ugly...
 Untitled by starpoint73, on Flickr
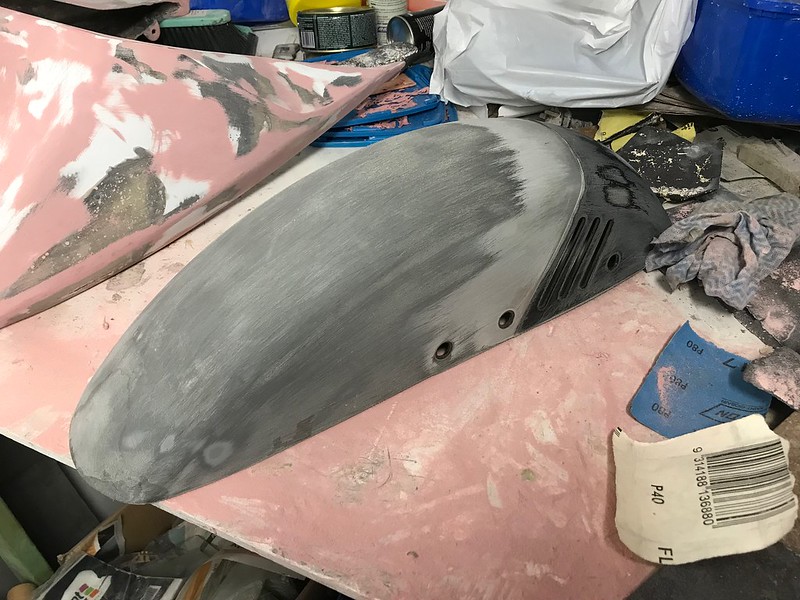
I really should've gone the spray putty but I thought I'd be doing this at night so I stuck with the blade putty, but that's just not real good for large areas. And of course I ended up doing it during the day...
Anyway, all on and ready to sand, but there are some little spots I'll have to touch up with some more putty yet.
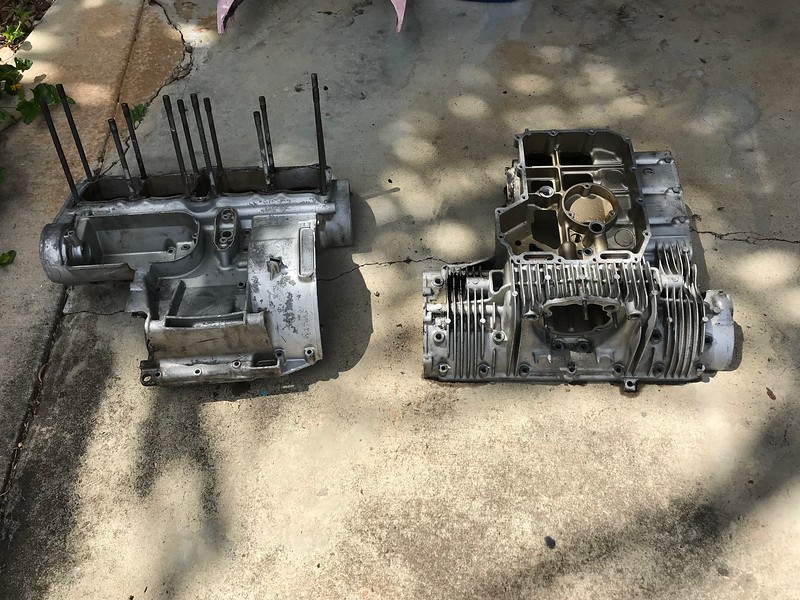
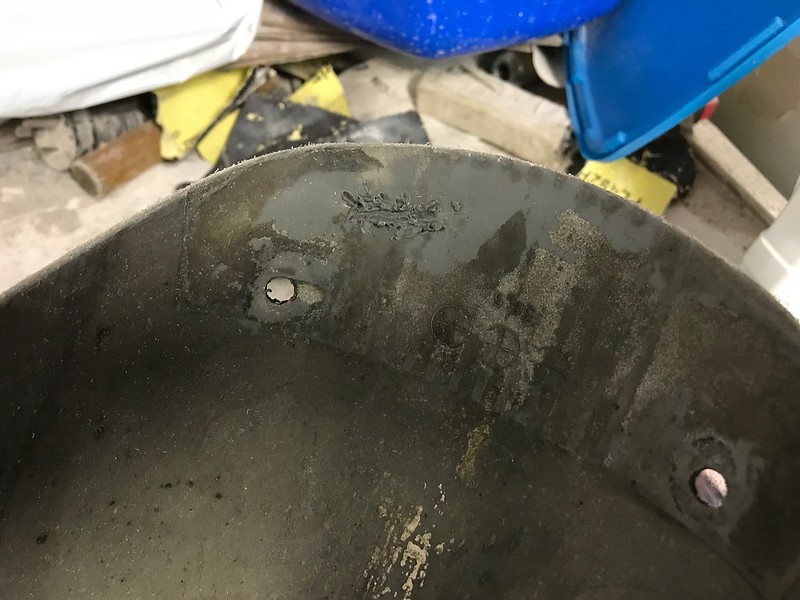
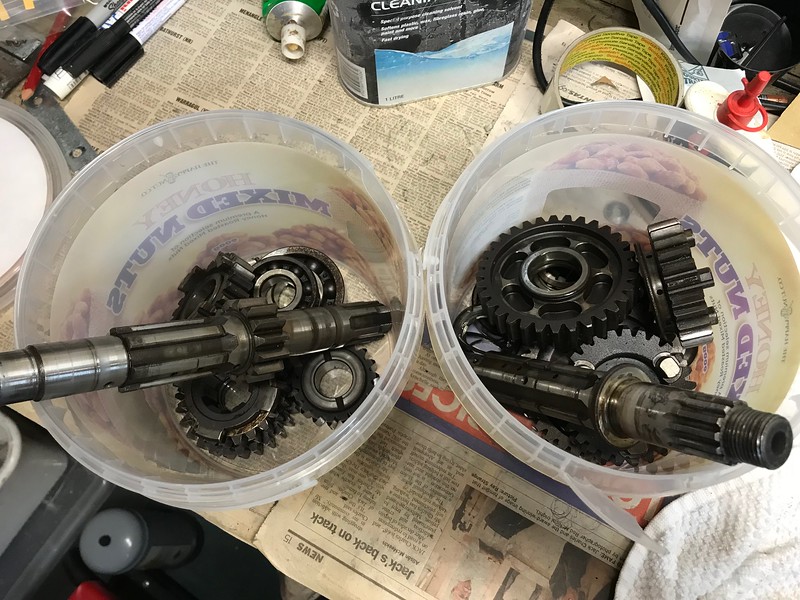
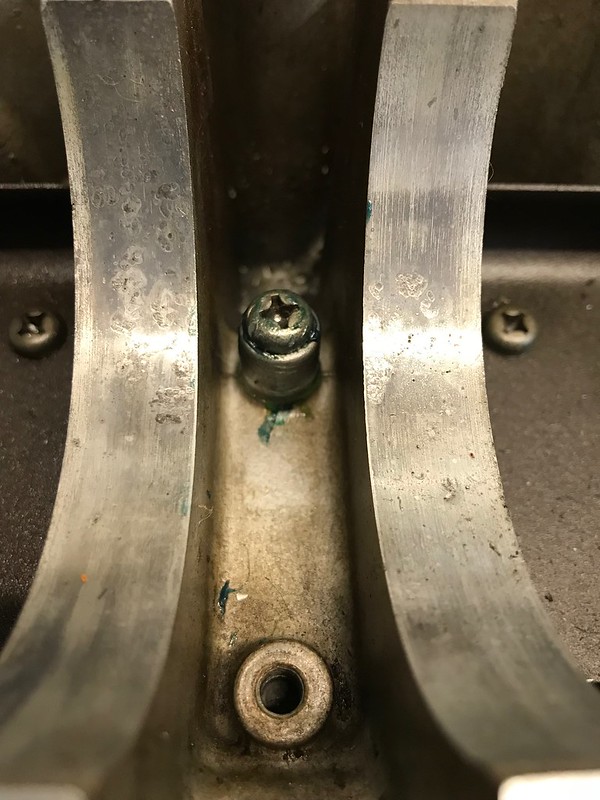
Also, the broken cam chain guide holder post in the lower crankcase should be repaired now.
Ducked down to a mate's the other night to get it drilled and tapped so I can just use a longer screw, then high strength loctite on the broken post to hold it in place. I put some grease on the screw so it wouldn't get loctited in there and fingers crossed it should be good to go.
 Untitled by starpoint73, on Flickr
Untitled by starpoint73, on FlickrI really should've gone the spray putty but I thought I'd be doing this at night so I stuck with the blade putty, but that's just not real good for large areas. And of course I ended up doing it during the day...
Anyway, all on and ready to sand, but there are some little spots I'll have to touch up with some more putty yet.
Also, the broken cam chain guide holder post in the lower crankcase should be repaired now.
Ducked down to a mate's the other night to get it drilled and tapped so I can just use a longer screw, then high strength loctite on the broken post to hold it in place. I put some grease on the screw so it wouldn't get loctited in there and fingers crossed it should be good to go.
Untitled by starpoint73, on Flickr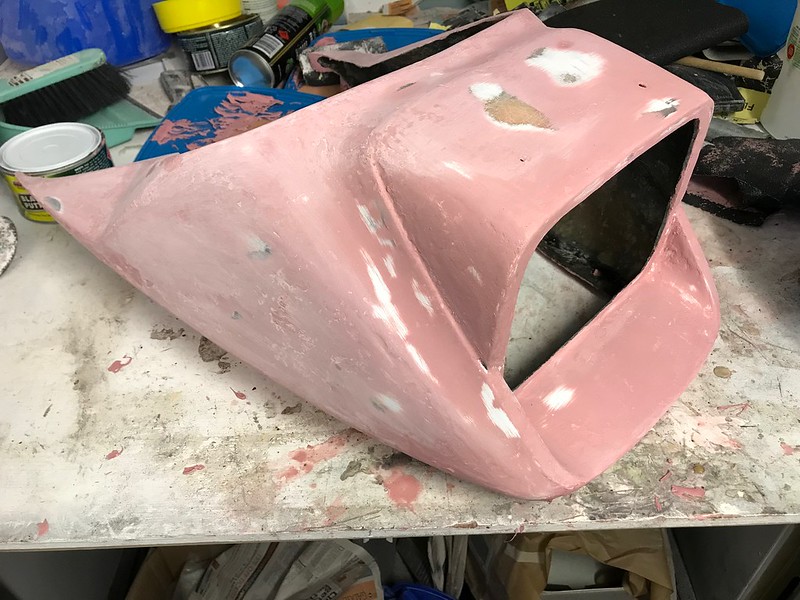
")

")