• Required reading for all forum users!!!

    Welcome!
    Register to access the full functionality of the GSResources forum. Until you register and activate your account you will not have full forum access, nor will you be able to post or reply to messages.

    A note to new registrants...
    All new forum registrations must be activated via email before you have full access to the forum.

    A Special Note about Email accounts!
    DO NOT SIGN UP USING hotmail, outlook, gmx, sbcglobal, att, bellsouth or email.com. They delete our forum signup emails.

    A note to old forum members...
    I receive numerous requests from people who can no longer log in because their accounts were deleted. As mentioned in the forum FAQ, user accounts are deleted if you haven't logged in for the past 6 months. If you can't log in, then create a new forum account. If you don't get an error message, then check your email account for an activation message. If you get a message stating that the email address is already in use, then your account still exists so follow the instructions in the forum FAQ for resetting your password.

    Have you forgotten your password or have a new email address? Then read the forum FAQ for details on how to reset it.

    Any email requests for "can't log in anymore" problems or "lost my password" problems will be deleted. Read the forum FAQ and follow the instructions there - that's what we have one for...

  • Returning Visitors

    If you are a returning visitor who never received your confirmation email, then odds are your email provider is blockinig emails from our server. The only thing that can be done to get around this is you will have to try creating another forum account using an email address from another domain.

    If you are a returning visitor to the forum and can't log in using your old forum name and password but used to be able to then chances are your account is deleted. Purges of the databases are done regularly. You will have to create a new forum account and you should be all set.

80 GS850G Resurrection

  • Thread starter Thread starter Road_Trip
  • Start date Start date
R

Road_Trip

Guest
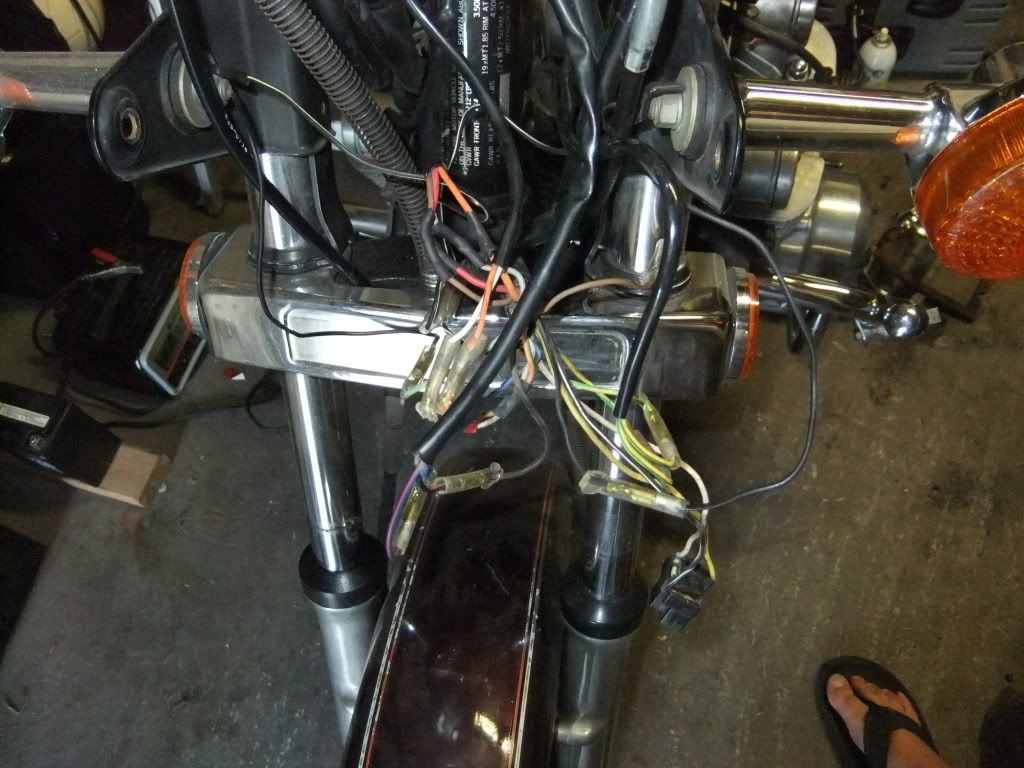
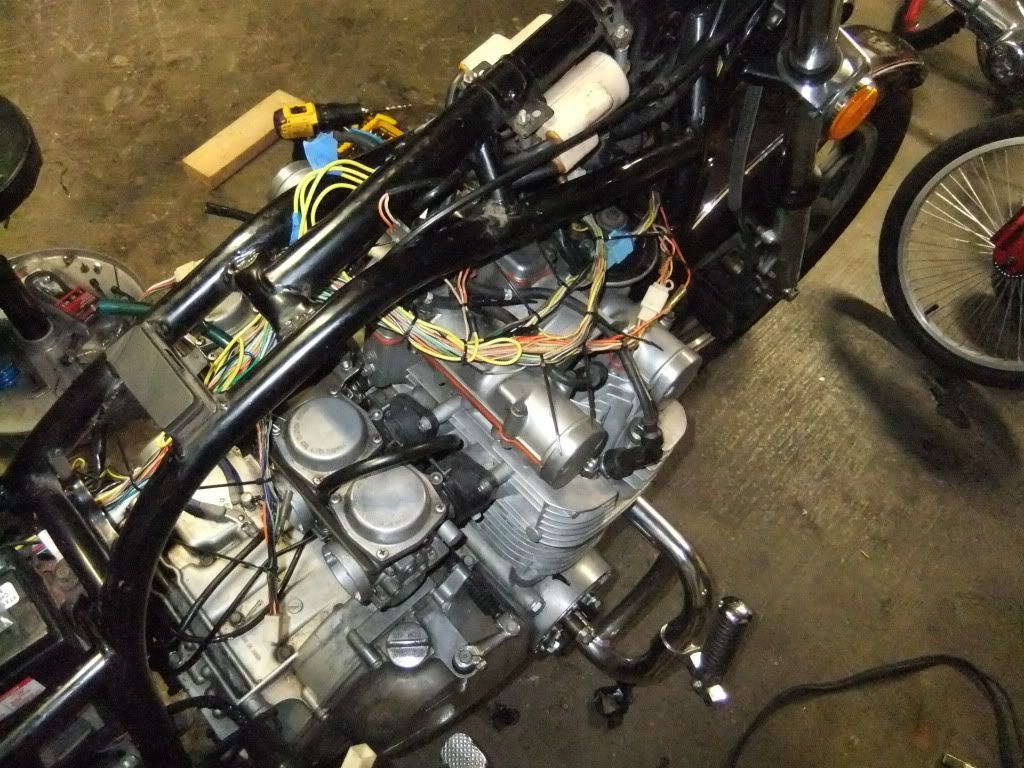
So, here we go. I let my bike sit for about a year due to some circumstances involving an attorney and splitting of assets. Good think I got to keep the house, garage and contents. During the time this was going down, I disappeared from these forums as well as my "other" forum for my project car. Well, now I'm back and working on both, but rather than get in a hurry, I'm planning them out and starting with the GS as my primary project. This one is going to be a "GSResources by-the-book" clean/build/resto (however far it needs to go). I had considered going cafe with it (love the look), also total stock resto (love that too) or maybe resto-mod. I think it will end up between resto and resto-mod. No flat paint, no sawzall. But, first things first. I added some gas, charged the battery and she fired up. Real rough, but running. Once it cooled, I took a closer look and noted some problems (probably from sitting). I decided to pay a visit to BikeCliff's site and go by the book. I started on the electric today, the simple stuff. Please hit me up if I'm missing anything or going wrong. I'm not an expert, but I can read. Here are the pics!

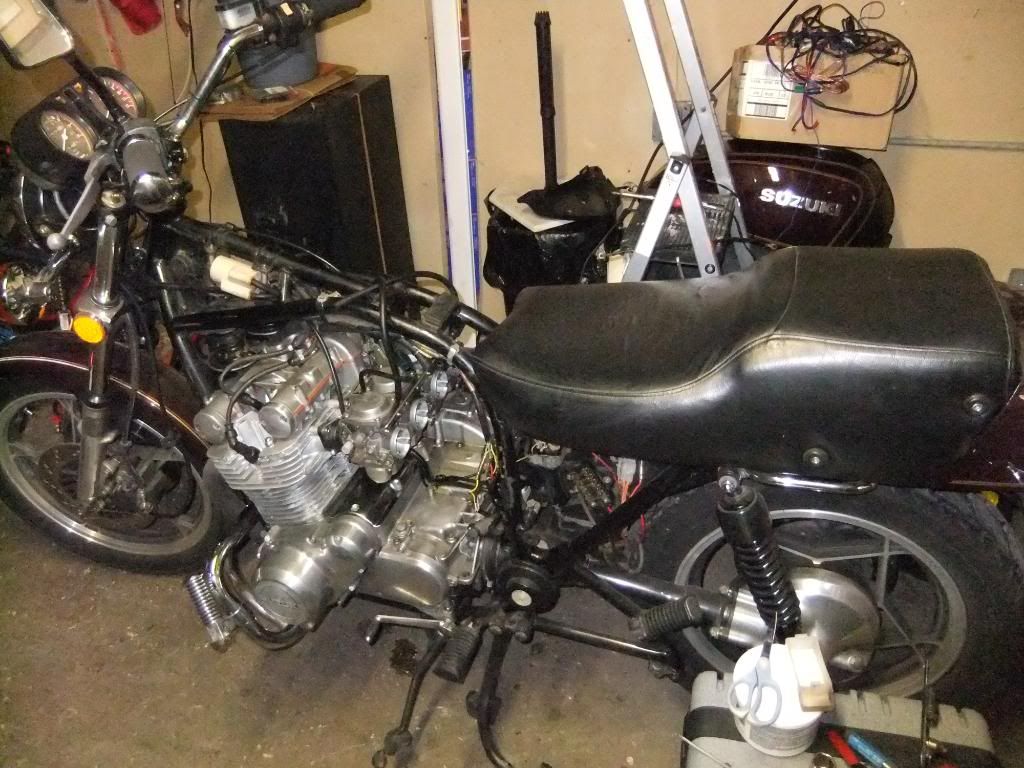
Nope, not a bobber; under construction! (I won't offend anyone with an actual bobber by breaking out my sawzall)
DSCF1495.jpg

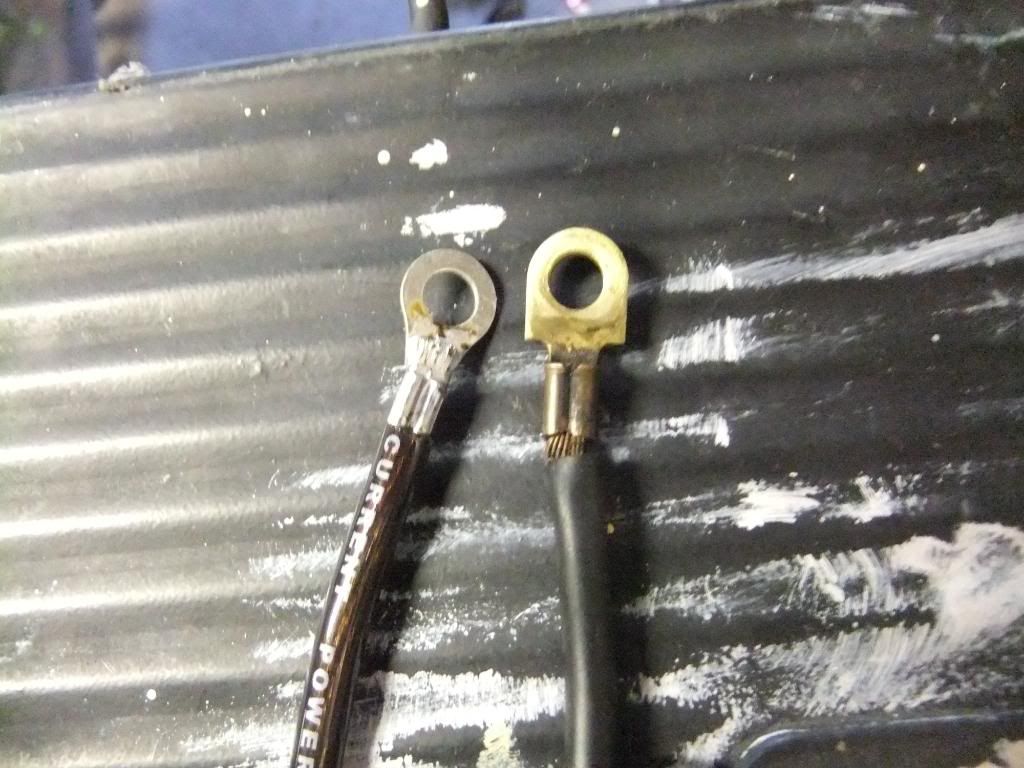
New ground wire built from fresh OFC 8 gauge (matching the factory diameter and rates for a lot of flow) Old wire for comparison.
DSCF1500.jpg
DSCF1488.jpg

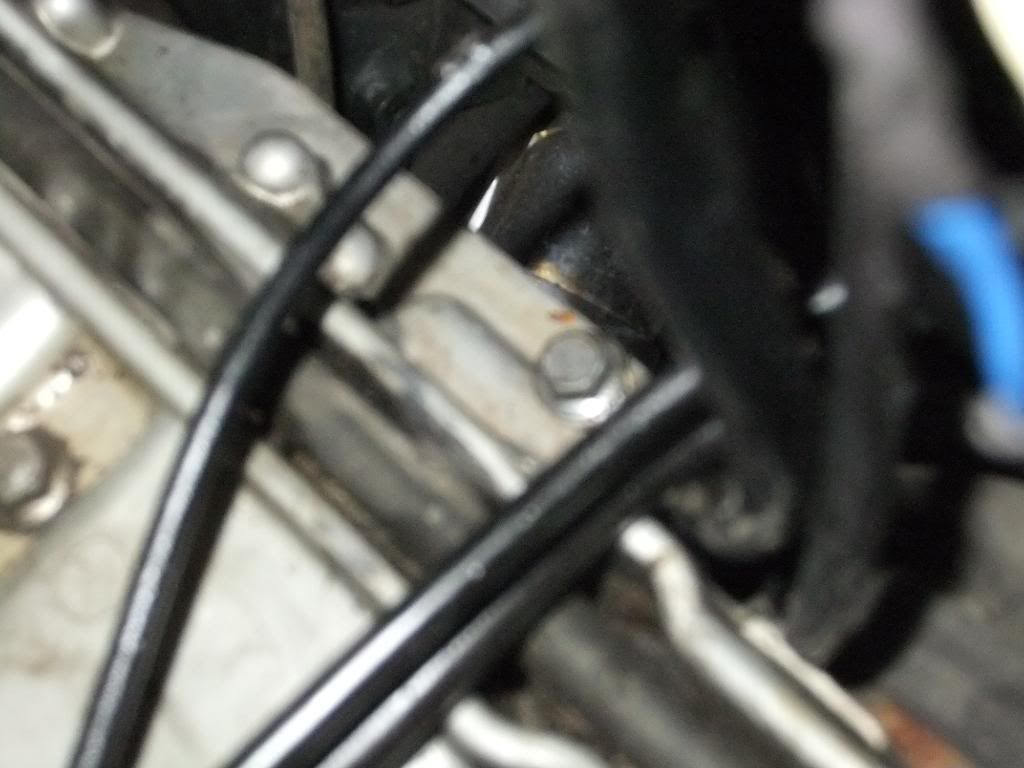
Cleaned and attached at factory point (sorry for the blurry pic).
DSCF1492.jpg

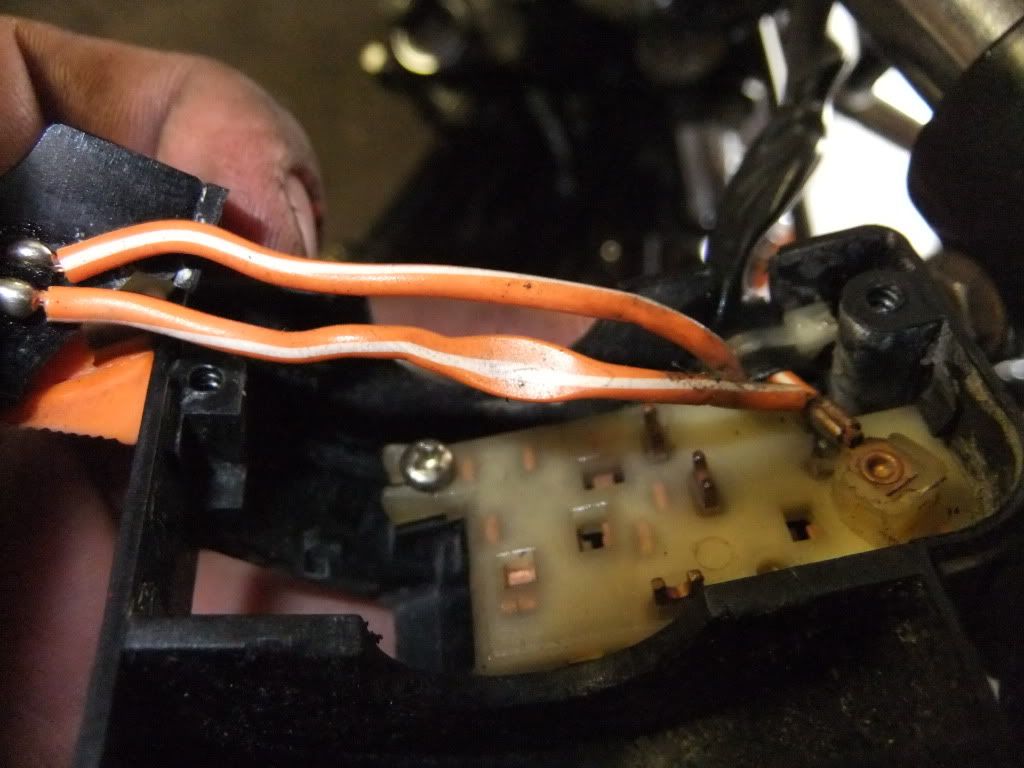
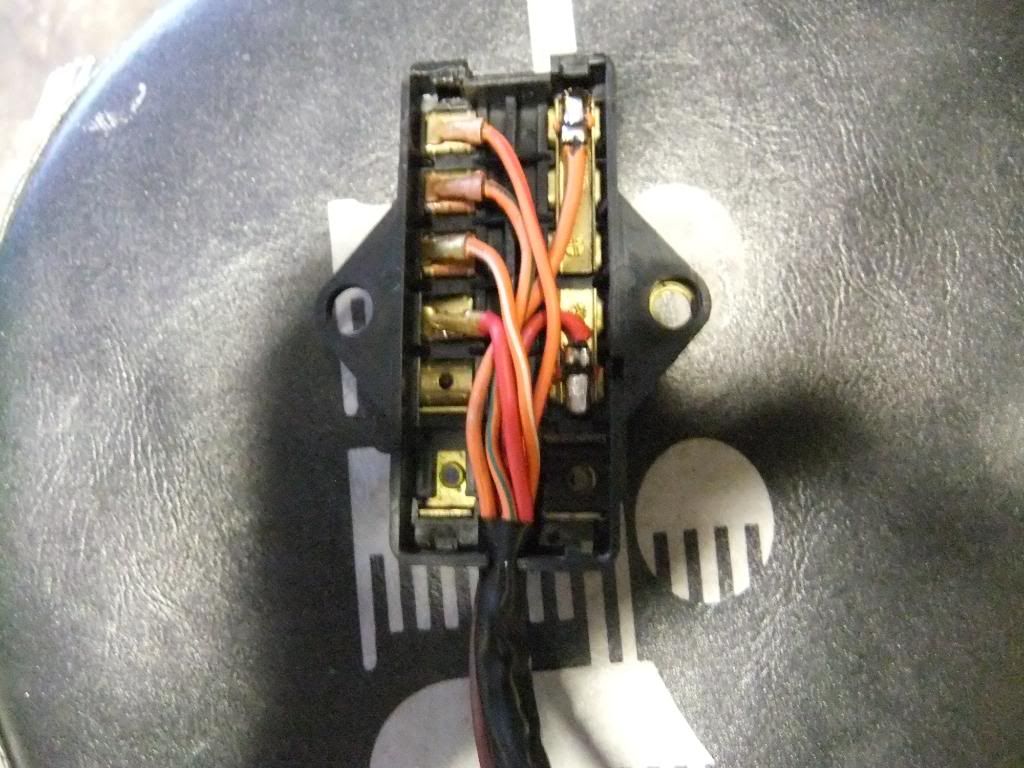
Fuse block cleaned and soldered (all factory connections)
DSCF1490.jpg

Fuse block installed and connections cleaned (I did put the fuses in properly after I took the pic)
DSCF1493.jpg

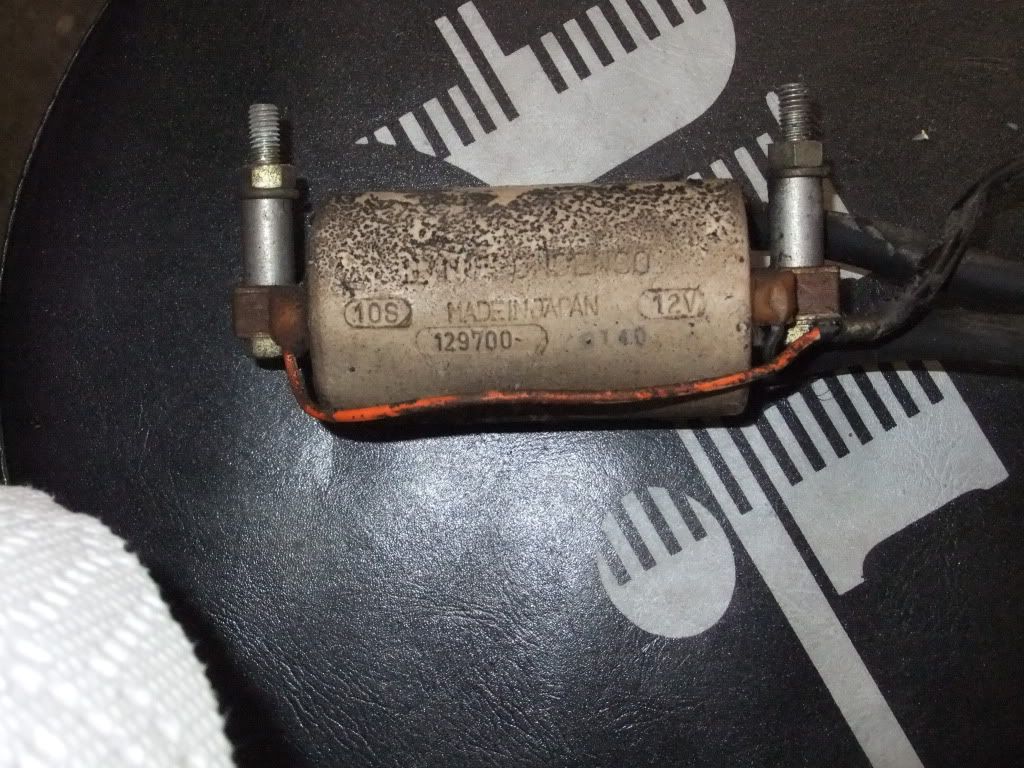
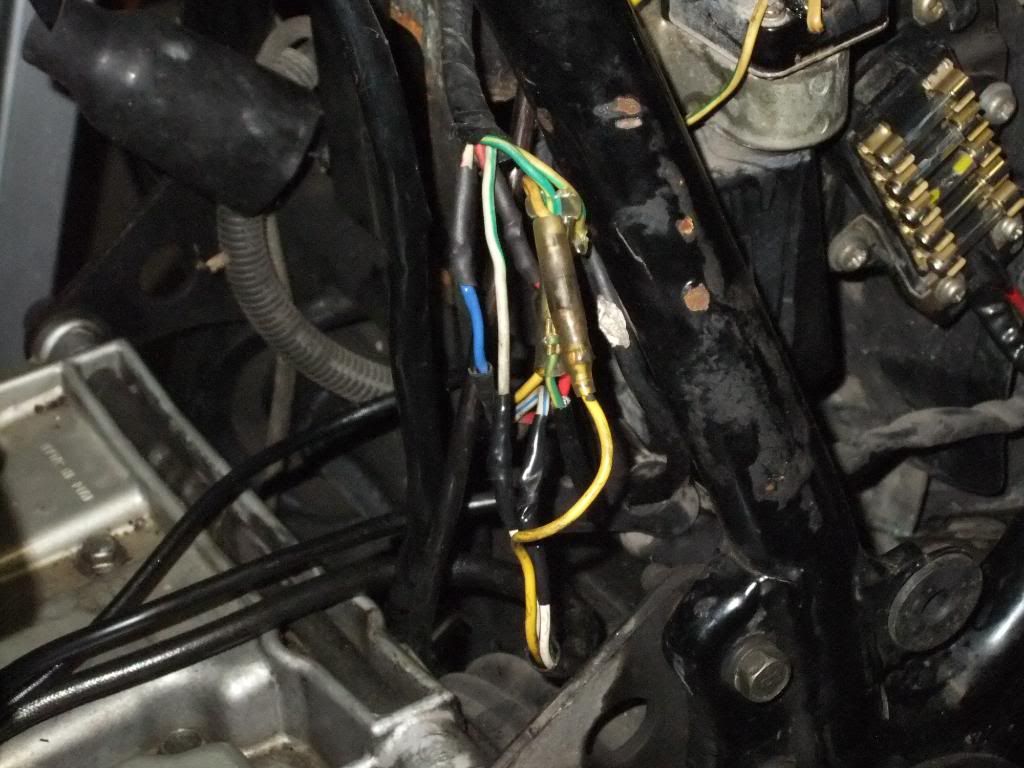
Cleaned up poor quality connections courtesy of previous owner. New ignition was installed properly by p.o.
DSCF1494.jpg

One of these things is not like the other ones.....
DSCF1500.jpg

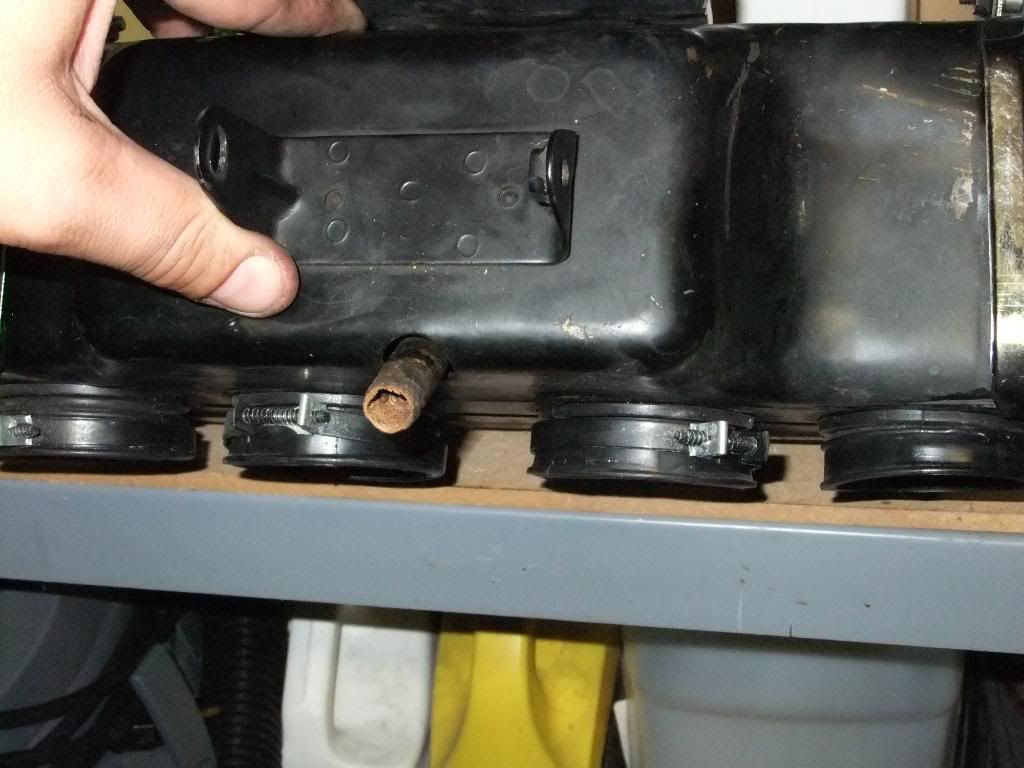
This was new rubber about two years ago. Carb one had the intake boot hardened and slipping off. The others seem fine.
DSCF1498.jpg

Notice the collapse at the ridges. Should probably order all four and replace as needed.
DSCF1497.jpg


Thanks for checking out the posts. Next garage challenge will follow the the wire harness toward the coils and positive battery terminal.
 
Last edited:
You may not need them but I would spring for new boot clamps on that side as well. Real cheap but you'll have more peace of mind later.
 
More Today....

I finished chasing the wiring harness forward and found some more goodies. A couple of wires behind the headlight bucket were pinched to the point of showing wire strand through the insulation. Many well-aged butt crimps and loads of electric tape. I stripped off all the tape and found some more damaged insulation. Cut, solder, heat shrink and tape every one of them. Got rid of all the butt clamps and replaced with solder. Cleaned every other connection on the bike. Next up is a new battery (this one doesn't hold charge well and there's no point in checking into the system without a good battery). Definitely has a different ignition, but no relay mod. I'll probably do the relay mod, but I want it to run as is first. I'll post more pics as soon as I pull them off the camera (got some good lemon-herb chicken cooking now; priorities!).

@cowboyup --definitely will be getting clamps! I'm actually probably going to do all four boots at once; that airbox is not fun to take in and out. Most of all, thank you for your input; there are so many things on these vintage bikes that could be easily overlooked.

One more thing I will be changing are the coils. They cleaned up fairly well, but you can see the age on them. Is there a big advantage to going aftermarket as far as daily driving is concerned?
 
Last edited:
Wow. This is gona be a great.lookin bike, shes most.ov the way there already!!!

Keep.up the good work.
Xxx
 
The last two days in pictures

The last two days in pictures

Removed, cleaned and reinstalled coils. Leads were re-soldered and capped with hot glue to weather proof them.
This is is how both looked at removal:
DSCF1502.jpg

Moving on to the wiring at the headlight bucket: replaced old butt connectors with solder/heat shrink, cut and soldered damaged wire.
DSCF1504.jpg

Here it is post-work. The wires still need to be loomed and tied off.
DSCF1503.jpg

On some good advice from a GSR member, I pulled apart the kill switch and found a damaged wire. I replaced it and found about a dozen strands left intact inside the insulation. Here's the carnage:
DSCF1505.jpg

My next focus was on the harness from the engine to the battery box. I went ahead and did the coil relay mod, along the way I had to strip 2/3 of the harness. Multiple splices in a single wire, short wires, damaged insulation and tons of tape. It's pretty obvious that there has been at least two sets of hands pretty deep into this harness. I replaced all multi-splices with single runs, connected with solder/heat shrink. Instead of trying to match factory colors, I used all bright yellow wire in the appropriate gauge labeled at both ends with what it was. I noted all the changes on my own printed diagram for reference. The relay mod was also done with all yellow wire labeled. I'm already re-thinking this and may swap it out once I've heard it run--there's a lot of yellow wire in the looms now. Here it is after tying off.
DSCF1506.jpg

I created tape looms using 3M tape; I have some tech skin on order to recover it with for a cleaner look and more peace of mind.
DSCF1507.jpg

I'll move the loom into proper position and tie it up with factory wraps on my next garage day. I did check the spark tonight and it's at least twice as bright as before, so the relay mod and re-wiring really paid off. I still have to finish the last bits by the battery box and forward of the engine. I will chase the wiring all the way to the tail light before moving on to the carbs (just to have it fresh). Please let me know if I'm overlooking anything (other than detailing the poor thing lol).

And thank you for the vote of confidence, Seana!
 
Last edited:
Great restoration! boy you're not afraid to get into things, that wiring harness work is a real grunt at times, especially how far into you've gotten, good job. Those stock coils will be just fine as long as they test ok. You can replace the original wires with new without too much difficulty. Just make sure you have some dental pics on hand, if the wires don't come out in one piece it's just a bit of time picking them out. Are you planning on doing any engine/carb work?
 
Thank you azr! I've worked with wiring for a few years now; I'm getting comfortable with it finally. I've got a decent set of dental picks; hoping the plug wires come out neatly. I'm going to rebuild the carbs and maybe move up in jet size to compliment the header. The engine is pretty tight as it sits; I may try to source a used head and have some valve work done, but that's not high on the list. As I get into things I'm seeing what it needs and doing it right. The last time I tried to do a couple little mods for more power I ended up in a 5 year project that will hopefully see paint next spring (372 RWHP 94 Merc. Cougar that passes emissions and has no power adder). I want to build the GS for long distance cruising and reliability, but a little extra power would be nice! I'm certainly open to ideas on this one!
 
So, it's been awhile since I posted up here, but the project is still moving forward. As of this morning, nothing had changed on the GS, but the garage has new shingles, lights and outlets. The wiring tested well (resistance checks) and the looms are cleaned up, covered and tied off. New carb boots, clamps, fuel lines and tank mounting hardware are in the mail as well as exhaust bolts and gaskets. I removed and cleaned the header today with the intent of putting some hi-temp paint on it tomorrow. Once the goodies arrive, I am going to assemble the bike and give it a test fire. Once it runs well, time for tires!
 
Back
Top