M
musicman
Guest
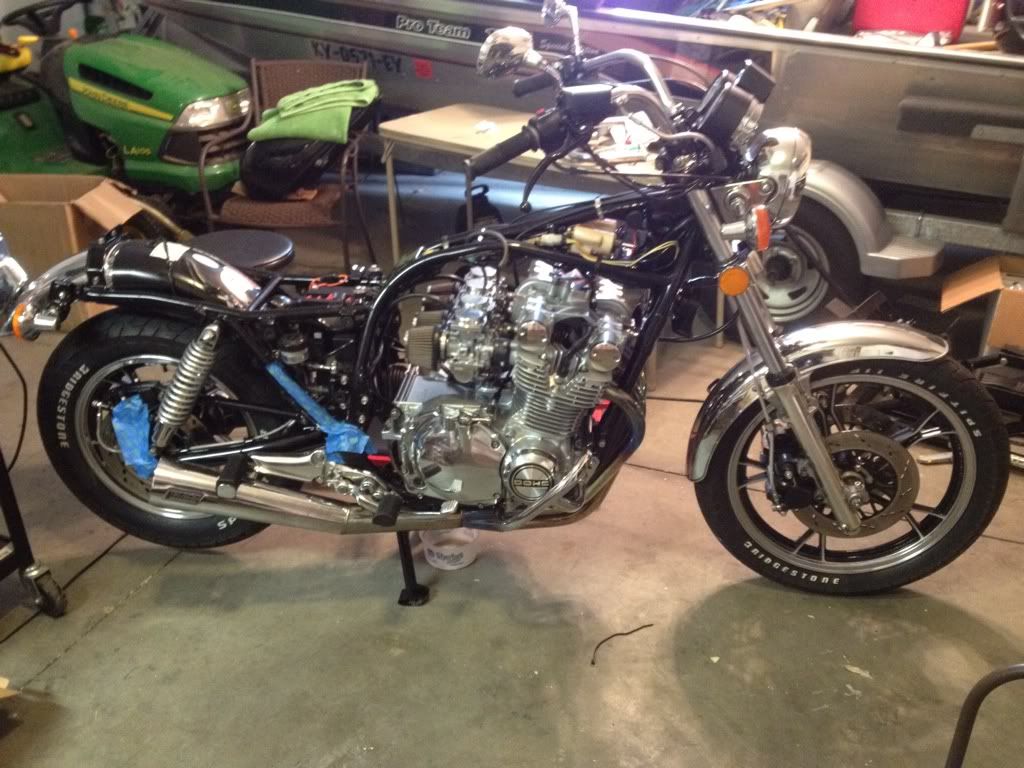
Don't get it dirty! Its too pretty! Keep up the good work ")
Required reading for all forum users!!!
Welcome!
Register to access the full functionality of the GSResources forum. Until you register and activate your account you will not have full forum access, nor will you be able to post or reply to messages.
A note to new registrants...
All new forum registrations must be activated via email before you have full access to the forum.
A Special Note about Email accounts!
DO NOT SIGN UP USING hotmail, outlook, gmx, sbcglobal, att, bellsouth or email.com. They delete our forum signup emails.
A note to old forum members...
I receive numerous requests from people who can no longer log in because their accounts were deleted. As mentioned in the forum FAQ, user accounts are deleted if you haven't logged in for the past 6 months. If you can't log in, then create a new forum account. If you don't get an error message, then check your email account for an activation message. If you get a message stating that the email address is already in use, then your account still exists so follow the instructions in the forum FAQ for resetting your password.
Have you forgotten your password or have a new email address? Then read the forum FAQ for details on how to reset it.
Any email requests for "can't log in anymore" problems or "lost my password" problems will be deleted. Read the forum FAQ and follow the instructions there - that's what we have one for...
If you are a returning visitor who never received your confirmation email, then odds are your email provider is blockinig emails from our server. The only thing that can be done to get around this is you will have to try creating another forum account using an email address from another domain.
If you are a returning visitor to the forum and can't log in using your old forum name and password but used to be able to then chances are your account is deleted. Purges of the databases are done regularly. You will have to create a new forum account and you should be all set.
Don't get it dirty! Its too pretty! Keep up the good work
Music to our ears......
Very nicely done...
High Five.....
.


Hey you can send it to me(wink wink nudge nudgeThanks SV. Steve mentioned to me that he had the same experience with his 850 as well. I'd already purchased the color tune though. Live and learn.
I am pleased with how the bike is currently running. I just need to get it on the road to see if I need to adjust the needles anymore. Won't know until I shovel on the coal to see if she's too rich.
 ).
).
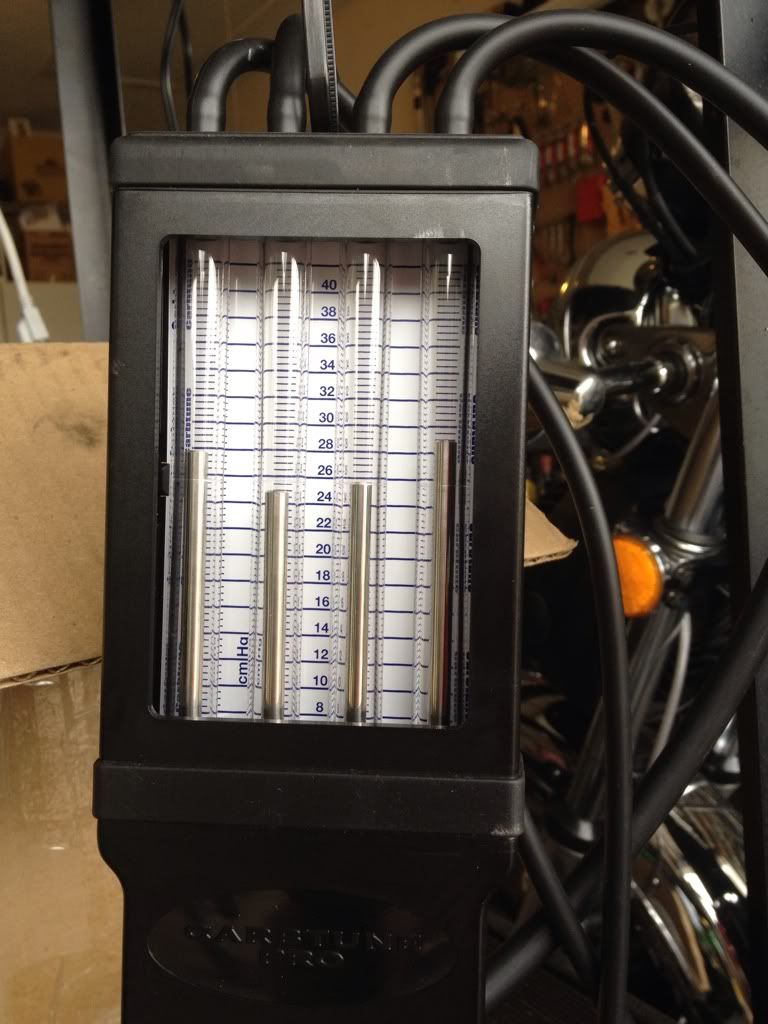
Yes, it can be a bit difficult, even if you have the correct tool. Especially trying to get the adjuster in the middle.Well I got the carbs synced today. That is not as easy as one might think. First, my motion pro carb adjustment tool was too small for the lock nuts. That made it VERY sporty to fine tune the screws. I had no idea that it would be so sensitive.
You might want to go back and do them again. :-kAfter working at it a while I finally got it here:
Exactly what I found, on both accounts. Did you see the flame go a bit erratic, then go out? That's what I saw.I used the colortune on one cylinder, but I couldn't get the flame to change color by adjusting the mixture screw. And it kept backfiring and blowing the cap off the sync adapter.
Sounds Great.Here's what it sounds like now:
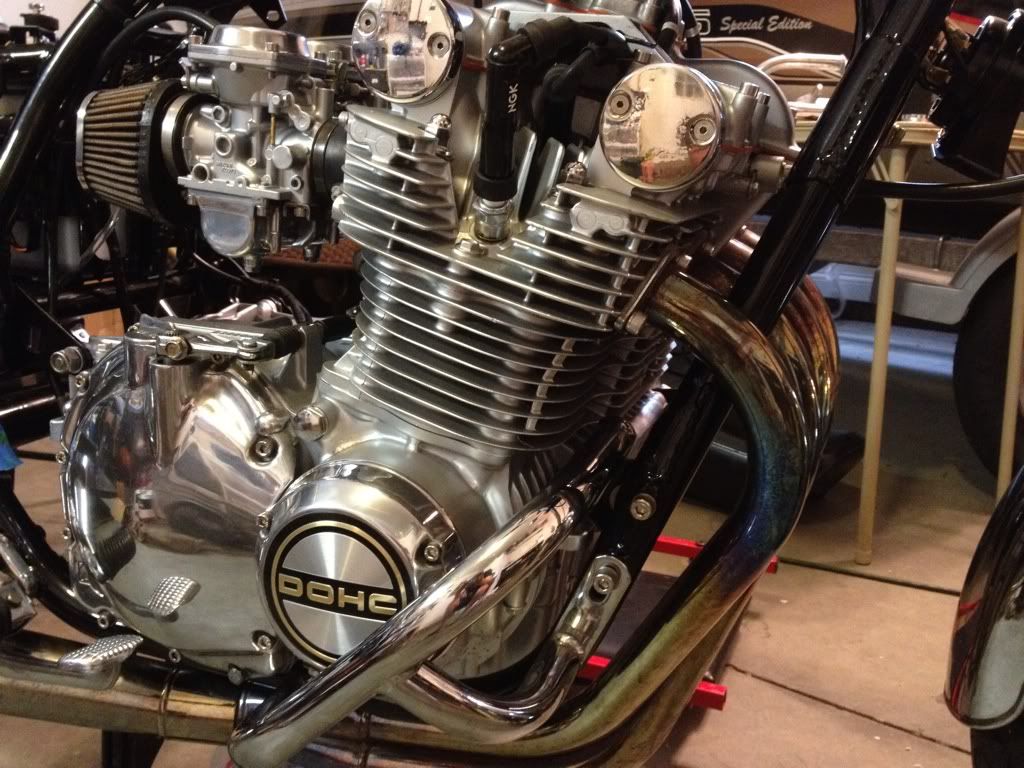
 ) to see if you have jetted your carbs for your pods and pipes. What jets are you running?
") ) to see if you have jetted your carbs for your pods and pipes. What jets are you running?
) to see if you have jetted your carbs for your pods and pipes. What jets are you running?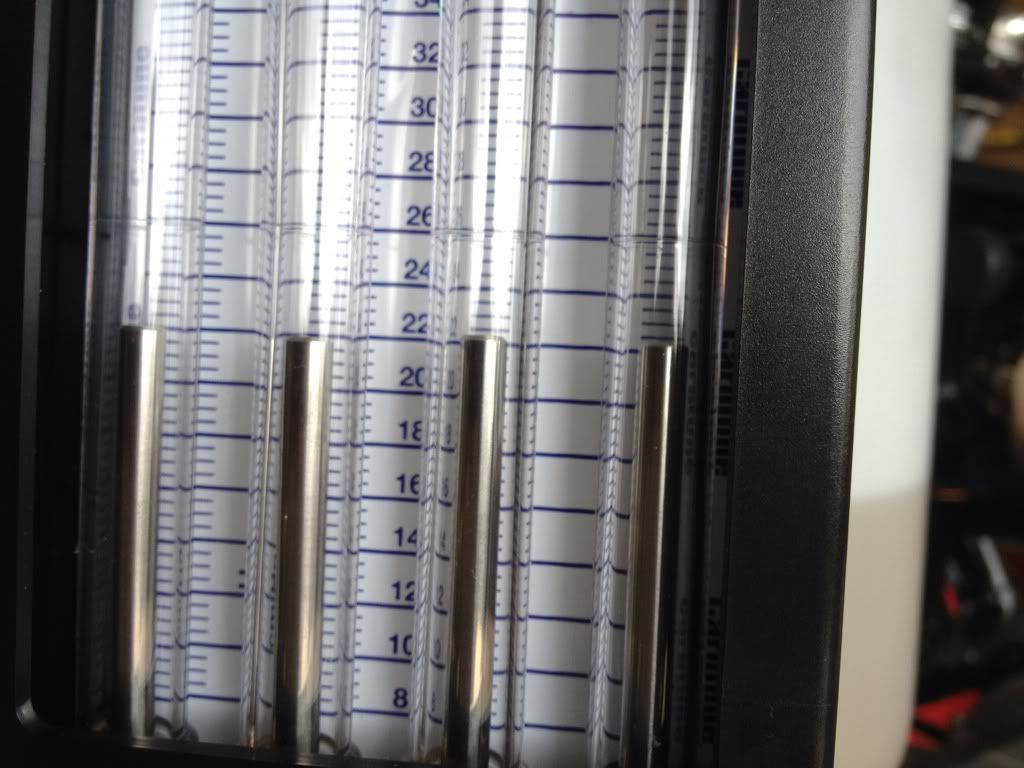
You sure they said "second from the top"? Usually the third or fourth one, but each bike is different, so do some plug chops to be sure.I have a Dyno Jet Stage 3 installed per the DJ directions. I've seen where some people have re-set the needles on the second notch from the top rather than the third. I'll see after I get it on the road for a test.
Can you bring #2 up just a little bit?Is this better Steve? Amazing how little time and effort it takes to do something the second time around. Just took about two minutes to get them synced this time. I also flowed suggested order of 2, 1, then 4. It felt a little like whack-a-mole the first time.
 ) She is an entirely new animal after 5 grand. Let the big dog eat! (I know that sounds funny to you guys with 1100's)
 :evil::evil:
Dynamite.....?

 That was cool.