• Required reading for all forum users!!!

    Welcome!
    Register to access the full functionality of the GSResources forum. Until you register and activate your account you will not have full forum access, nor will you be able to post or reply to messages.

    A note to new registrants...
    All new forum registrations must be activated via email before you have full access to the forum.

    A Special Note about Email accounts!
    DO NOT SIGN UP USING hotmail, outlook, gmx, sbcglobal, att, bellsouth or email.com. They delete our forum signup emails.

    A note to old forum members...
    I receive numerous requests from people who can no longer log in because their accounts were deleted. As mentioned in the forum FAQ, user accounts are deleted if you haven't logged in for the past 6 months. If you can't log in, then create a new forum account. If you don't get an error message, then check your email account for an activation message. If you get a message stating that the email address is already in use, then your account still exists so follow the instructions in the forum FAQ for resetting your password.

    Have you forgotten your password or have a new email address? Then read the forum FAQ for details on how to reset it.

    Any email requests for "can't log in anymore" problems or "lost my password" problems will be deleted. Read the forum FAQ and follow the instructions there - that's what we have one for...

  • Returning Visitors

    If you are a returning visitor who never received your confirmation email, then odds are your email provider is blockinig emails from our server. The only thing that can be done to get around this is you will have to try creating another forum account using an email address from another domain.

    If you are a returning visitor to the forum and can't log in using your old forum name and password but used to be able to then chances are your account is deleted. Purges of the databases are done regularly. You will have to create a new forum account and you should be all set.

Another Aussie GS rebuild - GS1100G

  • Thread starter Thread starter JimmyR
  • Start date Start date
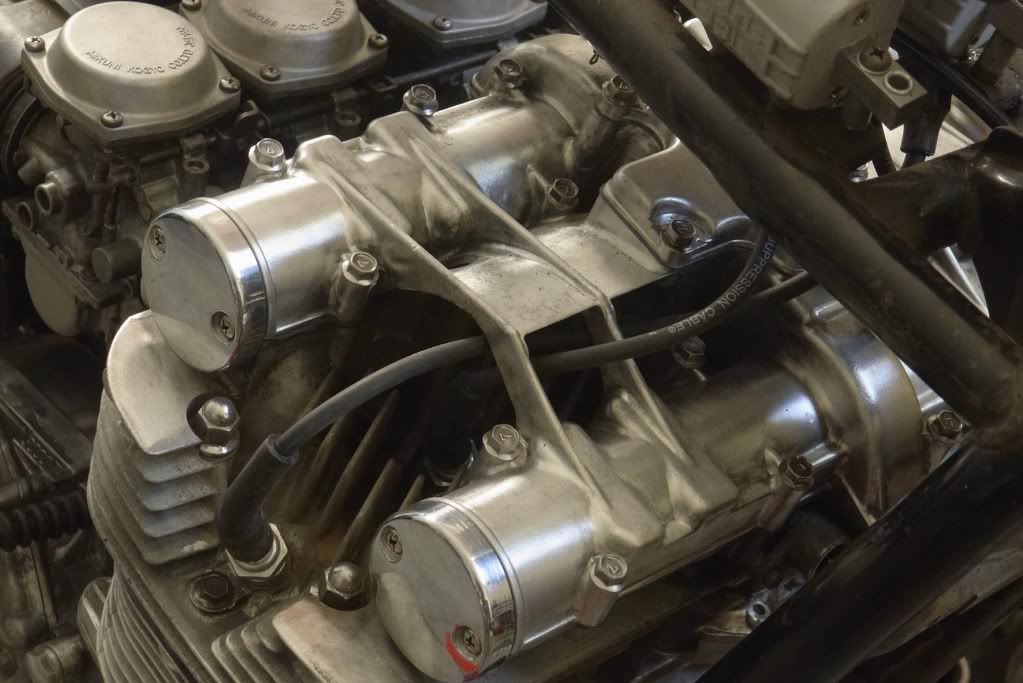
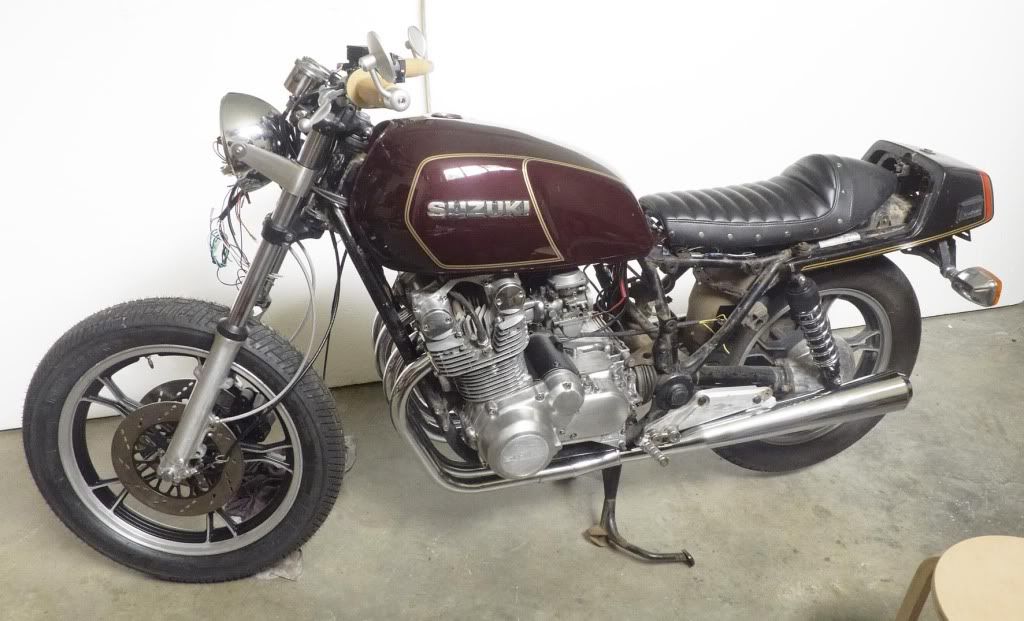
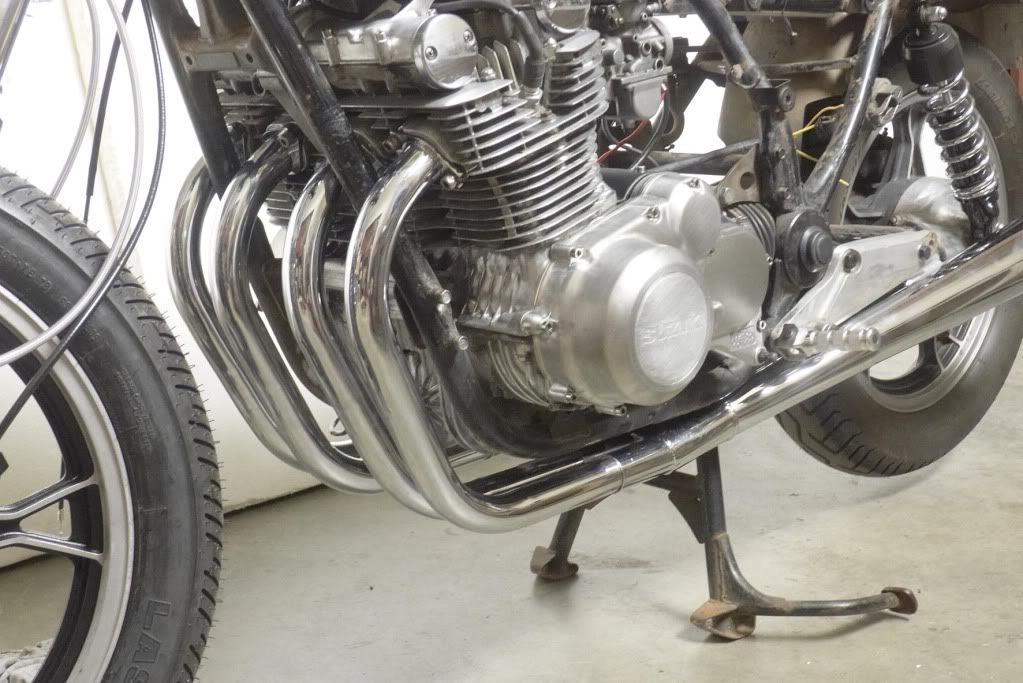
Sorry - had a few issues posting the pics but seems ok now. I am still scraping crud off the engine and boy does it take ages! I wish I could just get the entire thing bead blasted but I really don't want to pull the engine apart. Actually I had planned to completely dismantle it but the local bike guy who is helping with engine stuff advised against it as he says it would cost a lot to do. He reckons that if the engine runs ok don't pull it to bits!

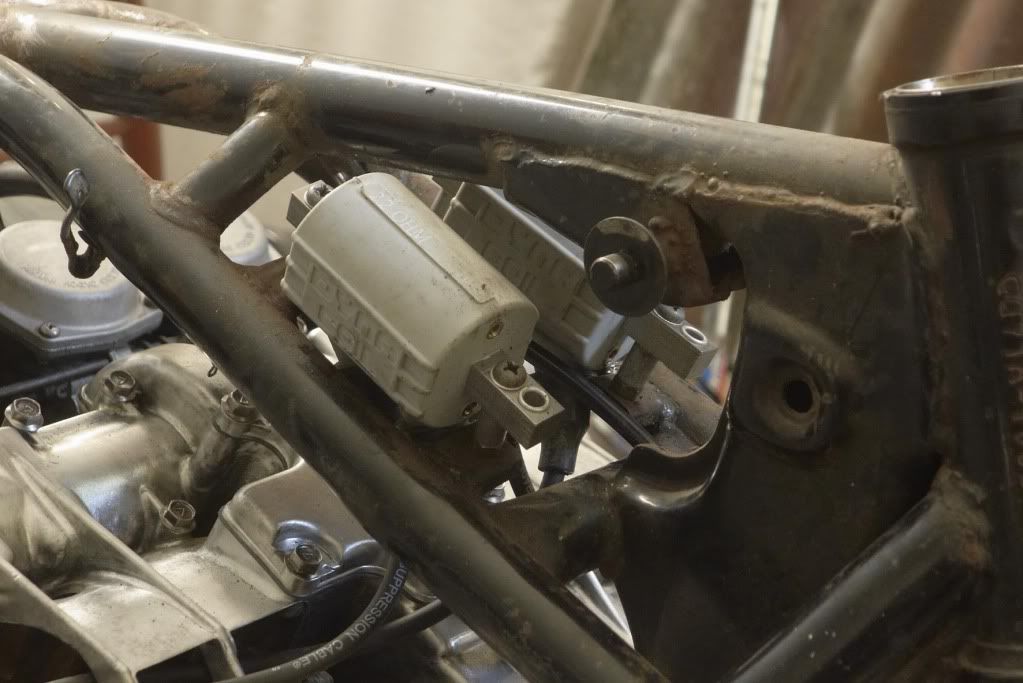
So I have pulled the carbies apart and had them ultrasonically cleaned and blasted and have bought new boots to attach them to the engine. I've also been cleaning up the airbox. I have pulled off the chrome panels and am getting the black side panels powder coated in texture black to match what the frame will be. It's what I used on the brake calipers.

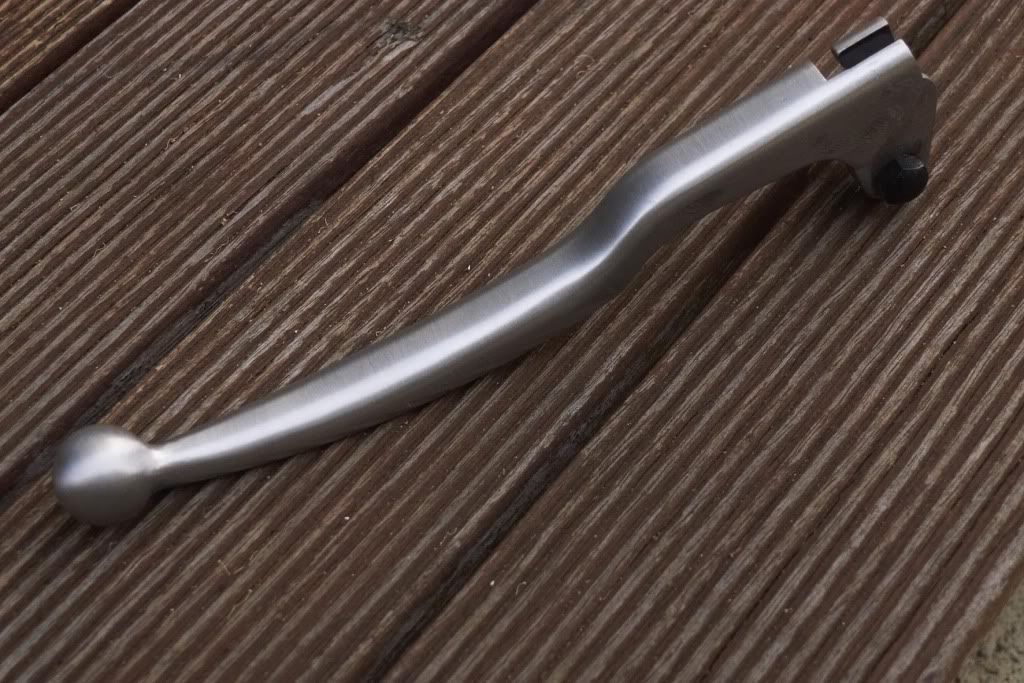
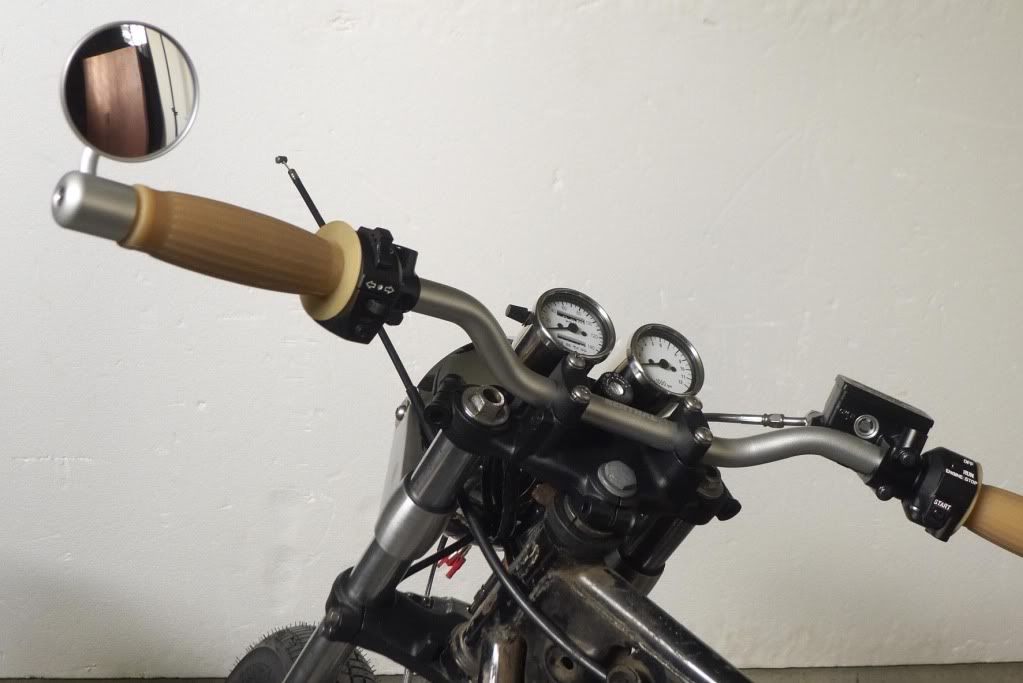
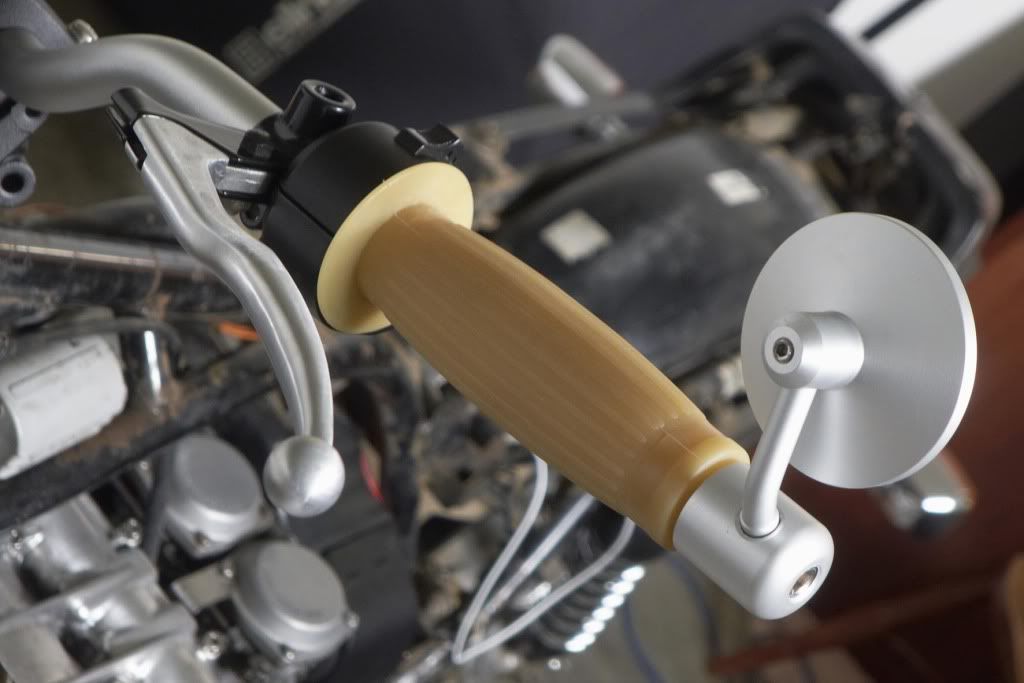
I've also taken the paint off the brake and clutch levers and polished them up in raw aluminium. They have a brushed finish now - I really must take a pic because I love how they look and feel now.

I can't wait to get the front end back on the bike. I am so happy with how the front wheel turned out and am really looking forward to seeing how the fatter front tyre looks on the bike.
 
Another Aussie joins in.

Another Aussie joins in.

Hi all,
I brought a 1982 GS1100G about 4 weeks ago and have recently stumbled across this site. I am supprised how many Aussie are posting into the forum.
I recently done up a Honda CB900 and I cleaned and repainted the motor without dismantelling it. What I done was to;
1. seal up all the holes with tape, rubber bungs, plastic as best you can.
2, Brush on paint stripper to remove all the old paint and get back to a nice clean surface, use really small soft wire brush from the cheap shop to help remove paint and clean alloy. (work in small area's at a time).
3. Then hose off using garden hose and jet setting on nozzle.
4 . When finished with paint stripper wash motor down with soapy water and rinse really well to remove all paint stripper residue.
5. Then blow dry with air compressor.
The final result is a really nice clean bare alloy motor, that when resprayed with heat proof paint looks like new. :)

After Painting

PB060119.jpg

Back in the Bike
PC150229.jpg
 
Today I got out my angle grinder and made a bracket for the speedo and tacho out of zincalum sheet. I just picked up a cheap offcut from my friendly steel merchants... It's tricky to bend without the right tools but I'm pretty happy with how it's turned out. It will be powder coated texture black like a lot of the rest of the bike.

speedomount001copy.jpg


speedomount002copy.jpg


And yes, there does seem to be a large number of us Aussies here...
 
And here is the clutch lever. The brake lever matches this. It's just the stock lever stripped of paint and sanded a bit. It feels great.

clutchL001copy.jpg
 
Nice one , looking forward to seeing how it comes up
So far it looks great !
 
Highside: Welcome along! Yeah a bunch of us around the shop here and a few down your way too. Leigh's down south of Melbourne and Oohsam is around somewhere but not sure where and I'm sure there's a few more I can't think of right now.

If you're going to the Island Classic on Australia Day, you should try to hook up with Leigh and say g'day, although I think he'll be Yammie bound as his GS is laid up for a cafe conversion... and Simon Kuether will be down from North Qld at the Island as well on his 1000.

Jimmy: Love the work on the gauges, that bracket should work well, and I like the lever! I was tempted to do that to mine but then ended up buying a brand new M/C so I left them alone...
 
Cleaning cleaning cleaning... Still waiting for a load of stuff to return from the powdercoaters so looking for things to do. So today I mounted the new Dyna coils:

newcoil002copy.jpg


I'm putting the engine back together and the cylinder head cover is back on. It's better than it was as it was dark brown before! But I'm still not 100% happy with how it looks.

headcover003copy.jpg


I am hoping that next week I will get all my stuff back from powder and also my newly fabbed battery box from the aluminum guy. Then I can rewire everything and really get going.
 
Well I've made some (little) progress. I've been waiting for parts, waiting for powder coaters, it all gets very frustrating waiting for things all the time. I finally have the front end back on. I had the triple trees powder coated and they look great. So I installed the new bars, grips and controls, and wired the controls through the bars and down through the triple trees so that no wiring is visible about the top tree. A bit of a bugger to do but I love the clean look!

newbars001copy.jpg


newbars002copy.jpg


newbars007copy.jpg
 
Ok, that's is too cool for school... very neat! Did you have to drill holes to run the wiring or were they pre-drilled?
 
Thanks mate! No I did all the drilling. I was stoked when I found I could drill through the triple trees and run the wiring through there. I also kinda angled the holes to help the wires run through. I really don't like seeing wiring! Because the bars are aluminium the walls are quite thick so the hole down the tubes is not so big.

It's kinda not difficult and kinda is! The easy part is drilling, marking out where holes have to be etc. The hardest part is convincing a whole bunch of wire that it wants to go down that hole. I used some thin steel single strand wire to pull the signal wires through but it still took some persuasion.

Cool, sounds fiddly but definitely worth while! I really like that neat look...
 
Hi all,
I brought a 1982 GS1100G about 4 weeks ago and have recently stumbled across this site. I am supprised how many Aussie are posting into the forum.
I recently done up a Honda CB900 and I cleaned and repainted the motor without dismantelling it. What I done was to;
1. seal up all the holes with tape, rubber bungs, plastic as best you can.
2, Brush on paint stripper to remove all the old paint and get back to a nice clean surface, use really small soft wire brush from the cheap shop to help remove paint and clean alloy. (work in small area's at a time).
3. Then hose off using garden hose and jet setting on nozzle.
4 . When finished with paint stripper wash motor down with soapy water and rinse really well to remove all paint stripper residue.
5. Then blow dry with air compressor.
The final result is a really nice clean bare alloy motor, that when resprayed with heat proof paint looks like new. :)

After Painting

PB060119.jpg

Back in the Bike
PC150229.jpg


Nice work!
Please DO start another thread and introduce yourself to the group though.

Daniel
 
Finally got the exhaust on. Much swearing took place. But it was worth it I think.

exhaust001copy.jpg


exhaust002copy.jpg
 
Mate that's a nice system you got there :)

I may have missed it but who made them for you?
 
A guy in Brisbane. I'll have to look it up again. They look really good on the bike and they were built on time and I received them with the minimum of hassle, but they were an absolute bugger to install. I haven't heard them yet and that will be a while off but I am very happy with how they look.

I got a call late this arvo that my battery box is ready. I didn't have time to collect it today (Friday) so I will swing by the aluminium place on Monday. I designed a little box to sit at 90 degrees to the original and sit right behind the airbox. I'll prob bolt the RR under it. Then I can finish up the wiring. Once the wiring is done I will check the valves and tune the carbs and get her registered.
 
Was it Tranzac at all?

Battery box sounds like it'll work well, looking forward to seeing it!
 
That's it - Tranzac. The fella was very helpful over the phone and I was very happy with how it all went. Except when it came time to fit the headers to the mufflers. I realise that they probably fit together just fine before chroming but damn it was difficult to fit them afterwards. Maybe something happened to slightly skew the roundness during the trip from Brisbane to Perth, but even after taking off the chrome from the part of the headers that slips into the mufflers they were incredibly difficult to fit.

Best thing is that it's all behind me now. :-) And they look great - exactly what I wanted. I am chomping at the bit to get this bike done now!
 
Aaaah yes he does awesome work! Take a look at my rebuild thread at what he made for my 450...
 
JimmyR, thats exactly what I want for my GS850, would it be too rude to ask you to PM me with the price you paid for the headers and the 2 mufflers from tranzac?

Regards
 
JimmyR, thats exactly what I want for my GS850, would it be too rude to ask you to PM me with the price you paid for the headers and the 2 mufflers from tranzac?

Regards

Greg, if you can do it, get the bike to him as well. I got mine towed down there given mine were a custom one off job, but I think it's easier for him if he has it there.

Mine was just under $800 fitted including the ceramic coating, but of course mine's a twin and it was a one off and I got the reverse megaphone... I really like how it sounds too :D
 
Back
Top