S
Smokinapankake
Guest
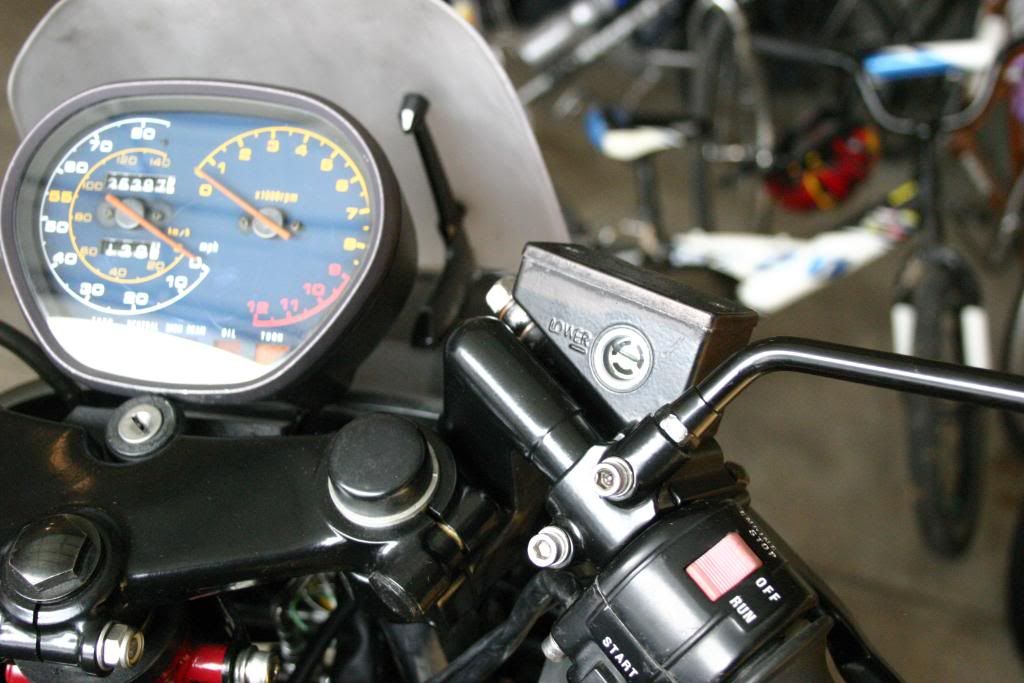
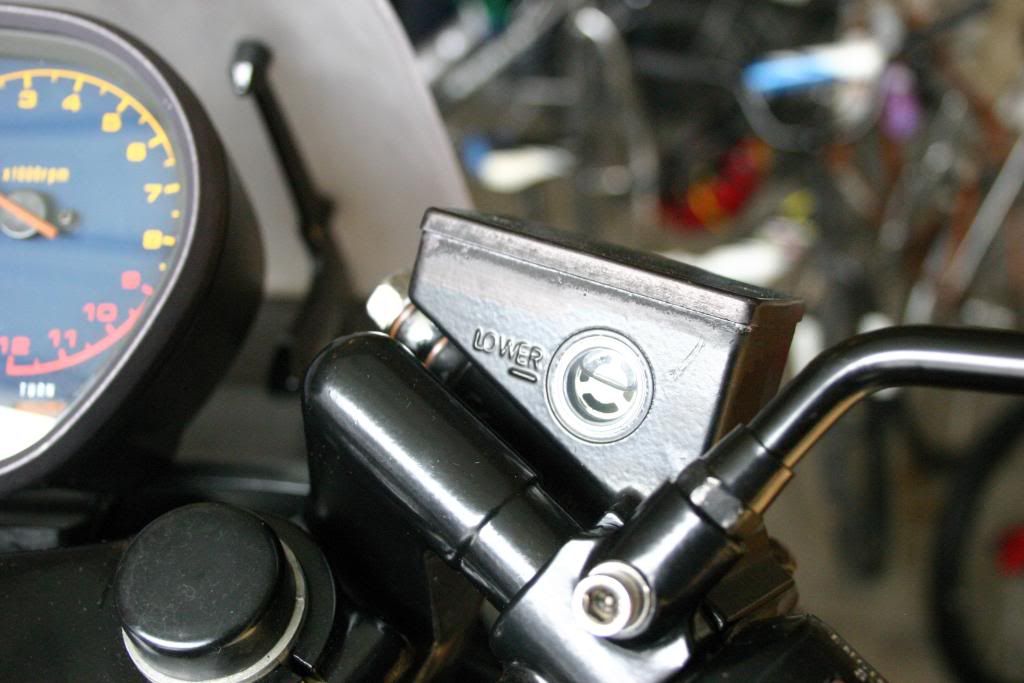
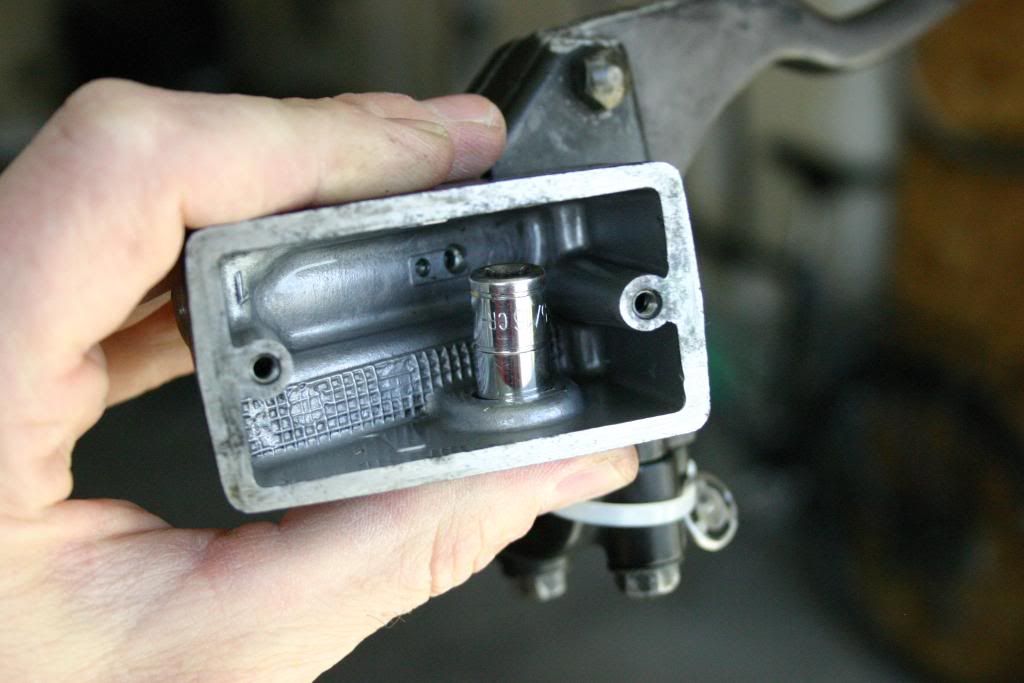
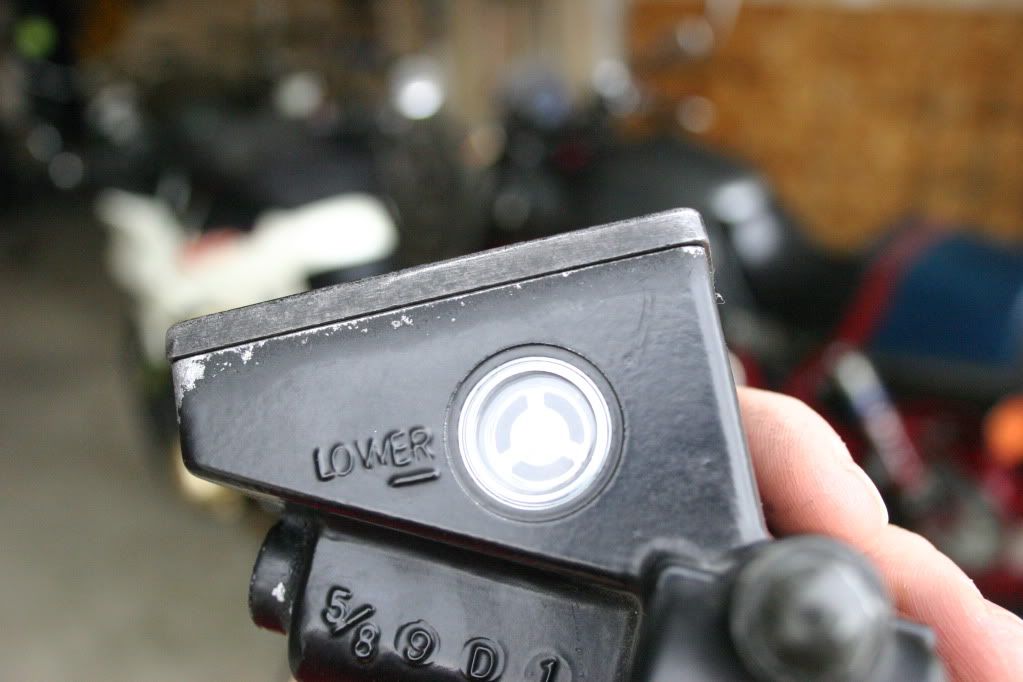
So the problem is our bikes are the better part of 25 years old. Most of them have been exposed to significant time in the sun. This has adverse affects on the brake fluid reservoir sight glass. This happens to be my clutch master cylinder and sight glass, but my brake looked just like it.
But I was unable to find a reasonably easy or inexpensive way to repair them. So I developed a method that has worked on two bikes now.
If you're looking for an easy, cheap way to do this without having to buy a new master cylinder / reservoir, then read on!
Materials needed:
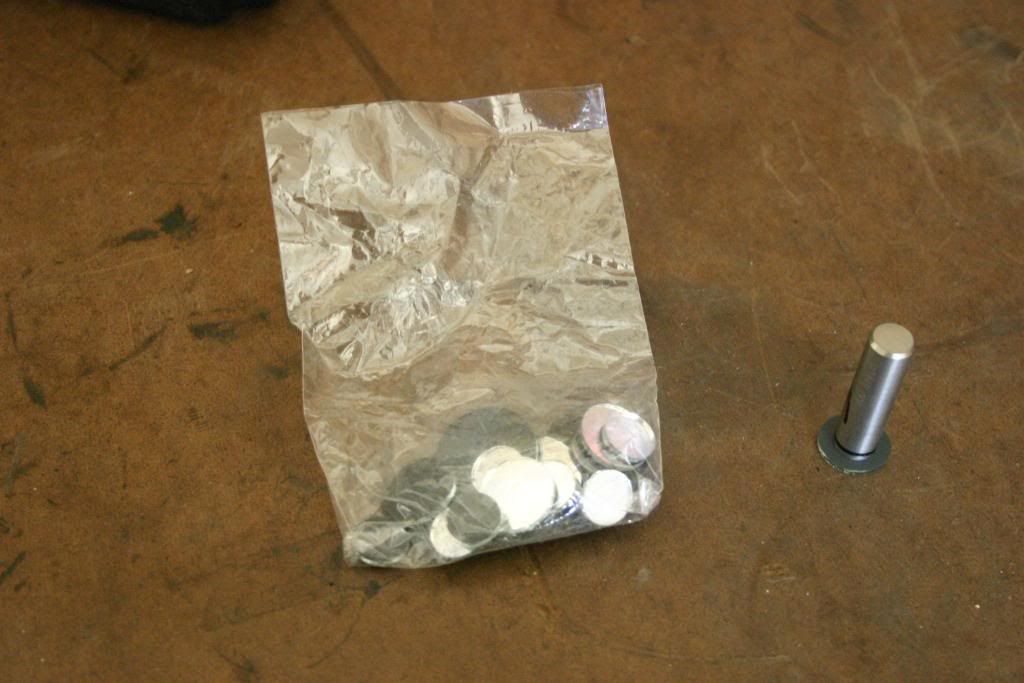
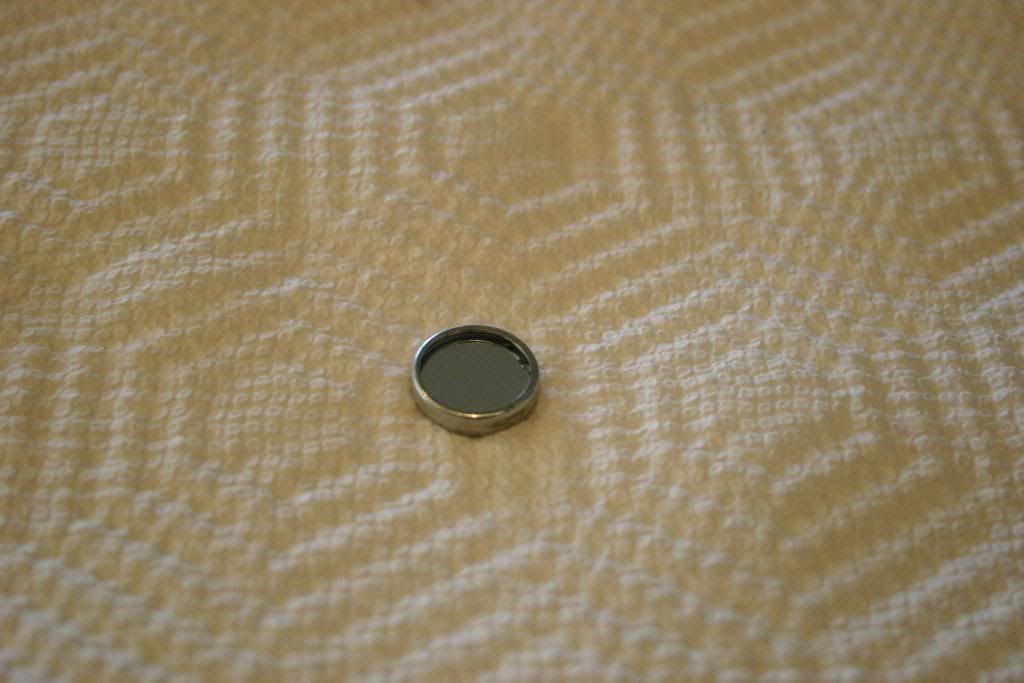
Pack of round craft mirrors, assorted sizes. Get these from the craft store.
Cyanoacrylate or CA (crazy glue)
Bar stock that can be chucked up in a hand drill, reasonably square end.
Emery paper. I used 120 and 180 grits.
Acetone
Oven cleaner with lye
2-part epoxy (I used JB Weld)
Cotton tipped applicators (wooden handled Q-tips)
Small syringe (optional)
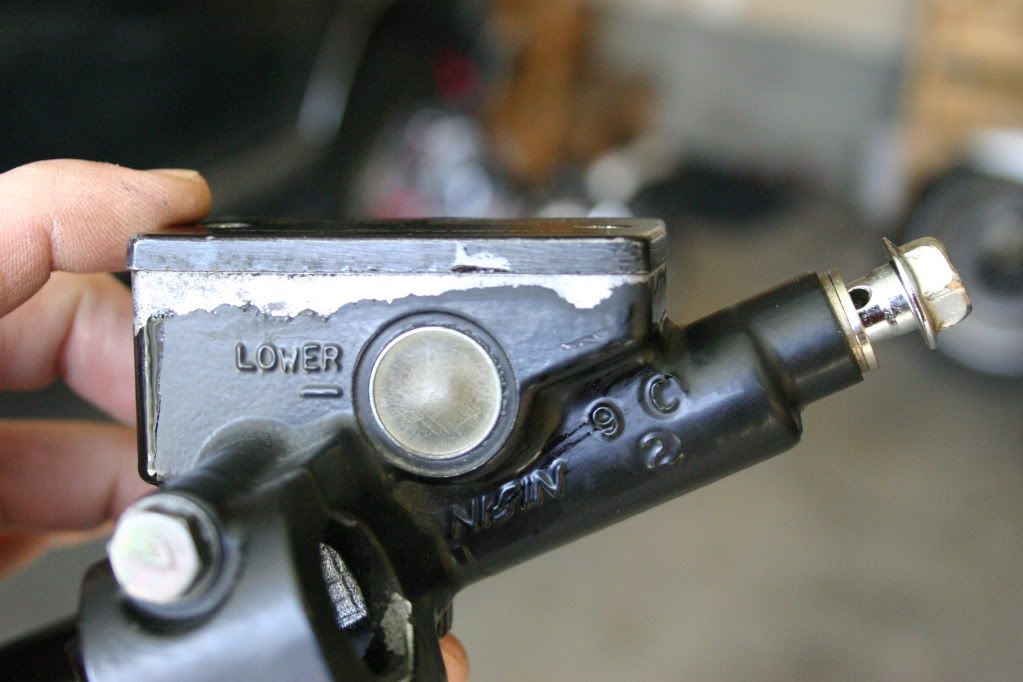
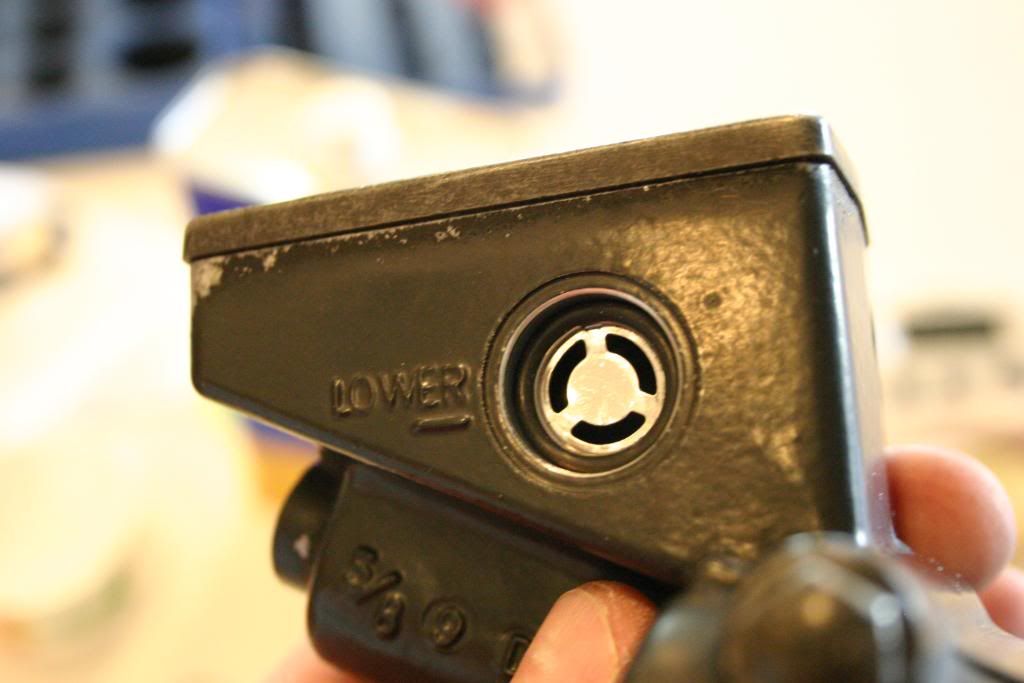
Pre step 1: Prepare your master cylinder for a new sight glass by pressing out the old, faded, sun-crazed opaque 30 year old piece of junk sight glass. I used an appropriate sized socket from the inside of the reservoir, and pried with a big screwdriver. Popped right out. Save the internal baffle, whatever o- rings that may have been in there, and the bezel. The bezel has to be kept in good condition, as we are going to reuse it.
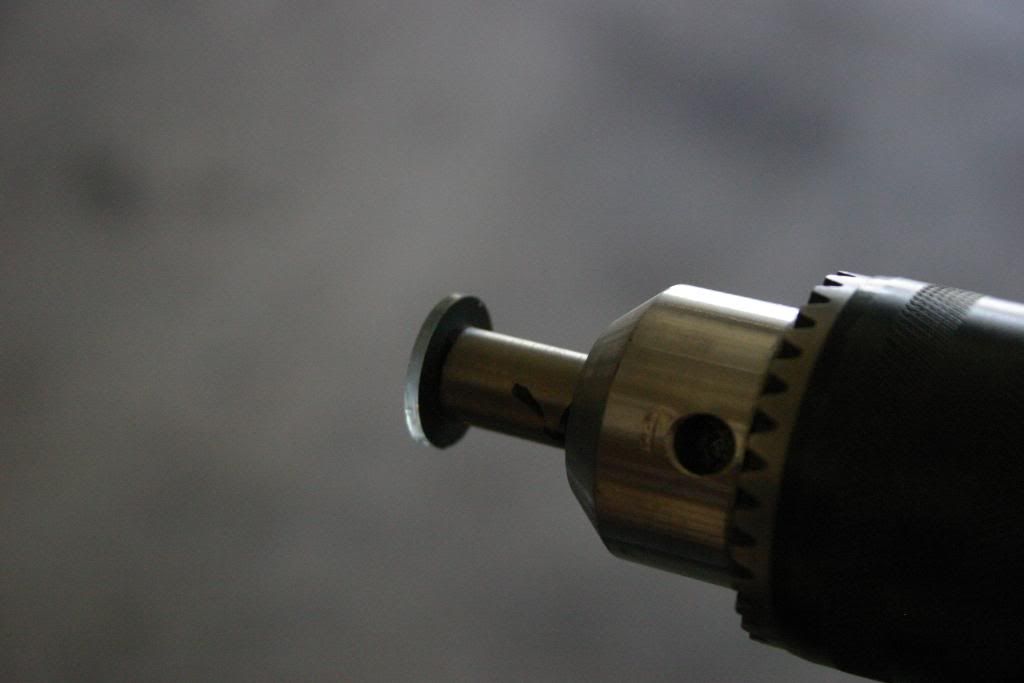
Step 1: Glue a craft mirror (that is the nearest size to what you need) to the square end of the bar stock using the CA. Try to center the mirror on the bar stock as well as you can, but it doesn’t have to be perfect. The mirror has to be larger than the hole you have to fill, as we’ll sand it down to size later. Do not remove the grey backing paint, as this will aid in removal of the glass from the bar stock later on.

Step 2: Chuck the bar / mirror assy into your hand drill.
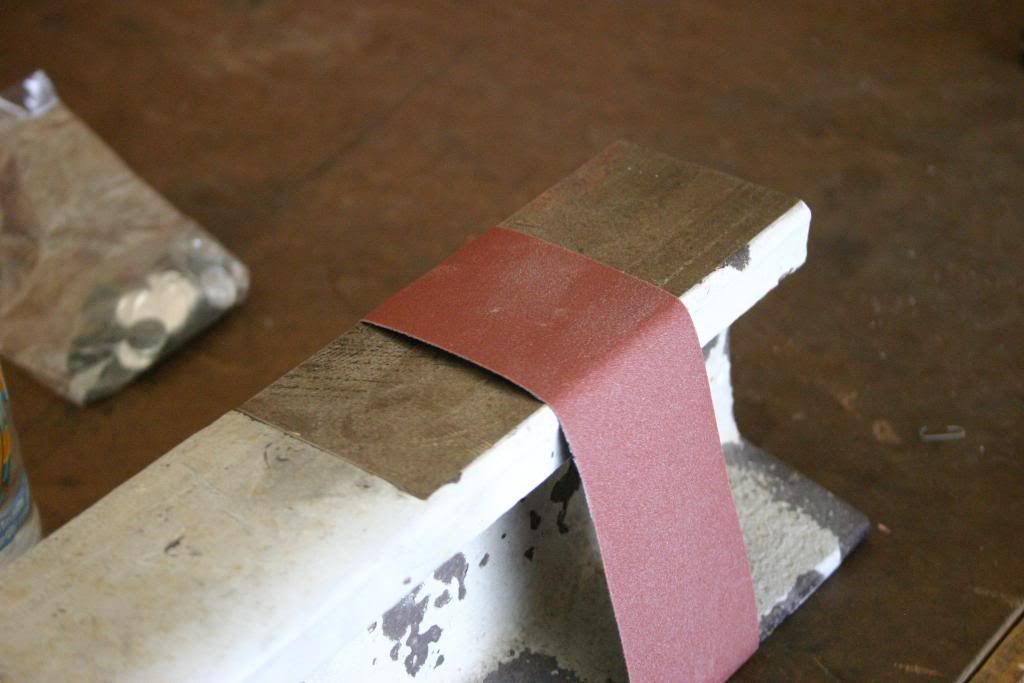
Step 3: Lay out the emery paper on a hard, flat surface. The surface should be able to withstand some wetness, as we’re going to use water during this whole operation. I did mine on a piece of railroad rail I had machined flat to use as an anvil.
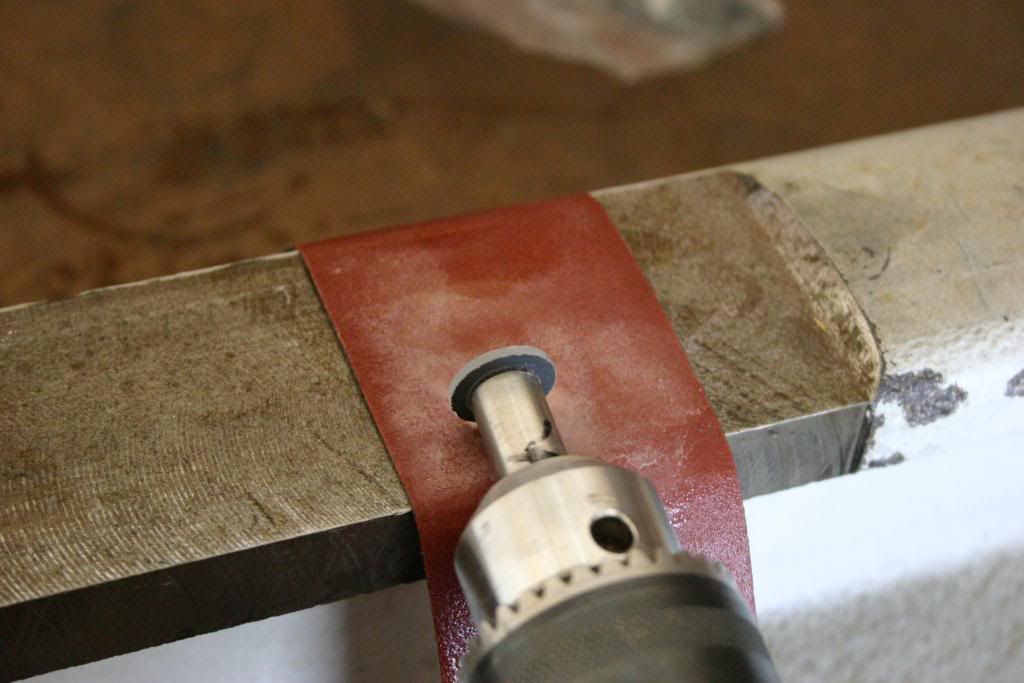
Step 4: Wet down the emery paper with water, and with the drill at a medium speed, sand down the mirror to the right diameter. This doesn’t take too long, but patience is the key here. If you use too coarse a grit of emery paper, the glass will be more prone to chip. Likewise, if you run the paper dry, the glass will be prone to chip also. Check your size often, as you don’t want to go too small. Try to hold the drill so the mirror is perpendicular to the emery paper, otherwise you will introduce a chamfer on the glass. This may be desirable, depending on the configuration of your master cylinder opening.
Also, move the drill back and forth, and side to side as the glass will smooth out the emery paper. My emery paper was red, so when I had used up all the abrasive in a certain area, the water would turn reddish. Be sure not to run the glass off the edge of the emery paper; this will promote glass chipping. It all sounds much more complicated than it really is. Using the drill helps keep the glass round.
Step 5: Remove the mirror glass from the bar stock. I find that soaking it in acetone will soften the CA, but you’ll still have to pry with a razor blade to get it to let go. Be careful, though, because these craft mirrors are thin and fragile! I broke three trying to get them to let go. I attribute the grey backing paint of the mirror to my success on the 4th attempt. Remember how we never removed it from in step 1? This is why. Fortunately, the pack of mirrors you get from the craft store are cheap, and they come with many different sizes. And your wife might want to go shopping there with you!
Step 6: Clean off the protective grey paint by soaking and scrubbing with acetone. At this point you should have a round piece of glass with mirror coating on one side.
Step 7: How to clean off the mirror coating? Do not use a razor blade to scrape it off! At best you’ll get it off but scratch the glass. At worst you’ll peel off thin shavings of glass, and have to start over. Not to mention the risk of chipping the edges! And cutting yourself all up into pieces. There is an easier way, and this is where the oven cleaner (WITH Lye) comes in. This is nasty stuff, so wear protection (always good advice, right?) and follow the manufacturer’s directions.
Spray a healthy dose onto the mirror coating and go clean up your watery emery paper mess. Come back in 5-10 minutes, and wipe the new sight glass with a rag. The mirror coating should be gone, and a crystal clear piece of glass should be staring you in the face. That’s what the lye does.
Step 8: Secure your new sight glass to the bezel with the 2 part epoxy. I used JB weld for two reasons – a) it will not react with brake fluid and – b) I had it on hand. I mixed it up and spooned it into the syringe. The syringe makes neat application possible. My bezel had a lip, so I laid a small bead around the inside of this lip and then laid the sight glass in. A little squeeze out is okay. Grab a small cup (yogurt cups work great) and fill it about ? with some more acetone. Dump in a bunch of cotton tipped applicators, and clean up the squeeze out. Since my glass was thinner than my bezel, I decided to lay a bead of JB on the other side of the glass as well, cleaning up the mess as before.
Let the epoxy cure, and hey presto, you now have a new sight glass window!
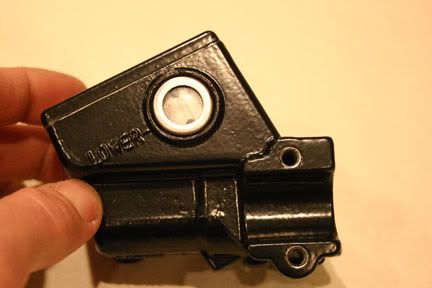
My reservoir had a small o-ring inside, but since the glass is sealed to the bezel, I no longer need it. But I did need something to hold the internal baffle in place. I pulled out my trusty harbor freight O-ring assortment, found a suitable ring, and mashed it in there:
All that was left for me was to press the new glass / bezel assembly back into the reservoir and I was on my way. I don't have any pictures of the last few steps because the epoxy is curing right now as we speak, however, here is a pic of my 82 Kat reservoir I did last year using this same method:
Hopefully this will help anybody out there looking for a cheap, easy way to replace their sight glass.
Good luck and post up some pics of your success!
But I was unable to find a reasonably easy or inexpensive way to repair them. So I developed a method that has worked on two bikes now.
If you're looking for an easy, cheap way to do this without having to buy a new master cylinder / reservoir, then read on!
Materials needed:
Pack of round craft mirrors, assorted sizes. Get these from the craft store.
Cyanoacrylate or CA (crazy glue)
Bar stock that can be chucked up in a hand drill, reasonably square end.
Emery paper. I used 120 and 180 grits.
Acetone
Oven cleaner with lye
2-part epoxy (I used JB Weld)
Cotton tipped applicators (wooden handled Q-tips)
Small syringe (optional)
Pre step 1: Prepare your master cylinder for a new sight glass by pressing out the old, faded, sun-crazed opaque 30 year old piece of junk sight glass. I used an appropriate sized socket from the inside of the reservoir, and pried with a big screwdriver. Popped right out. Save the internal baffle, whatever o- rings that may have been in there, and the bezel. The bezel has to be kept in good condition, as we are going to reuse it.
Step 1: Glue a craft mirror (that is the nearest size to what you need) to the square end of the bar stock using the CA. Try to center the mirror on the bar stock as well as you can, but it doesn’t have to be perfect. The mirror has to be larger than the hole you have to fill, as we’ll sand it down to size later. Do not remove the grey backing paint, as this will aid in removal of the glass from the bar stock later on.
Step 2: Chuck the bar / mirror assy into your hand drill.
Step 3: Lay out the emery paper on a hard, flat surface. The surface should be able to withstand some wetness, as we’re going to use water during this whole operation. I did mine on a piece of railroad rail I had machined flat to use as an anvil.
Step 4: Wet down the emery paper with water, and with the drill at a medium speed, sand down the mirror to the right diameter. This doesn’t take too long, but patience is the key here. If you use too coarse a grit of emery paper, the glass will be more prone to chip. Likewise, if you run the paper dry, the glass will be prone to chip also. Check your size often, as you don’t want to go too small. Try to hold the drill so the mirror is perpendicular to the emery paper, otherwise you will introduce a chamfer on the glass. This may be desirable, depending on the configuration of your master cylinder opening.
Also, move the drill back and forth, and side to side as the glass will smooth out the emery paper. My emery paper was red, so when I had used up all the abrasive in a certain area, the water would turn reddish. Be sure not to run the glass off the edge of the emery paper; this will promote glass chipping. It all sounds much more complicated than it really is. Using the drill helps keep the glass round.
Step 5: Remove the mirror glass from the bar stock. I find that soaking it in acetone will soften the CA, but you’ll still have to pry with a razor blade to get it to let go. Be careful, though, because these craft mirrors are thin and fragile! I broke three trying to get them to let go. I attribute the grey backing paint of the mirror to my success on the 4th attempt. Remember how we never removed it from in step 1? This is why. Fortunately, the pack of mirrors you get from the craft store are cheap, and they come with many different sizes. And your wife might want to go shopping there with you!
Step 6: Clean off the protective grey paint by soaking and scrubbing with acetone. At this point you should have a round piece of glass with mirror coating on one side.
Step 7: How to clean off the mirror coating? Do not use a razor blade to scrape it off! At best you’ll get it off but scratch the glass. At worst you’ll peel off thin shavings of glass, and have to start over. Not to mention the risk of chipping the edges! And cutting yourself all up into pieces. There is an easier way, and this is where the oven cleaner (WITH Lye) comes in. This is nasty stuff, so wear protection (always good advice, right?) and follow the manufacturer’s directions.
Spray a healthy dose onto the mirror coating and go clean up your watery emery paper mess. Come back in 5-10 minutes, and wipe the new sight glass with a rag. The mirror coating should be gone, and a crystal clear piece of glass should be staring you in the face. That’s what the lye does.
Step 8: Secure your new sight glass to the bezel with the 2 part epoxy. I used JB weld for two reasons – a) it will not react with brake fluid and – b) I had it on hand. I mixed it up and spooned it into the syringe. The syringe makes neat application possible. My bezel had a lip, so I laid a small bead around the inside of this lip and then laid the sight glass in. A little squeeze out is okay. Grab a small cup (yogurt cups work great) and fill it about ? with some more acetone. Dump in a bunch of cotton tipped applicators, and clean up the squeeze out. Since my glass was thinner than my bezel, I decided to lay a bead of JB on the other side of the glass as well, cleaning up the mess as before.
Let the epoxy cure, and hey presto, you now have a new sight glass window!
My reservoir had a small o-ring inside, but since the glass is sealed to the bezel, I no longer need it. But I did need something to hold the internal baffle in place. I pulled out my trusty harbor freight O-ring assortment, found a suitable ring, and mashed it in there:
All that was left for me was to press the new glass / bezel assembly back into the reservoir and I was on my way. I don't have any pictures of the last few steps because the epoxy is curing right now as we speak, however, here is a pic of my 82 Kat reservoir I did last year using this same method:
Hopefully this will help anybody out there looking for a cheap, easy way to replace their sight glass.
Good luck and post up some pics of your success!
Last edited:

 Found the silvering comes off with acetone and a green Scotch Brite scrubber
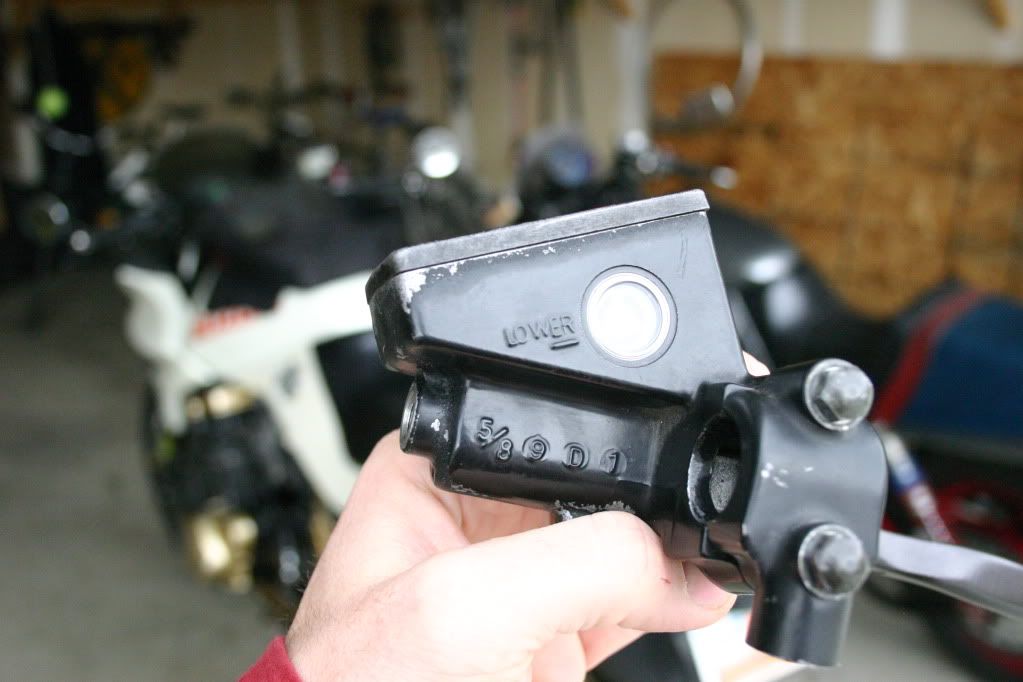


")