How To Polish aluminum I started writing a how to a while ago and never finished it then i seen some guys asking how to polish **** so I went ahead and finished writing it. This is how I Polish and it gives me near chrome results. I'm sure other people will have suggestions and revisions so post em' up.
Materials Needed:
Rubber dishwashing gloves
Drill/dremel w/ sandpaper flap wheel ( for smoothing out casting/welds
Sand paper (waterproof kind)
Bucket of water or a sink
Rags
Polishing wheel, cotton or flannel (I like the small spiral sewn wheels that fit in a drill)
Compound (some people use rouge but just about any metal polish will work, some are better than others, I use Wenol, and I highly recommend it)
Lots of time, patience, and work
-Some good places to buy polishing material-
-
Eastwood Company: Auto Tools, Body Repair, Classic Car Restoration, House of Kolor Paint, Powder Coating
-
Buy Craftsman Tools | Fitness Equipment | Kenmore Home Appliances | Lawn & Garden Equipment | Sears.com - Where It All Begins
-
Harbor Freight Tools - Quality Tools at the Lowest Prices
The object is to make the surface as smooth as possible. The reason polished metal shines is that there are no scratches in the surface so all the light hitting it gets reflected in the same direction creating a mirror effect. Rough metal reflects the light in different directions making the surface look dull.
I recently polished my forks so I’ll use them as an example.
Prep Work:
Remove paint with aircraft stripper, this can be purchased at pretty much any
auto parts, or painters supply store, fine steel wool will also help with the stripping process.
Oven cleaner will remove anodizing, so will sanding it will just take longer. Buy EZ off heavy duty or generic equivelent (do not buy the reduced fume version). This **** is a caustic and it will burn the **** out of your skin so wear gloves! spray it onto the piece your are going to polish and let it sit for 20 min and then check on it, if all the anodizing isnt gone then respray and let sit another 20 min. (I had to let my swingarm sit about an hour and a half before it was done). Be careful with letting it sit too long without checking on it, some lower quality aluminum will start pitting if it sets too long.
Powder coating needs to be baked off using high heat, this is a specialized procedure.
It’s a good idea to remove bearings from wheels and swing arms so **** doesn’t get into them.
After you have removed the old coating(if there was one) the next thing to do is looke for rough spots like if a piece was casted, has machining lines on it, or welds. These areas can be cleaned up easily with a sandpaper wheel on a drill/dremel. These wheels can be had at sears. Be careful not to take more weld off than what you have to; to try and maintain the integrity of the welds.
example of a flap wheel:
Step 1: First Grit
All sanding done is wet sanding, where you have a bucket or sink full of water that you are constantly dipping the sandpaper into to keep it clean.
Wear the dishwashing gloves while sanding. They will protect your skin. if you don't wear them be prepared to have your fingers rubbed raw. (try and get a pair that fits tight, that way you have a good feeling and a solid grib on the sandpaper).
In this step you want to get all the scratches, nicks, and left over paint off the surface of the metal. My forks had a few rough spots in the back so I had to use 150 grit on these spots to smooth them out. Next I went over the 150 spots and the whole rest of the fork with 240 until it was all uniform.
Do all your sanding in a back and forth motion, not circles. Try and sand the whole piece in the same direction, then on the next grit sand in the opposite direction. This makes it easy to see if your getting all the scratches.
Getting into tight spaces can be a little difficult. I usually use something like a paint stick or an artist style paintbrush and just wrap the sand paper around the end to get into places my fingers can’t reach. Obviously you can use what ever you think will work the best these are just some suggestions.
Step 2: Second Grit
This should be a couple hundred grits finer. Try and use the highest grit that you can, just remember the object of this step is to erase the scratches from the previous step, so if you choose too fine of a grit you will either be there all day trying to sand out step one’s grit or you wont sand it out at all and the final finish will look like garbage. The quality of the final finish depends greatly on your patience, MAKE ABSOLUTELY SURE YOU SAND ALL THE PREVIOUS GRITS SCRATCHES OUT! For step 2 of my forks I used 320.
Step 3: Continue sanding
Repeat step 2 with another finer grit and continue doing this until you get to 1500 or 2000. On my forks the grit order went from 320 – 400 – 600 – 800 – 1200 – 2000. You can get away with skipping some of the grits if you take your time I just like knowing I completely covered the previous grits scratches.
Step 4: Polishing
(I like to wear latex gloves while polishing so I dont mark everything up with fingerprints.)
Now just polish with metal polish or rouge. You will need to do this mechanically, by hand just wont get it good enough. The compound is actually a very fine abrasive that further smoothes out the surface and your arm and had just can’t move fast enough to do the job. I use a spiral sewn buff in a drill with Wenol polish. You can buy felt bobs for the hard to reach places, they are just small polishers that fit in a drill some are half circle or cone shaped, they are great for corners.
If you take your time, and it will take a lot of time to do it right, the final result will look like chrome. (If the results are less than satisfying try using a different compound, again I highly recomend Wenol it produces a very nice shine and protects the finish pretty well)
I have recently talked to a few different powdercoaters and they have told me that you can powdercoat over polished aluminum. they said that it will dull the surface slightly, i'm still looking into it and am going to have something done as a test to see how slightly dull it gets in the near future.
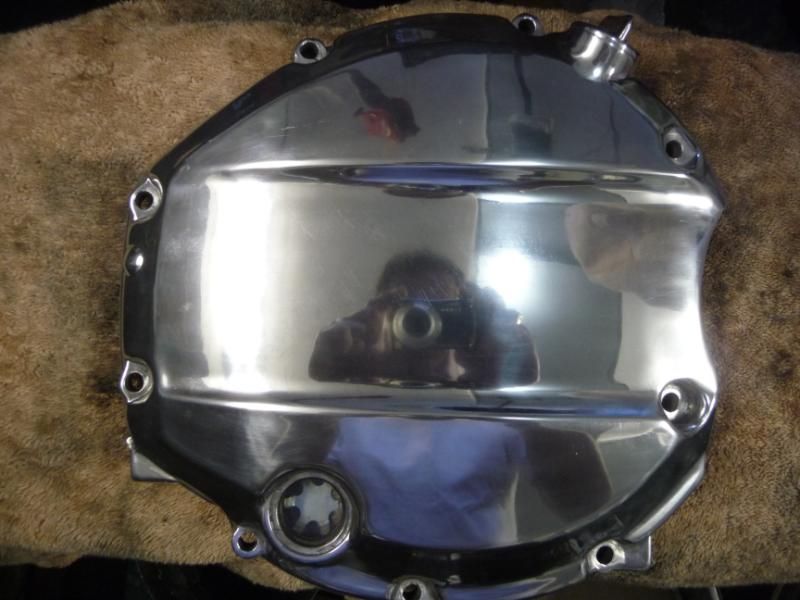
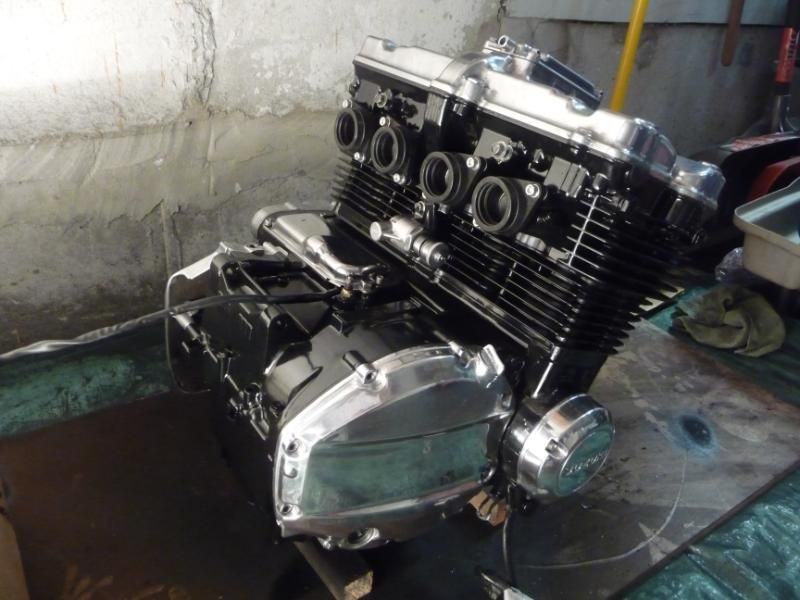
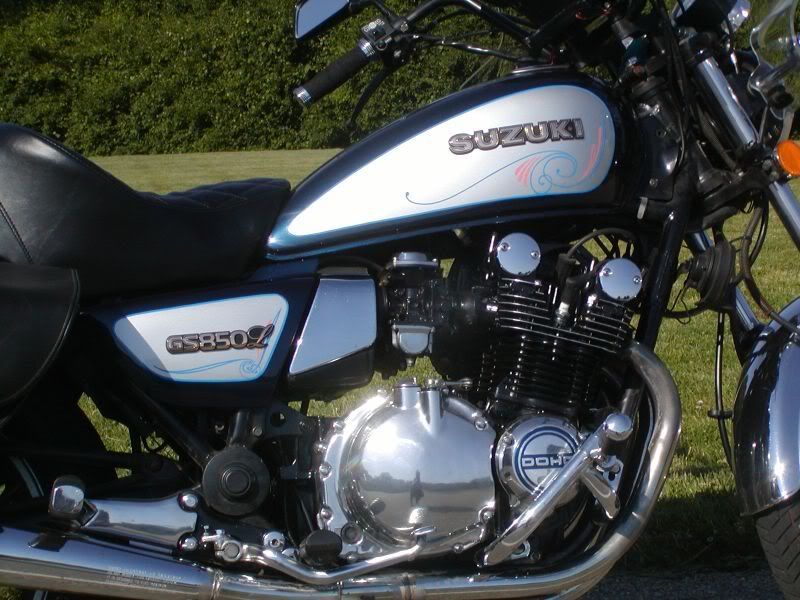
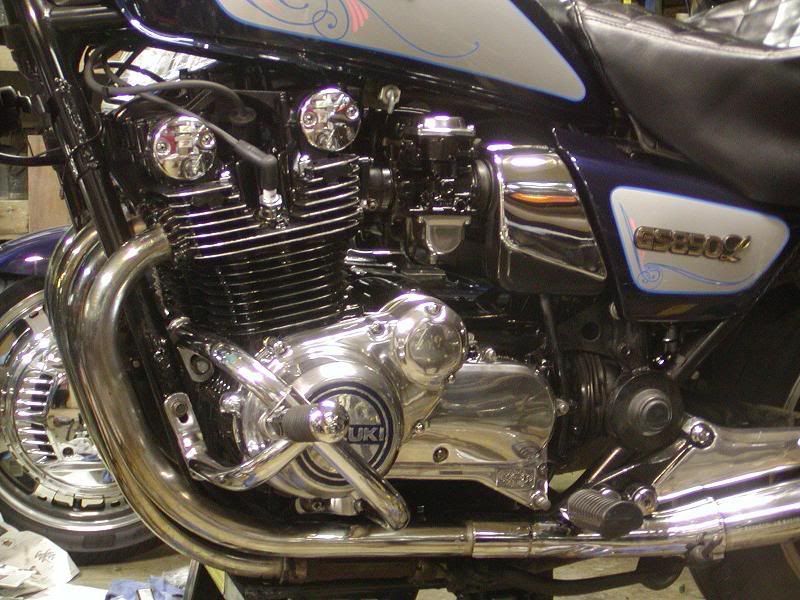
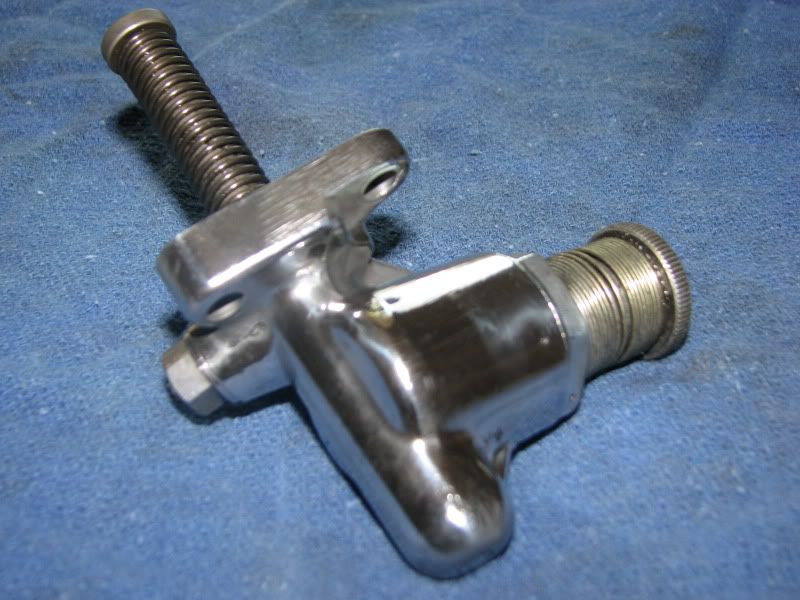
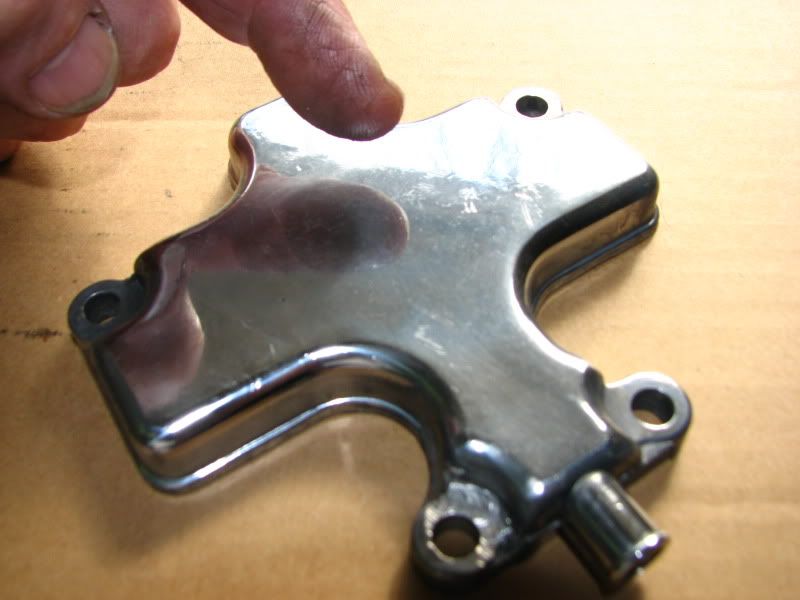
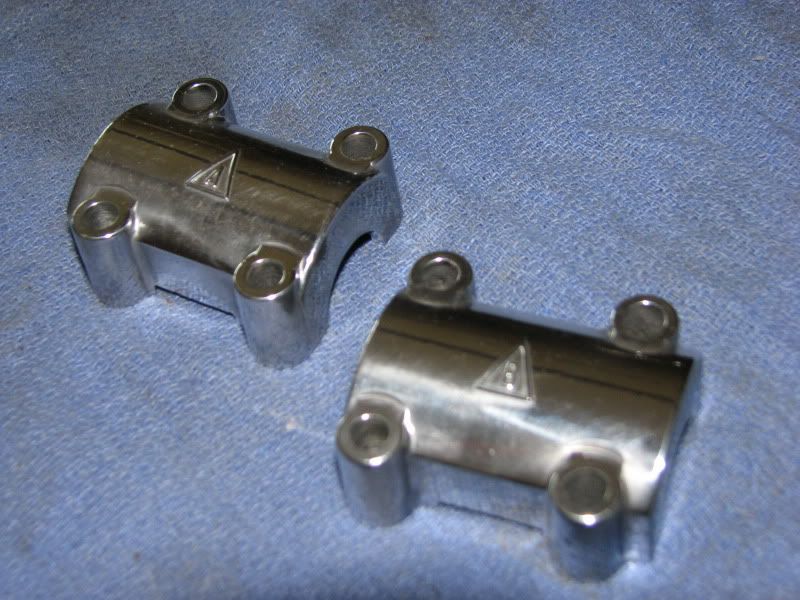
Heres some pictures, a before, halfway there, after, and a pic of a spiral sewn buff: