As moisture in vapor and liquid form occur in the air output of an air compressor and can have a detrimental effect on the quality of a paint job, I thought I would be nice to add a desiccant dryer to my existing system in order to remove whatever water vapor still exists, after going through the water separator I have already in place.
Let me state up front that a desiccant dryer is only a part of what is needed to remove all the contaminants normally found in the discharged air from an air compressor.
The first thing necessary towards removal of the contaminants is to drain the compressors tank on a regular basis. That doesn't mean every six months or even once a month, it means daily if the compressor is used regularly. The compressors tank is your first line defense towards having properly conditioned, oil and moisture free air. The second thing to look after on an air compressor is it's intake air filter. It needs to be inspected and replaced when it no longer is capable of doing it's job correctly. If it's plugged or full of dirt, the compressor WILL get it's air from some place and it won't be filtered. That unfiltered air goes right into the air tank air and into your air line(s) so keep the compressors filter clean and it's tank drained.
The other things needed to properly condition a compressors output are water and oil coalescers. A water coalescer (separator) removes the water in liquid form but does nothing to remove water vapor. That is where a desiccant dryer comes into play. It's job is to to remove the moisture in vapor form. A water separator normally includes a 5 micron filter.
The oil separator condenses the oil droplets present in the compressors output, allowing them to be collected and expelled out the bottom of it's bowl. An oil separator usually includes a .01 micron filter. In addition the oil separator, in most commercial air line systems, is an oil vapor filter which may include some form of activated carbon in it's design. It's purpose is to remove what oil may still exist after going through the oil separator. It is usually located just before the dryer.
My version of a desiccant dryer...
Only common tools were used to make this.
Tools....
Drill bits. (3/32", 1/8" and 7/16")
Drill motor.
Locking pliers (you may be able to substitute channel lock pliers)
1/4" N.P.T tap.
Pipe wrenches.
Various sockets (for tracing the sheet stock and 50 micron screen and also as a form to wind the spring on)
Adjustable wrench. (open end wench could also be used)
Center punch.
Scribe. (nail-awl-pick)
Scissors.
Materials....
Galvanized pipe. (I used 1-1/4" x 12")
(2) galvanized pipe caps.
1/4" pipe plug. (to check the desiccant in lew of a sight glass)
Thin aluminum sheet stock.
Coat hanger (poor mans spring)
50 Micron screen (Ebay $2.64)
Desiccant (Ebay $16 a quart. Enough to make three units @ 11 Oz per)
Pipe sealant tape (I used a PTFE sealant that hardens in the absence of air)
Various fittings to connect the dryer to your system.
Pictures...
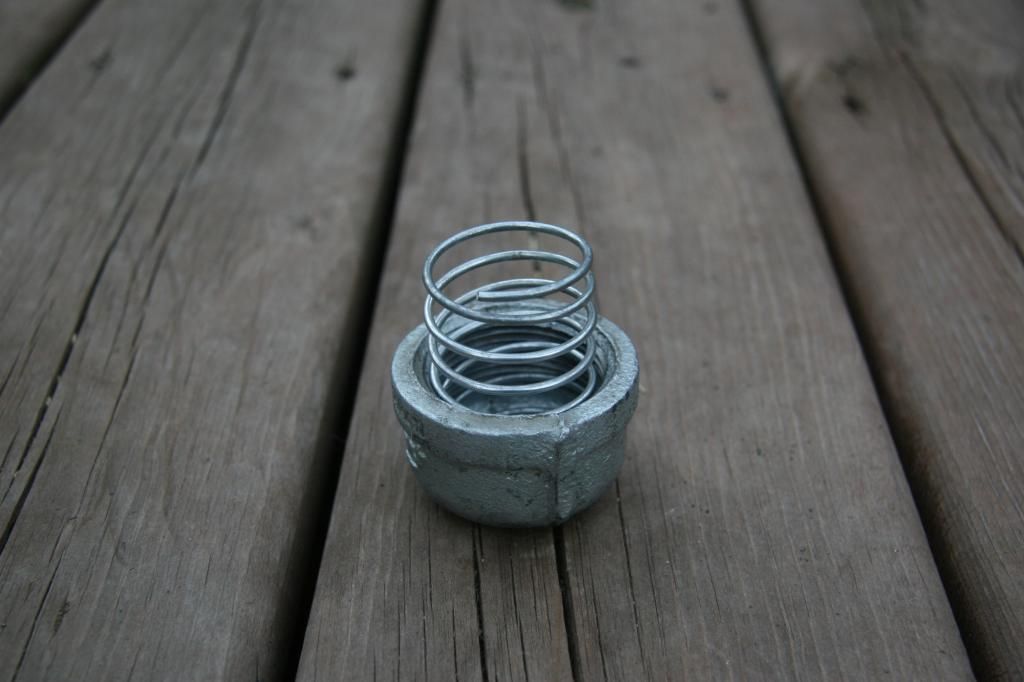
Winding the spring made from a straightened coat hanger. (note the direction its being wound around the 13/16" socket)
Drill and tap each pipe cap. Set aside.
Stretch the wound spring and cut it in half. Square up the ends after you cut it and adjust as necessary to get it to fit inside the pipe and pipe caps. Note* friction fit is necessary on the galvanized pipe side to hold the filter screen and drilled aluminum plate in place. Ensure the other end fits loosely inside the pipe cap.
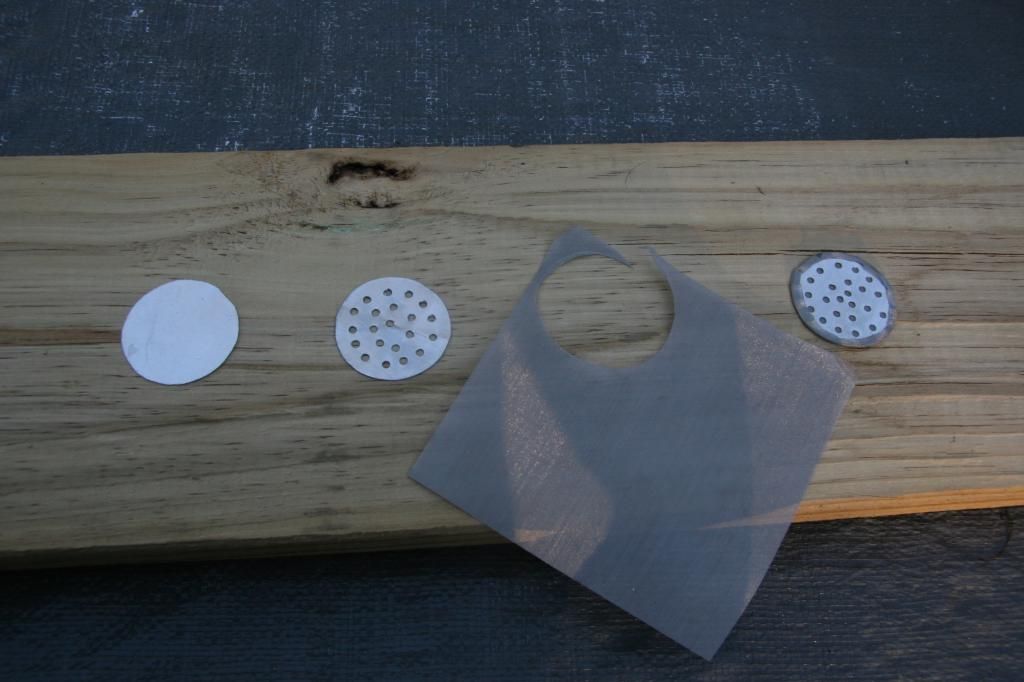
Find a socket that closely compares to the I.D. of the pipe and use a sharp nail- awl-pick to trace it's outline on to the aluminum sheet stock. Cut with tin snips (aviation sheers) File and or sand so it will fit inside the pipe with only a slight gap (In order to allow for the 50 micron screening wrap) Drill 1/8" or 5/32" holes as depicted. Choose a larger socket, trace and cut out the screening material, wrap the previously drilled plate. (X2)
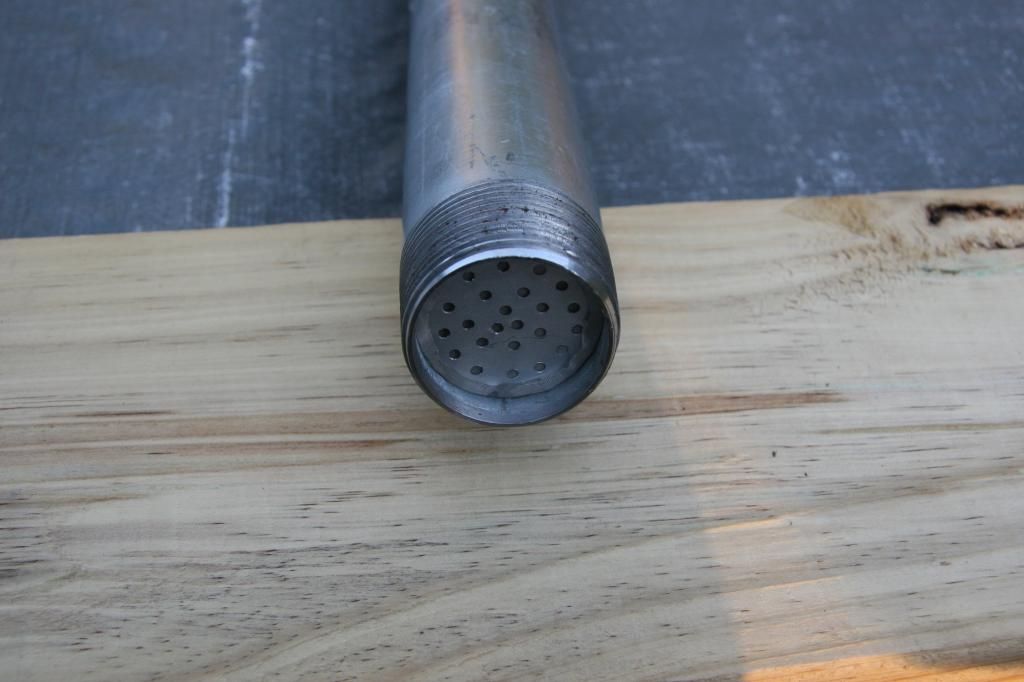
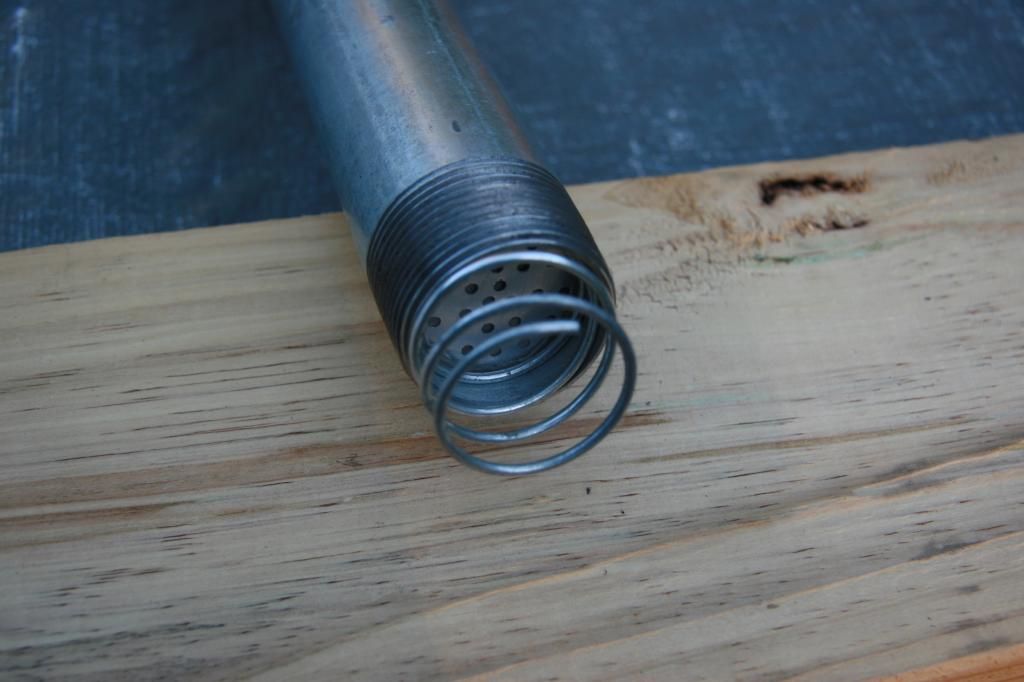
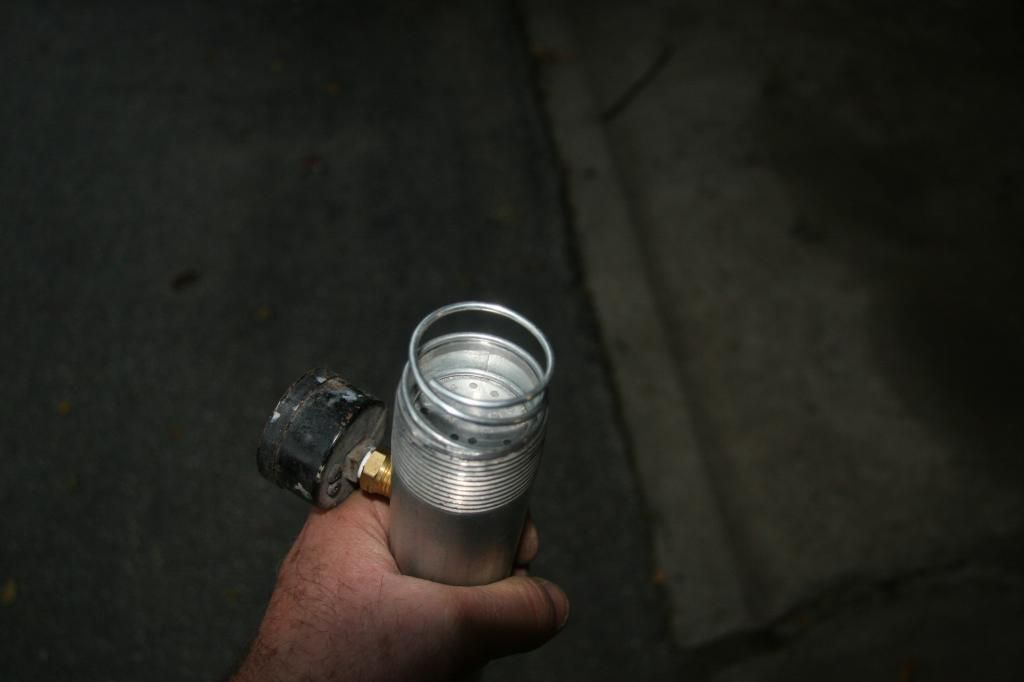
Insert one plate/screen assembly squarely into the pipe with the screen side facing inward to a depth of about 13mm. Insert spring.
I drilled and tapped the side of the pipe at this point to accept a 1/4" pipe plug. You can do it before you install the screen assy and spring if you would like.
Clean chips out. Insert sight plug. Install pipe cap on the one end.

From the other end, fill with desiccant to within 5/8" from the end. Insert the remaining screen assy and the remaining spring. Seal the threads-install and tighten the remaining pipe cap.
Let me state up front that a desiccant dryer is only a part of what is needed to remove all the contaminants normally found in the discharged air from an air compressor.
The first thing necessary towards removal of the contaminants is to drain the compressors tank on a regular basis. That doesn't mean every six months or even once a month, it means daily if the compressor is used regularly. The compressors tank is your first line defense towards having properly conditioned, oil and moisture free air. The second thing to look after on an air compressor is it's intake air filter. It needs to be inspected and replaced when it no longer is capable of doing it's job correctly. If it's plugged or full of dirt, the compressor WILL get it's air from some place and it won't be filtered. That unfiltered air goes right into the air tank air and into your air line(s) so keep the compressors filter clean and it's tank drained.
The other things needed to properly condition a compressors output are water and oil coalescers. A water coalescer (separator) removes the water in liquid form but does nothing to remove water vapor. That is where a desiccant dryer comes into play. It's job is to to remove the moisture in vapor form. A water separator normally includes a 5 micron filter.
The oil separator condenses the oil droplets present in the compressors output, allowing them to be collected and expelled out the bottom of it's bowl. An oil separator usually includes a .01 micron filter. In addition the oil separator, in most commercial air line systems, is an oil vapor filter which may include some form of activated carbon in it's design. It's purpose is to remove what oil may still exist after going through the oil separator. It is usually located just before the dryer.
My version of a desiccant dryer...
Only common tools were used to make this.
Tools....
Drill bits. (3/32", 1/8" and 7/16")
Drill motor.
Locking pliers (you may be able to substitute channel lock pliers)
1/4" N.P.T tap.
Pipe wrenches.
Various sockets (for tracing the sheet stock and 50 micron screen and also as a form to wind the spring on)
Adjustable wrench. (open end wench could also be used)
Center punch.
Scribe. (nail-awl-pick)
Scissors.
Materials....
Galvanized pipe. (I used 1-1/4" x 12")
(2) galvanized pipe caps.
1/4" pipe plug. (to check the desiccant in lew of a sight glass)
Thin aluminum sheet stock.
Coat hanger (poor mans spring)
50 Micron screen (Ebay $2.64)
Desiccant (Ebay $16 a quart. Enough to make three units @ 11 Oz per)
Pipe sealant tape (I used a PTFE sealant that hardens in the absence of air)
Various fittings to connect the dryer to your system.
Pictures...

Winding the spring made from a straightened coat hanger. (note the direction its being wound around the 13/16" socket)

Drill and tap each pipe cap. Set aside.

Stretch the wound spring and cut it in half. Square up the ends after you cut it and adjust as necessary to get it to fit inside the pipe and pipe caps. Note* friction fit is necessary on the galvanized pipe side to hold the filter screen and drilled aluminum plate in place. Ensure the other end fits loosely inside the pipe cap.


Find a socket that closely compares to the I.D. of the pipe and use a sharp nail- awl-pick to trace it's outline on to the aluminum sheet stock. Cut with tin snips (aviation sheers) File and or sand so it will fit inside the pipe with only a slight gap (In order to allow for the 50 micron screening wrap) Drill 1/8" or 5/32" holes as depicted. Choose a larger socket, trace and cut out the screening material, wrap the previously drilled plate. (X2)

Insert one plate/screen assembly squarely into the pipe with the screen side facing inward to a depth of about 13mm. Insert spring.


I drilled and tapped the side of the pipe at this point to accept a 1/4" pipe plug. You can do it before you install the screen assy and spring if you would like.
Clean chips out. Insert sight plug. Install pipe cap on the one end.

From the other end, fill with desiccant to within 5/8" from the end. Insert the remaining screen assy and the remaining spring. Seal the threads-install and tighten the remaining pipe cap.

Last edited:

 Looks good Dale.I think I can get a piece from wok just the right size to do mine.Two or 1 1/2 I think all threaded.Save my friend a bit of work he was going to do me.Will need a pipe tap.
")
 It will be up on my shed wall hooked up to my compressor so I doubt even the most..........challenged cop would think it was a pipe bomb.Then again


