• Required reading for all forum users!!!

    Welcome!
    Register to access the full functionality of the GSResources forum. Until you register and activate your account you will not have full forum access, nor will you be able to post or reply to messages.

    A note to new registrants...
    All new forum registrations must be activated via email before you have full access to the forum.

    A Special Note about Email accounts!
    DO NOT SIGN UP USING hotmail, outlook, gmx, sbcglobal, att, bellsouth or email.com. They delete our forum signup emails.

    A note to old forum members...
    I receive numerous requests from people who can no longer log in because their accounts were deleted. As mentioned in the forum FAQ, user accounts are deleted if you haven't logged in for the past 6 months. If you can't log in, then create a new forum account. If you don't get an error message, then check your email account for an activation message. If you get a message stating that the email address is already in use, then your account still exists so follow the instructions in the forum FAQ for resetting your password.

    Have you forgotten your password or have a new email address? Then read the forum FAQ for details on how to reset it.

    Any email requests for "can't log in anymore" problems or "lost my password" problems will be deleted. Read the forum FAQ and follow the instructions there - that's what we have one for...

  • Returning Visitors

    If you are a returning visitor who never received your confirmation email, then odds are your email provider is blockinig emails from our server. The only thing that can be done to get around this is you will have to try creating another forum account using an email address from another domain.

    If you are a returning visitor to the forum and can't log in using your old forum name and password but used to be able to then chances are your account is deleted. Purges of the databases are done regularly. You will have to create a new forum account and you should be all set.

GS 750 es : Let s bring it back to life!

  • Thread starter Thread starter Etcheberri
  • Start date Start date
Check out my fork tol on page 13 of my build thread, just like he said, a length of threded rod and 4 or even 2 19mm nuts
http://www.thegsresources.com/_forum/showthread.php?t=162366&page=13

And yeah, you really do want to strip it and clean it up in there, you won't believe the gunge that comes out.

My 30 year old fork oil
ForkOil.jpg

true!
i forgot u had nice pictures of the process.

by the way, where did you buy your seals and circlips?
 
I got my seals localy from a bike shop up the road from me, and the circlips from a buddy of mines bearing shop, but you can pick up the circlips from any bearing supply store, and the good folk here should be able to point you in the right direction for seals on your side of the pond, I would guess there is probably not more than a buck or two diffirence in price wether you get them from E Bay or Z1 or the likes, so I guess your favorite parts supplier.
I prefer the proper circlips to the little wire retainers Suzuki used.
 
hello fellas,

sry no pictures today!
i promise i ll have some more next time :)

I received my quick disconnect male/female spades connectors, ones with platic protection and all, so i redid the whole harness with these.

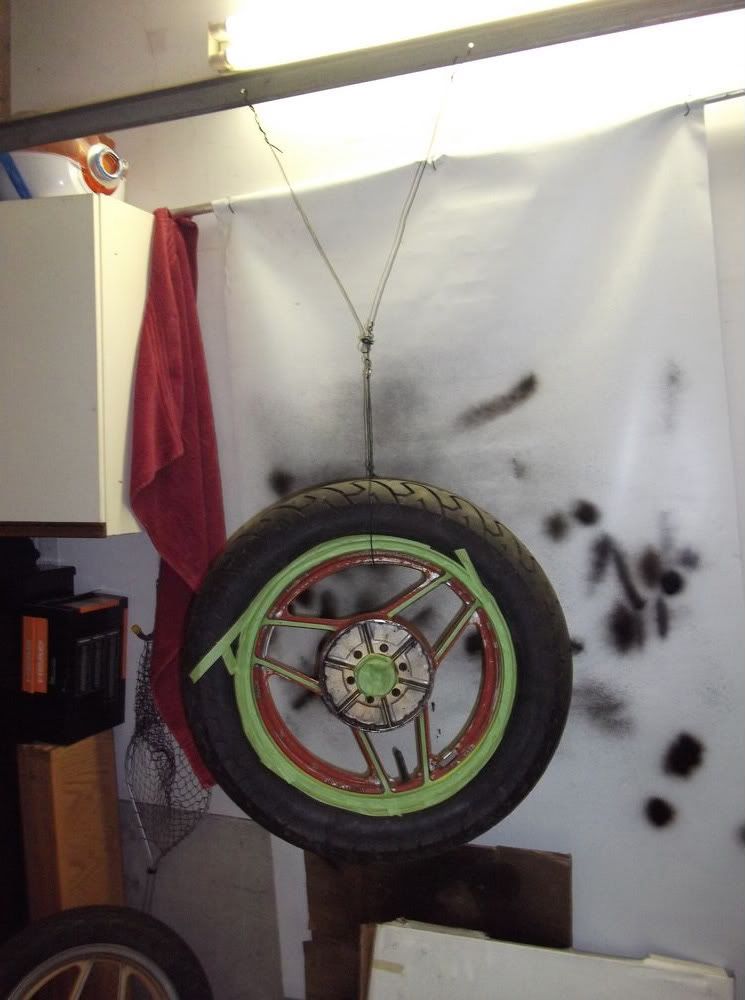
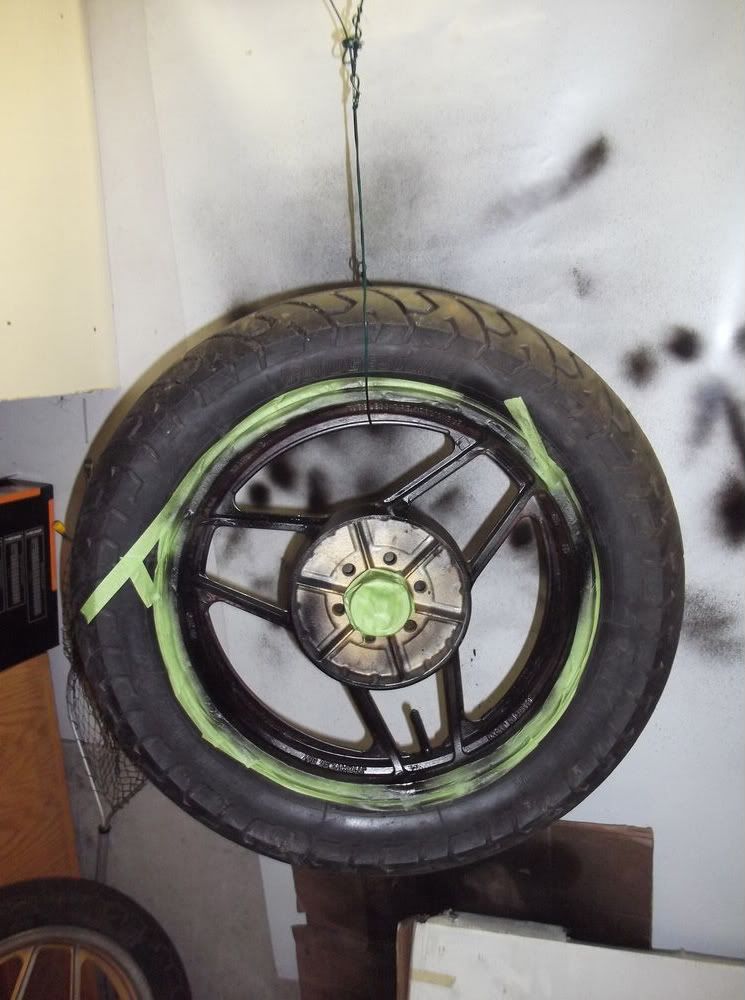
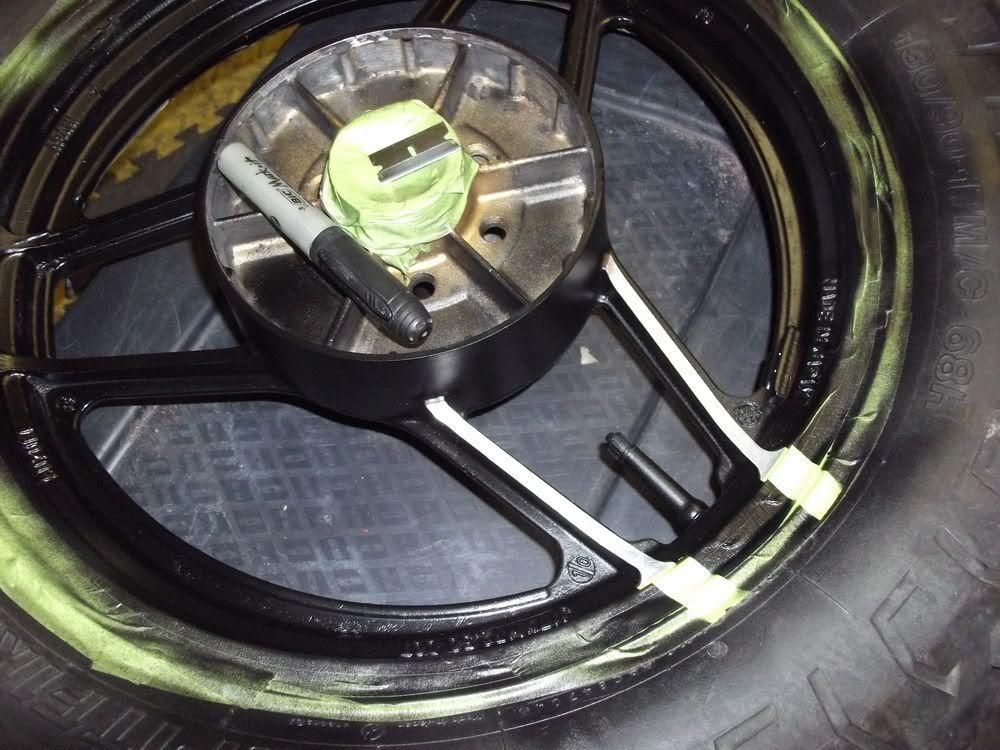
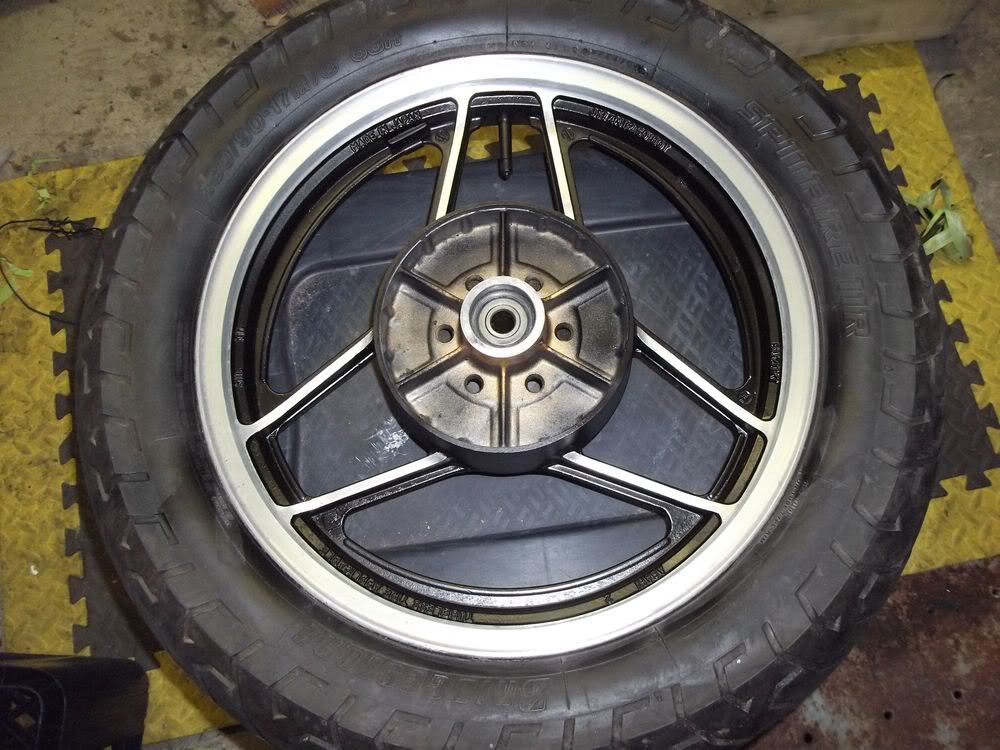
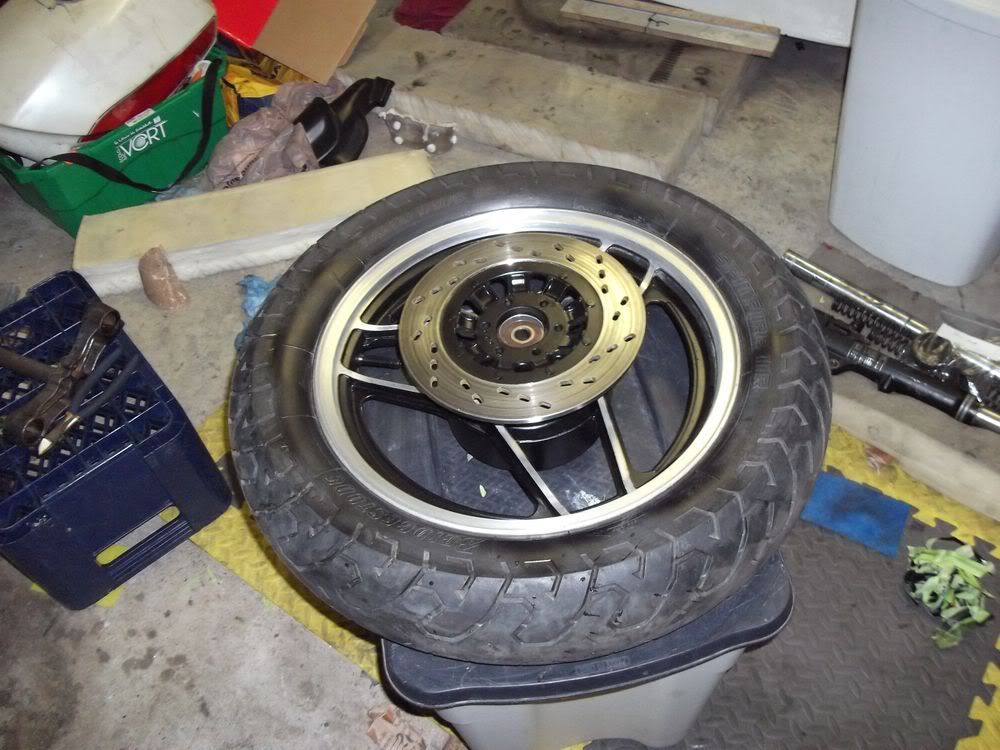
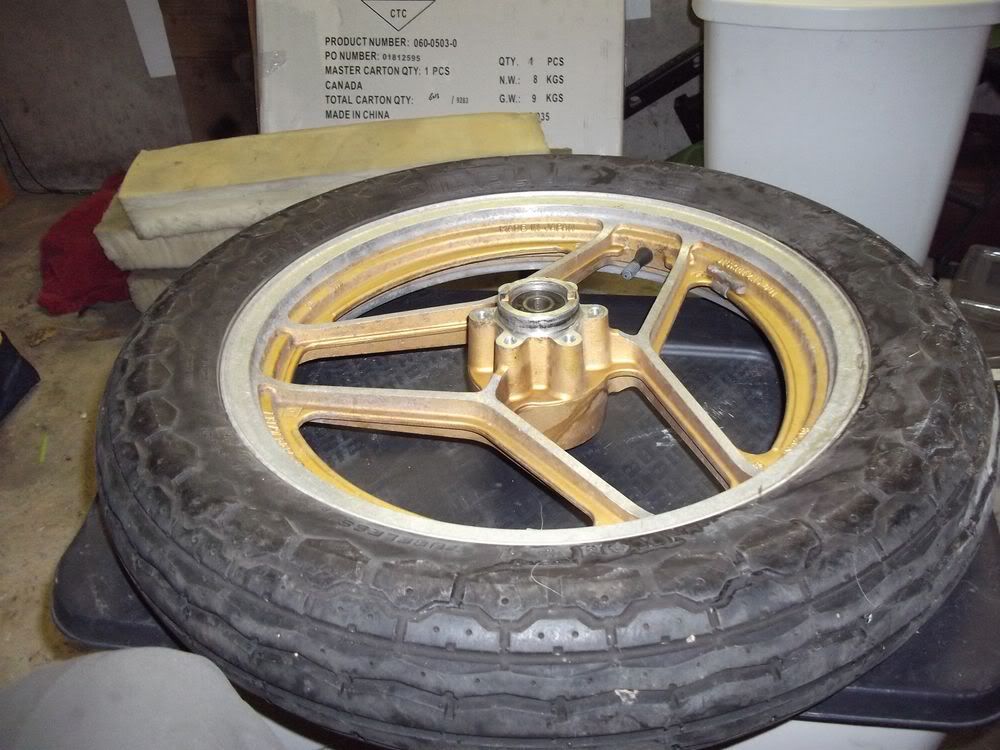
started to clean a bit my wheels, tried some things (chisel, you know like a ''Burin'' and concrete anchor bolts ) to remove the blind wheel bearings... jeez nothing seems to work, i guess i ll ask a friend to help me on that one,
one that would have the tool :p hum.:D

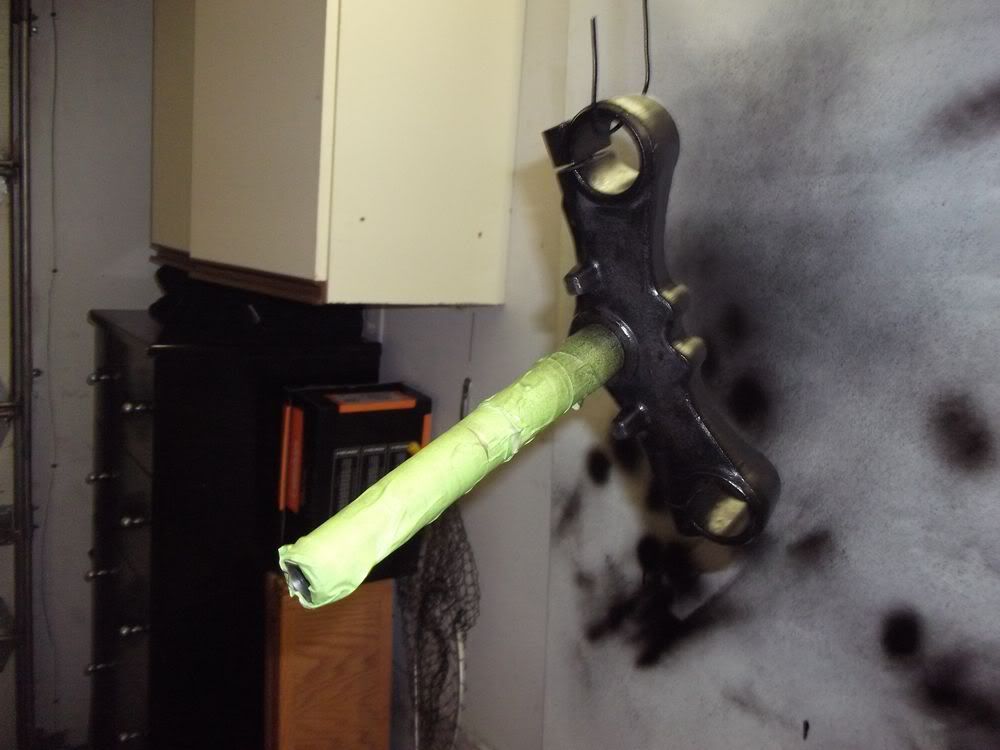
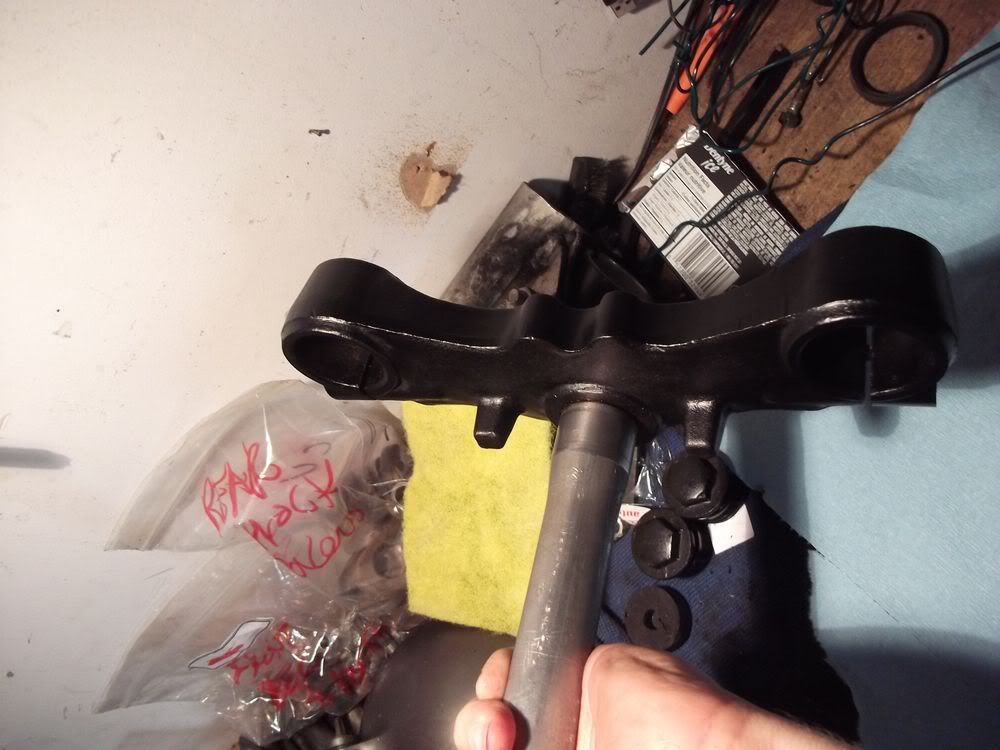
Same goes with that ******* race steering bearing, it won t budge, i tried hard with chisels and all, nothing... grrrr:mad:

Right now my goal is to finish the wheels, shocks and break lines, so that way i ll start to see the baby getting back together, it s depressing to have everything in parts everywhere! :(

aaaaand, i need more money! i am stuck right now, i ll have to wait a bit,
good news though, it s my birthday this month and the whole family asked for my wish list (which is not something we usually do, in our family) , and well, you guessed it : only PARTS! are on that list (and tools :rolleyes:)

they re great, that s pretty cool, lov'em.


hey i know i should start parting out the other bike (mostly to try getting some money back, if it s doable), but for some reason i can t do it, i think i need to see my project in a rolling frame state before even thinking of that :hand:

anyway, sorry for the ''no pics day'', camera problem.

peace!
 
Last edited:
Hey Etcheberri, good to see another update on your project.
Don't sweat it too much, these little speed bumps in the road are all part of the game, gets your creative juices flowing.
The wheel bearings are easy, long drift through the center of the bearing up against the inside of the bearing on the opposite side, one big hammer an just bliksem it out, they not too tight in there.
Now the outer races of the steering head bearings, they are a whole different kind of fun altogether, as you have found out.:mad:
The easy way, if you have one, is to just cut the race in half with a dremel, I had to do that to get my swing arm bearings out because you can't get them from the back.
Or have a look at my build thread, right in the begining somewhere, I explained how I got mine out (before I had a dremel) by fashioning a crude, but effective tool, as I remember, I used one of the long engine mounting bolts.
 
hi Flyboy,

thanks for the tips,

i actually tried with a drift, but there s not much surface to make contact with, because of the inner tube spacer thing.
maybe i do it wrong!?

as for the steering, maybe i ll cut it off indeed, or i ll try your description of a tool :)
might be fun.

thanks!
 
Good luck! Wheel bearings are one of those little finishing up tasks I've yet to do. I have them sitting here waiting for front and rear wheels along with a new brake disc...

Some people seem to find them easy, others find them difficult... I'm hoping mine will come out easily as I don't want to use heat and destroy the paint job on the wheels :eek:
 
i actually tried with a drift, but there s not much surface to make contact with, because of the inner tube spacer thing.
maybe i do it wrong!?

thanks!
Knock that sucker off to the side!
In better terms, if you put your drift in the first bearing, down through the spacer and can feel the lip of the next bearing raise up a little with your drift so you are at the bottom of the spacer, then hit your drift sideways. This moves the spacer just enough to get a edge of the bearing exposed to get a good first "whack" at it. From then on the spacer should be loose enough to lever over to get all the way around the bearings inner race evenly.
Also it helps to support the center hub on a block of wood. I don't know if you have an inflated tire on it, but that would absorb some of the shock... A wood block under the hub holds it solid but won't damage the rim center.
 
@Hoosy :)

thanks for the info and tips.
i appreciate it, finally, i was scheduled with a friend for that part so i went on with that today.
i ll try removing wheel bearing on the other set of wheels just for the heck of it.

Hi everyone!

today i went to a friend of mine's garage,
so he could have a look at my wheel bearings and my lower steering bearing too.

first he checked the wheels, surprisingly he told me those bearings are in perfect shape and i would be dumb to remove them... as a matter of fact i felt they might be all right, but having no idea of how they where maintained and since when they are in there, i dunno, i wanted to change 'em! :)

they ll stay there for now then,

and good news, yet extracted that sucker for me.
DSCF0661.jpg

Thanks Johnny :)

back home i started working on the rear wheel. about f'in time!
DSCF0654.jpg

gave it a lil bath
DSCF0657.jpg

started to clean/sand the bare metal zones.
DSCF0660.jpg

gave a rough sanding on painted sides, made sure to remove every flaky paint,
just enough to have a flat surface and something easy for the paint to bite one!

after everything was masked, time for the fun part :D
DSCF0665-1.jpg


as always, 2 light coats, and then as much thick ones as i think i ll need.
DSCF0666-1.jpg
 
Last edited:
removing the masking tape.
and some cheating when needed, scraping blade, and... a black marker :P
to go over some thin red paint lines i still had along the tapes... :rolleyes:

DSCF0670.jpg

DSCF0671.jpg


just for fun
DSCF0676.jpg
 
Nice job on the wheel, keep up the good work, I painted my rear wheel yesterday as well, will unmask today and see how it came out.
Nice to see another update.
 
i will order gaskets and o-rings this week.
to clean i used :
simple-green + green sponge
soapy hot water + toothbrush
WD40, let sit.
Soapy water.
Repeat sequence until clean enough.

Evaporust for smal rusted parts if necessary.

i don t have the patience to let them sit in something for 2 days hehe.

You've been doing great cosmetic work, but what about the mechanical?

What did you dip your carbs in to clean out all the internals?

Did you disassemble those brake calipers and replace the rubber bits?
 
You've been doing great cosmetic work, but what about the mechanical?

What did you dip your carbs in to clean out all the internals?

Did you disassemble those brake calipers and replace the rubber bits?
thanks,

i dip my carbs into pinesol after spraying them with carb cleaner, and dip every jets in a pot of carb cleaner, and used some thin wire to double check everything is clean.

these carbs were also not really bad when i first opened them, po did take care of them.

the calipers i have on that one are shot, especially the front ones, cylinder is rusted to death in its housing, i will use the calipers from my other bike, and of course i will replace every rubber bits.
 
Last edited:
Wanted to do something more fun than cleaning/sanding the front wheel today
DSCF0679.jpg


so i painted the T, and then went to take care of the seat
DSCF0683.jpg

DSCF0689.jpg


the seat after a good cleanup
DSCF0680.jpg

and the attach of the strap before sanding was done
DSCF0681.jpg


i used some duplicolor vinyl and fabric paint, works good.
DSCF0691.jpg

DSCF0694.jpg

DSCF0697-1.jpg


i will look to find, or redo, the strap later on :)
 
Last edited:
here s where some of my painted parts are waiting/curing :)

DSCF0699.jpg

and just for fun
DSCF0698.jpg
 
thanks,

i dip my carbs into pinesol after spraying them with carb cleaner, and dip every jets in a pot of carb cleaner, and used some thin wire to double check everything is clean.

these carbs were also not really bad when i first opened them, po did take care of them.

the calipers i have on that one are shot, especially the front ones, cylinder is rusted to death in its housing, i will use the calipers from my other bike, and of course i will replace every rubber bits.

Good to know, the carb thing wasn't quite clear (this my question) in your earlier post

And, can you come by my garage later?

I've got a few projects you could start on
 
Yeah, I got one you can finish too, :D, you gonna be riding shortly man, you moving right along there, I wish i could make progress like that.
That seat looks brand new.
Mate of mine had a little 750ES, I miss riding that bike, it had such nippy handling, was great fun to ride.
 
Hey,

well, i have finished my other wheel, received all the parts needed to finish front suspensions, and steering bearings.

though i am pausing a little bit, i keep working on it a little here and there, soon i ll come back at it, probably at Christmas break :)

thanks for asking!
 
I have to say, this is an amazing project - you have made incredible progress, and all of your work looks awesome! And to think, this will be your first bike. It's really impressive. Congratulations on fantastic work. You are going to love your first (and what could be your only) bike - these third generation 750's are just amazing engines and really fun bikes!

Again, congratulations on your progress so far, you are indeed, inspiring!
 
Back
Top