• Required reading for all forum users!!!

    Welcome!
    Register to access the full functionality of the GSResources forum. Until you register and activate your account you will not have full forum access, nor will you be able to post or reply to messages.

    A note to new registrants...
    All new forum registrations must be activated via email before you have full access to the forum.

    A Special Note about Email accounts!
    DO NOT SIGN UP USING hotmail, outlook, gmx, sbcglobal, att, bellsouth or email.com. They delete our forum signup emails.

    A note to old forum members...
    I receive numerous requests from people who can no longer log in because their accounts were deleted. As mentioned in the forum FAQ, user accounts are deleted if you haven't logged in for the past 6 months. If you can't log in, then create a new forum account. If you don't get an error message, then check your email account for an activation message. If you get a message stating that the email address is already in use, then your account still exists so follow the instructions in the forum FAQ for resetting your password.

    Have you forgotten your password or have a new email address? Then read the forum FAQ for details on how to reset it.

    Any email requests for "can't log in anymore" problems or "lost my password" problems will be deleted. Read the forum FAQ and follow the instructions there - that's what we have one for...

  • Returning Visitors

    If you are a returning visitor who never received your confirmation email, then odds are your email provider is blockinig emails from our server. The only thing that can be done to get around this is you will have to try creating another forum account using an email address from another domain.

    If you are a returning visitor to the forum and can't log in using your old forum name and password but used to be able to then chances are your account is deleted. Purges of the databases are done regularly. You will have to create a new forum account and you should be all set.

GS450S neaten up

  • Thread starter Thread starter wally
  • Start date Start date
W

wally

Guest
didn't get half as much done as I had hoped for over the weekend...

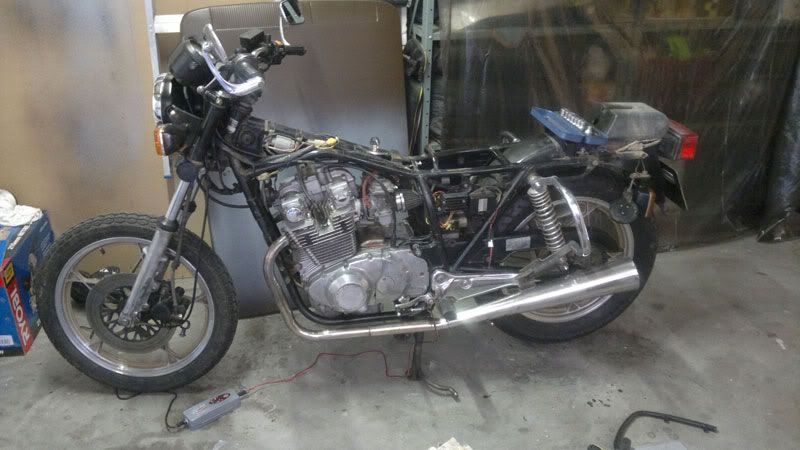
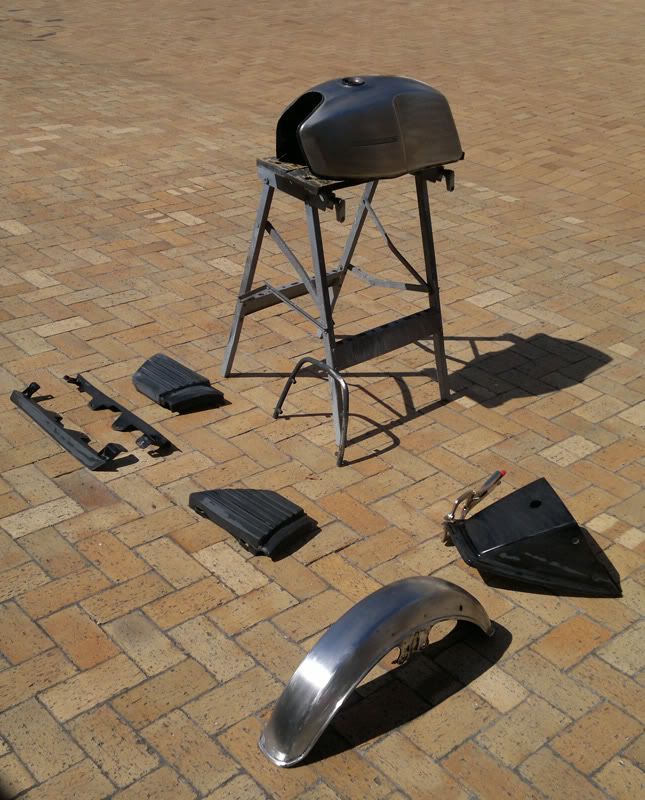
got the black GS torn down:
180220121151.jpg


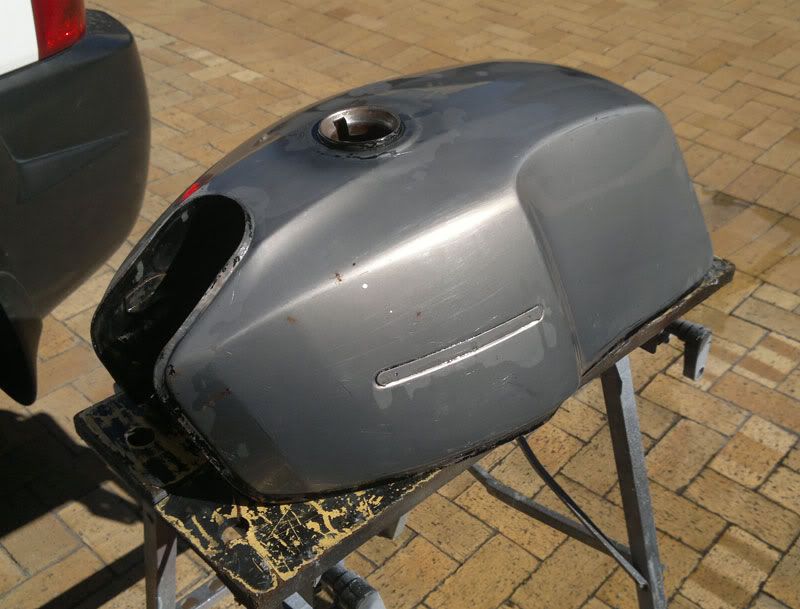
before I got there I took some greaseproof paper, stuck on the relevant panels with painters tape and did a rough trace by hand.
180220121144.jpg

180220121146.jpg


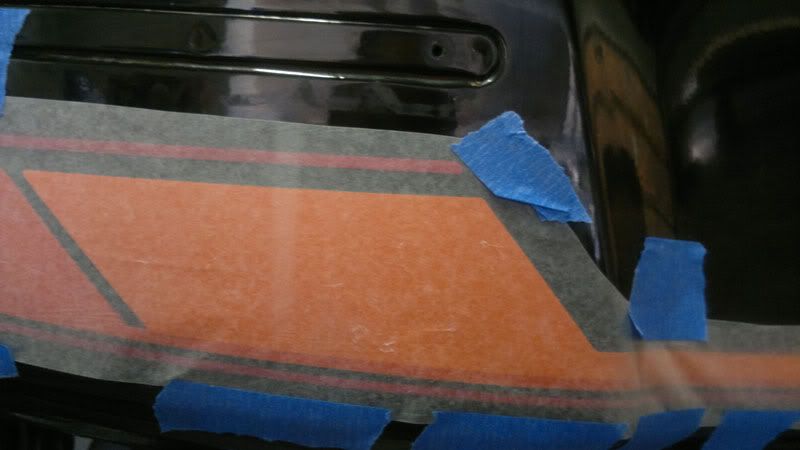
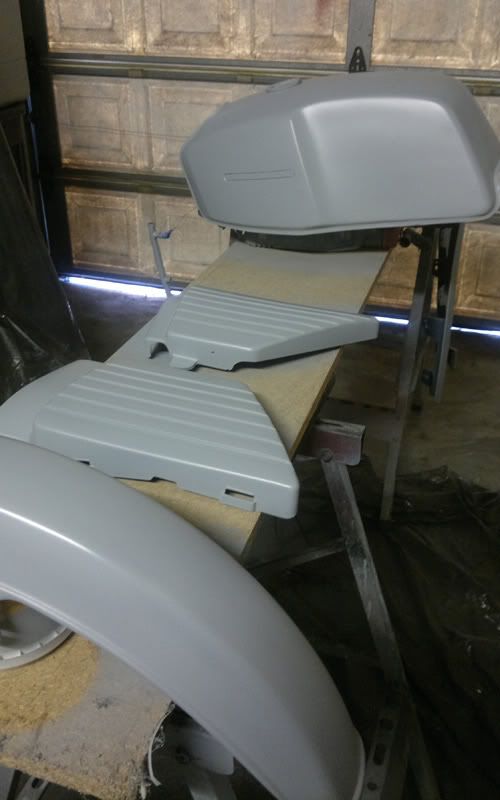
did this to all the decals (only on one side as the other is obviously a mirror image). the next step will be to scan this in and redraw it in illustrator (the joys of being a graphic designer I suppose...). will take some Pantone reference colours tonight for matching, then one of my suppliers will print and apply decals once I have sprayed the tank.

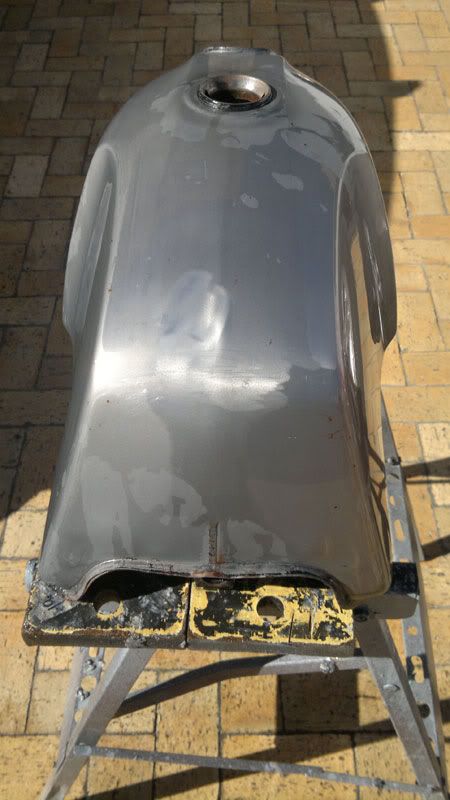
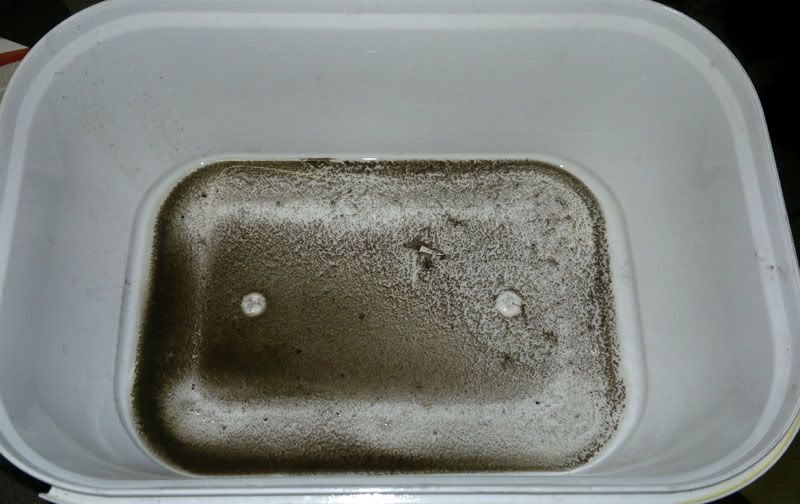
drained the tank and funneled into a jerry can and check what got caught in the sieve!
180220121150.jpg


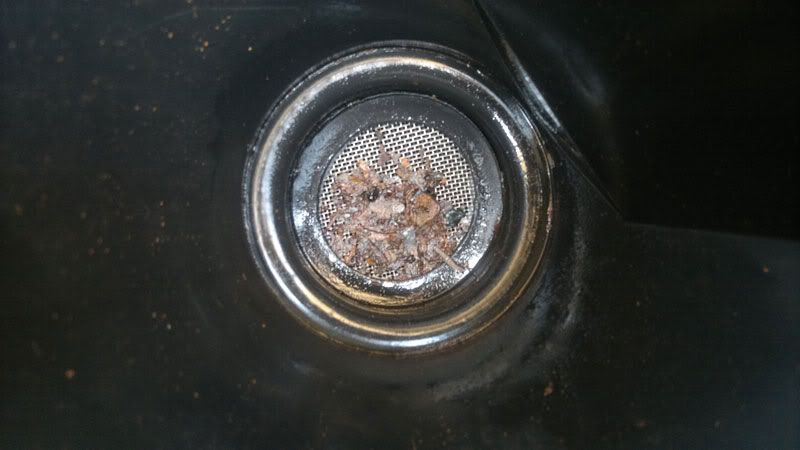
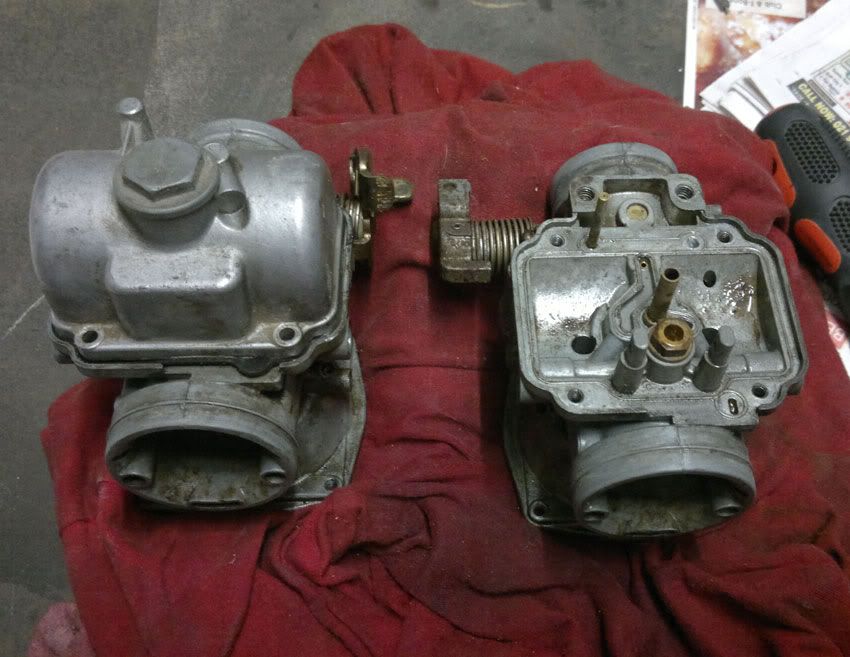
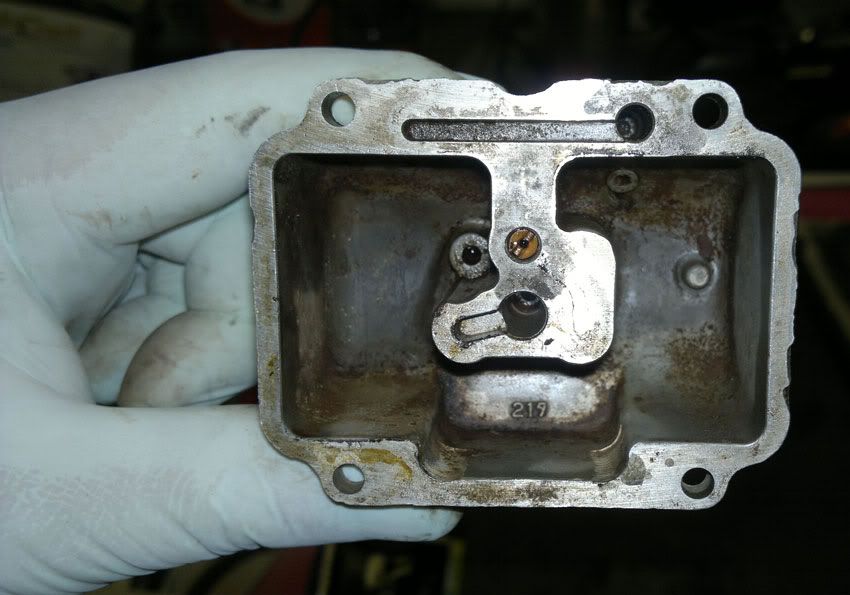
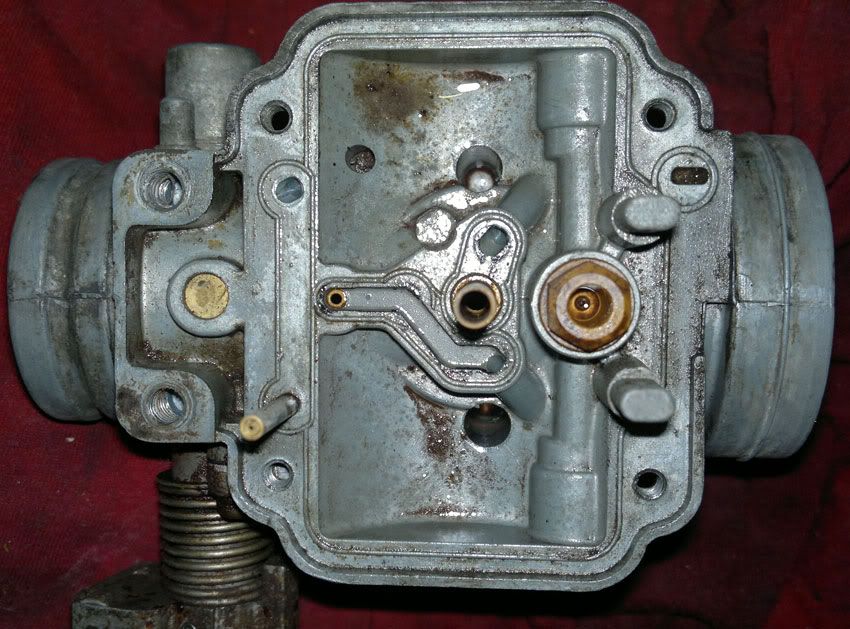
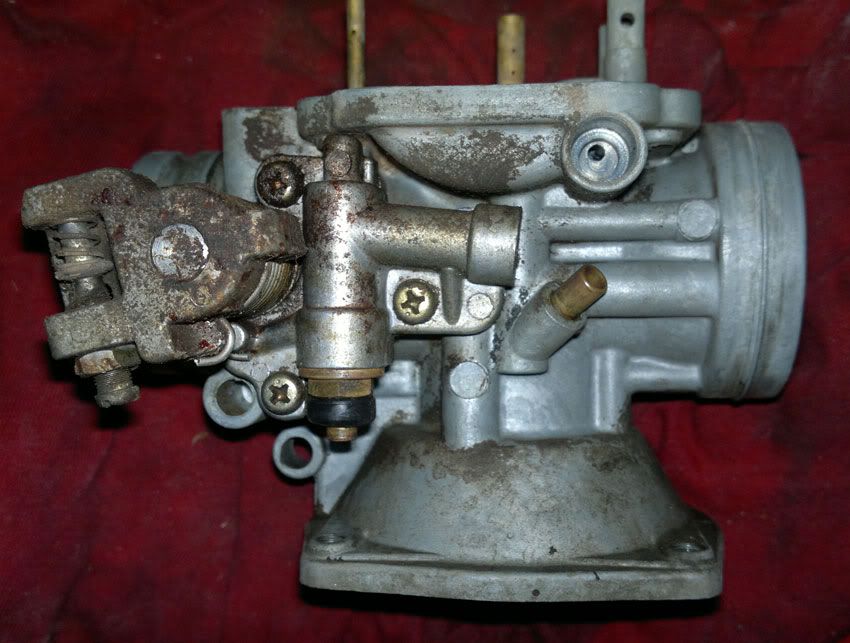
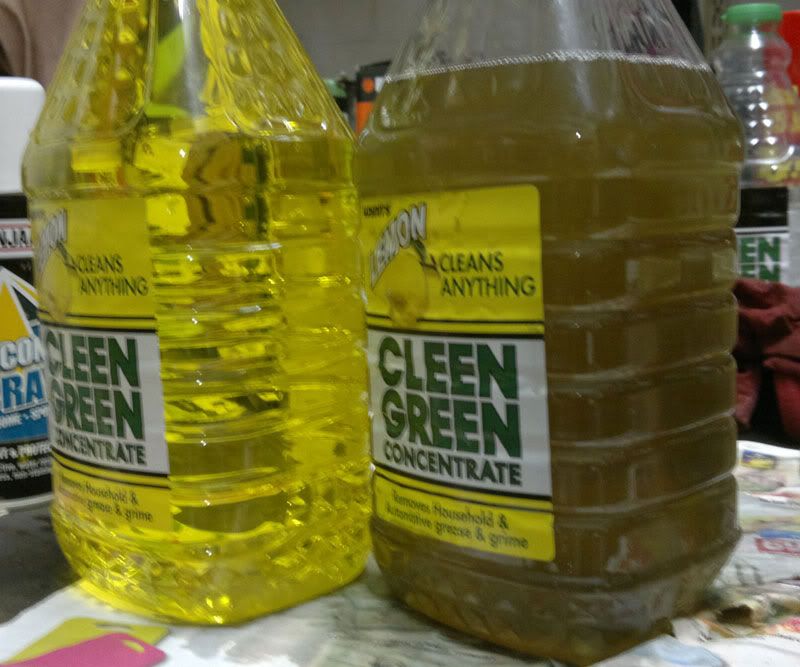
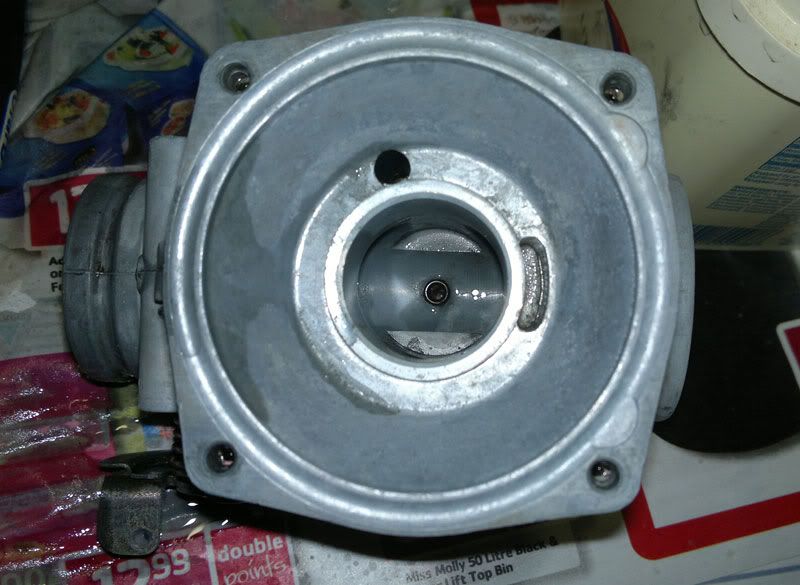
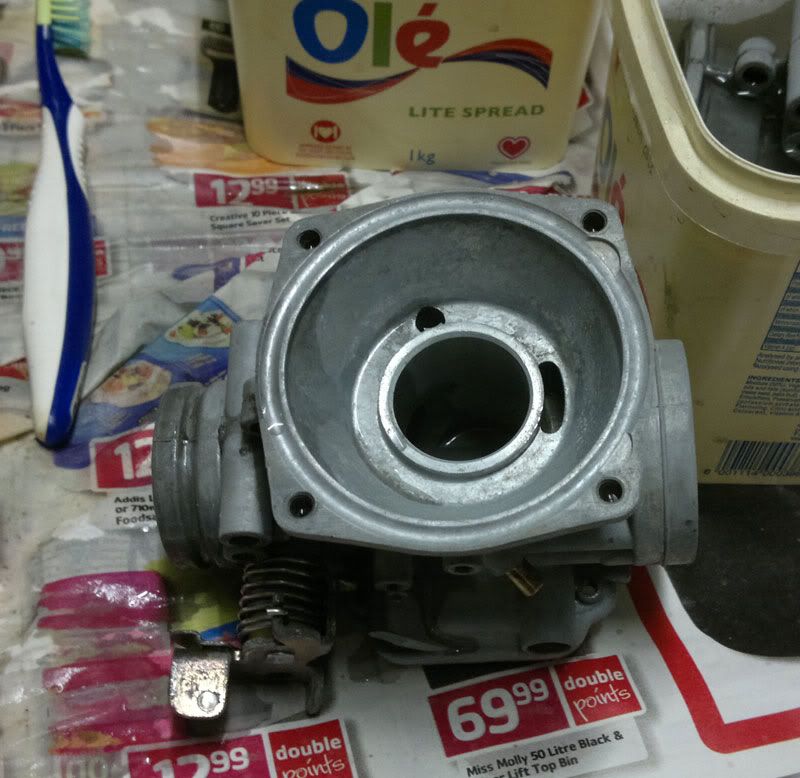
I think I need a good tank clearing and coating and possibly a carb clean as well! :eek:

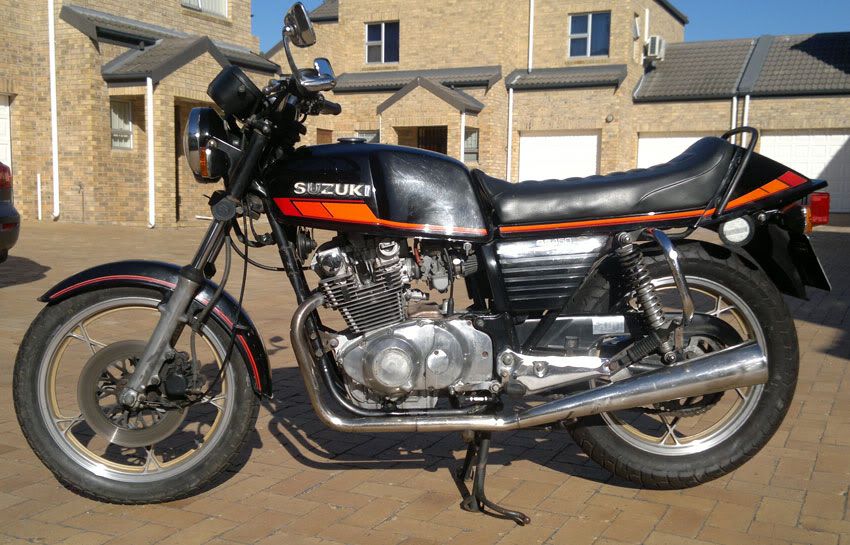
not sure if I want to go with the std decals or design something which looks like it could have been std??
1001201210181.jpg


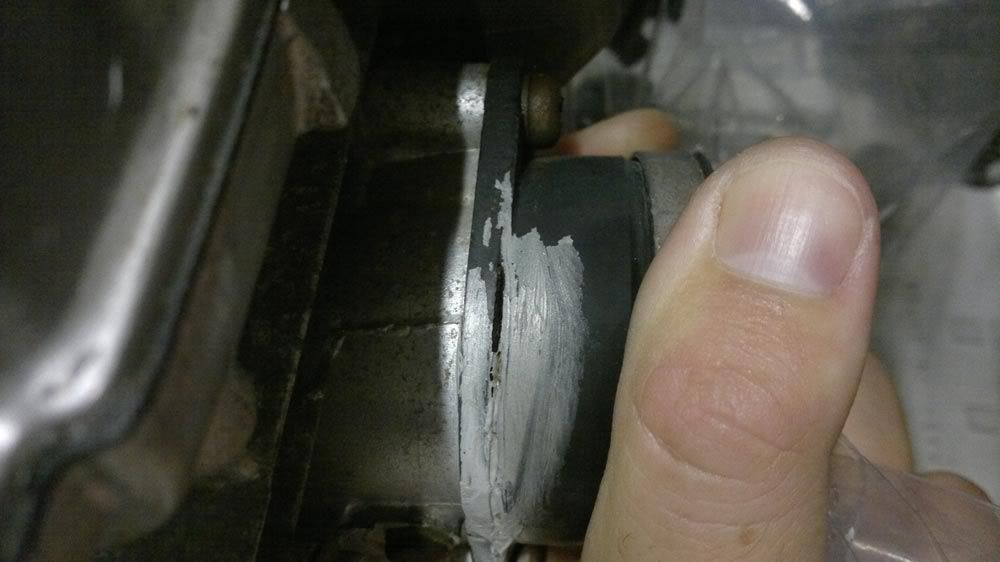
while the tank is off I need to get a look at where the little oil leak is from, fix it and then try and sort out electrical/charge issue.

if all goes well, it should be back together and running in weeks time or so. let's see...
 
Nice one Wally, tuning into this... love watching these twins coming back to life :)
 
OK, so nothing is ever straight forward and simple with older vehicles - you would think I learned my lesson on the Ranchero...:-s

anyway, took off the carbs to give it a clean over the weekend, since i found some gunk in the tank (which will now also have to be cleaned and treated).

seems the left-hand intake boot (is that the name?) has a small crack/tear in it:
220220121158.jpg

:mad:

is there a way to fix it or is it new parts? if so, do any of the South African guys know if stock is available here or solely off the net?

thanx!
 
Intake boot is the right phrase :)

And you can get them from Boulevard Suzuki in the states for about $25 each and it's well worth it. Replace both at the same time as they're probably hard/shrunken as well.

Also, www.cycleorings.com has a combo 450 kit with carb O rings, intake O rings for those boots, and stainless allen heads to replace the philips intake boot screws.
 
thanx Pete! will check it out.

i have some more questions on mind and will post soon for some more input. :)
 
Last edited:
thanx Pete! will check it out.

i have some more questions on mind and will post soon for some more input. :)

Good stuff. If ordering from Boulevard, you'll need to email them a list of what you want so they can send you a shipping quote etc.
 
stripped down the carburetor last night to give it a clean out and boy, what a mess!

also saw that the carb was slightly different to the other GS's one.
carbs_01.jpg


Float bowls:
carbs_03.jpg


Body:
carbs_02.jpg

carbs_04.jpg


now I have another problem: main jet's head is stripped in the right hand side - any suggestions in getting it out?

also redrew the tail graphics:
GS450S-Tailpiece.jpg


not colour correct yet - will eventually have a full set available as PDF download. also looks like I might be able to get the intake boots available locally! :dancing:
 
Eeeew those carbs are ugly... uglier than mine were anyway! A good dip should clean them up nicely though :D

Bugger on the main jet, is it just the head that's stripped? You won't easily get anything down through the drain hole there to slot it for a flat head screwdriver, so perhaps try a left hand drill bit just a little larger than the orifice? Be gentle and it just might bring it out for you.

An EZ out may work but don't break it off in there...

Also, nice work on the decals!
 
No EZ out... ick stay away especailly on the small stuff. Go with the left handed thread bolts. I have snapped two. The first time was my exhaust bolt on the old engine, the second time was the Idle mixture screw on the side of Carb #3.

Paul
 
had a productive weekend.

got wife involved and she helped to get the tank stripped. also got the fender stripped. now they have to be finished up and prepped for paint this coming weekend.


Paint_prep_05.jpg

Paint_prep_04.jpg

Paint_prep_02.jpg


also had the carbs soaking in Clean Green over the weekend and check the residue that stayed behind!!! :eek:

carb_clean_11.jpg


bottle on left shows what Clean Green should look like, one on right after it has done it's job on the carbs:
carb_clean_12.jpg


carbs all nice and shiny!
carb_clean_15.jpg

carb_clean_13.jpg


now soaking them in fresh water to get all cleaning stuff rinsed out.

decided to leave the stripped jet in - too much hassle and possible problems.

managed to fix the oil leak - I think! only one of knowing for sure and that is when the bike is up and running again!

i love doing this small stuff - gives me more joy than a massive job done. :D
 
Nice work Wally! Wasn't that long ago my tank was as bare as yours... and now it's all painted up nice :)
 
Nice work Wally! Wasn't that long ago my tank was as bare as yours... and now it's all painted up nice :)

I agree. You have what looks like a near perfect tank there. A nice canvas for your choice of paint.

Mark
 
thanx! is has some minor areas for attention, but all good, straight and dent free!

the cafe racer project bike's tank is another story...looks like the guy took a hit to the nuts on that tank! :eek:

anyway, it is going back to black - keeping this one fairly stock.

after this I need to complete my 2 1950s Fridges, then I can get to the Cafe racer project. One fridge has been waiting for almost 2 years now... :o

Never fear... my 450 went off the road at the beginning of 2002... only made it back on the road at the end of last year... :rolleyes:
 
spent most of Saturday morning sanding and prepping the various pieces:
Paint.jpg


got the first coat or 2 of primer on before various other duties popped up:

Paint-2.jpg


got some small problem areas that'll need some sanding again and hopefully another coat this coming Saturday. Then it will have to wait till next month for paint - bit tight this month with all the birthdays, anniversaries, holiday, etc...

also got the carb back together, bagged and tagged until it is ready to be installed again.
 
Nice progress there Wally, looks like all your bits are in pretty good shape there too.
 
thanx guys!

Hero, I had a look at those, but the design is completely different to what we had available here. Plus, I can get it remade through one of my suppliers for about 1/5th of the cost of those ones. That is the downside to when your currency is not as strong... :(
 
Been quiet for a while - public holidays and a 2 week vacation stuck in between.

I have managed to spray all my parts black (about 3 coats or so). Now I need to sand them smooth (seeing as I paint by trial and error) and prep them for clear coat. Will have decals made up soon and then the seat re-upholstered and once all that is done I will have a look at the electrical stuff.

Sooooo... I am still around, just not much to report. :)

Now Wally, it's all well and good to be absent then pop up and give a quick progress report... but we demand pic's! :p :twistedevil:

Good progress by the way...
 
Back
Top